No Products in the Cart
 Let me tell you step by step how I created the card...
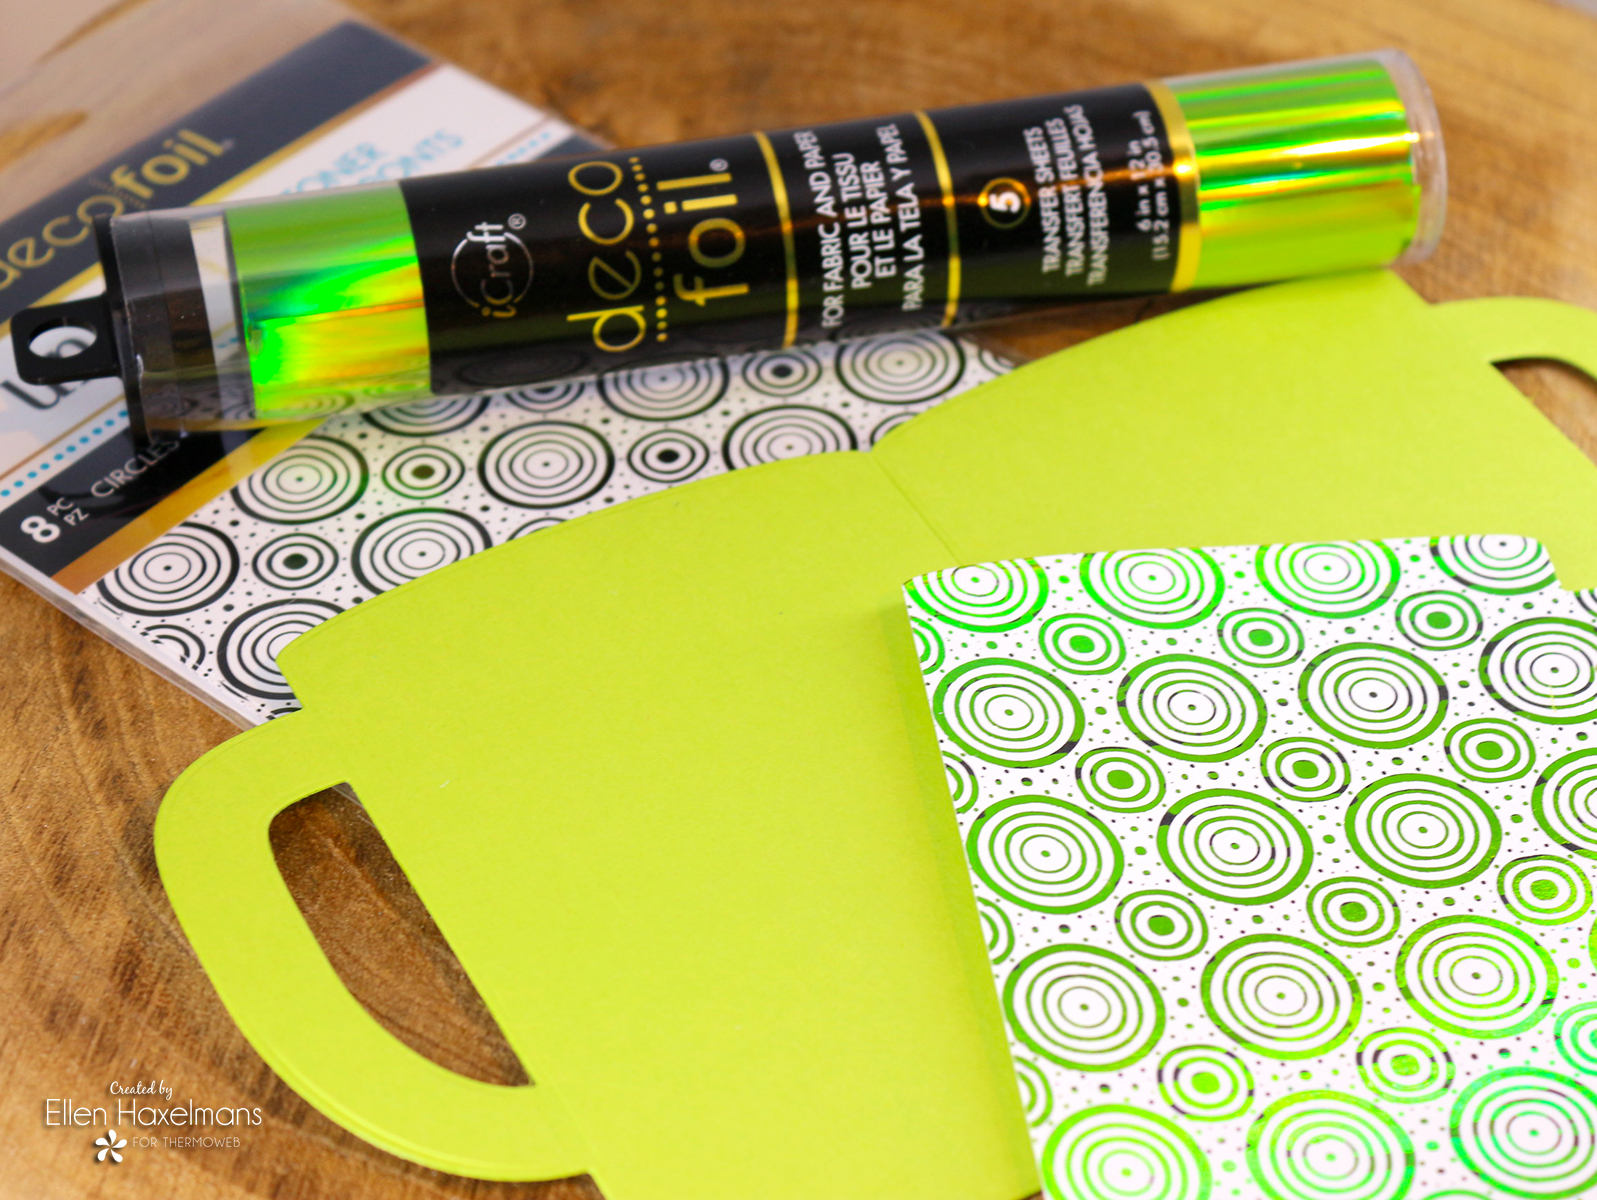 First I did cut out the Mug shaped card with a die. Next, I took a piece of the Toner Card Fronds (Circles A Plenty) and cut out a piece of the Lily Pad Deco Foil Transfer Sheets. Then I made a sandwich; put the foil shiny side up on the toner card and put it in between parchment paper. When the laminator was warmed up I placed the sandwich through it. Peel off the remaining foil.
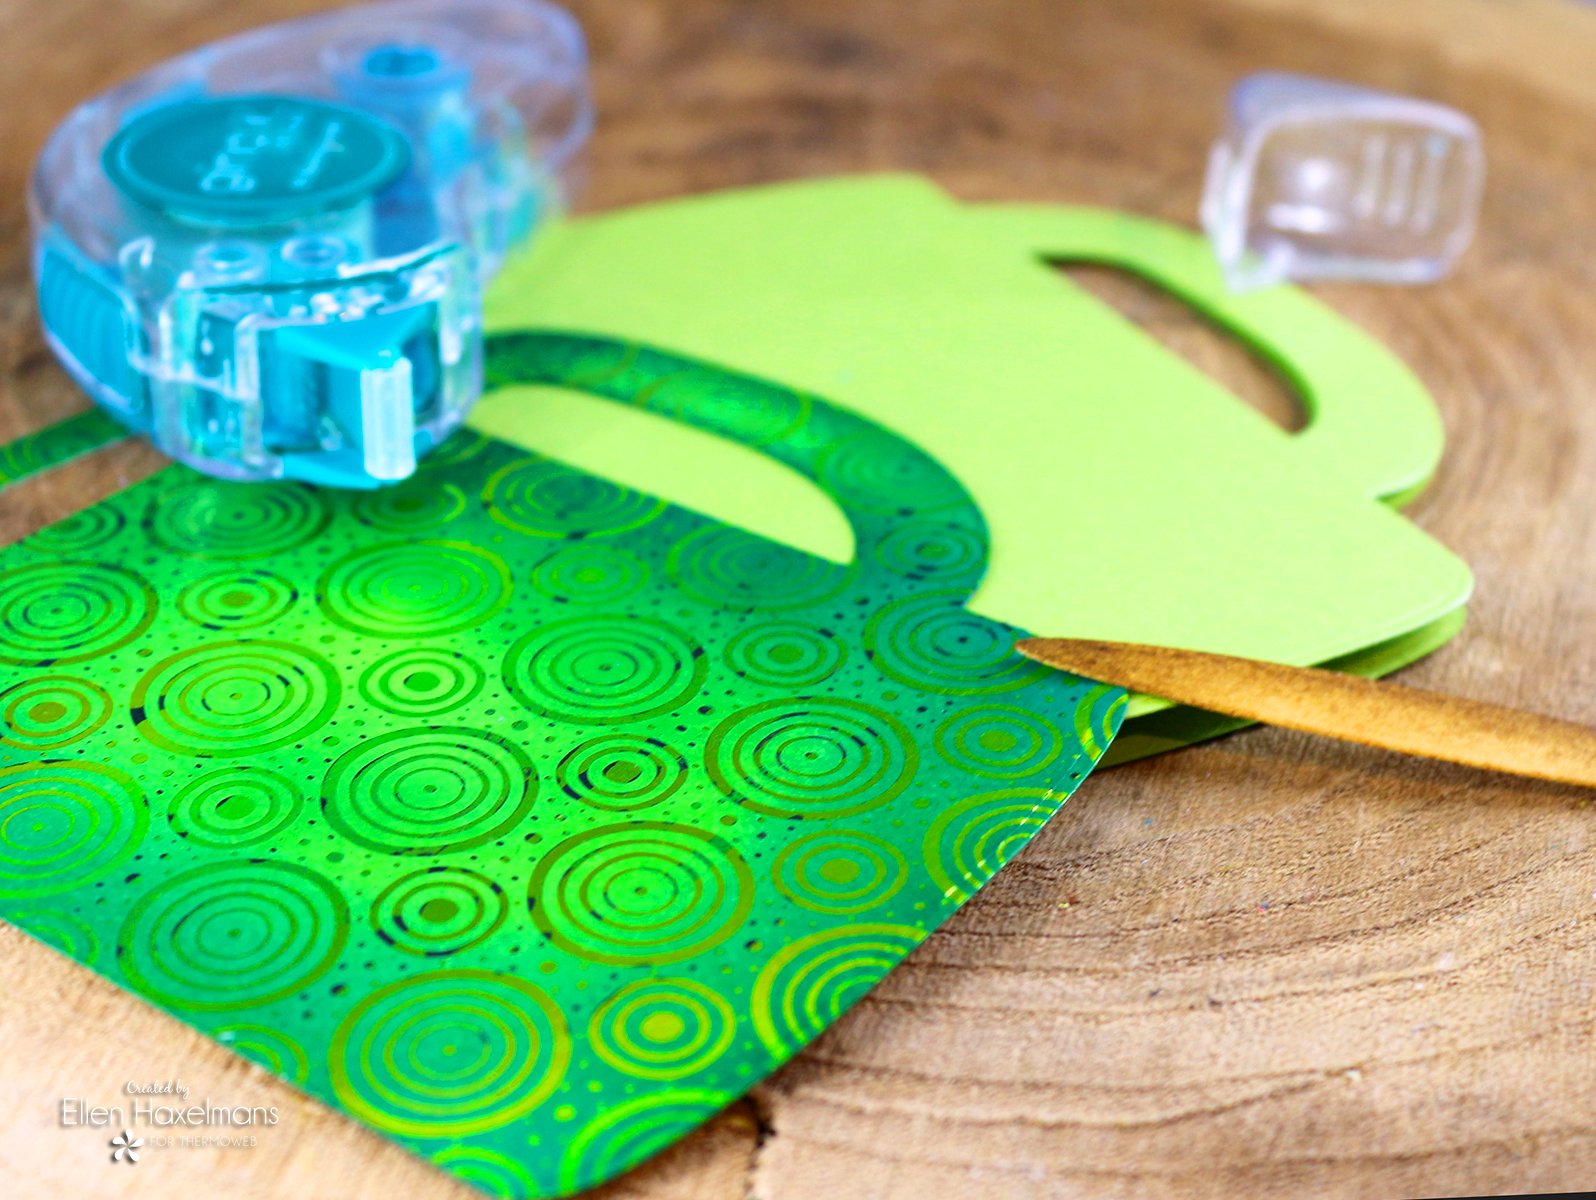 Afterward, you can cut the same mug shape out of the foiled piece. At this point, I also inked the piece with Distress Ink.
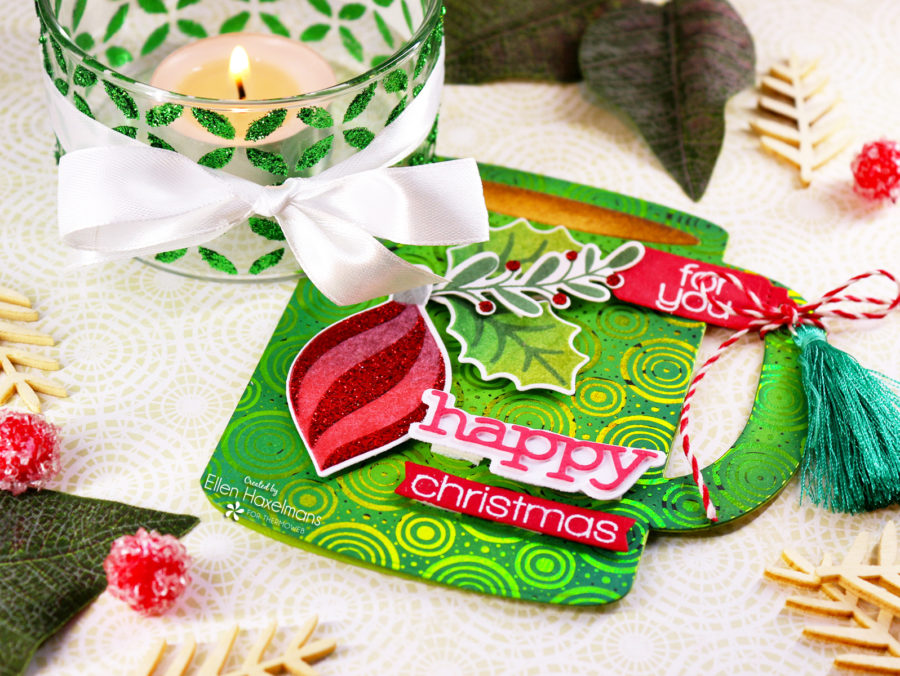
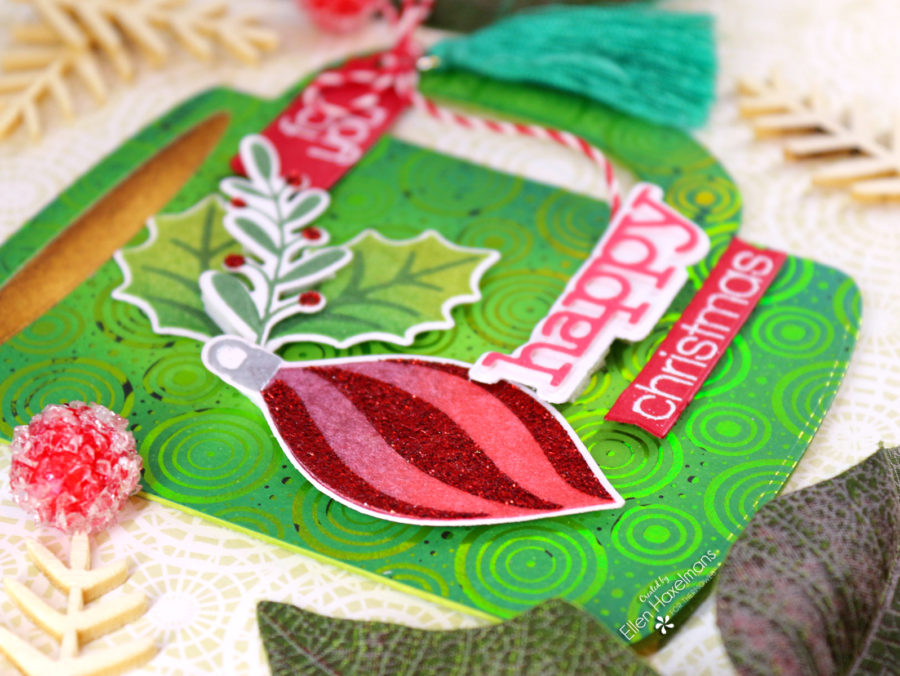
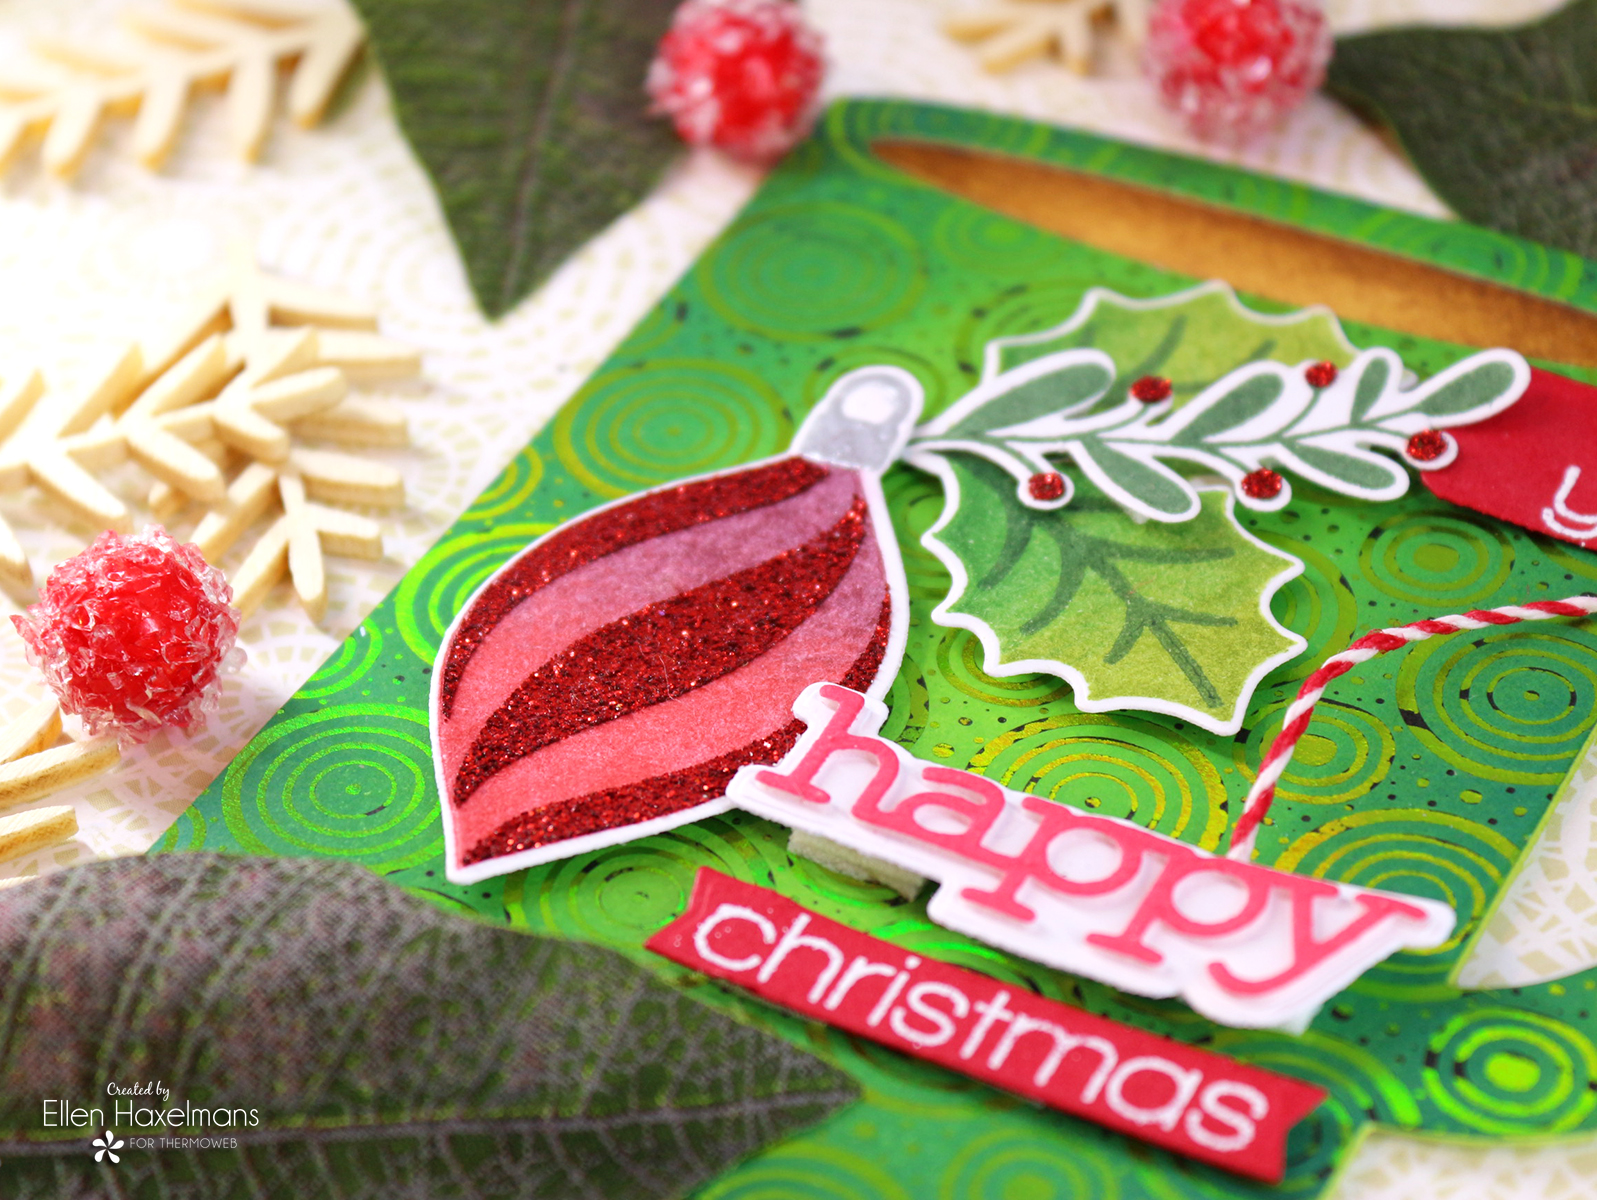
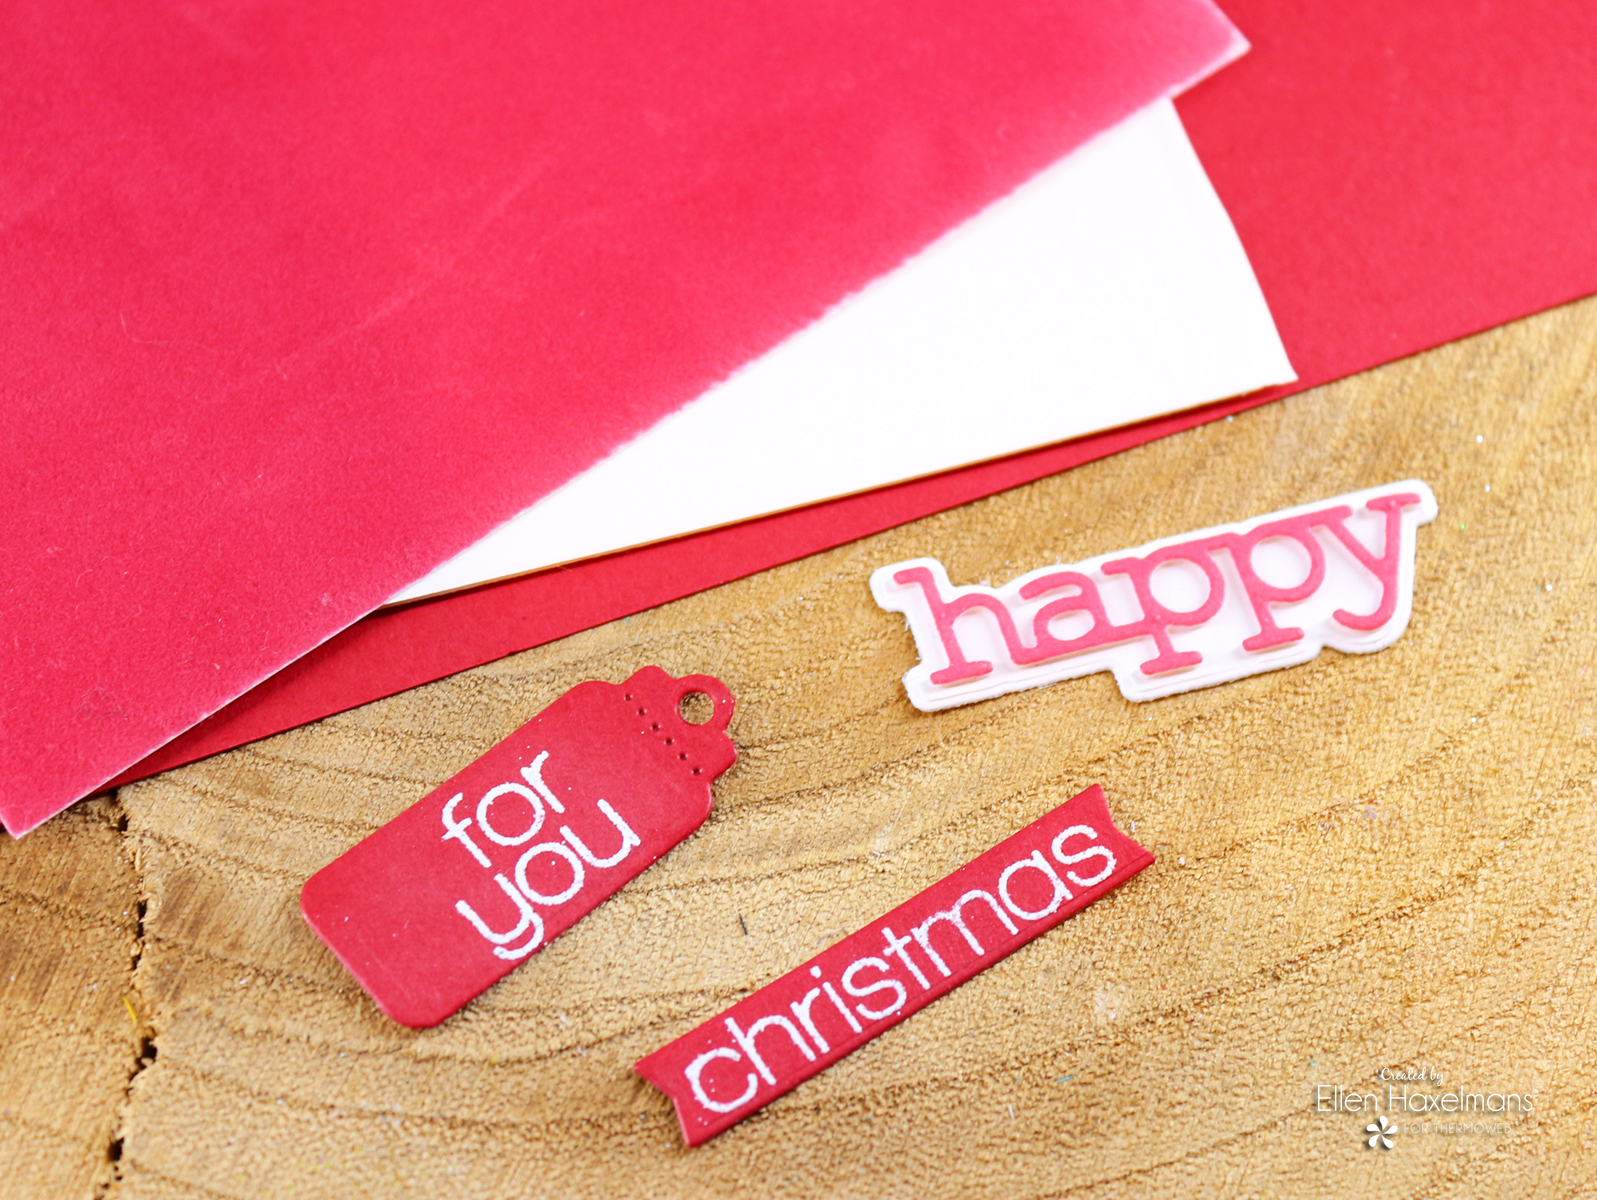 A card needs a message on top, so that's what I'm going to talk about next. I stamped out a few words on red paper with white embossing powder. The word happy is made with paper, flock, and a die. You can apply the flock to Adhesive Foam. You do this by cutting out a larger piece of the flock and place it flock side down on the foam. Afterward, you can peel of the flock. You can cut the flocked foam with a die to get a fluffy word, shape,...
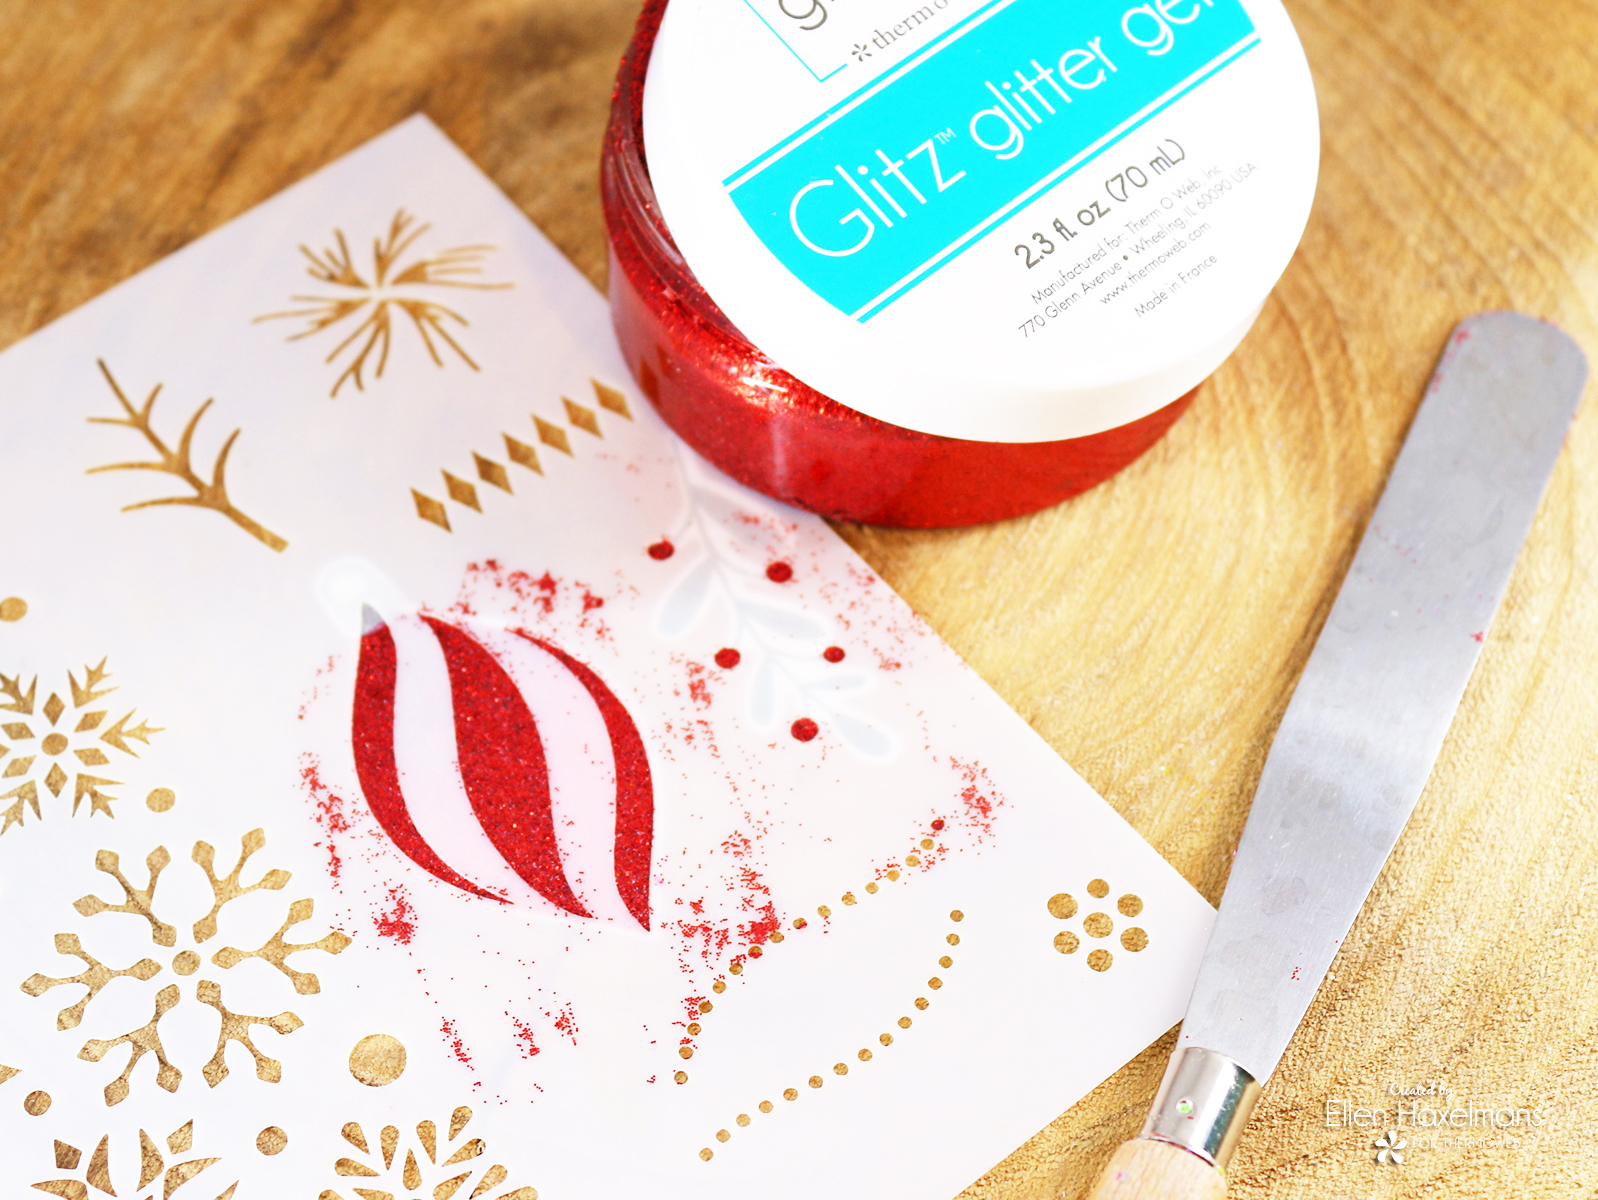 Of course, I wanted to decorate the mug. For that, I did stamp and cut out elements of the Wishing you Joy stamps and stencils. I used the stencil to add Red Velvet Glitz Glitter Gel.
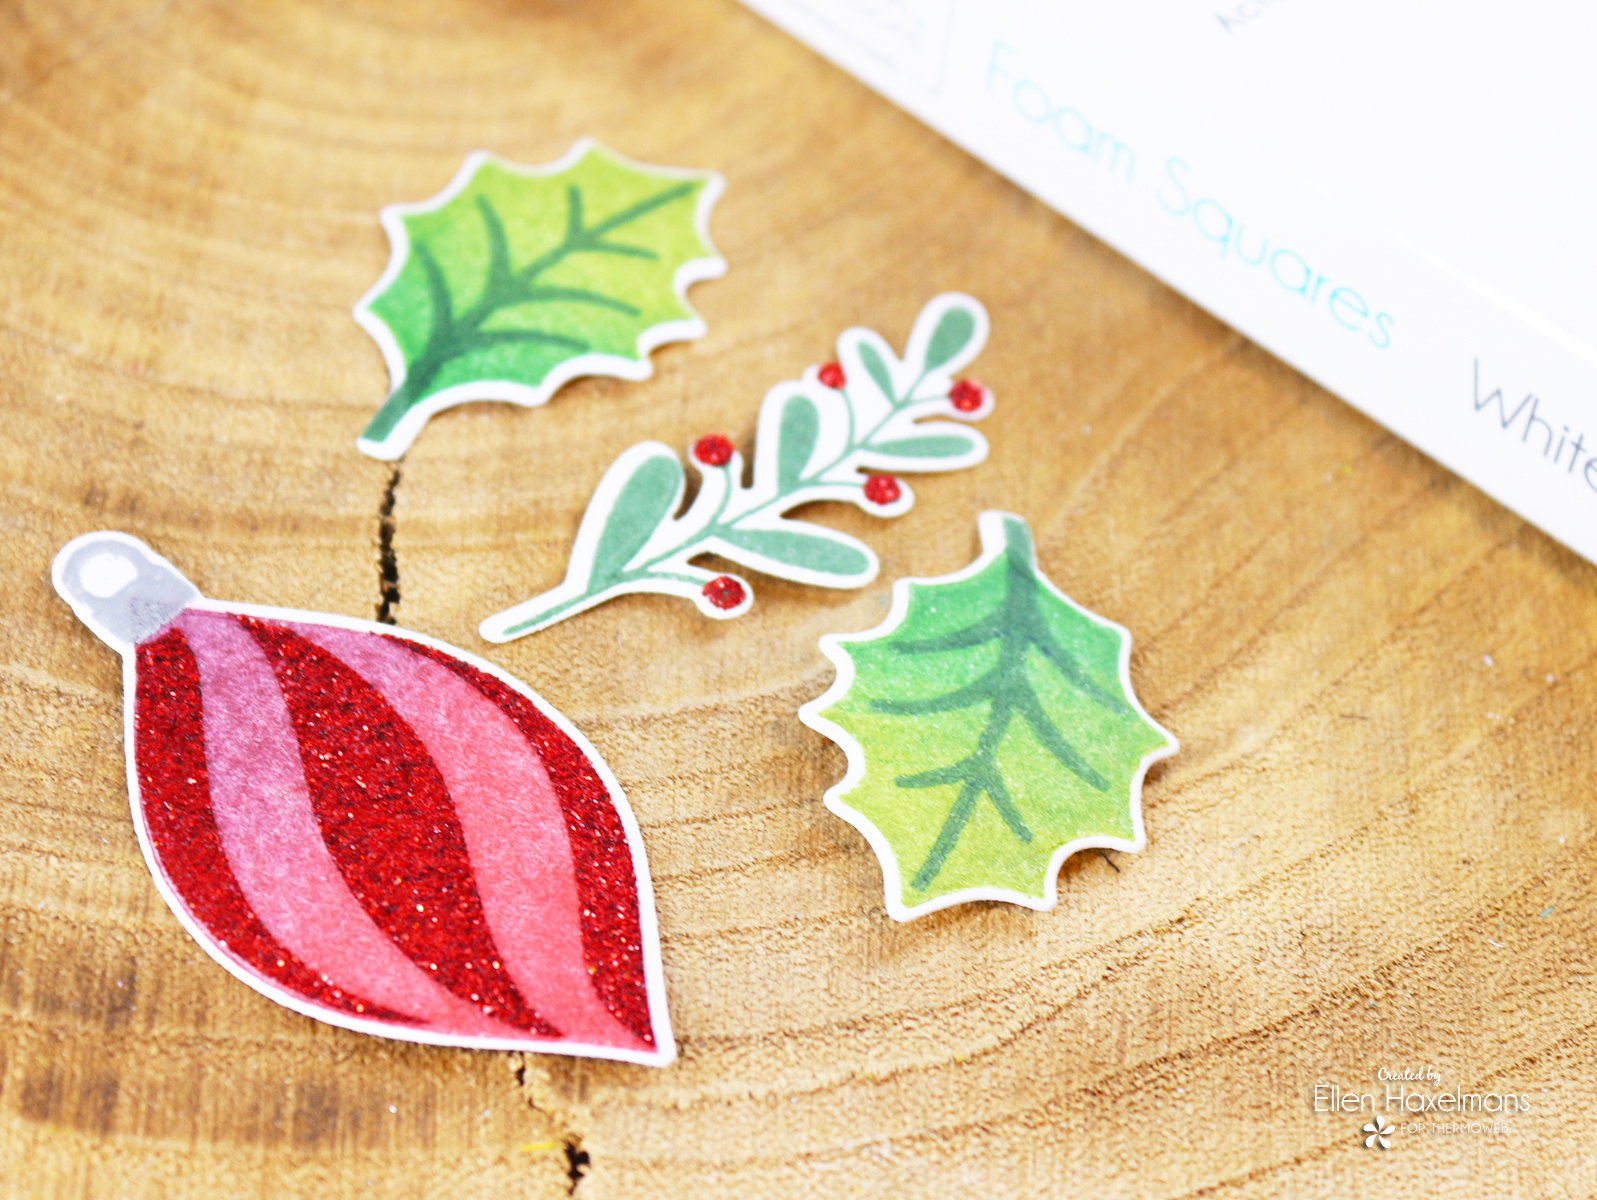 When you let it dry you have some awesome glittery shapes you can attach with the White Foam Squares on your cards.
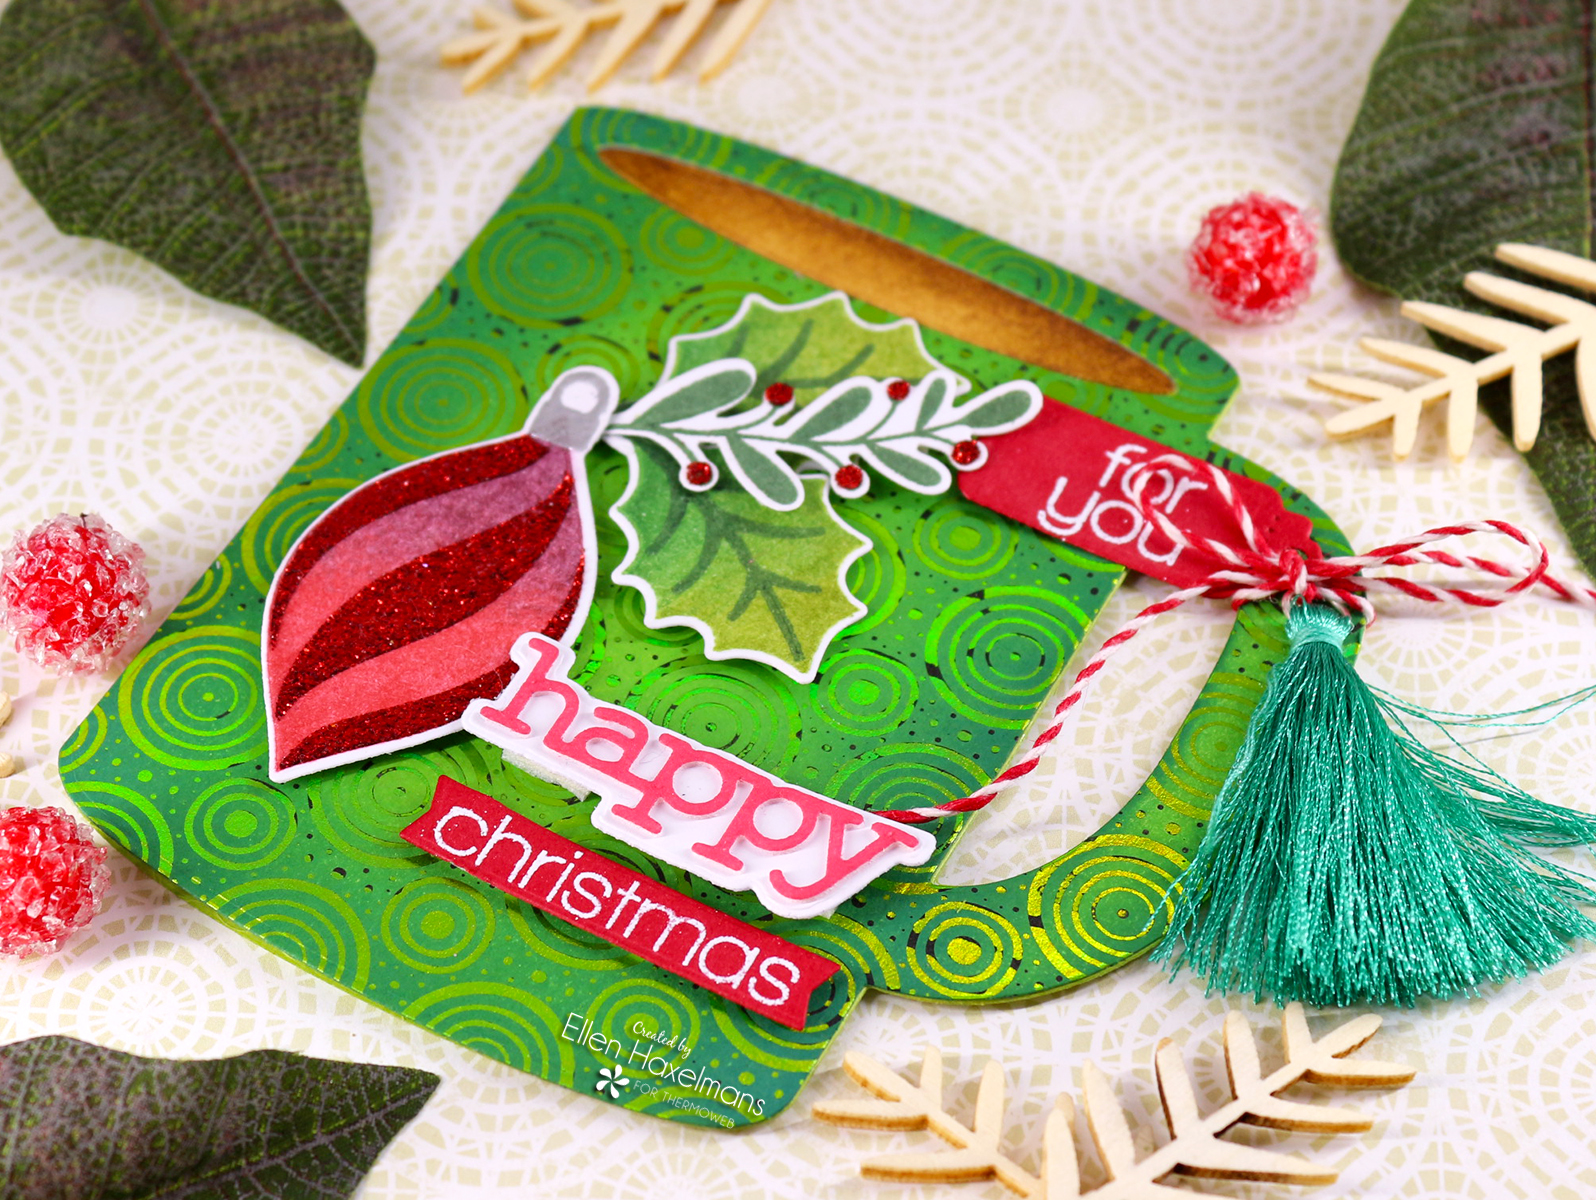 I attached a tassel and a bow on the tag to keep the mug closed.
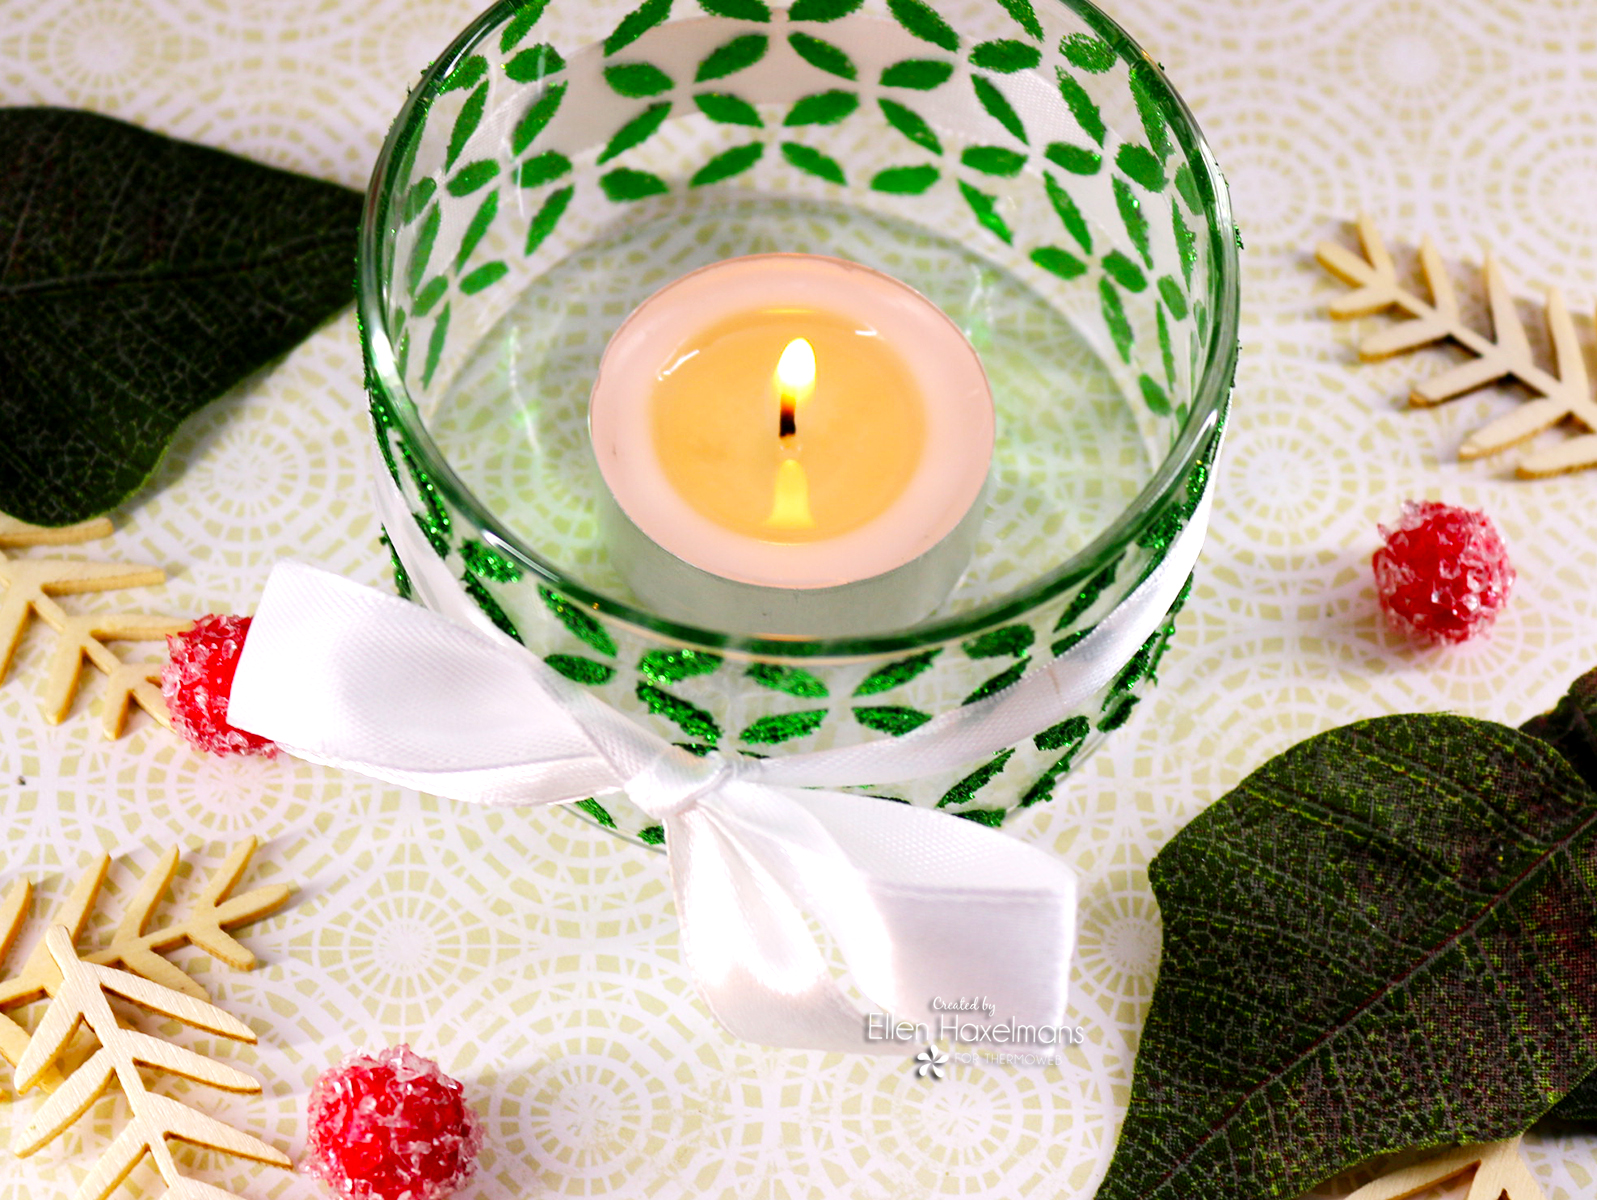 I thought it would be fun to give a little gift with the card. That's why I decided to create a tea light holder.
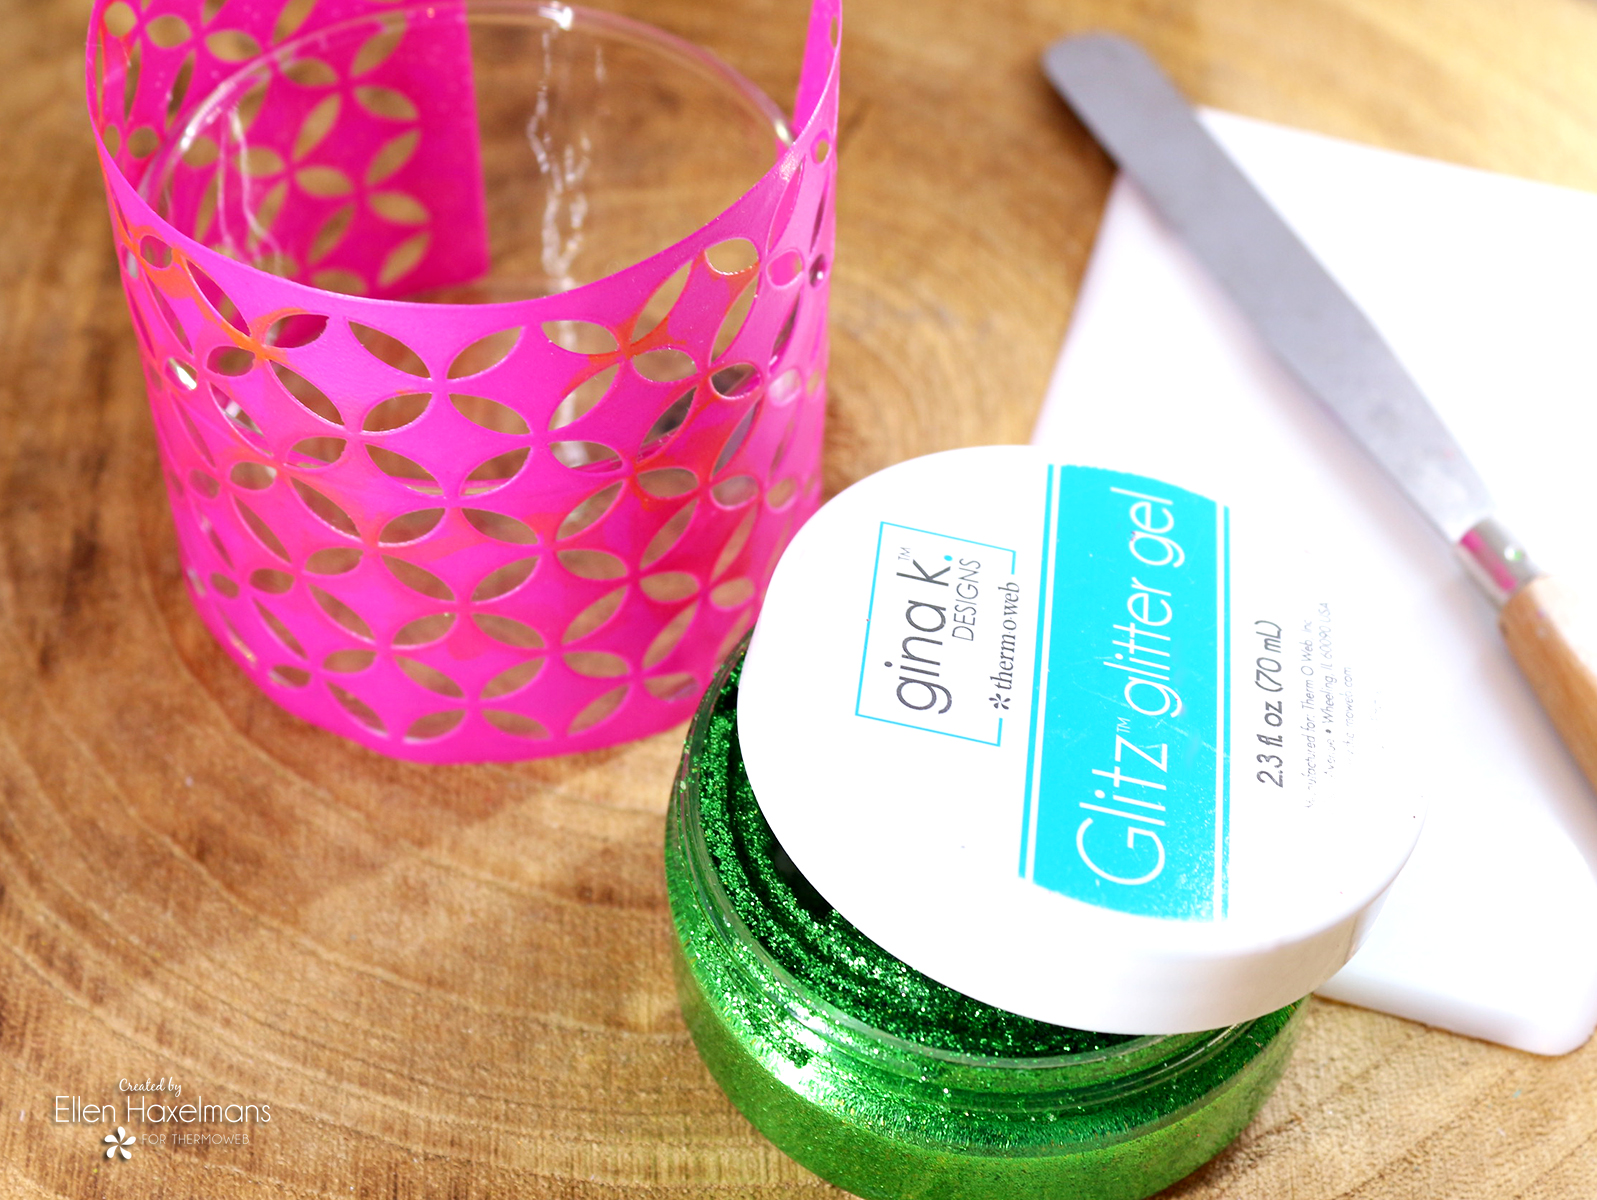 It was easy to create. I bought a plain tea light holder and decorated it with Grass Green Glitz Glitter Gel. I found a sticky stencil and and went over it with the stencil pall and the glitter gel.
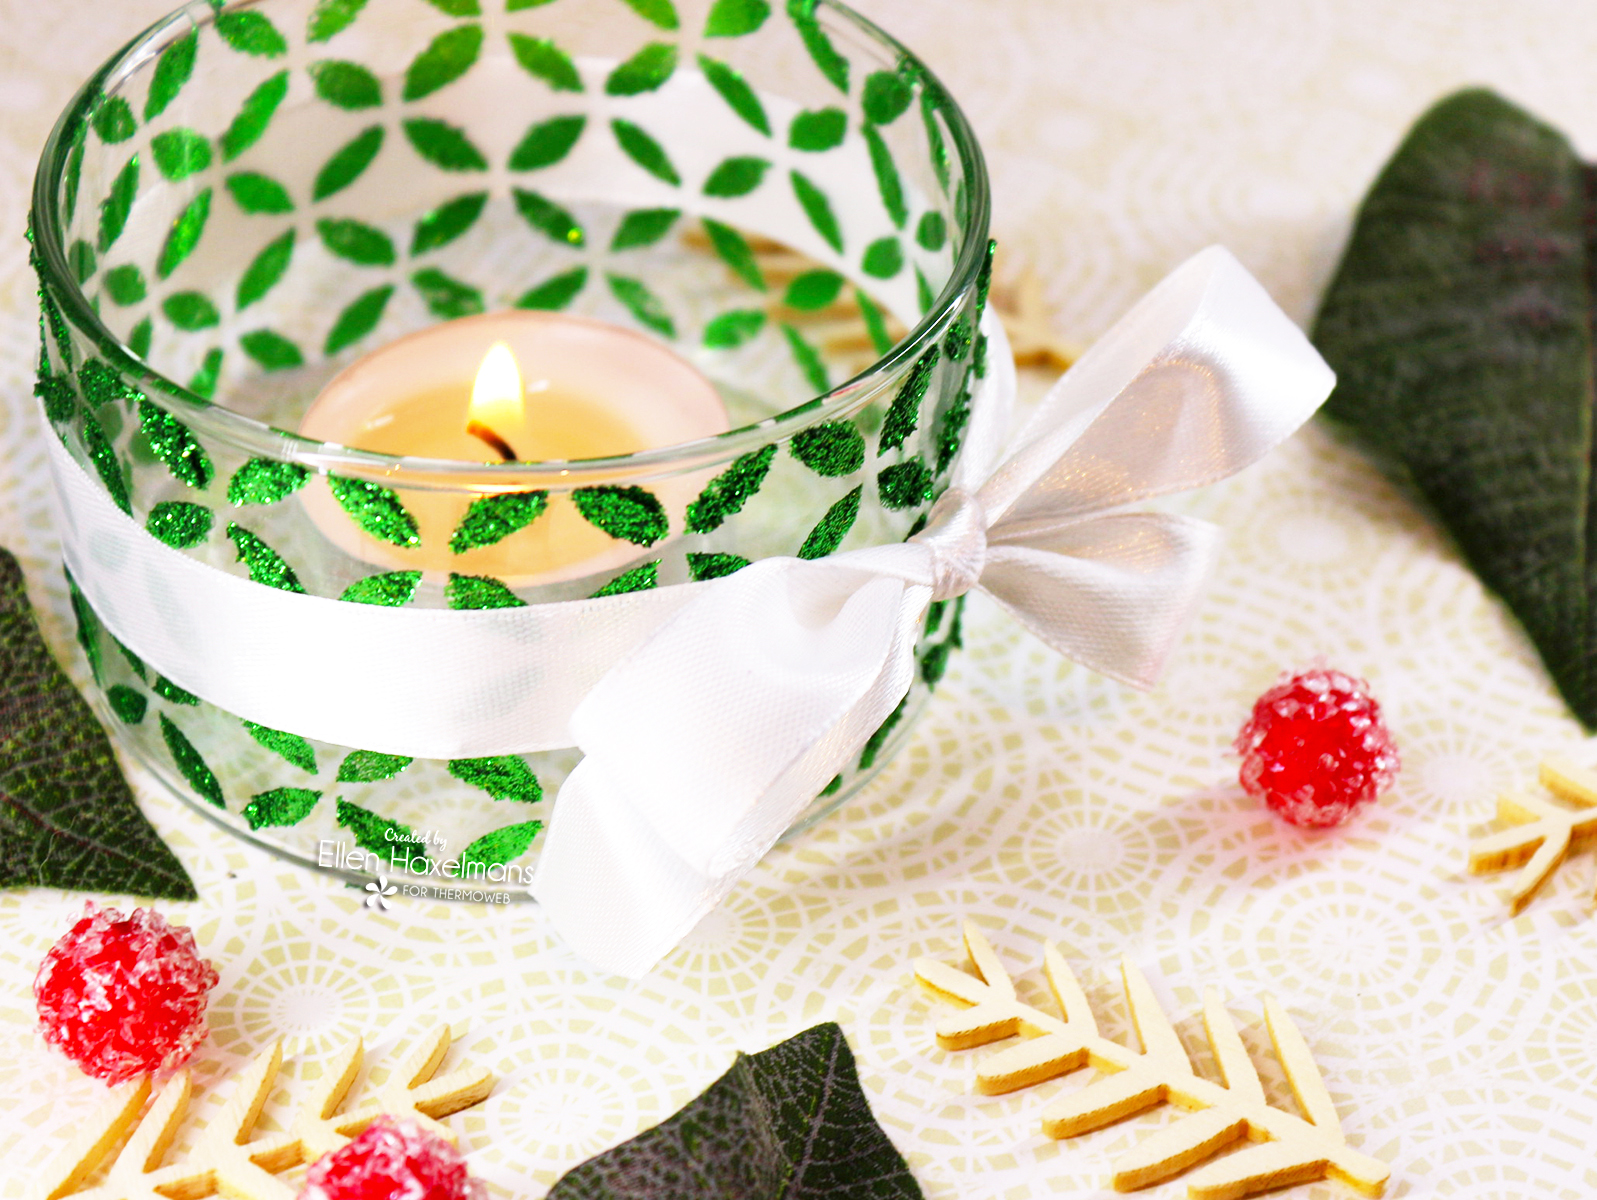 Now it's time for real hot cocoa in front of some candles!