No Products in the Cart



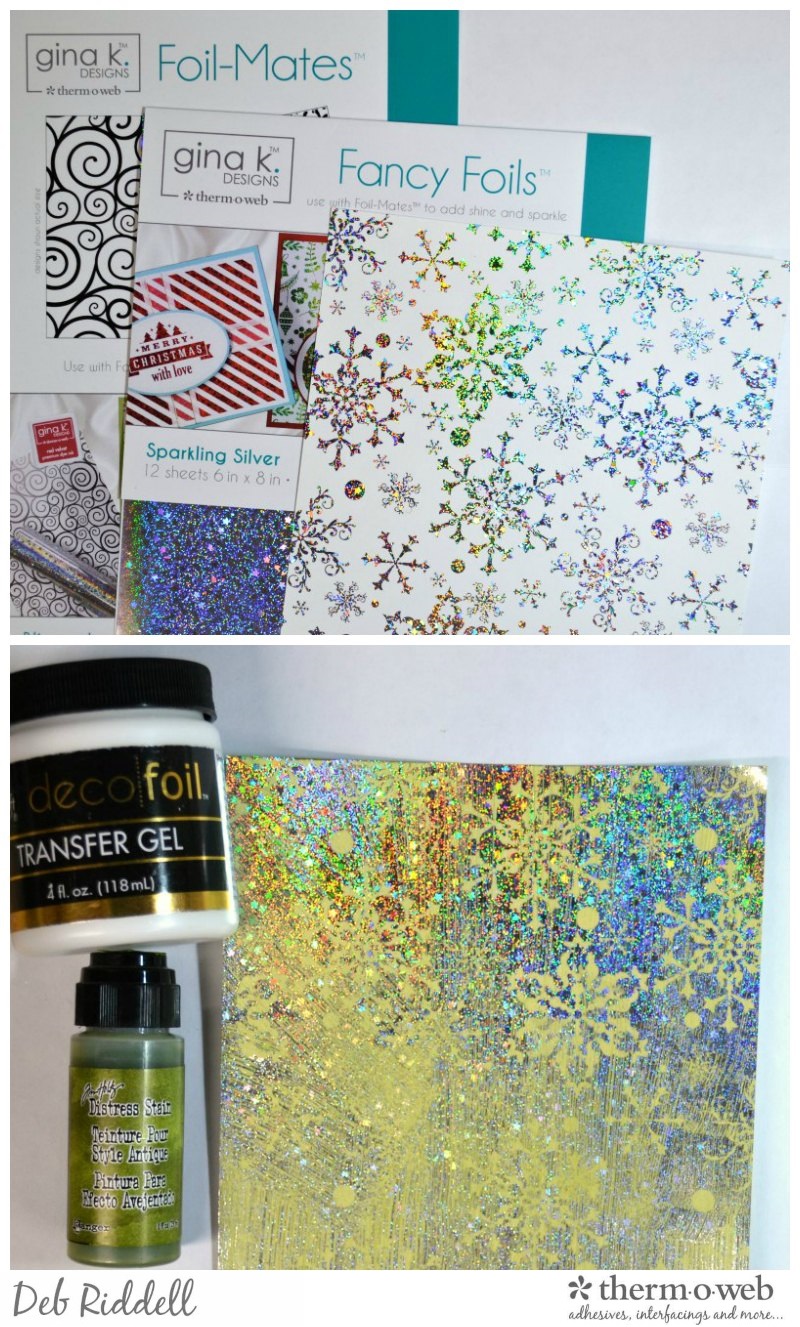 Turn the foiled Blizzard Foil-Mates sheet over and paint the backside of the paper with Deco Foil Transfer Gel. Let the Transfer Gel dry till clear (about 1 hour) and lay the Sparkling Silver Fancy Foil sheet with the negative snowflake images over top. Burnish the foil well (or you can also run it through your foil laminator again on the COLD setting to get good contact) and remove the foil backing paper to reveal the snowflake design. Lightly ink the back of the sheet with a green coloured stain (Peeled Paint Distress Stain was used here) and let dry thoroughly.
Ink the front side of the foiled Blizzard Foil-Mates with green ink (Peeled Paint Distress Ink was used here).
Turn the foiled Blizzard Foil-Mates sheet over and paint the backside of the paper with Deco Foil Transfer Gel. Let the Transfer Gel dry till clear (about 1 hour) and lay the Sparkling Silver Fancy Foil sheet with the negative snowflake images over top. Burnish the foil well (or you can also run it through your foil laminator again on the COLD setting to get good contact) and remove the foil backing paper to reveal the snowflake design. Lightly ink the back of the sheet with a green coloured stain (Peeled Paint Distress Stain was used here) and let dry thoroughly.
Ink the front side of the foiled Blizzard Foil-Mates with green ink (Peeled Paint Distress Ink was used here).
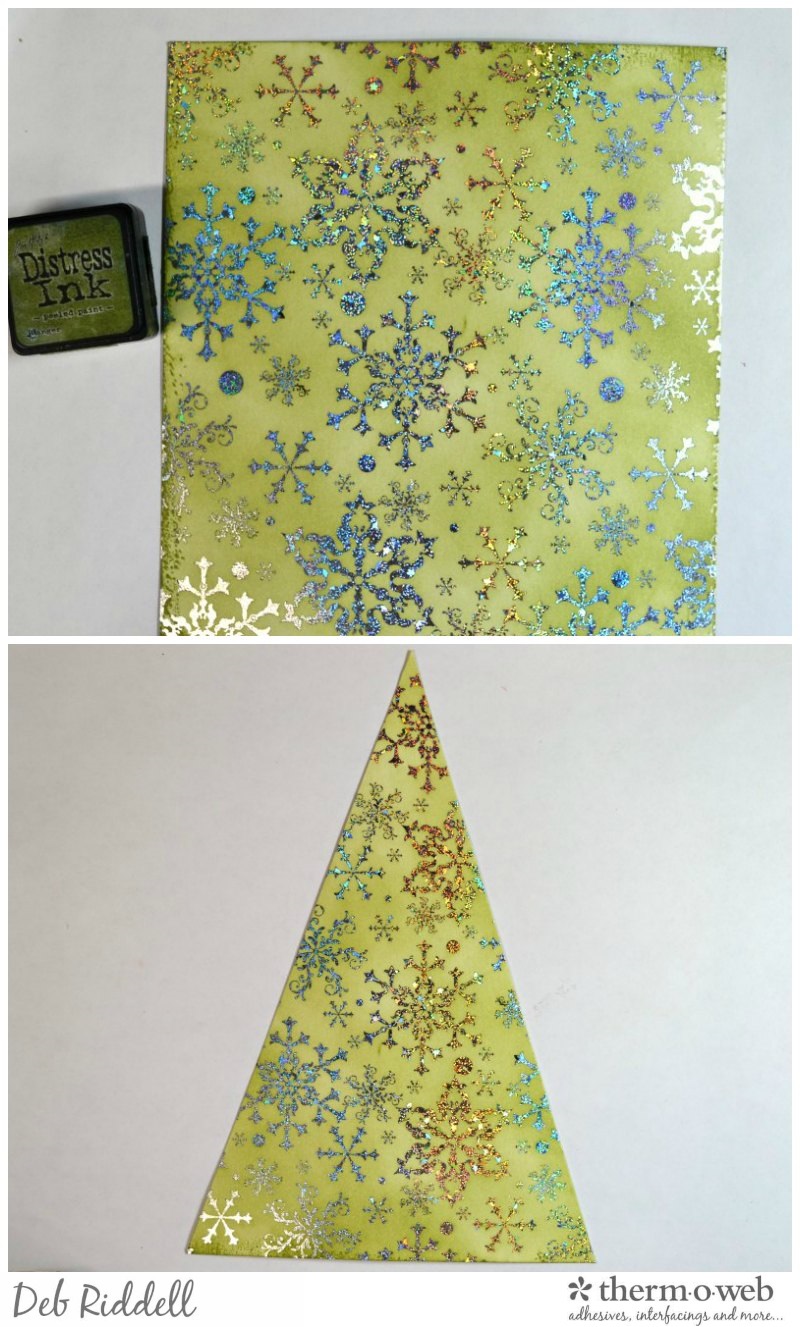 Cut a triangle shape from the inked and foiled Blizzard Foil-Mates sheet and be sure to keep the offcut pieces.
Score the triangle shape horizontally from top to bottom at 1/2" intervals and fold up accordion style.
Cut a triangle shape from the inked and foiled Blizzard Foil-Mates sheet and be sure to keep the offcut pieces.
Score the triangle shape horizontally from top to bottom at 1/2" intervals and fold up accordion style.
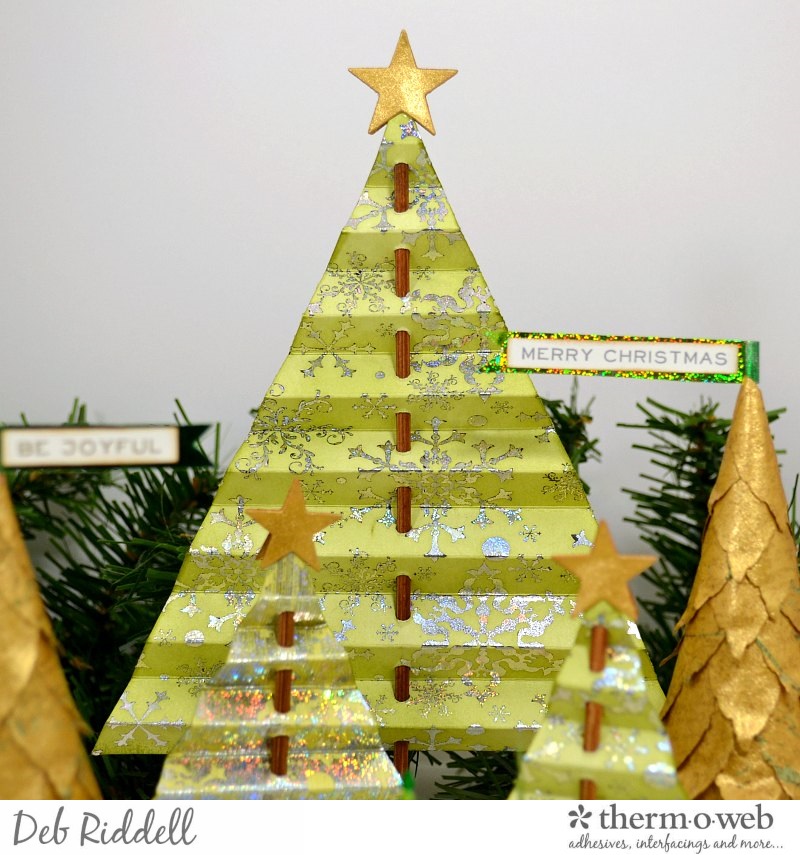
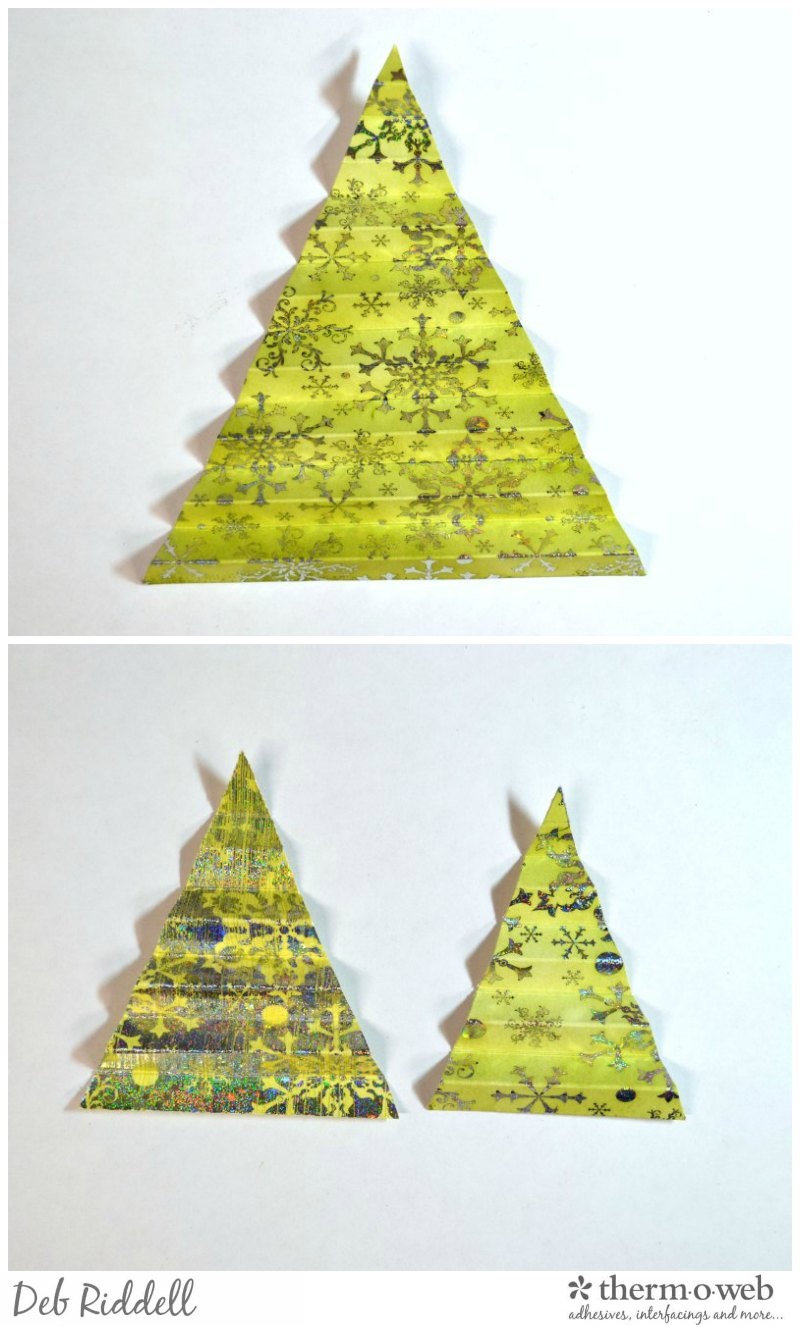 Cut two smaller triangles from the side pieces that were cut off to make the large triangle and score them at 3/8" horizontally from top to bottom, accordion folding them as above.
Punch a 1/8" hole through the center of all of the layers of the accordion folded triangles. Colour a wooden shish kabob skewer with brown stain (this is Vintage Photo Distress Stain) and insert the skewer through the punched holes to form your 'tree trunk'.
Cut two smaller triangles from the side pieces that were cut off to make the large triangle and score them at 3/8" horizontally from top to bottom, accordion folding them as above.
Punch a 1/8" hole through the center of all of the layers of the accordion folded triangles. Colour a wooden shish kabob skewer with brown stain (this is Vintage Photo Distress Stain) and insert the skewer through the punched holes to form your 'tree trunk'.
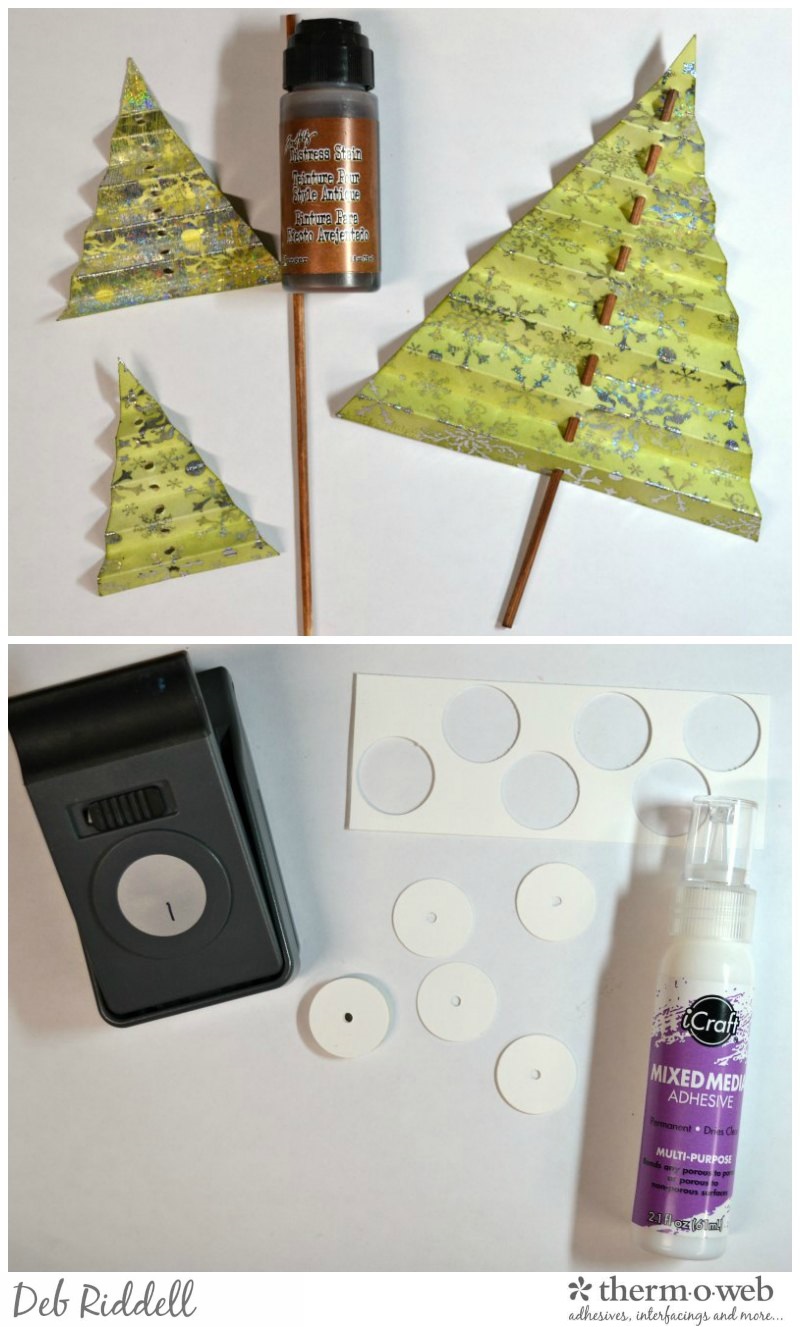 Make stands for your foiled trees by punching numerous circles from white cardstock (use a 1" punch for the large tree and a 3/4" punch for the smaller trees) and punch a 1/8" hole through each circle. Glue the circles together with iCraft Mixed Media Adhesive to form your tree stands (each stand is approximately 1/4" in height).
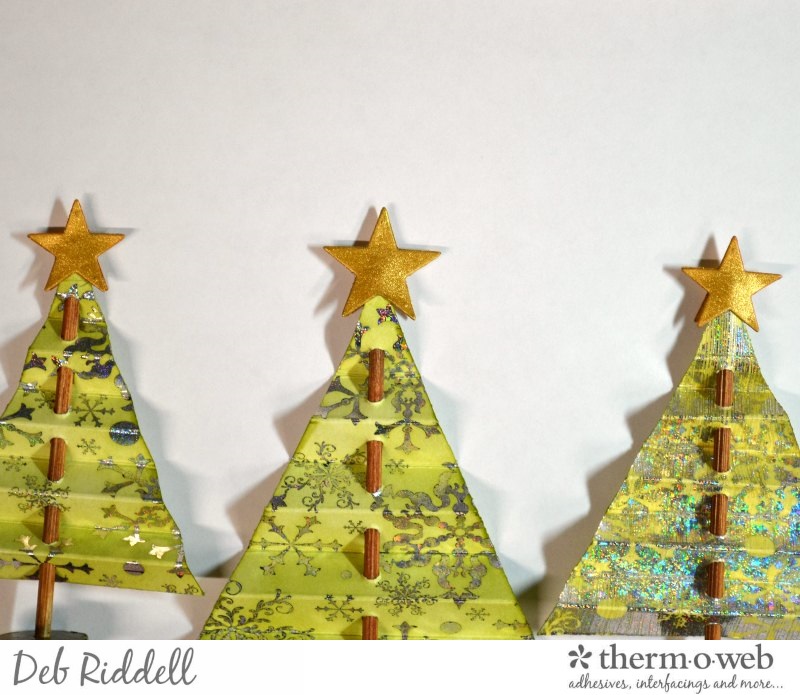
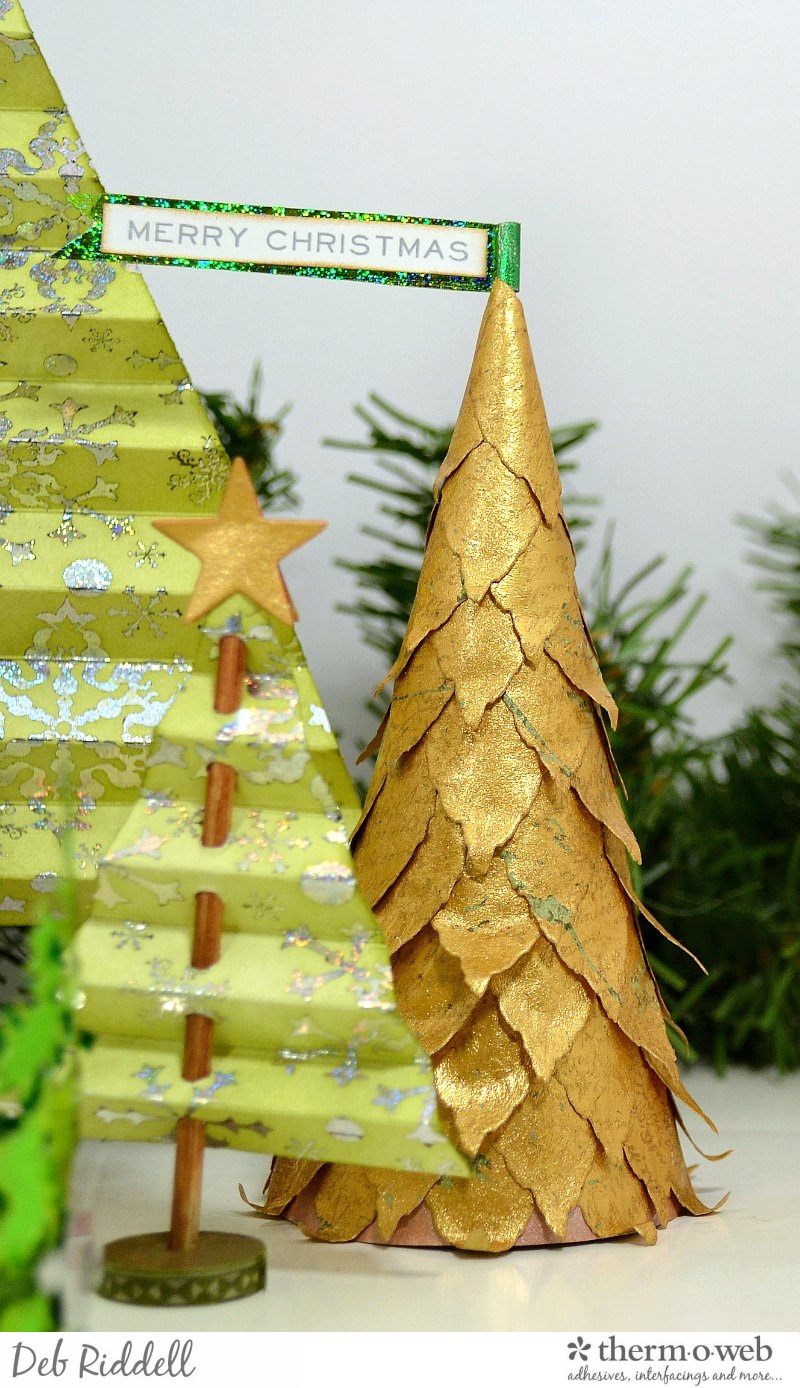
Die cut stars for the tops of your trees from cardstock painted with gold metallic acrylic paint, cutting two stars for each tree. Sandwich the top of the tree and the skewer in between the two stars and glue together with iCraft Mixed Media Adhesive.
Make stands for your foiled trees by punching numerous circles from white cardstock (use a 1" punch for the large tree and a 3/4" punch for the smaller trees) and punch a 1/8" hole through each circle. Glue the circles together with iCraft Mixed Media Adhesive to form your tree stands (each stand is approximately 1/4" in height).
Die cut stars for the tops of your trees from cardstock painted with gold metallic acrylic paint, cutting two stars for each tree. Sandwich the top of the tree and the skewer in between the two stars and glue together with iCraft Mixed Media Adhesive.
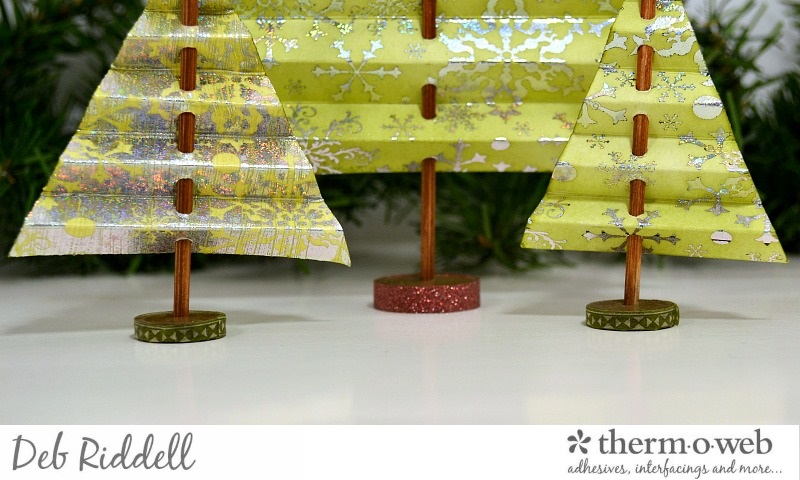
 Paint each tree stand with brown acrylic paint and when it has dried wrap the edges of the stands with Christmas themed washi tape. Insert the foiled accordion folded trees into each of the stands.
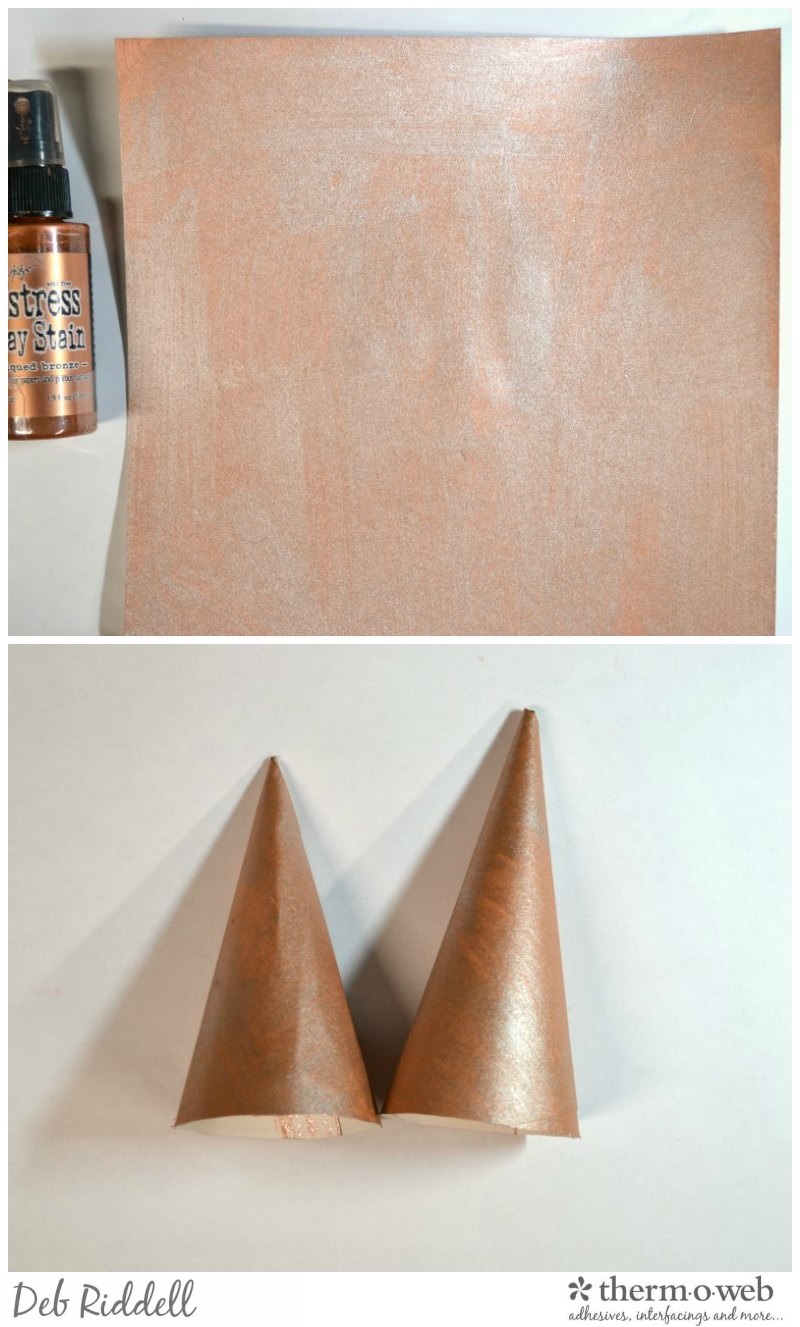 Trim each sheet of painted cardstock into a triangle and roll into a cone shape, securing them with iCraft Mixed Media Adhesive. The two cones I made were approximately 5" and 4 1/2" in height (click here for a WikiHow tutorial on making cones from paper).
Remove the adhesive backing from a sheet of Rebekah Meier Designs Mixed Media Art Paper and apply several sheets of Rebekah Meier Designs Mixed Media Transfer Foil in Old Gold to cover it completely. Burnish the foil well (or run it through your laminator set on COLD) and remove the foil backing paper. Cover any areas of exposed adhesive with a green coloured mica powder (Forever Green Perfect Pearls was used here).
Trim each sheet of painted cardstock into a triangle and roll into a cone shape, securing them with iCraft Mixed Media Adhesive. The two cones I made were approximately 5" and 4 1/2" in height (click here for a WikiHow tutorial on making cones from paper).
Remove the adhesive backing from a sheet of Rebekah Meier Designs Mixed Media Art Paper and apply several sheets of Rebekah Meier Designs Mixed Media Transfer Foil in Old Gold to cover it completely. Burnish the foil well (or run it through your laminator set on COLD) and remove the foil backing paper. Cover any areas of exposed adhesive with a green coloured mica powder (Forever Green Perfect Pearls was used here).
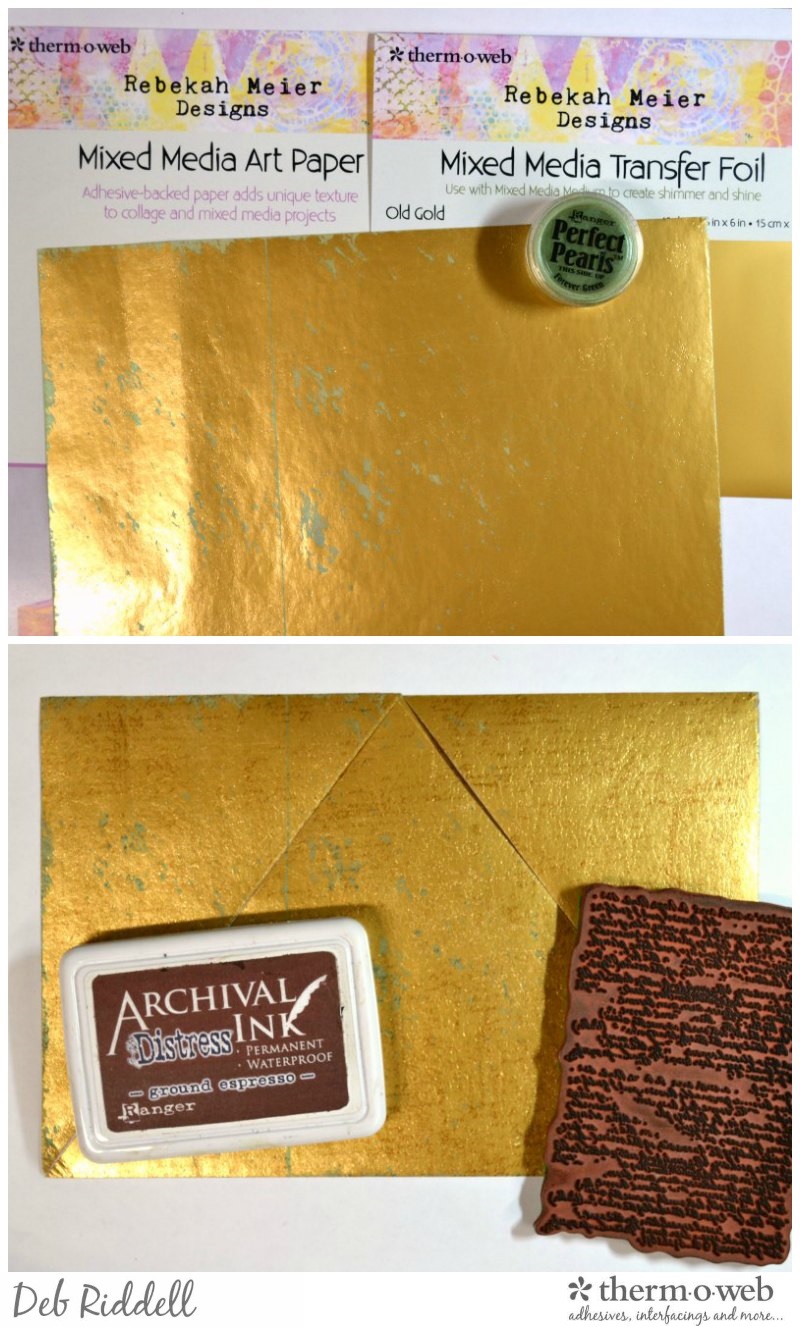 Paint the back side of the foiled Art Paper with gold metallic acrylic paint. As an optional step, stamp the foiled side of the Art Paper with a fine script stamp and a brown coloured permanent ink for added interest and texture. (You may notice that this sheet of Art Paper has been cut, I was going to use it to make my cone base but it didn't have quite enough structural integrity so it was recycled to make some die cut leaves instead, waste not want not!).
Die cut a multitude of leaf shapes from the gold foiled Art Paper (this is the largest leaf die from the Small Tattered Florals die set). You could also use a small feather die if you have one in your stash.
Paint the back side of the foiled Art Paper with gold metallic acrylic paint. As an optional step, stamp the foiled side of the Art Paper with a fine script stamp and a brown coloured permanent ink for added interest and texture. (You may notice that this sheet of Art Paper has been cut, I was going to use it to make my cone base but it didn't have quite enough structural integrity so it was recycled to make some die cut leaves instead, waste not want not!).
Die cut a multitude of leaf shapes from the gold foiled Art Paper (this is the largest leaf die from the Small Tattered Florals die set). You could also use a small feather die if you have one in your stash.
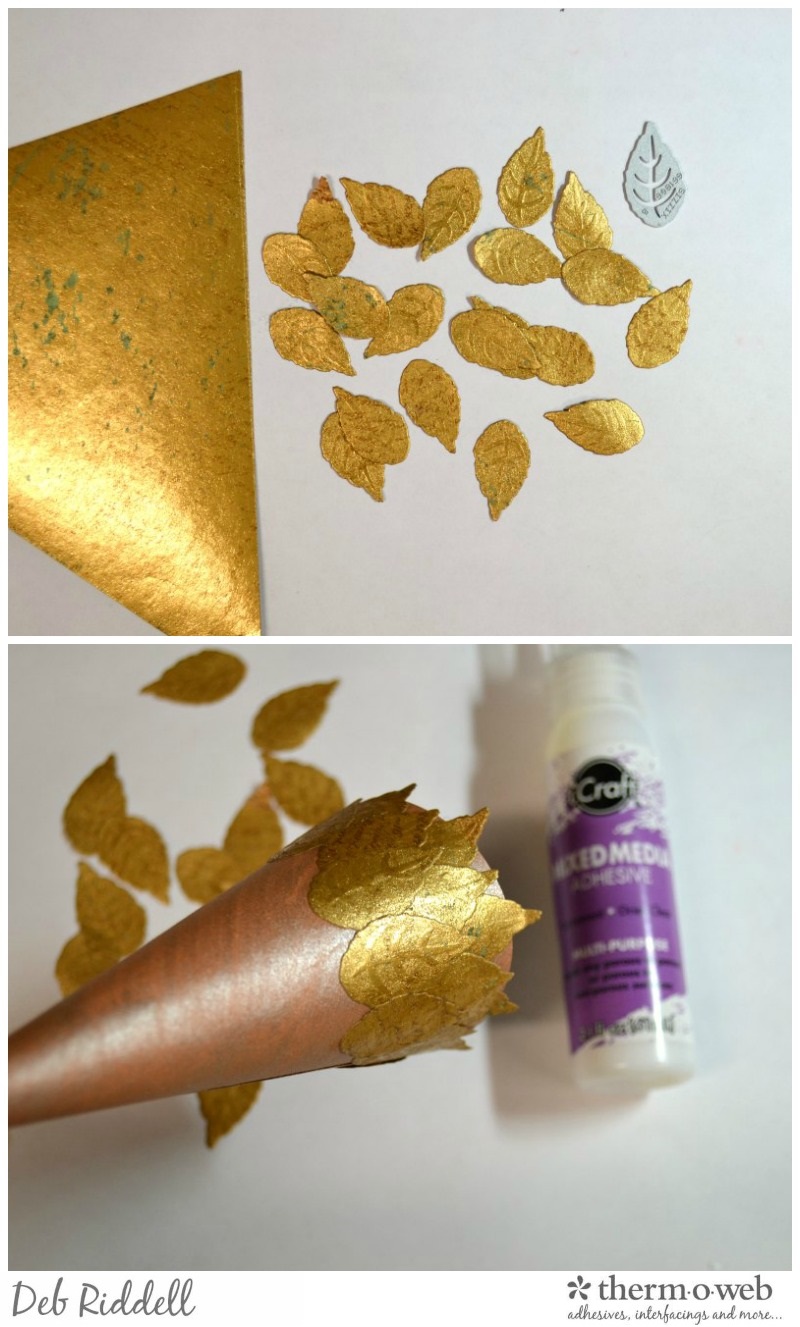 Starting at the bottom of each cardstock cone, adhere the leaves into place with iCraft Mixed Media Adhesive, staggering and overlapping the leaves as you progress up the cones. Don't apply adhesive to the tips of the leaves, leave them free so that you can gently flip them up to add dimension to your gold cone trees.
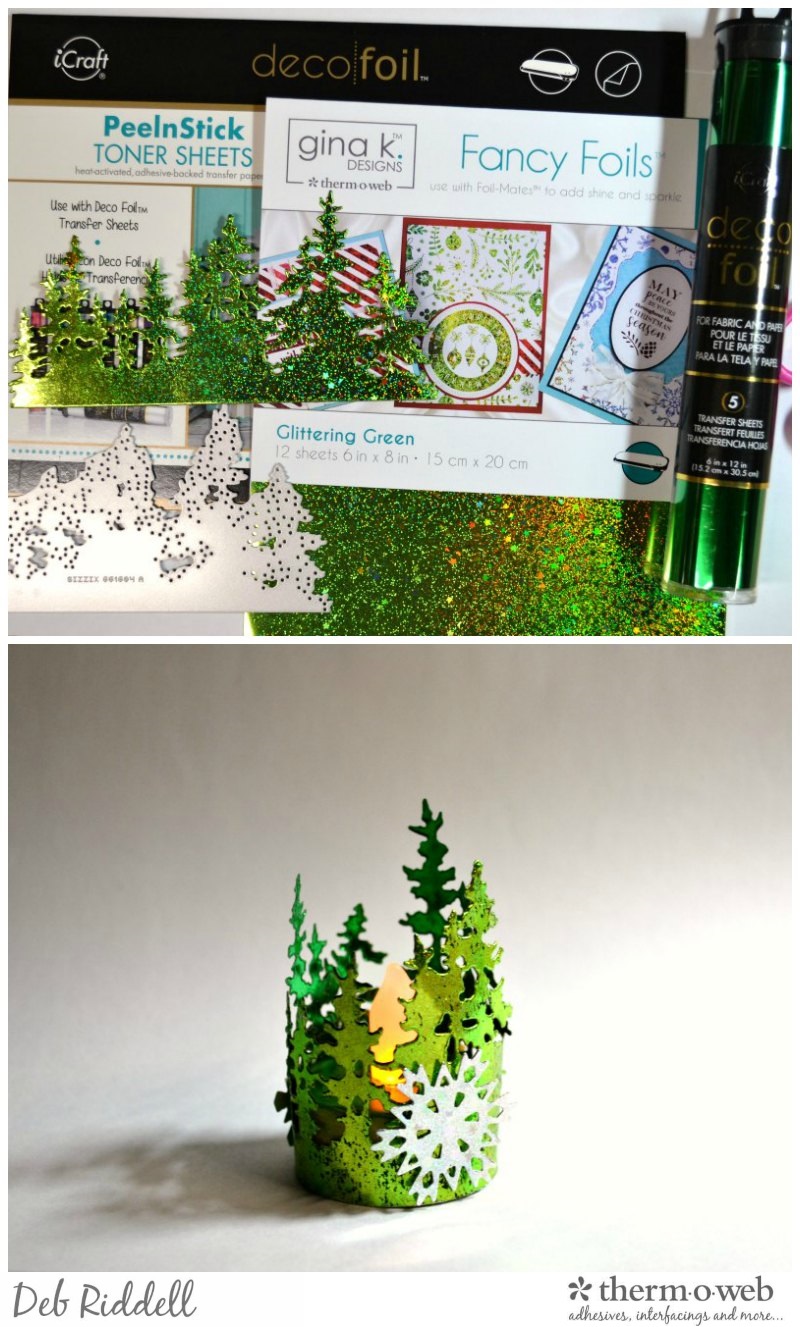 Wrap the Tree Line die cut around your votive candle and adhere to place with iCraft Mixed Media Adhesive. Cover another piece of PeelnStick Toner Sheet with Gina K. Designs Sparkling Silver Fancy Foil and die cut some snowflakes to decorate your votive candle (this is the Mini Paper Snowflakes die).
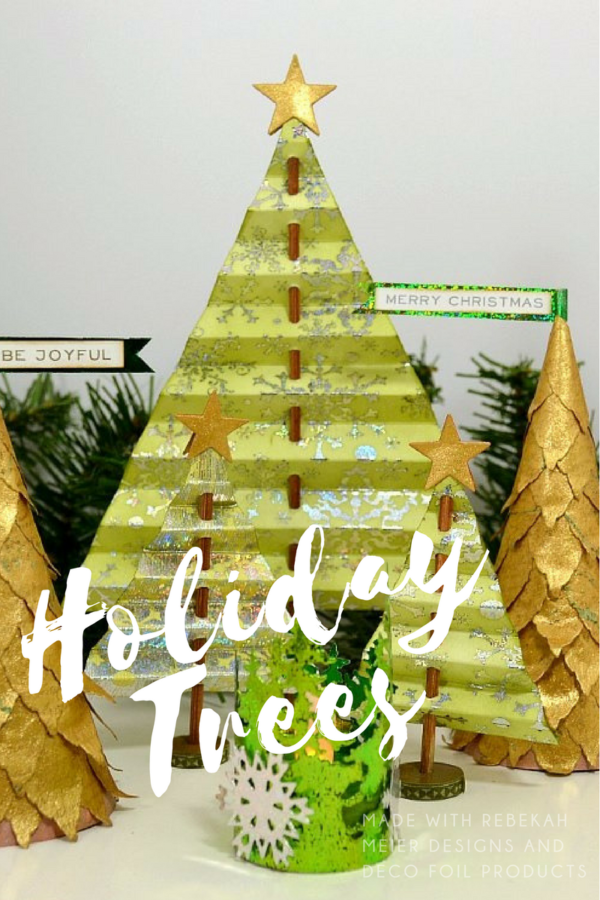
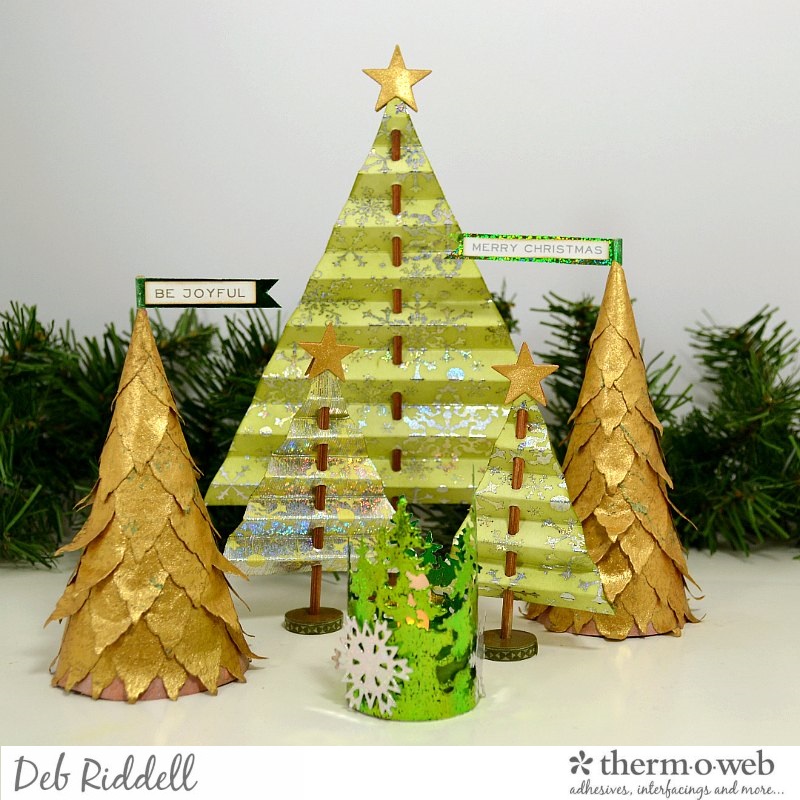
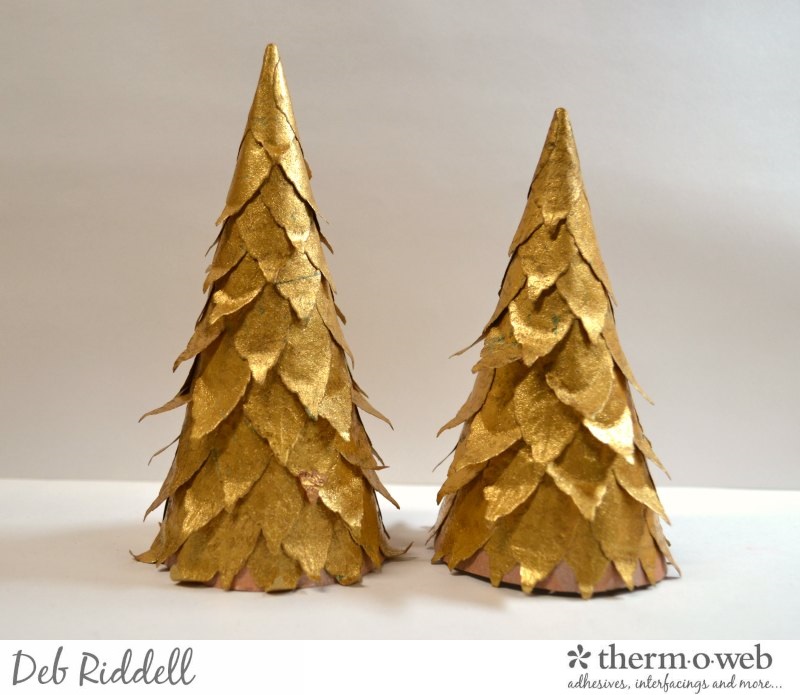
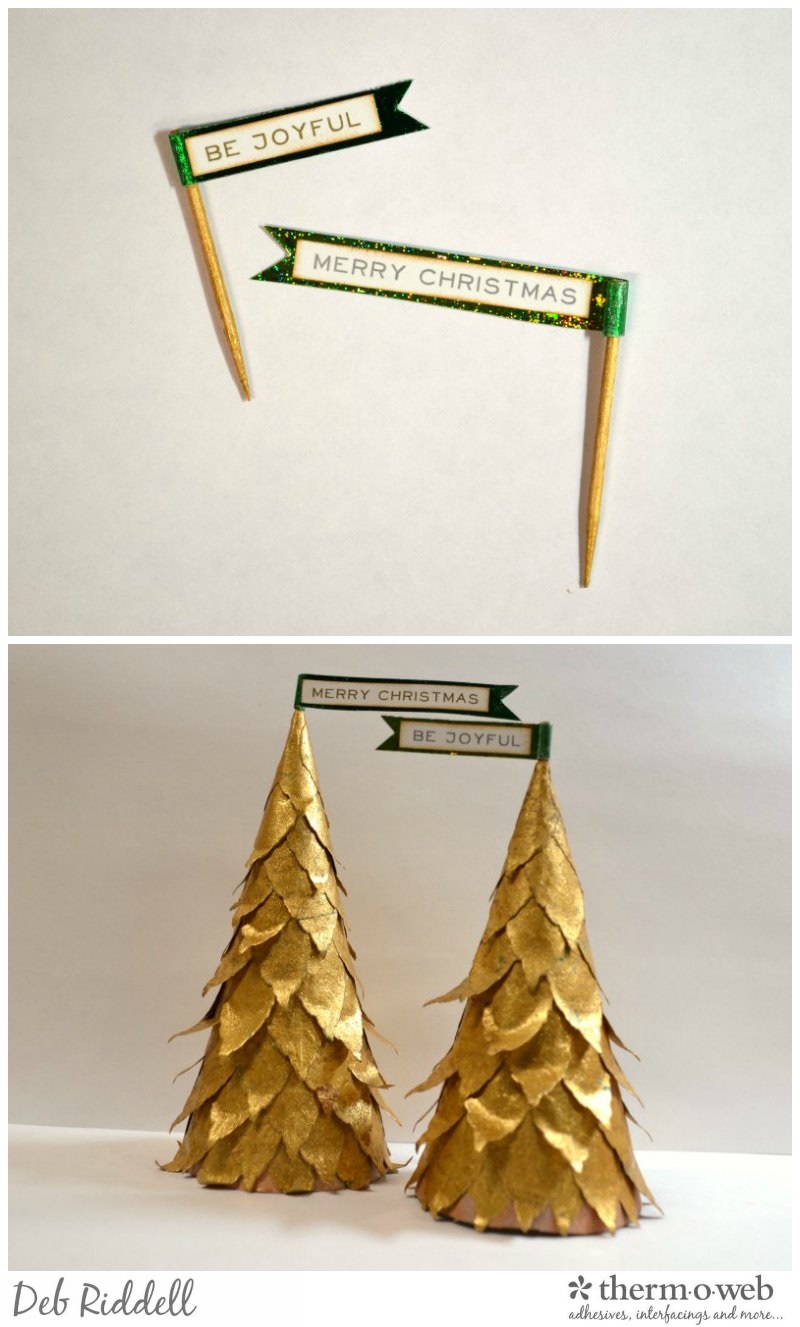 Insert the banners into the top of each gold foiled cone tree and you are done! Here are a few close-ups of the finished Foiled Christmas Trees tableau.
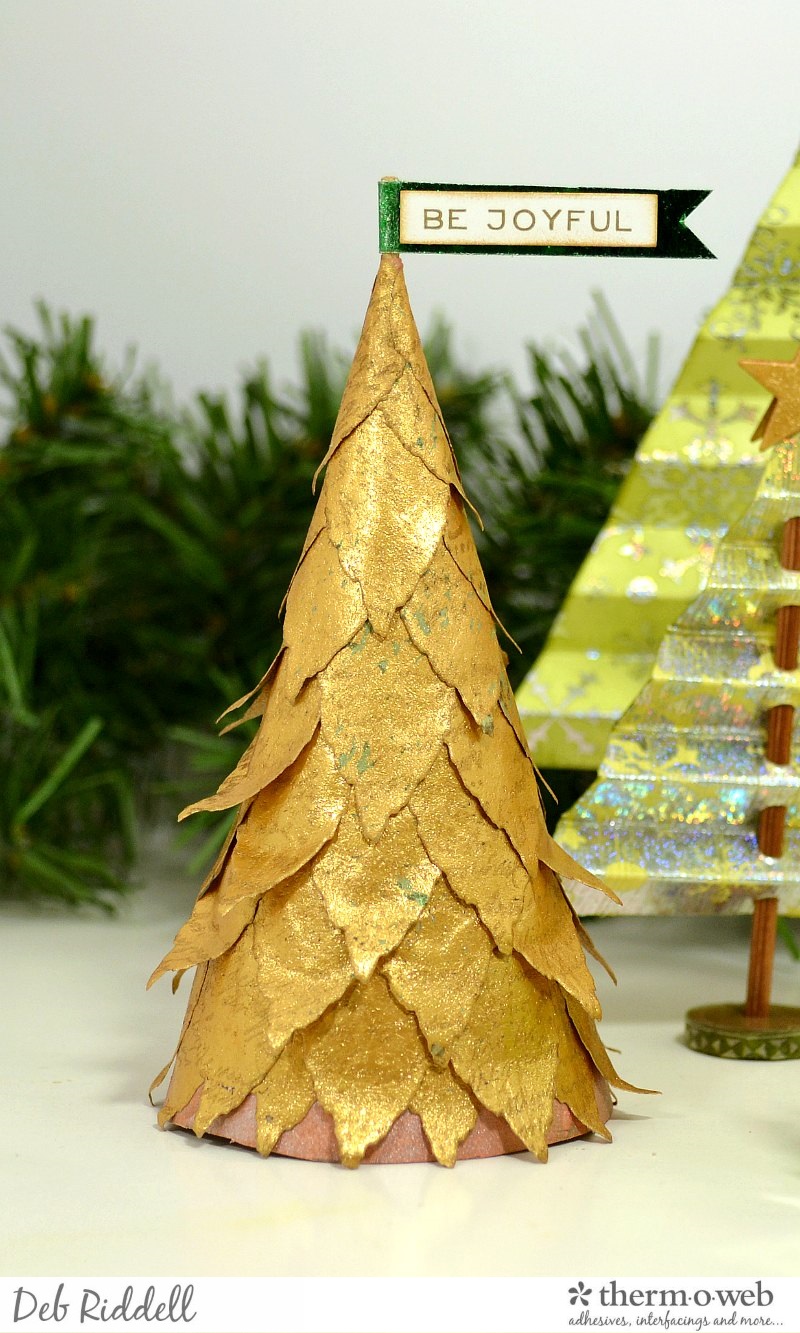
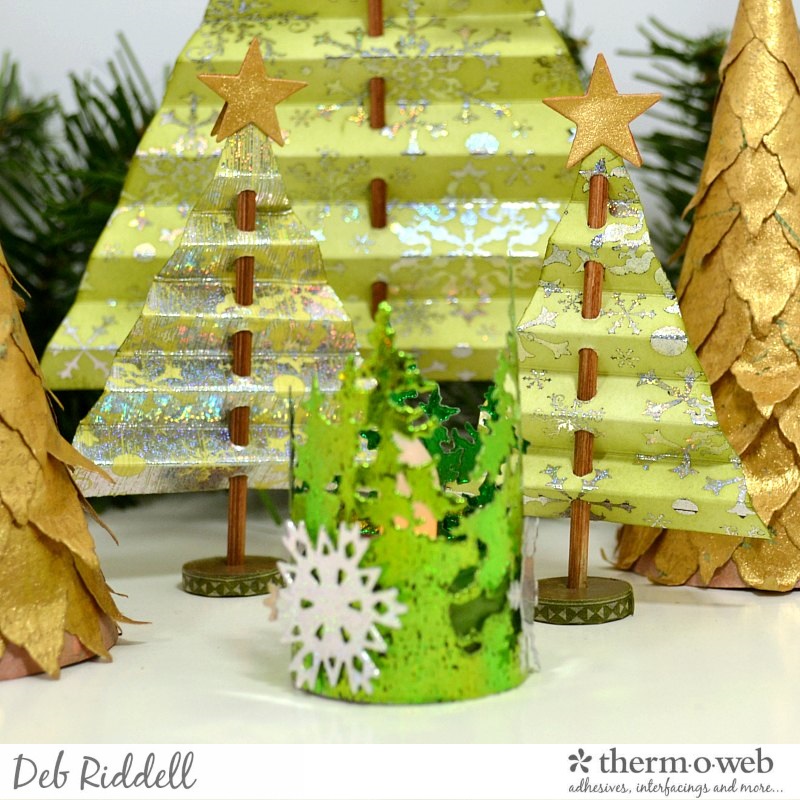
 I hope that you have enjoyed seeing how my Foiled Christmas Trees Mantel Decoration came together and that you've been inspired to get started on your own Christmas home decor projects, the holiday season will be here before we know it!
Thanks as always for stopping by today and happy creating!
Deb xo
I hope that you have enjoyed seeing how my Foiled Christmas Trees Mantel Decoration came together and that you've been inspired to get started on your own Christmas home decor projects, the holiday season will be here before we know it!
Thanks as always for stopping by today and happy creating!
Deb xo
