No Products in the Cart
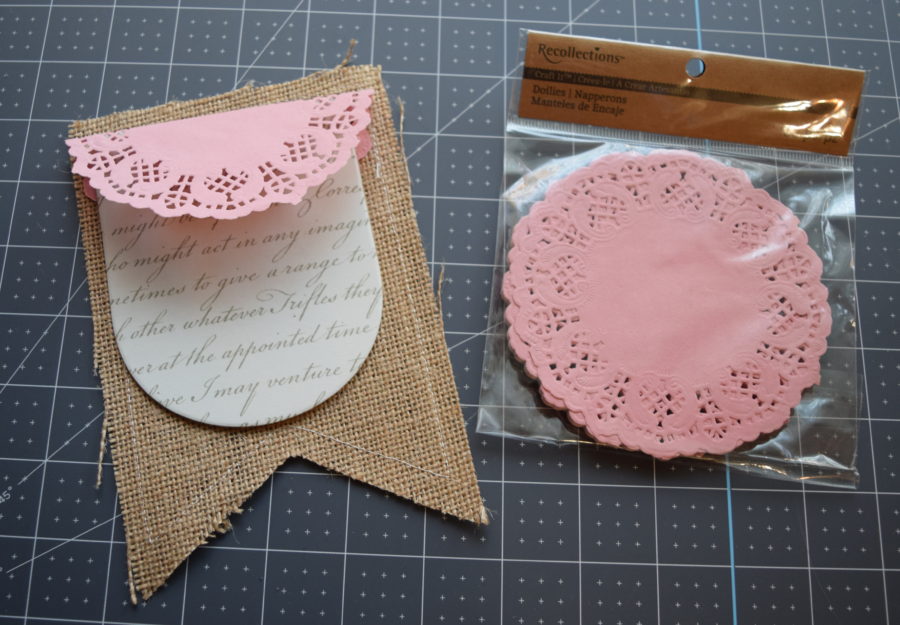
 Next I took some pink doilies and folded them over the cardstock and placed them over some burlap banner pieces I picked up at the dollar store some time ago. That's what is great about making banners. You can dig into your stash and find interesting things to make up your design.
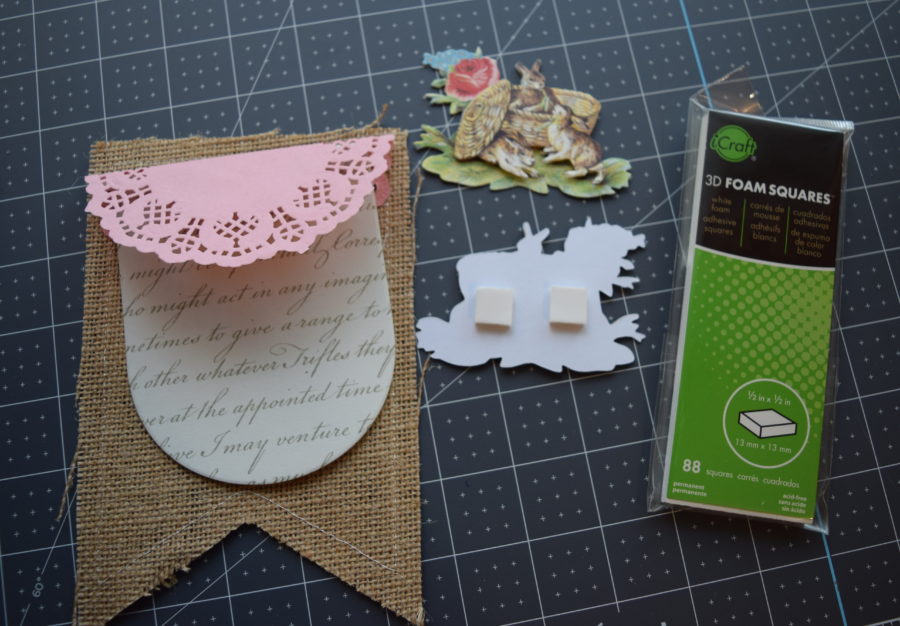
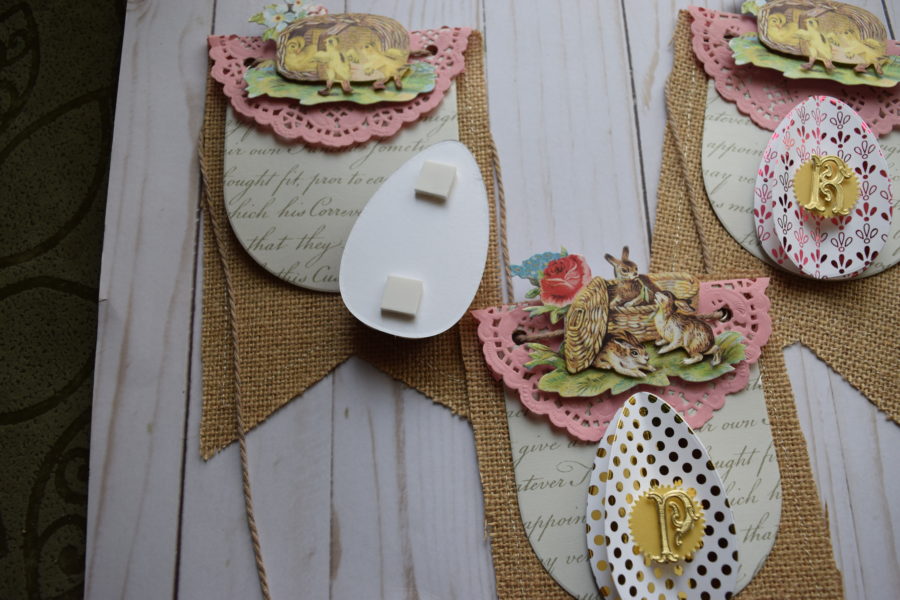
 Next, I attached the easter stickers onto the doilies using 3D foam squares.
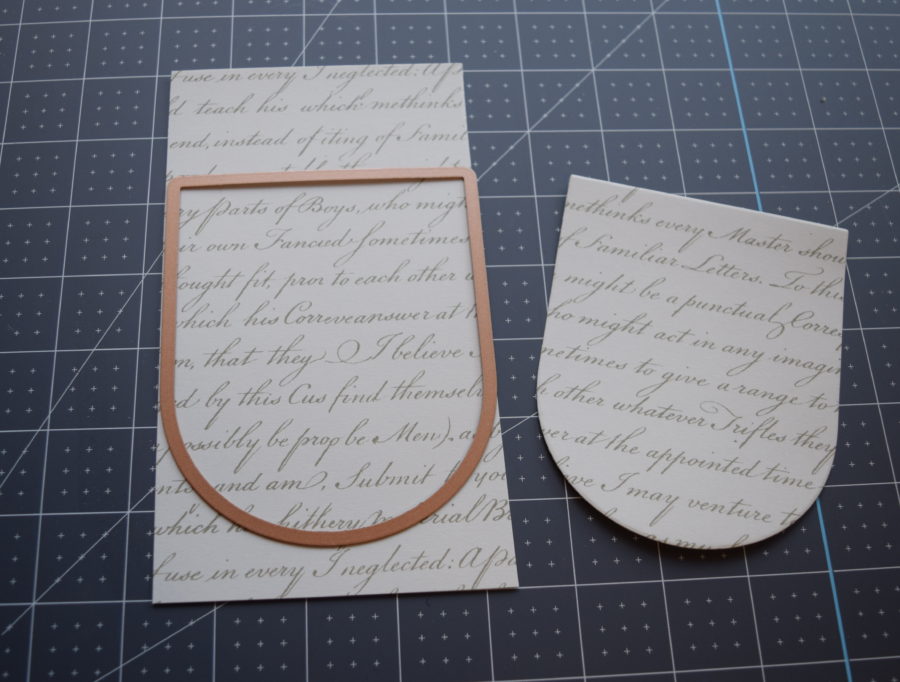
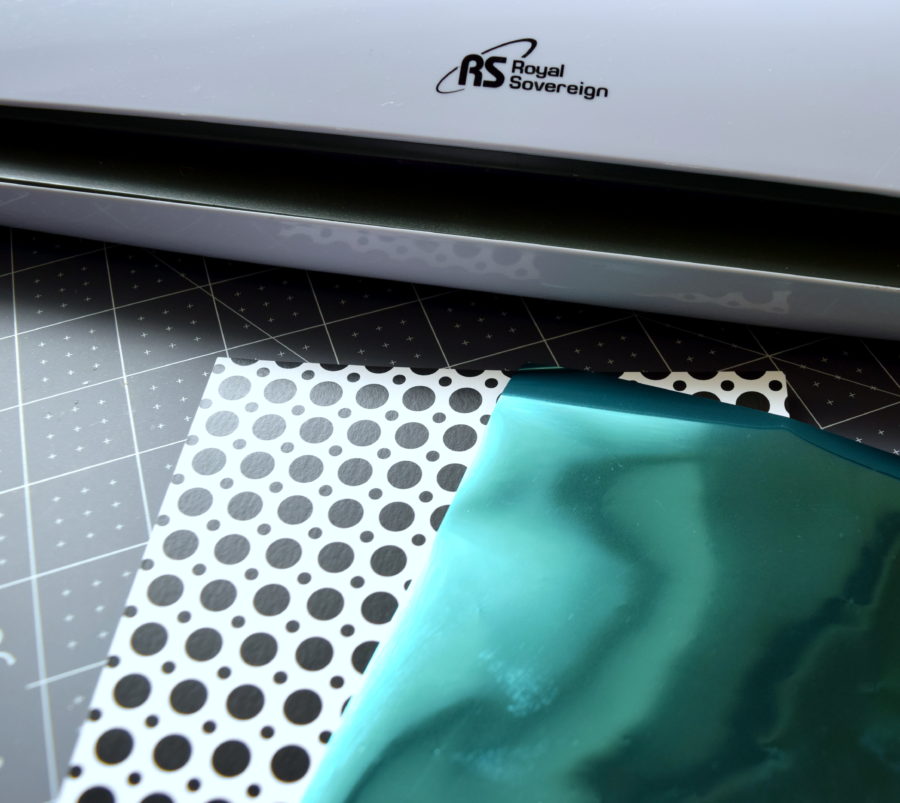
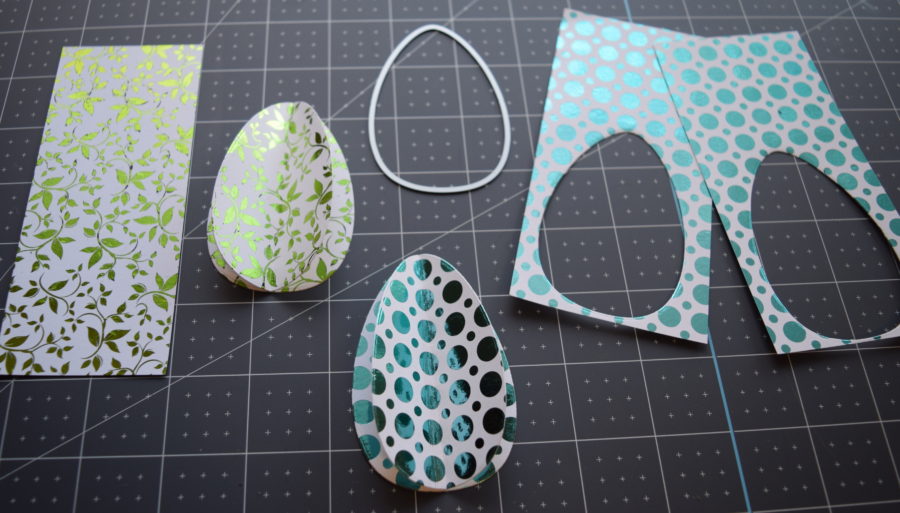
 Next, I used a variety of Foil-Mates designs from Gina K Designs and Deco Foil Transfer Sheets to make the easter eggs which would be the focal point of my banner. I cut 5 different designs with an Easter egg die from Lifestyle Crafts.
 I cut 5 different designs with an Easter egg die from Lifestyle Crafts.
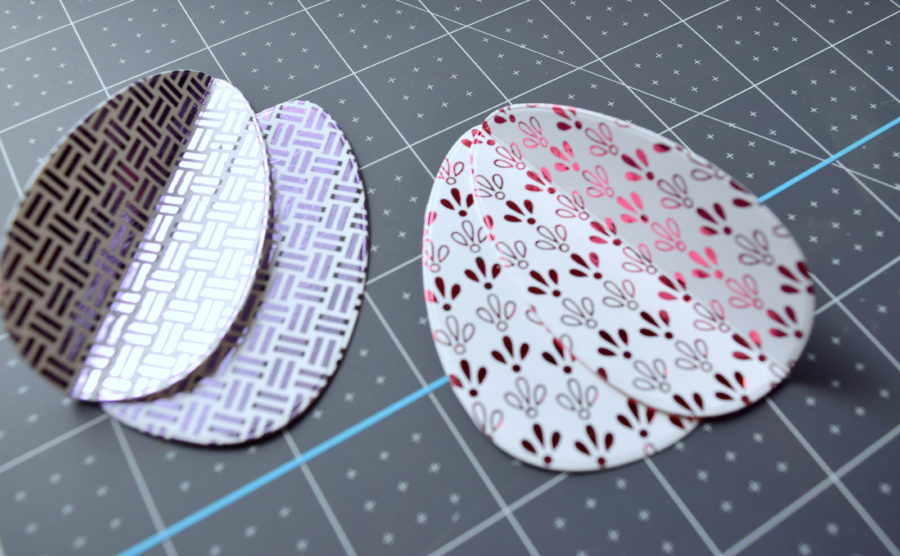
 In order to create the 3D look, I cut each design twice and then scored one of them down the middle and ran some hot glue down the seam to attach to the other die cut.
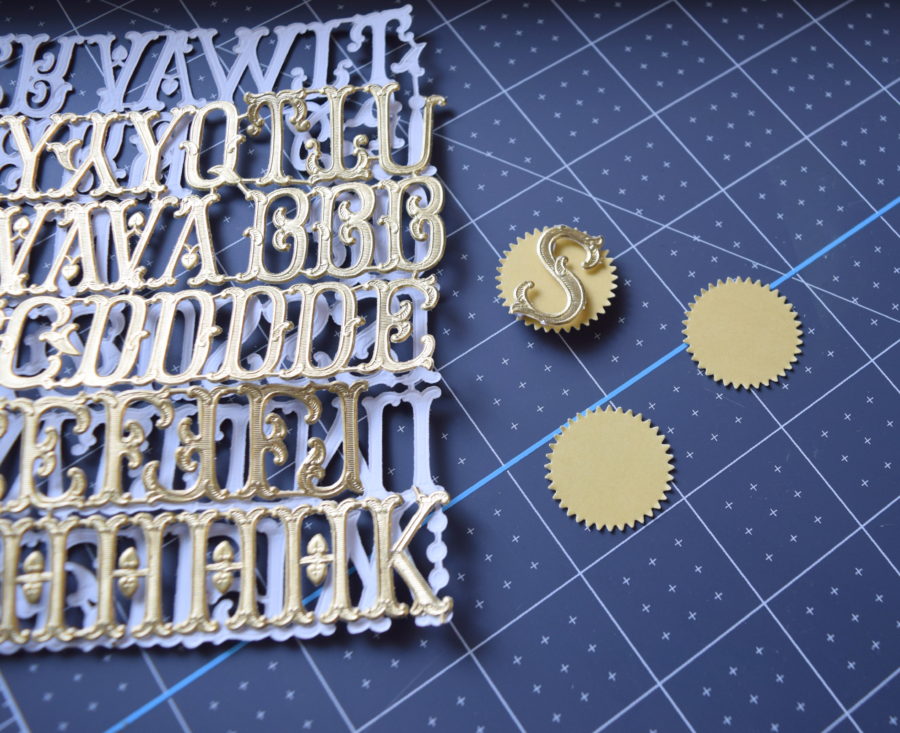
 I wanted to use some Dresden letters to spell out SPRING so to make them stand out, I used a medallion punch to mount them on.
 To attached the eggs to the banner, I used 3D foam squares as shown.
 I used the smaller 3D Foam Squares and doubled them to stick the letters in the center of the scored line of the eggs to make them look like they were floating in the center of the eggs.
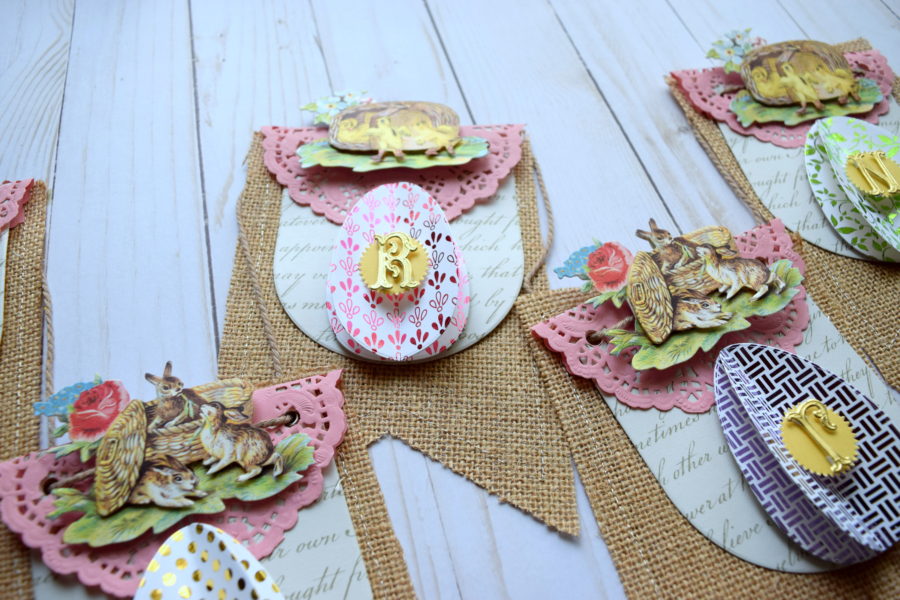
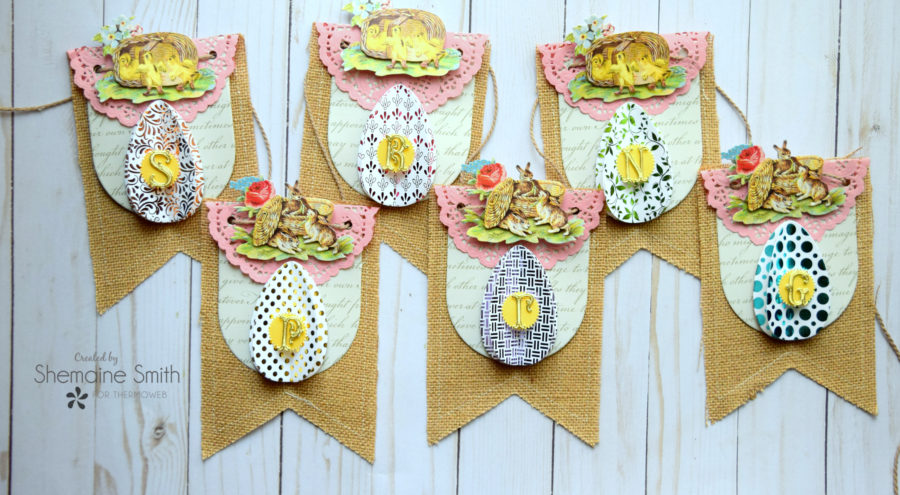
 Here's the finished look of the banner hanging.
 So fun and super easy to create! I hope you enjoyed today's project. Please share your Deco Foil and other Therm-O-Web projects with us on social media by tagging them #decofoil #ThermOWeb
Written by Shemaine Smith