No Products in the Cart
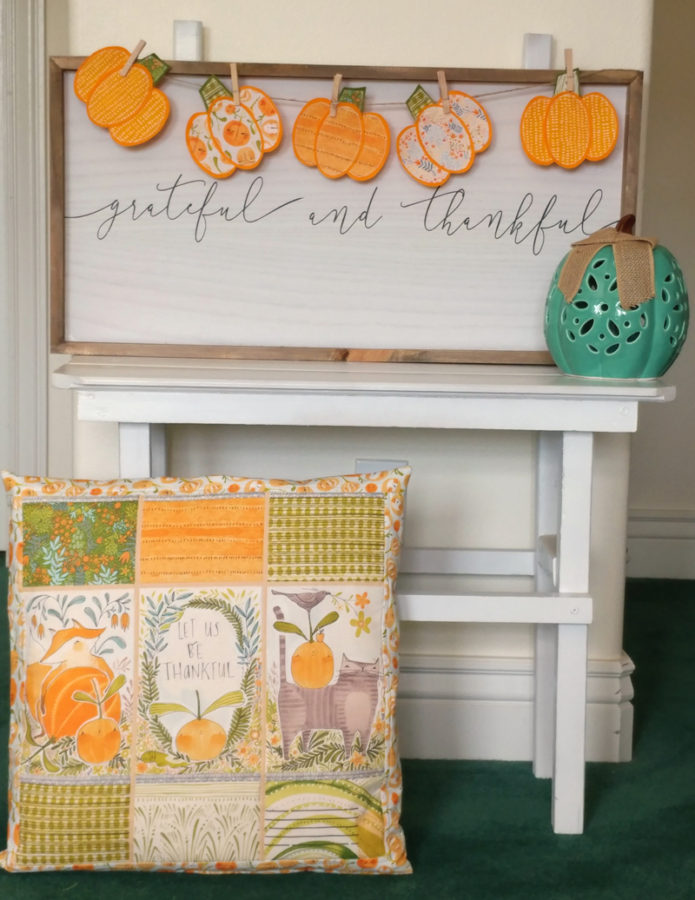 Felt Pumpkin Banner using HeatnBond Fusible Lite Adhesive
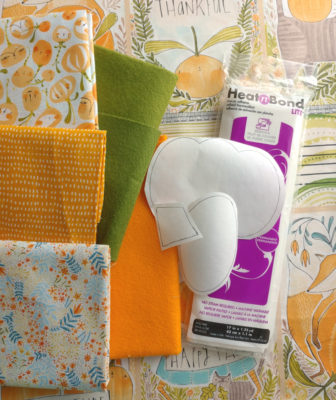
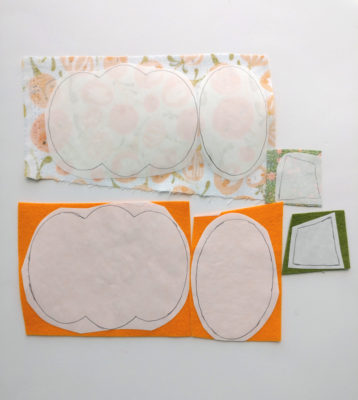 I have found that tracing the pattern onto freezer paper is the easiest way to cut shapes out of felt. I just use the regular old freezer paper from the grocery store, rip off a piece and trace the pattern onto the paper (not waxy) side. Then, I use a warm iron, with no steam to stick the freezer paper onto the felt. Once you have cut out the pieces, the freezer paper will peel right off the felt! So, to start making your banner, trace however many copies of pumpkins you want to make onto the paper side of the freezer paper and the paper side of your Heat n Bond Lite.
Follow the directions to fuse the HeatnBond Lite to the wrong side of the fabric. Use a medium iron to stick the freezer paper to your felt. Cut out all your pieces.
I have found that tracing the pattern onto freezer paper is the easiest way to cut shapes out of felt. I just use the regular old freezer paper from the grocery store, rip off a piece and trace the pattern onto the paper (not waxy) side. Then, I use a warm iron, with no steam to stick the freezer paper onto the felt. Once you have cut out the pieces, the freezer paper will peel right off the felt! So, to start making your banner, trace however many copies of pumpkins you want to make onto the paper side of the freezer paper and the paper side of your Heat n Bond Lite.
Follow the directions to fuse the HeatnBond Lite to the wrong side of the fabric. Use a medium iron to stick the freezer paper to your felt. Cut out all your pieces.
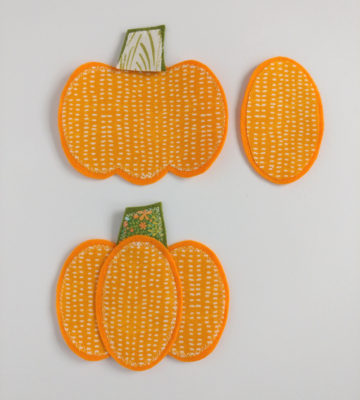 Remove the paper backing from the HeatnBond Lite (also remove the freezer paper from your felt) and fuse the fabric pieces to the felt pieces. Using a small zig-zag stitch, sew around the stem and the large pumpkin piece.
Center the middle pumpkin piece on top of the large pumpkin piece and again using the zig zag stitch, sew around the middle section of the pumpkin. Make sure the stem is low enough to be caught in the stitches around this section.
*If you are doing a no-sew version, once you fuse the fabric pieces to the felt pieces, you can use Fabric Fuse Liquid Adhesive to glue the stem and centerpieces in place
Remove the paper backing from the HeatnBond Lite (also remove the freezer paper from your felt) and fuse the fabric pieces to the felt pieces. Using a small zig-zag stitch, sew around the stem and the large pumpkin piece.
Center the middle pumpkin piece on top of the large pumpkin piece and again using the zig zag stitch, sew around the middle section of the pumpkin. Make sure the stem is low enough to be caught in the stitches around this section.
*If you are doing a no-sew version, once you fuse the fabric pieces to the felt pieces, you can use Fabric Fuse Liquid Adhesive to glue the stem and centerpieces in place
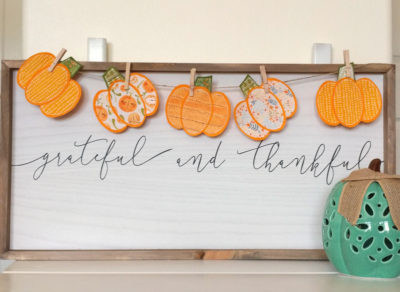
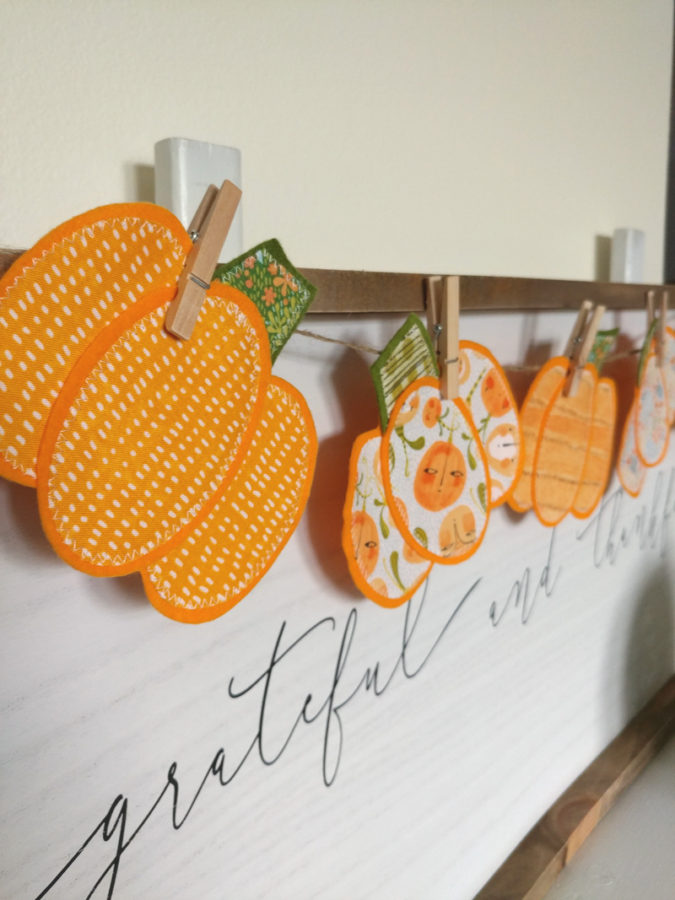 Repeat for as many pumpkins as you want and you are done! I used some jute and clothespins to make my banner, but you could attach the pumpkins to ribbon, add hangars to make ornaments or sew them onto a pillow for a fun decorative piece. The options are endless!
 Have fun making these little cuties!
xoxo,
Amy
Have fun making these little cuties!
xoxo,
Amy