Fabric Windsock Tutorial with Craft Interfacing

by Thermoweb on June 11, 2020
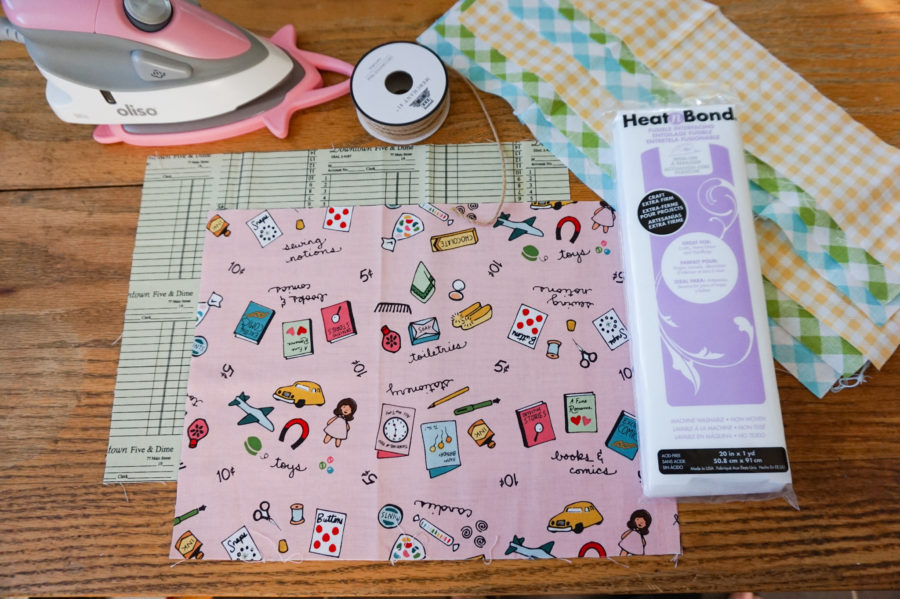
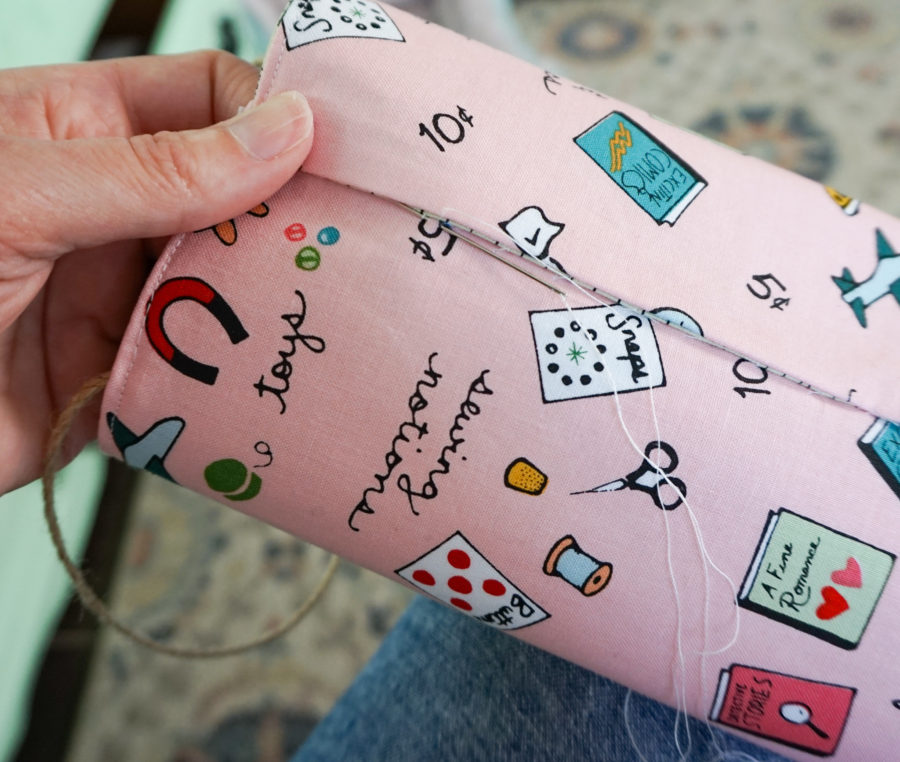
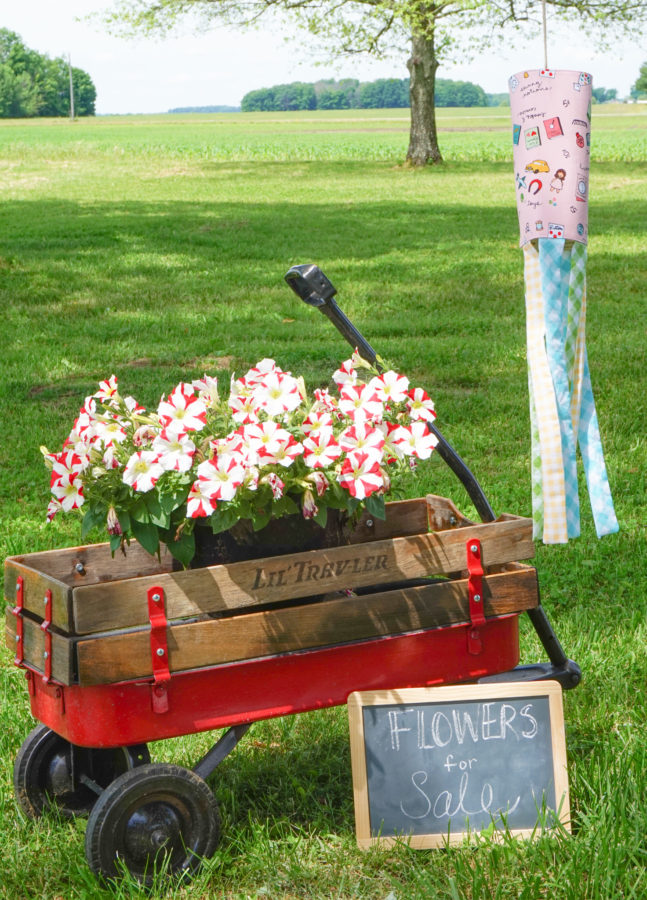
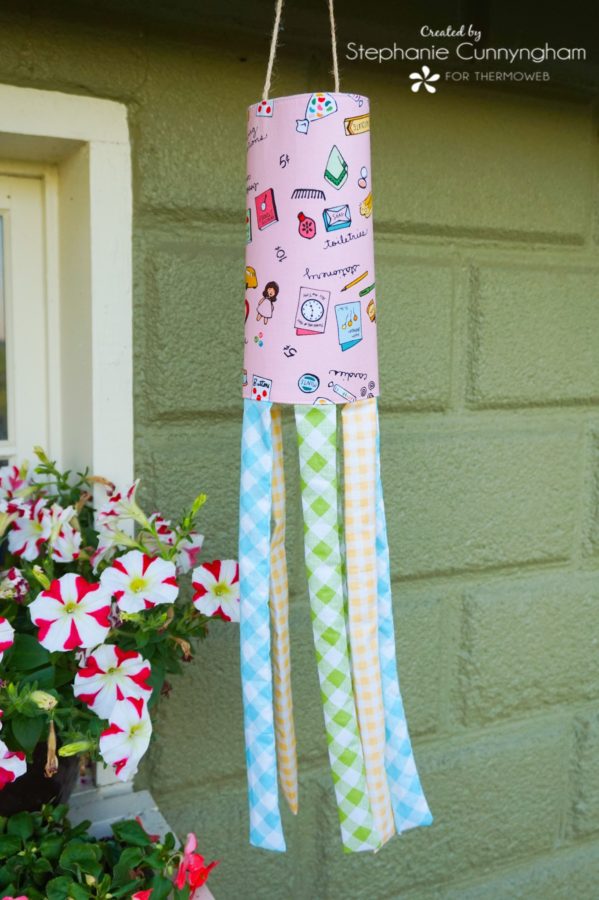
Hello, and happy Spring! This time of year I am enjoying being outside and being in my garden. Last month my four year old made a windsock out of paper for a preschool project. While helping him, I kept thinking about how cute it would be to make one out of fabric. So, I created a pattern and today I am sharing it with you! I love the whimsy it adds to my garden, and I know you will too!

Windsock Supplies Needed

  • Two 9" x 12" fabric rectangles
  • Two 9" x 12" rectangles of HeatnBond Craft Extra Firm fusible interfacing
  • Six 3" x 14" rectangles of fabric
  • 20" piece of ribbon, cording, or fabric
  • A good iron and basic sewing supplies

Windsock Sewing Instructions

  • Fuse the interfacing to the back of each of the 9" x 12" fabric rectangles.
  • Measure 4" from the short edges of the front fabric rectangle. Baste the ribbon or cord you will use to hang the windsock in place at these marks.
  • With right sides together sew the 9" x 12" fabric rectangles along three sides (the sides and top). Leave the bottom open.
  • Turn rectangles right side out and press the bottom seam under 1/4".
  • To make the fabric ribbons, fold the long fabric strips in half with right sides together. Sew along the long edge and the bottom edge.
  • Turn strips right side out through the top opening and press.
  • Insert the raw edge of the fabric strips into the open edge of the fabric rectangles and pin in place.
  • Sew along open edge.
  • Fold the rectangle to make a tube, overlapping edges by about 1/4" and hand sew in place.
  • Hang up your windsock and enjoy!!
LEAVE A COMMENT

Please note, comments must be approved before they are published


BACK TO TOP