No Products in the Cart
 These fabric Christmas ornaments are so fun to create. Once you find the right fabrics, they go together in a snap.
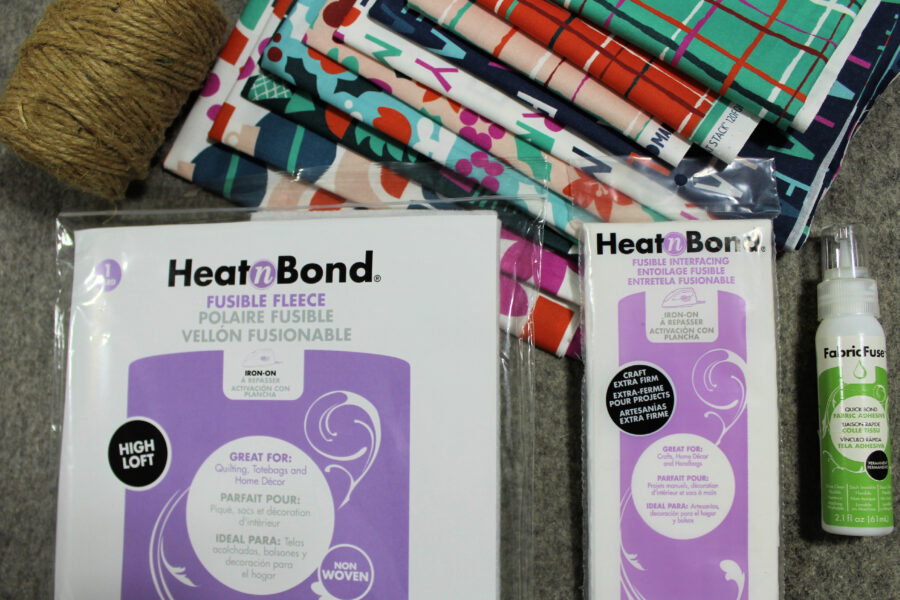 HeatnBond Fusible Fleece
HeatnBond Craft Extra Firm Fusible Interfacing
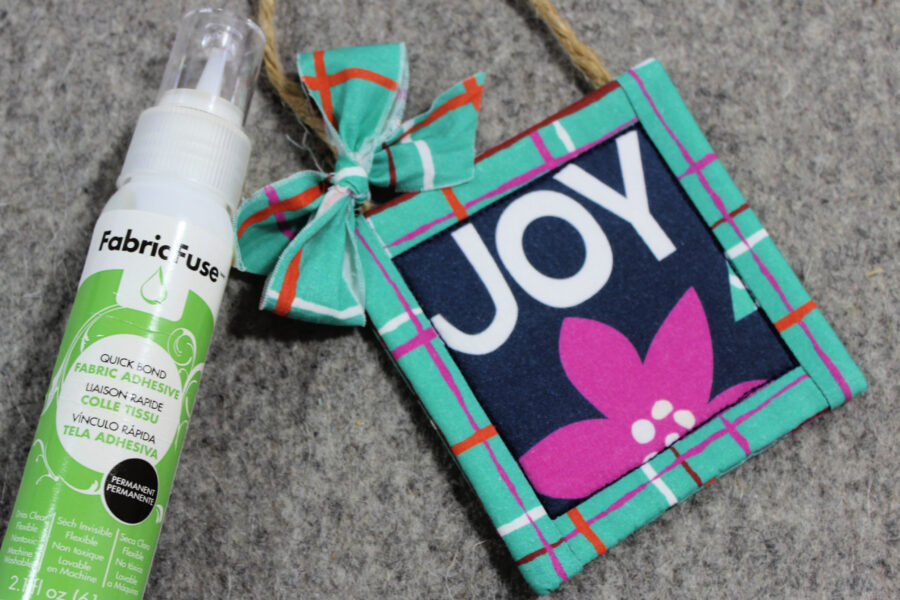
Fabric Fuse Liquid Adhesive
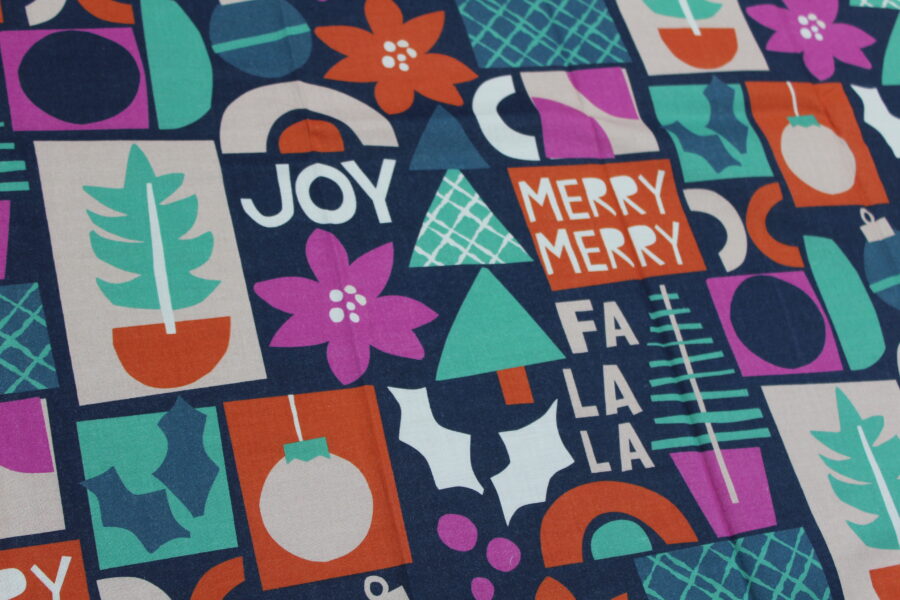
Fabric: Assorted Christmas fabrics (1 Flat Fat Stack of PBS Handmade Holiday)
Other supplies: Iron (I love my Oliso Pro), rotary cutter, mat, and ruler, sewing machine, sharp scissors, a chopstick for pushing out corners, narrow ribbon or string for hanging the ornament, and other basic sewing supplies.
HeatnBond Fusible Fleece
HeatnBond Craft Extra Firm Fusible Interfacing
Fabric Fuse Liquid Adhesive
Fabric: Assorted Christmas fabrics (1 Flat Fat Stack of PBS Handmade Holiday)
Other supplies: Iron (I love my Oliso Pro), rotary cutter, mat, and ruler, sewing machine, sharp scissors, a chopstick for pushing out corners, narrow ribbon or string for hanging the ornament, and other basic sewing supplies.
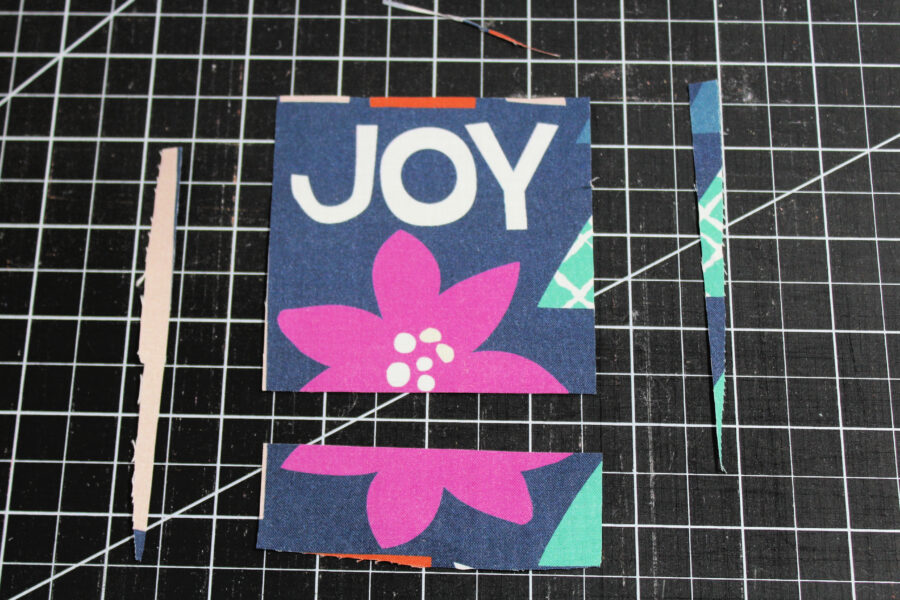
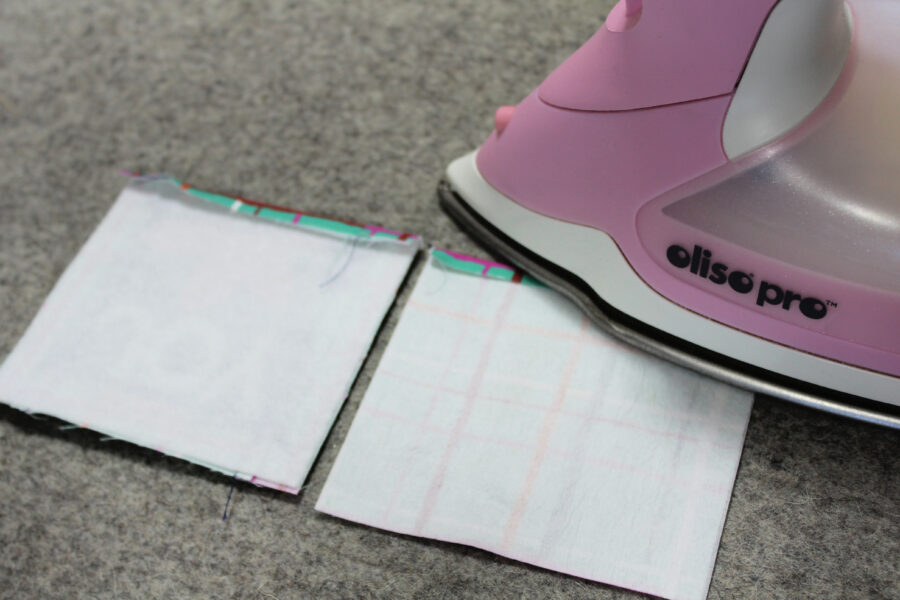
 Next, trim and square the design with a ruler. The size does not matter, just allow enough extra fabric around the design for 1/4" seams. The measurement for this one is 3 1/4" square.
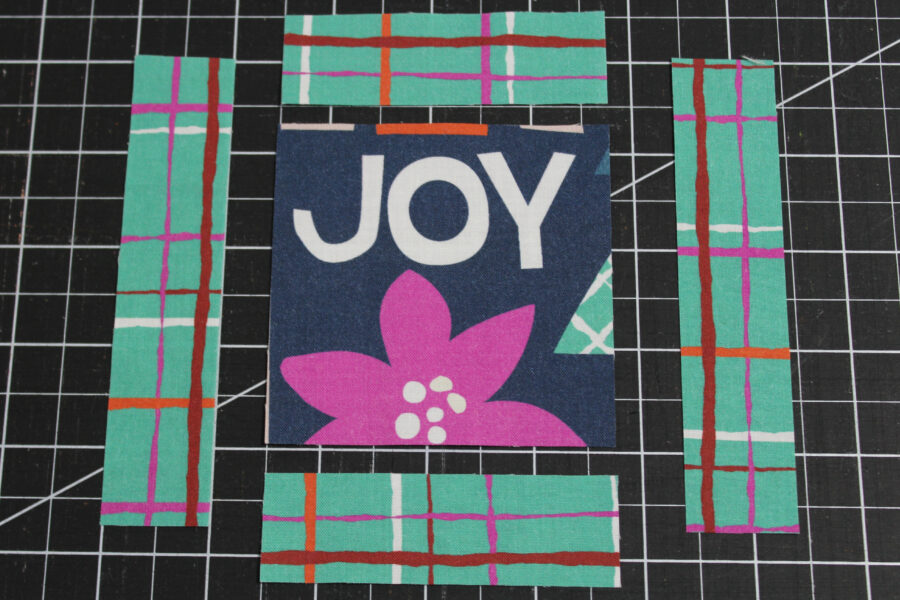
 The next step is to cut borders for the design. The borders are 1" wide. Cut the top and bottom borders 3 1/4" long. Cut the side borders 4 1/4" long.
 Stitch the borders to the center with 1/4" seams and press.
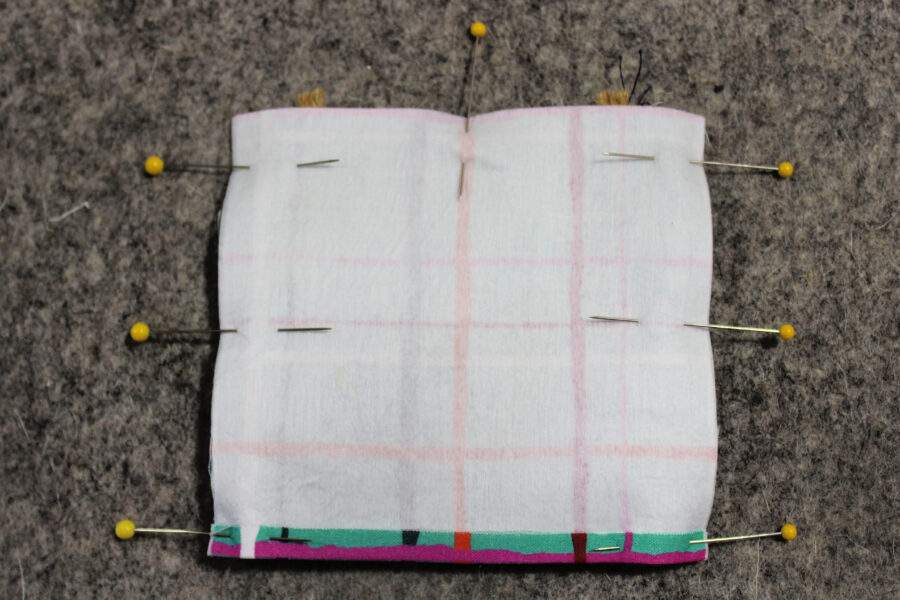
 Now, pin the front of the ornament and the backing right sides together, sandwiching the hanger string and matching the folds at the bottom.
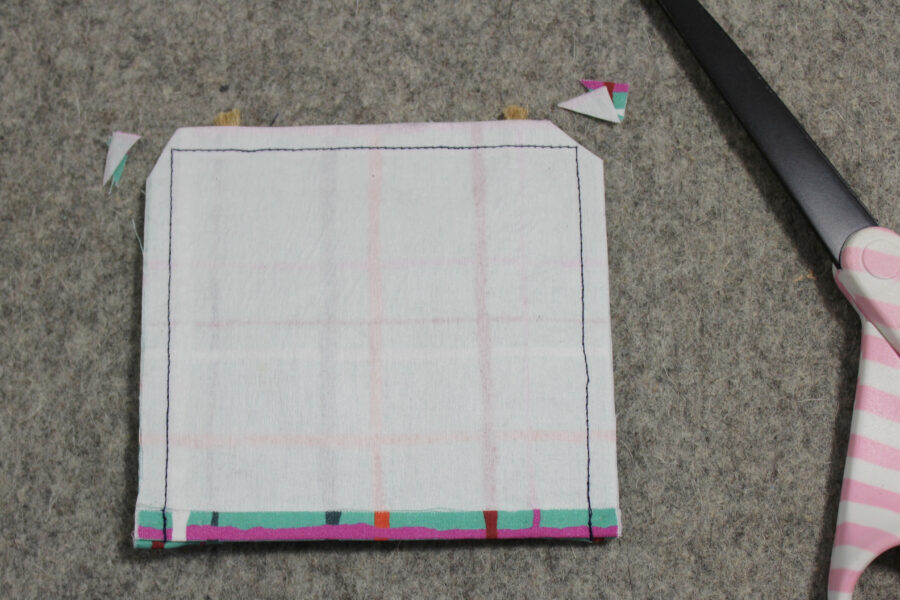
 Stitch around 3 sides of the ornament 1/4" from the edge. Be sure to backstitch at the begging and end. Do not stitch the folded edge. Clip the corners away.
 Turn the ornament right side out, push out the corners, and press. Hand stitch the opening (where the edges are folded) closed. Quilt as desired. This one is stitched in the ditch of the border. Here is a picture of quilting around the design too.
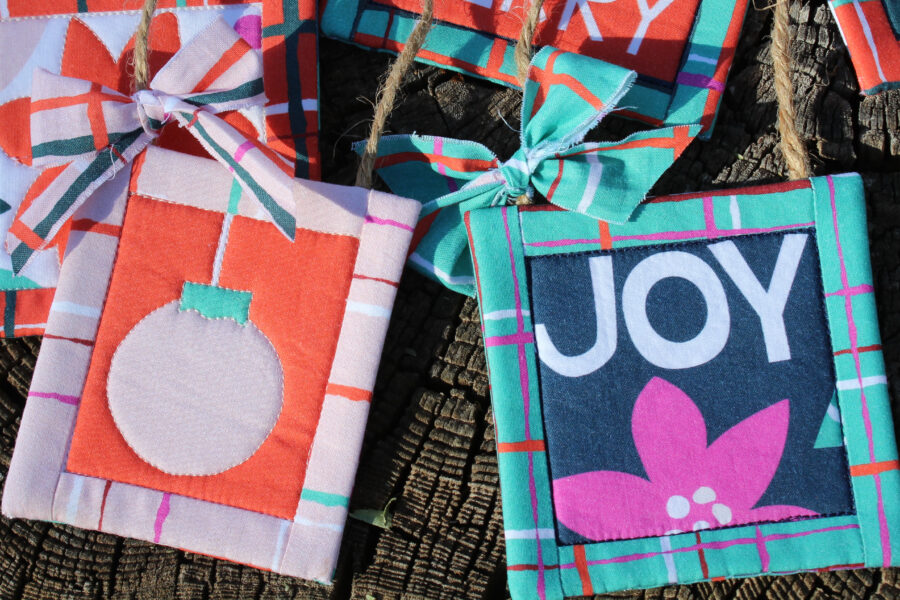
 Have fun creating lots of Fabric Mini Quilt Christmas Ornaments! They are great for practicing quilting skills.