No Products in the Cart
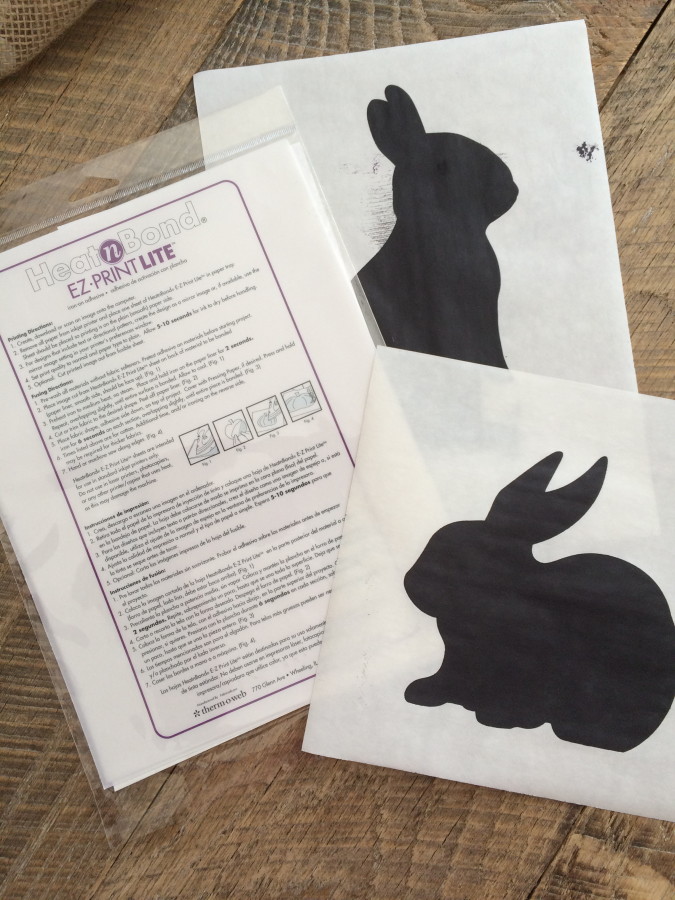 Begin by printing the applique images on the HeatnBond® EZ print sheets. These are so fast and easy to use. Simply put the sheets in your printer, select a higher quality of print and you're done!
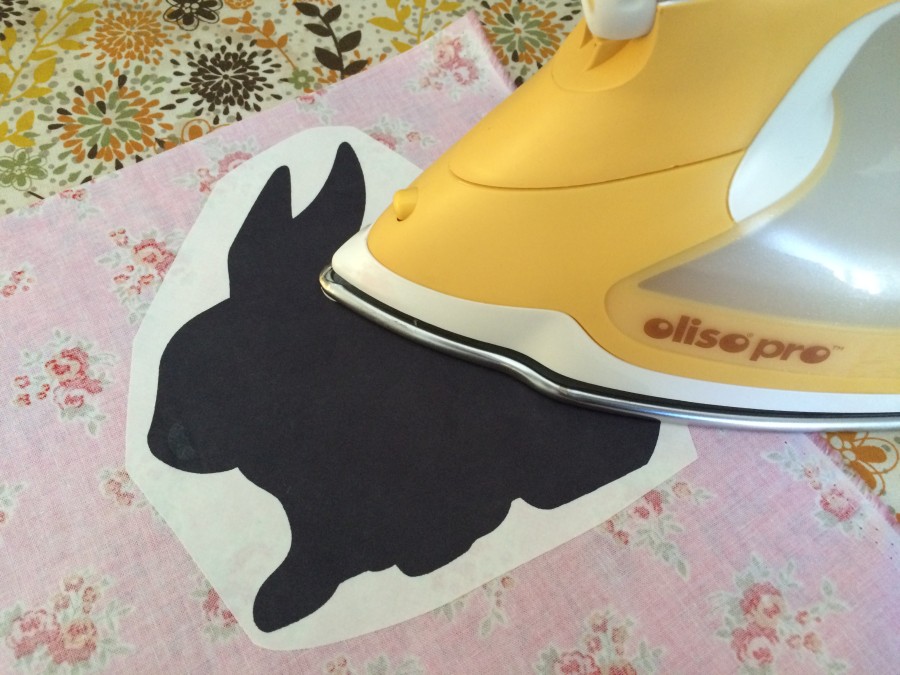 Roughly cut around each image and using a hot dry iron press the images onto the wrong side of the fabric! I just got his new Oliso Pro iron and I'm loving it!! Do this with each of the 5 applique pieces.
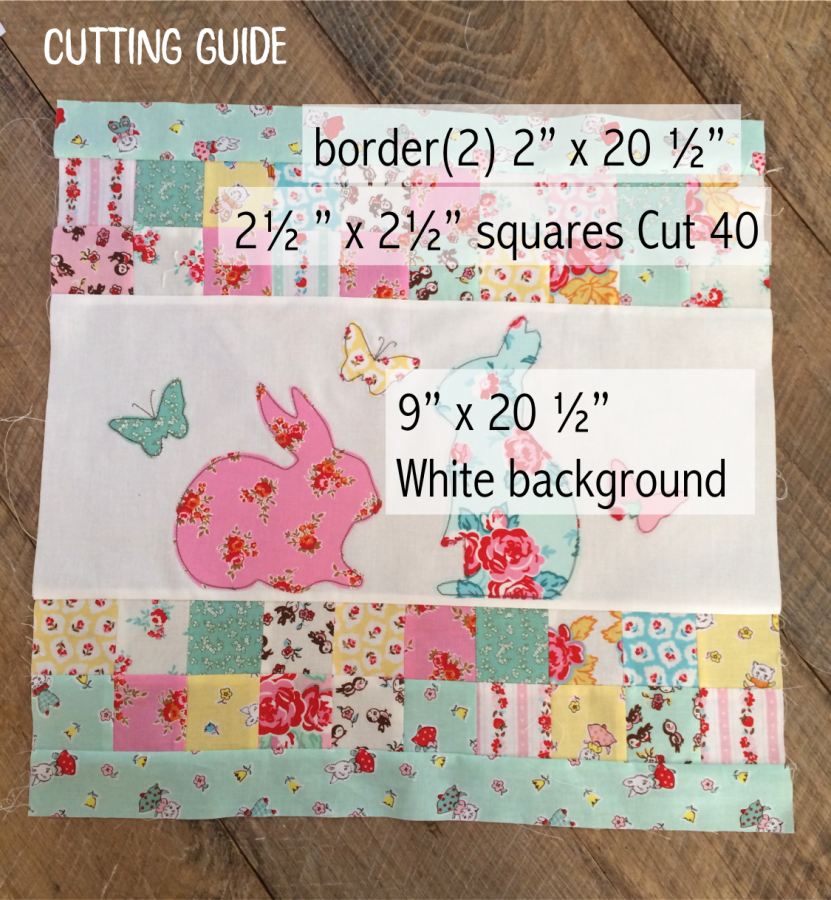 I am a visual learner so I like my cutting guides to be like a chart. Cut the fabrics according to the measurements above.
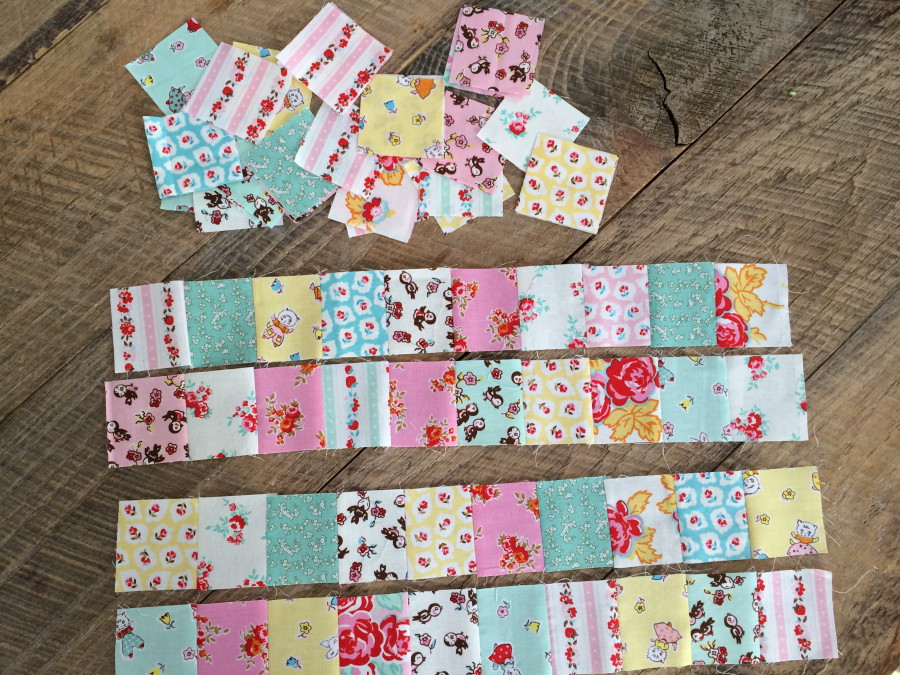 (1/4" seams throughout ) Sew the 2.5" squares into 4 rows of 10 squares. Press seams in alternating directions for each row. I didn't lay mine out, they are totally random. Sew 2 rows together, matching at seam intersections. This will give you 2 pieced borders.
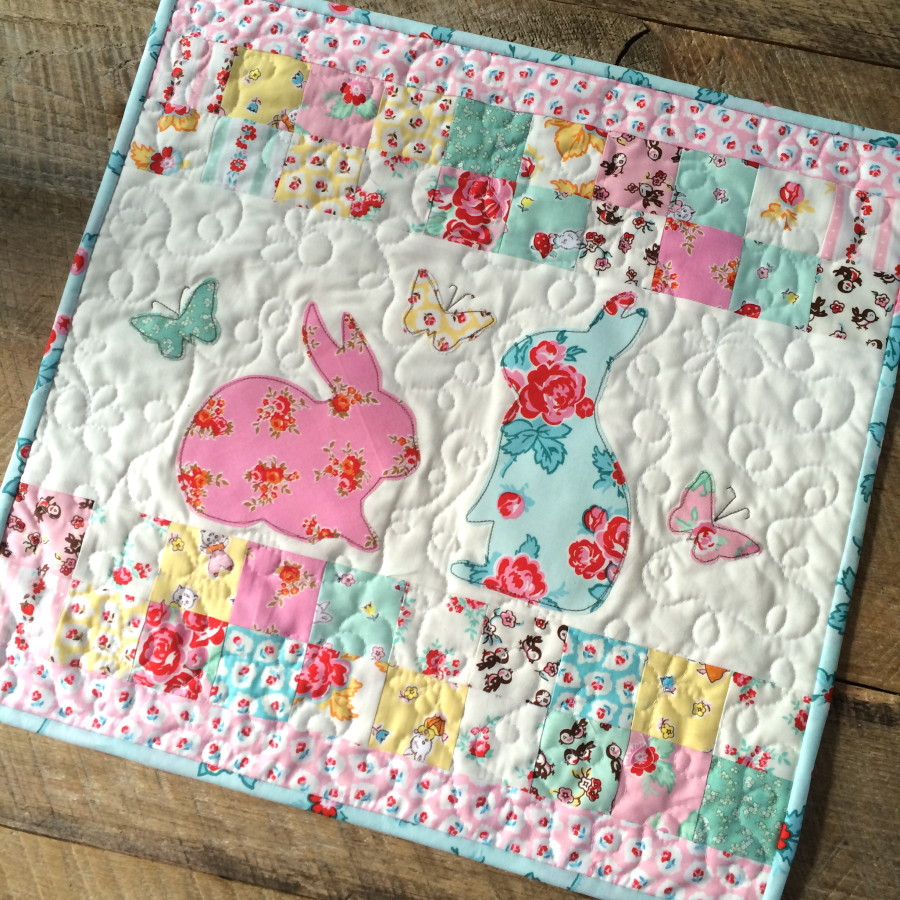
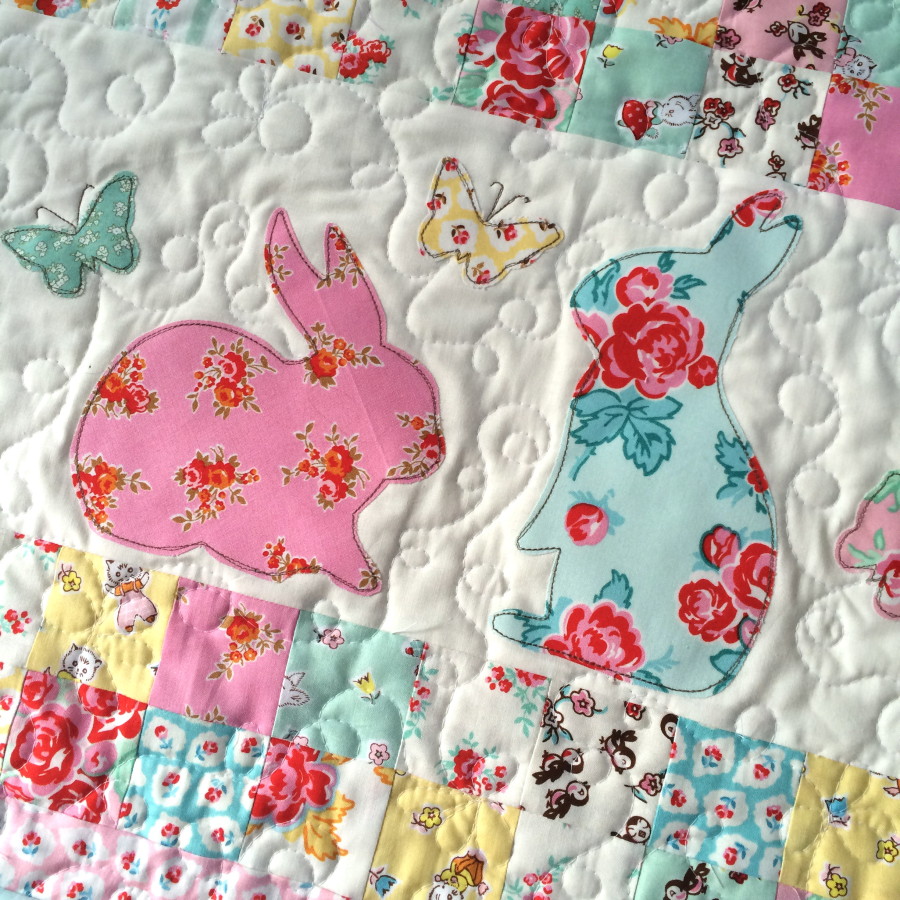
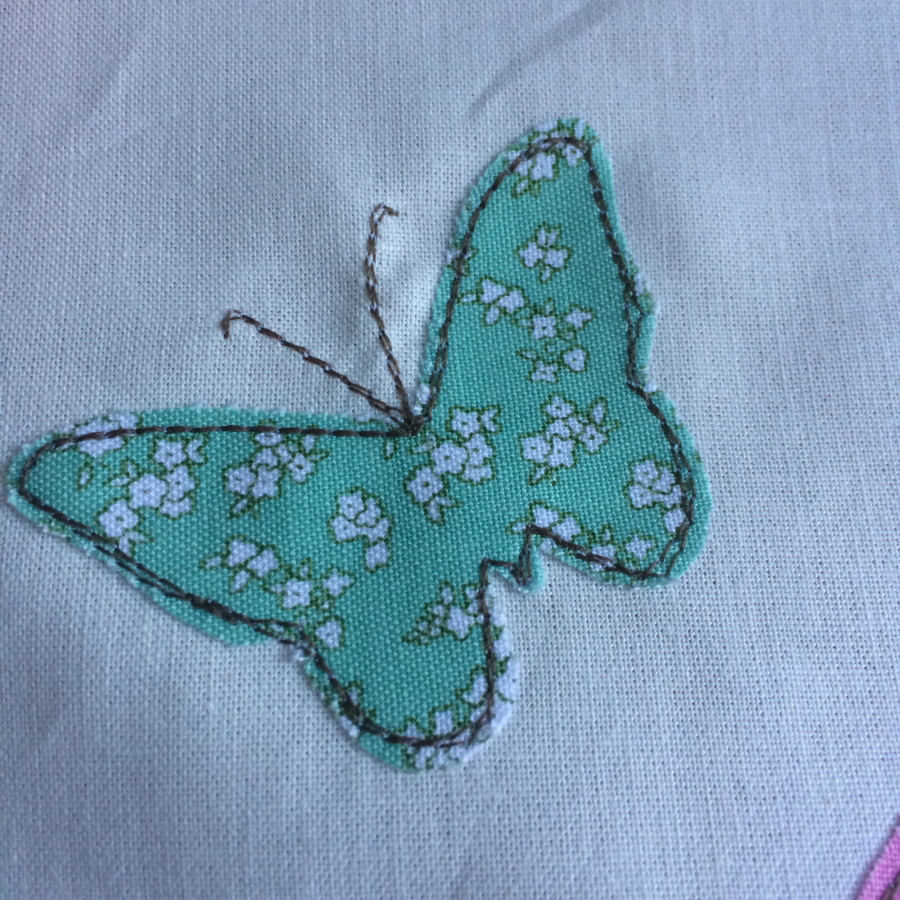 Cut out each applique piece along the pattern line and peel off the backing paper. Position the rabbits and butterflies as desired. Fuse with a hot iron. Sew around each applique piece with accent thread. I sewed 2 times around each. Sew antennas for each of the butterflies.
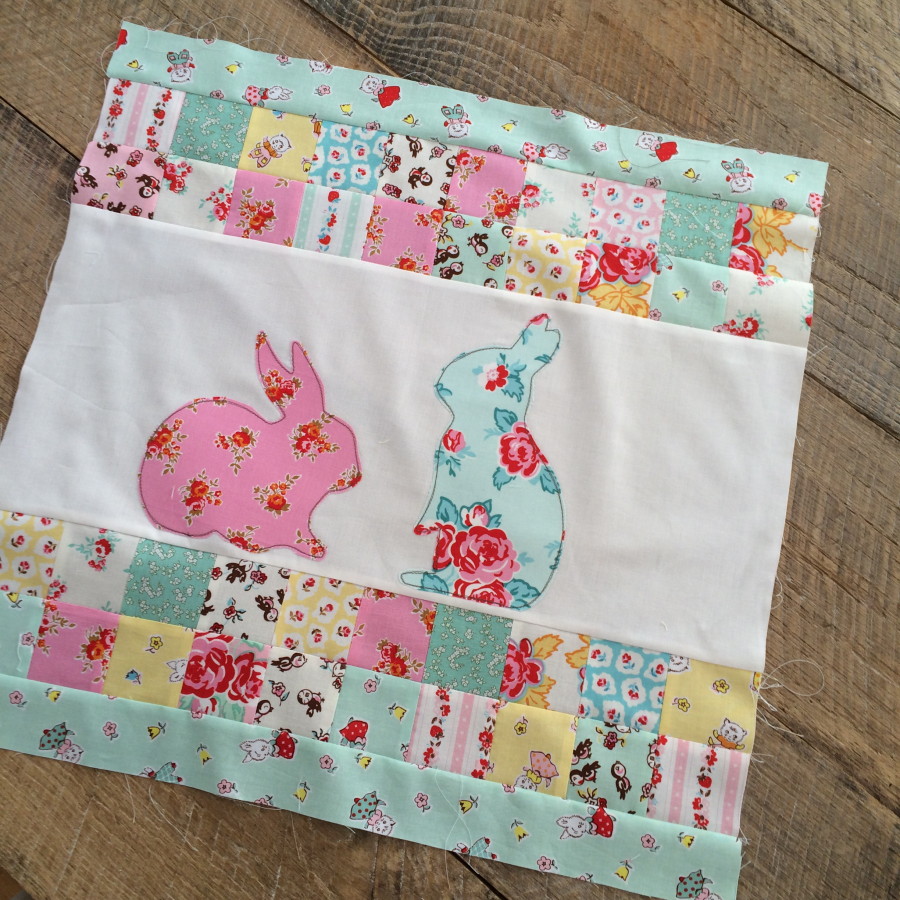 Sew each of the strips together in the above order. Press seams.
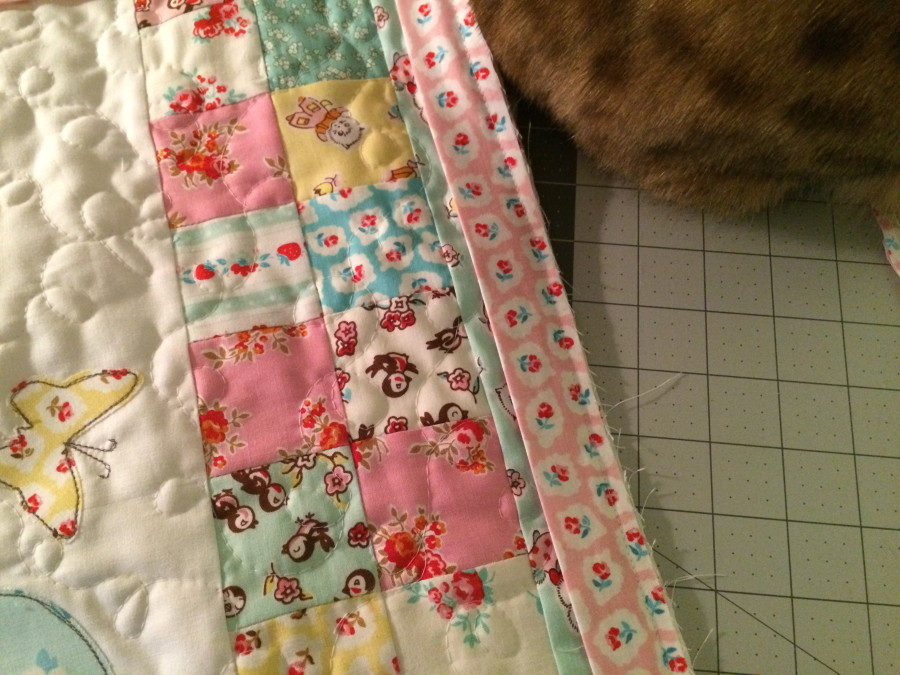
Time for quilting! Using Spray n Bond® Basting Spray, baste the quilt top to the cotton batting and then to a back. This method is the same for the quilt and the pillow. Quilt as desired.
Sew each of the strips together in the above order. Press seams.
Time for quilting! Using Spray n Bond® Basting Spray, baste the quilt top to the cotton batting and then to a back. This method is the same for the quilt and the pillow. Quilt as desired.
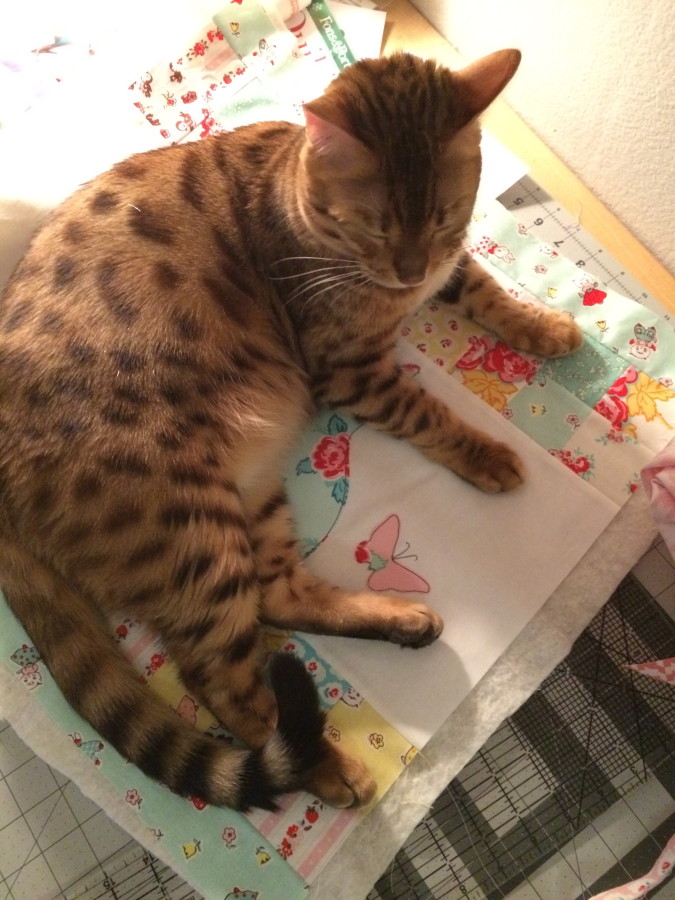 The cat basting method doesn't work very well!
 Once the quilting is finished, square up any uneven sides. The quilt should measure between 20" square and 20 1/2" square. If you do a lot of quilting it will shrink slightly.
If you are making the mini quilt, simply bind and you are finished!
Follow the next instructions for the pillow back.
Once the quilting is finished, square up any uneven sides. The quilt should measure between 20" square and 20 1/2" square. If you do a lot of quilting it will shrink slightly.
If you are making the mini quilt, simply bind and you are finished!
Follow the next instructions for the pillow back.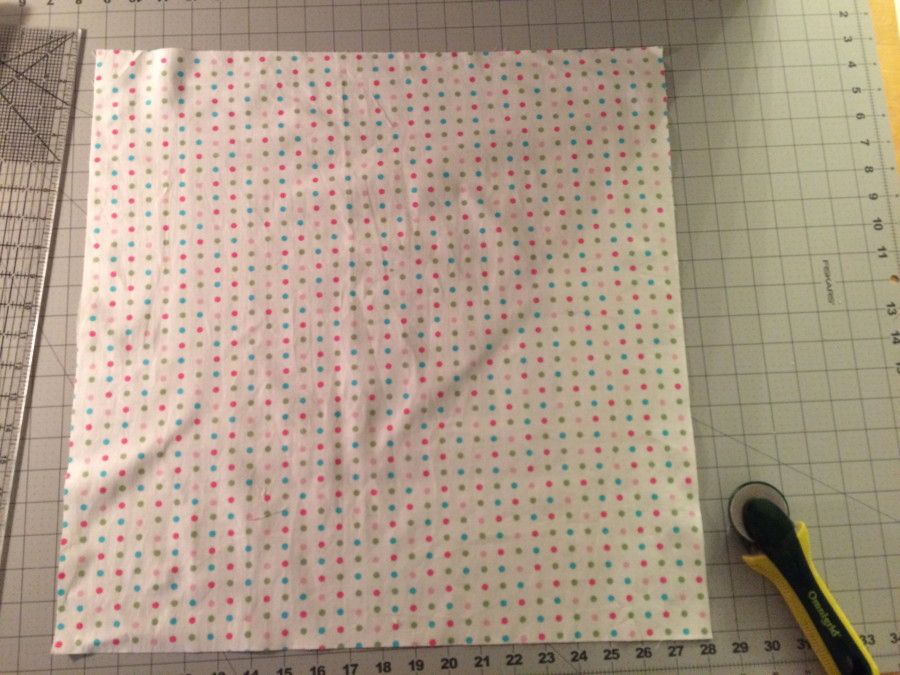 Cut the pillow back 20" x 20"
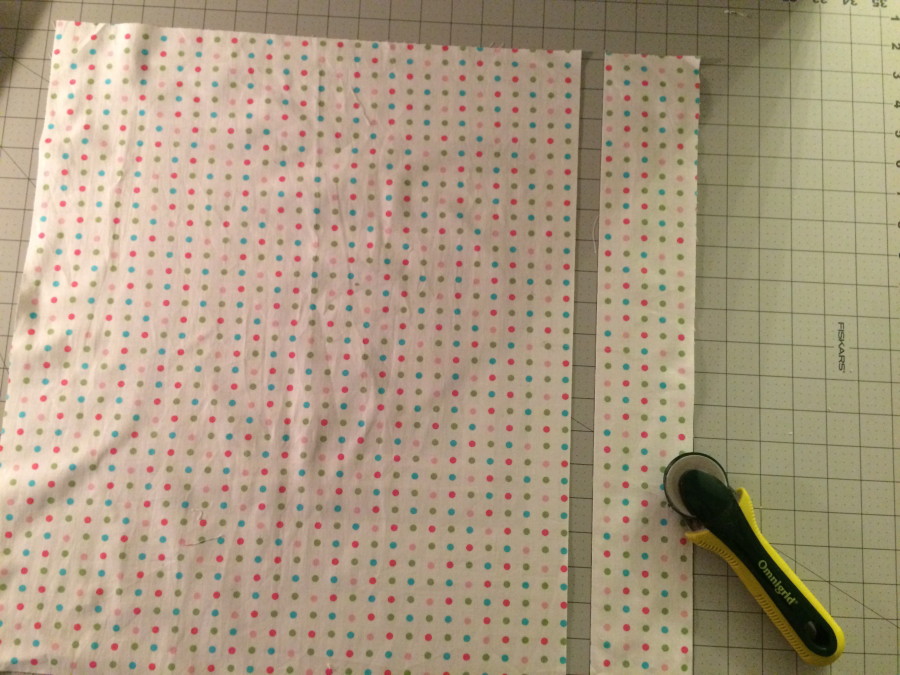 Sub cut this piece at 3" (above).
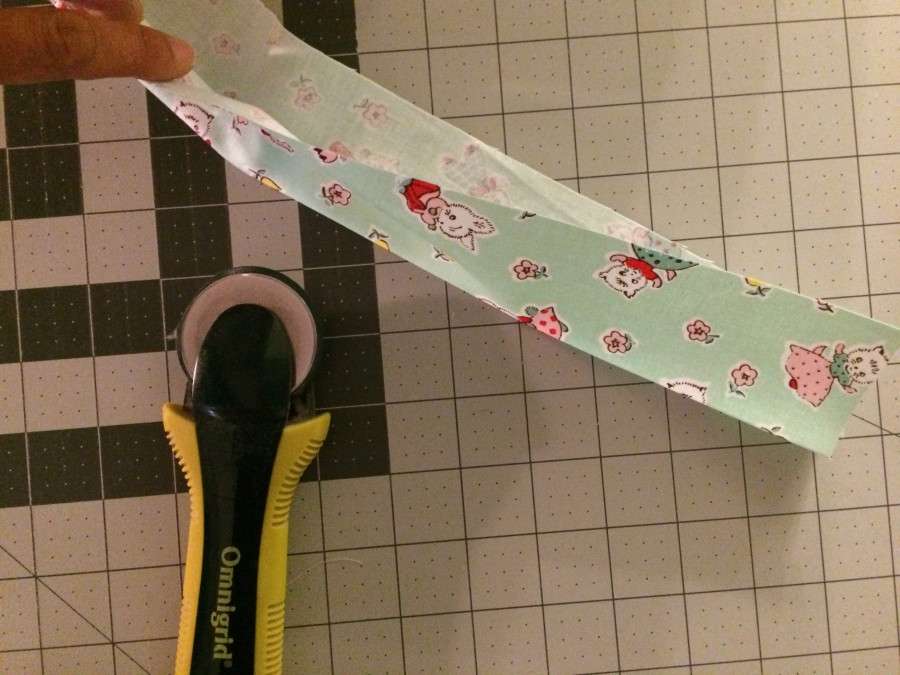 Cut the zipper flap 4" x 20" and press in half lengthwise.
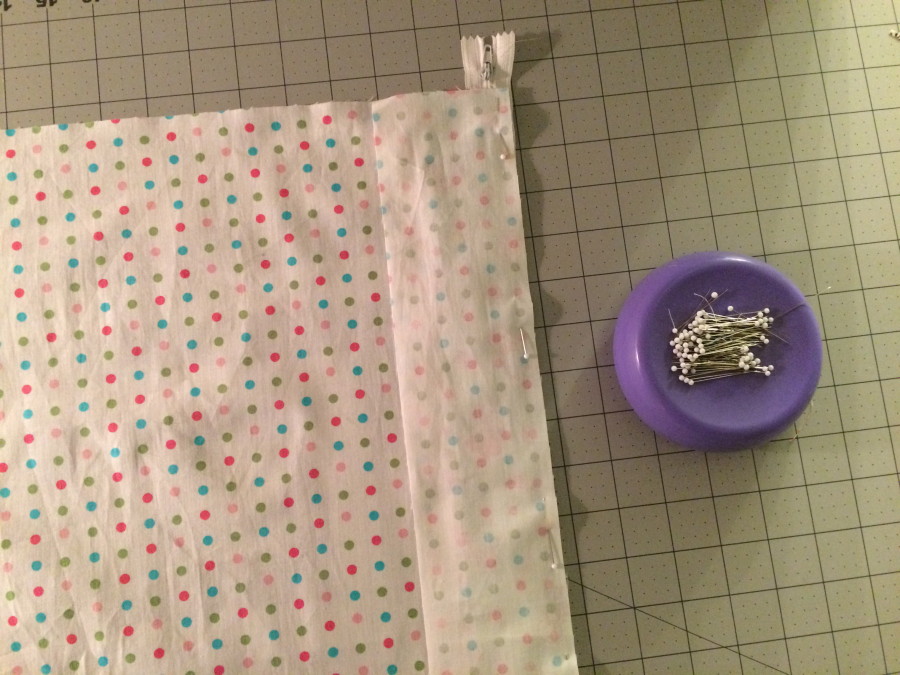
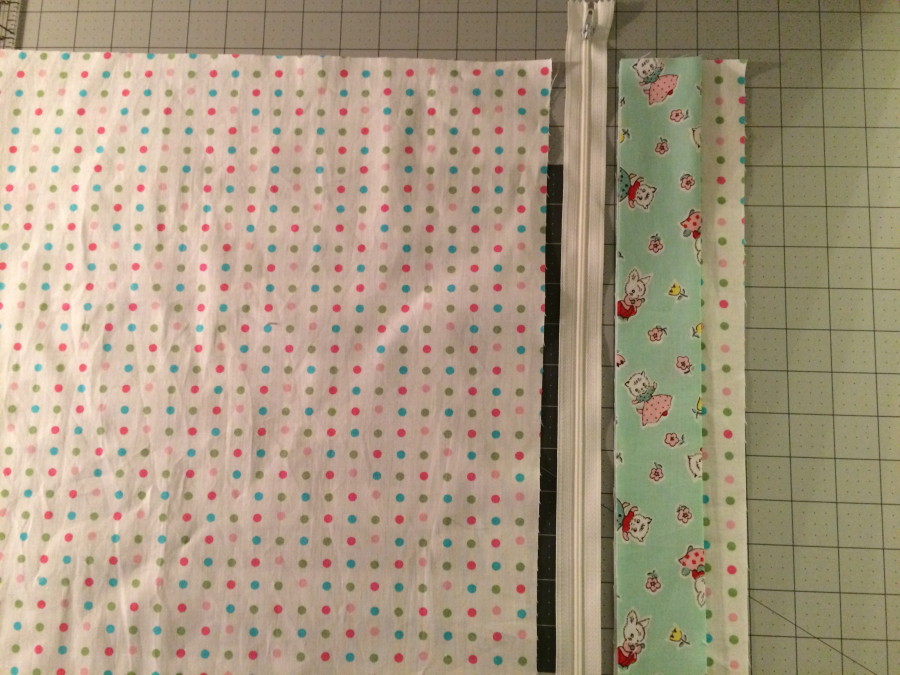 Lay each of the pieces out as pictured above, with the zipper flap and the 3" strip aligned with the raw edges facing the zipper.
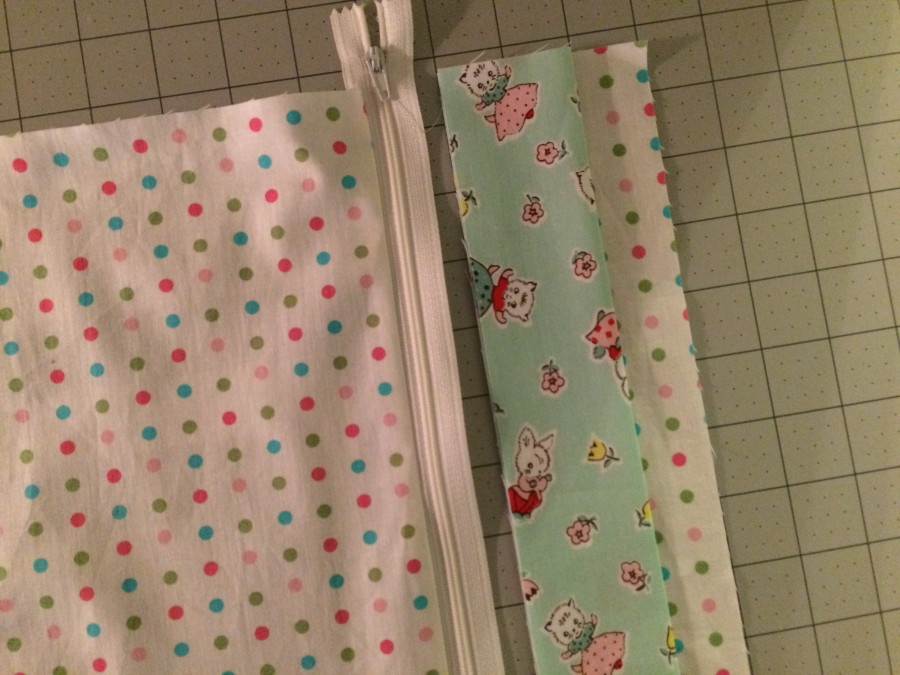 Using a zipper foot, sew the larger piece of the pillow back to the zipper. Press.
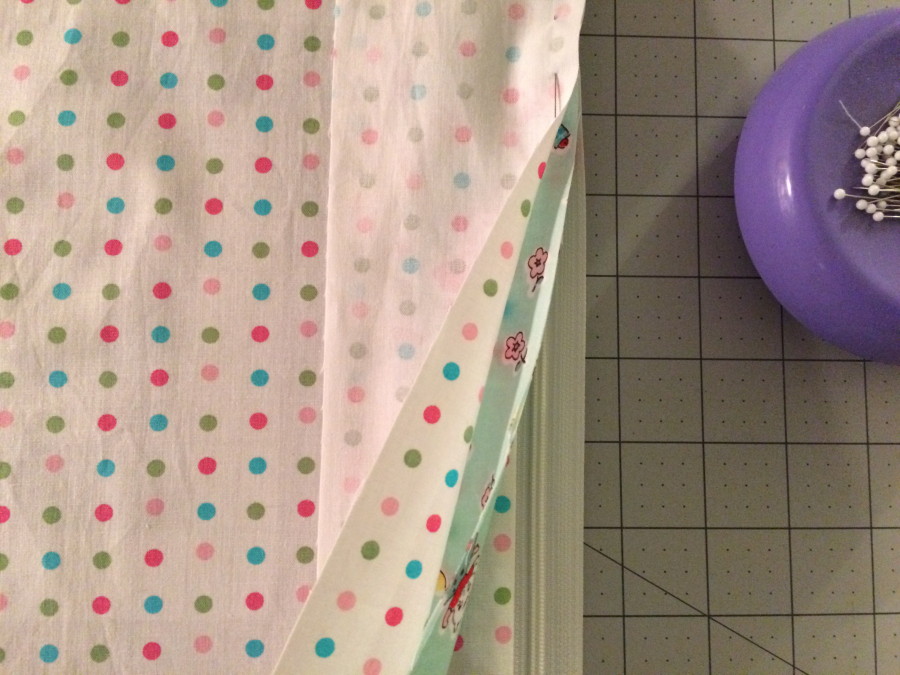
 Lay the 3" strip and the zipper flap right side on top of the zipper, aligning edges. Pin in place.
 This is how it should be layered (above). Sew with the zipper foot again. Press.
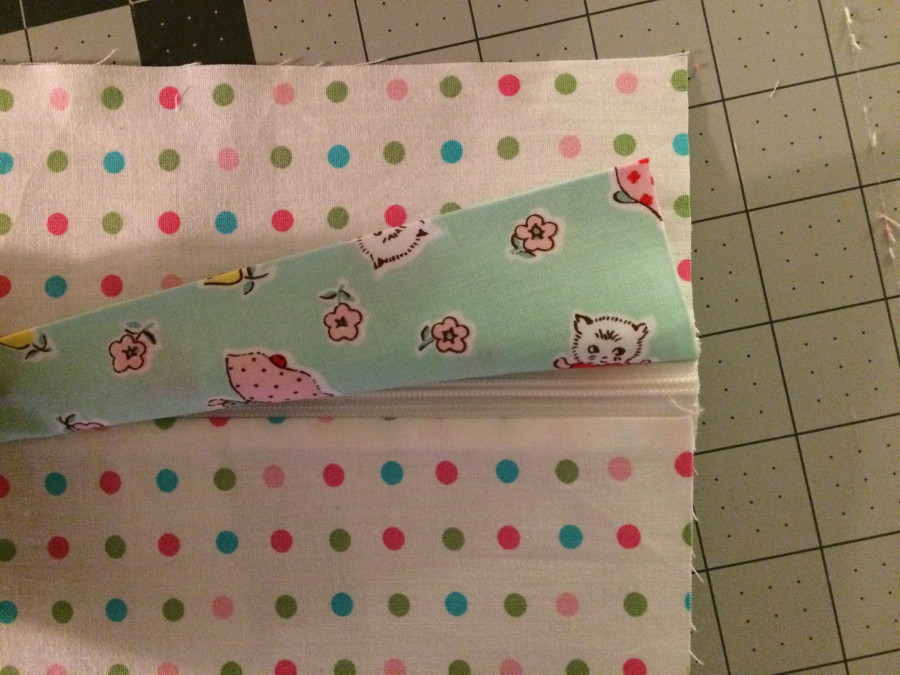 Trim off the excess zipper. Treat this entire piece as the pillow back.
Finish the pillow
I choose to bind this pillow like you would a quilt. You could easily sew and turn the pillow and omit this step. You would position the pillow front and the pillow back right sides together and sew a 1/4" seam around the entire pillow, making sure the zipper was partially open. Then turn right side out.
Trim off the excess zipper. Treat this entire piece as the pillow back.
Finish the pillow
I choose to bind this pillow like you would a quilt. You could easily sew and turn the pillow and omit this step. You would position the pillow front and the pillow back right sides together and sew a 1/4" seam around the entire pillow, making sure the zipper was partially open. Then turn right side out.
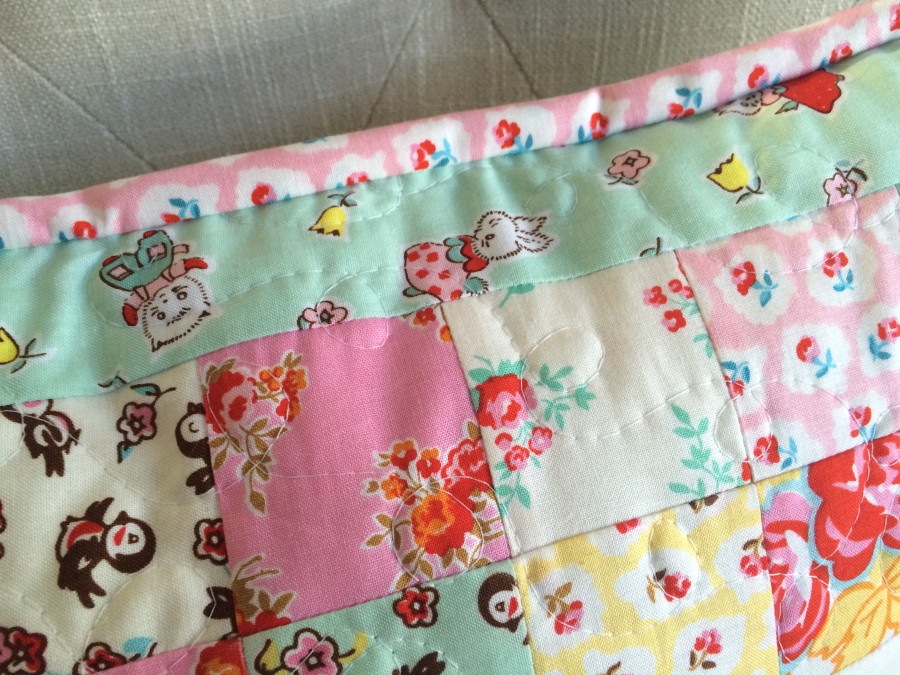
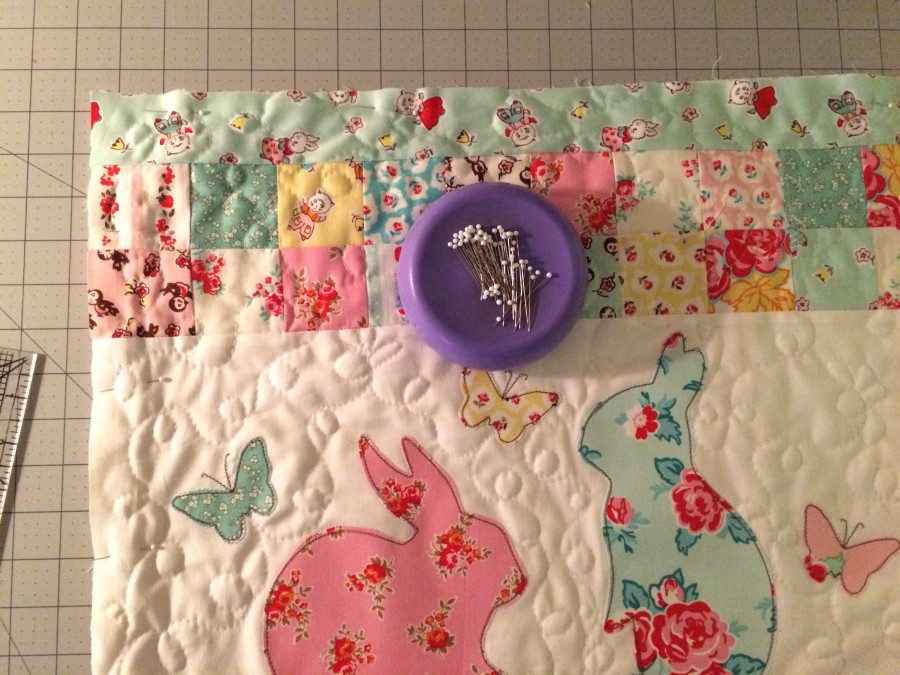 I wanted my pillow to have a cute binding! Lay the pillow front and the pillow back wrong sides together, matching all edges. Pin all the way around. Make sure the zipper is partially open. Sew a narrow basting stitch all the way around the pillow.
 Make the binding as you would normally make for a quilt and sew it to the pillow just like you are sewing it onto a quilt. Then hand stitch in place.
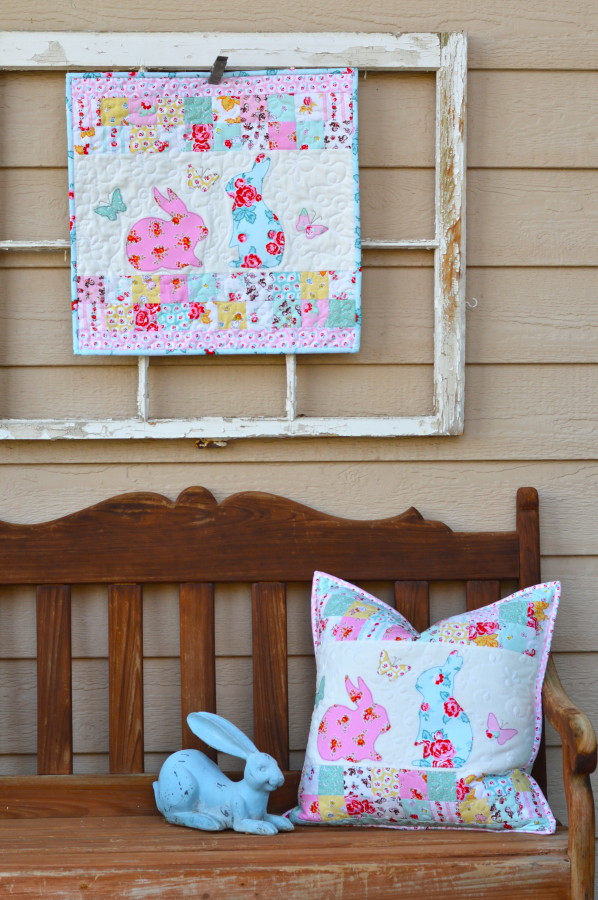
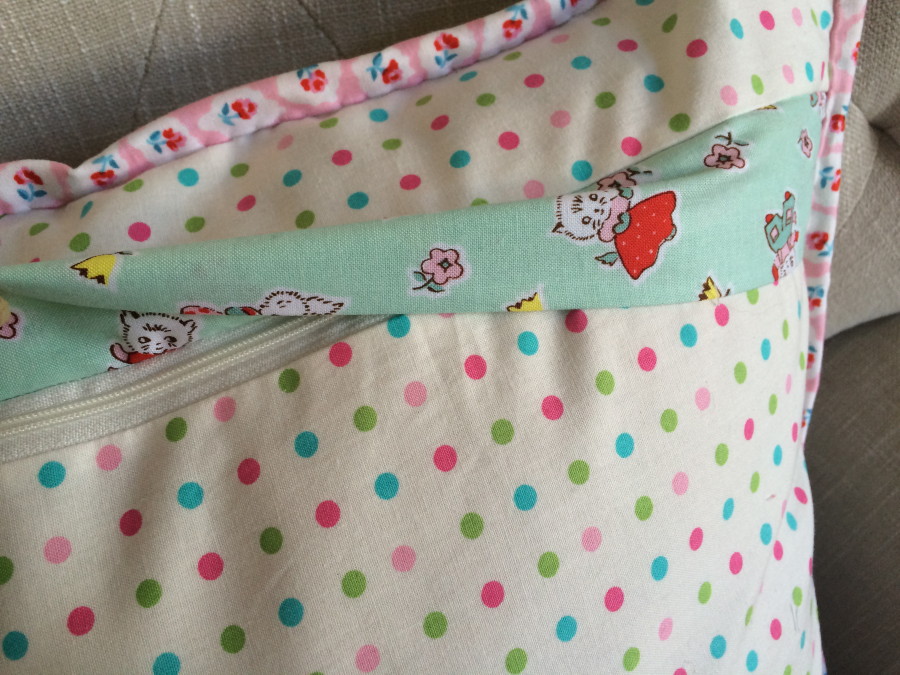 The pillow back is pretty cute - and a hidden zipper!
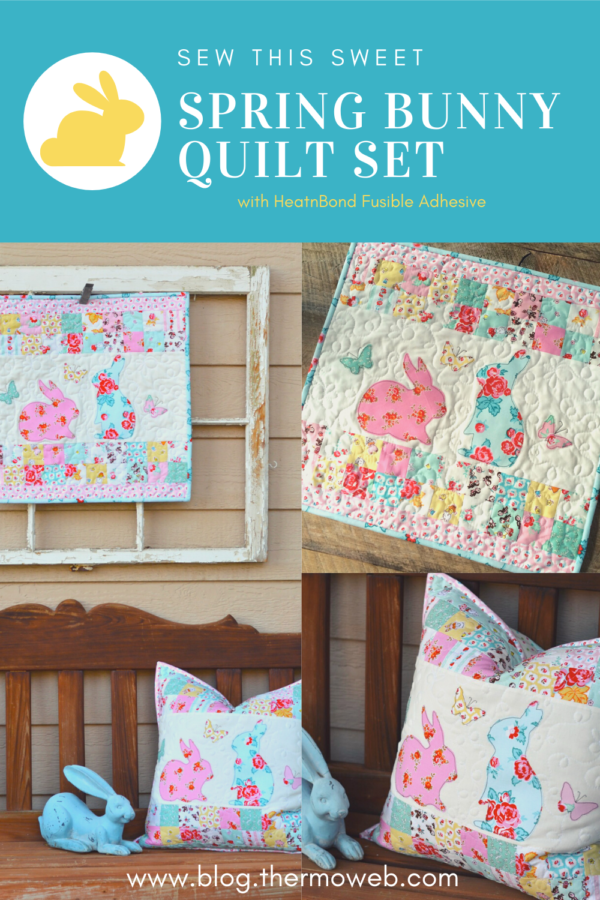
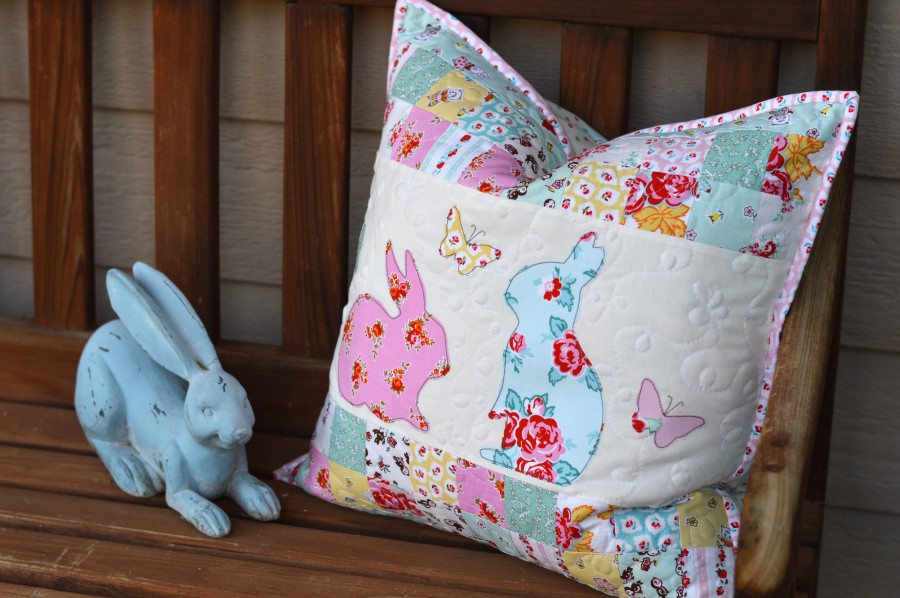 Which do you like better? The pillow or the quilt? I like them both!