No Products in the Cart
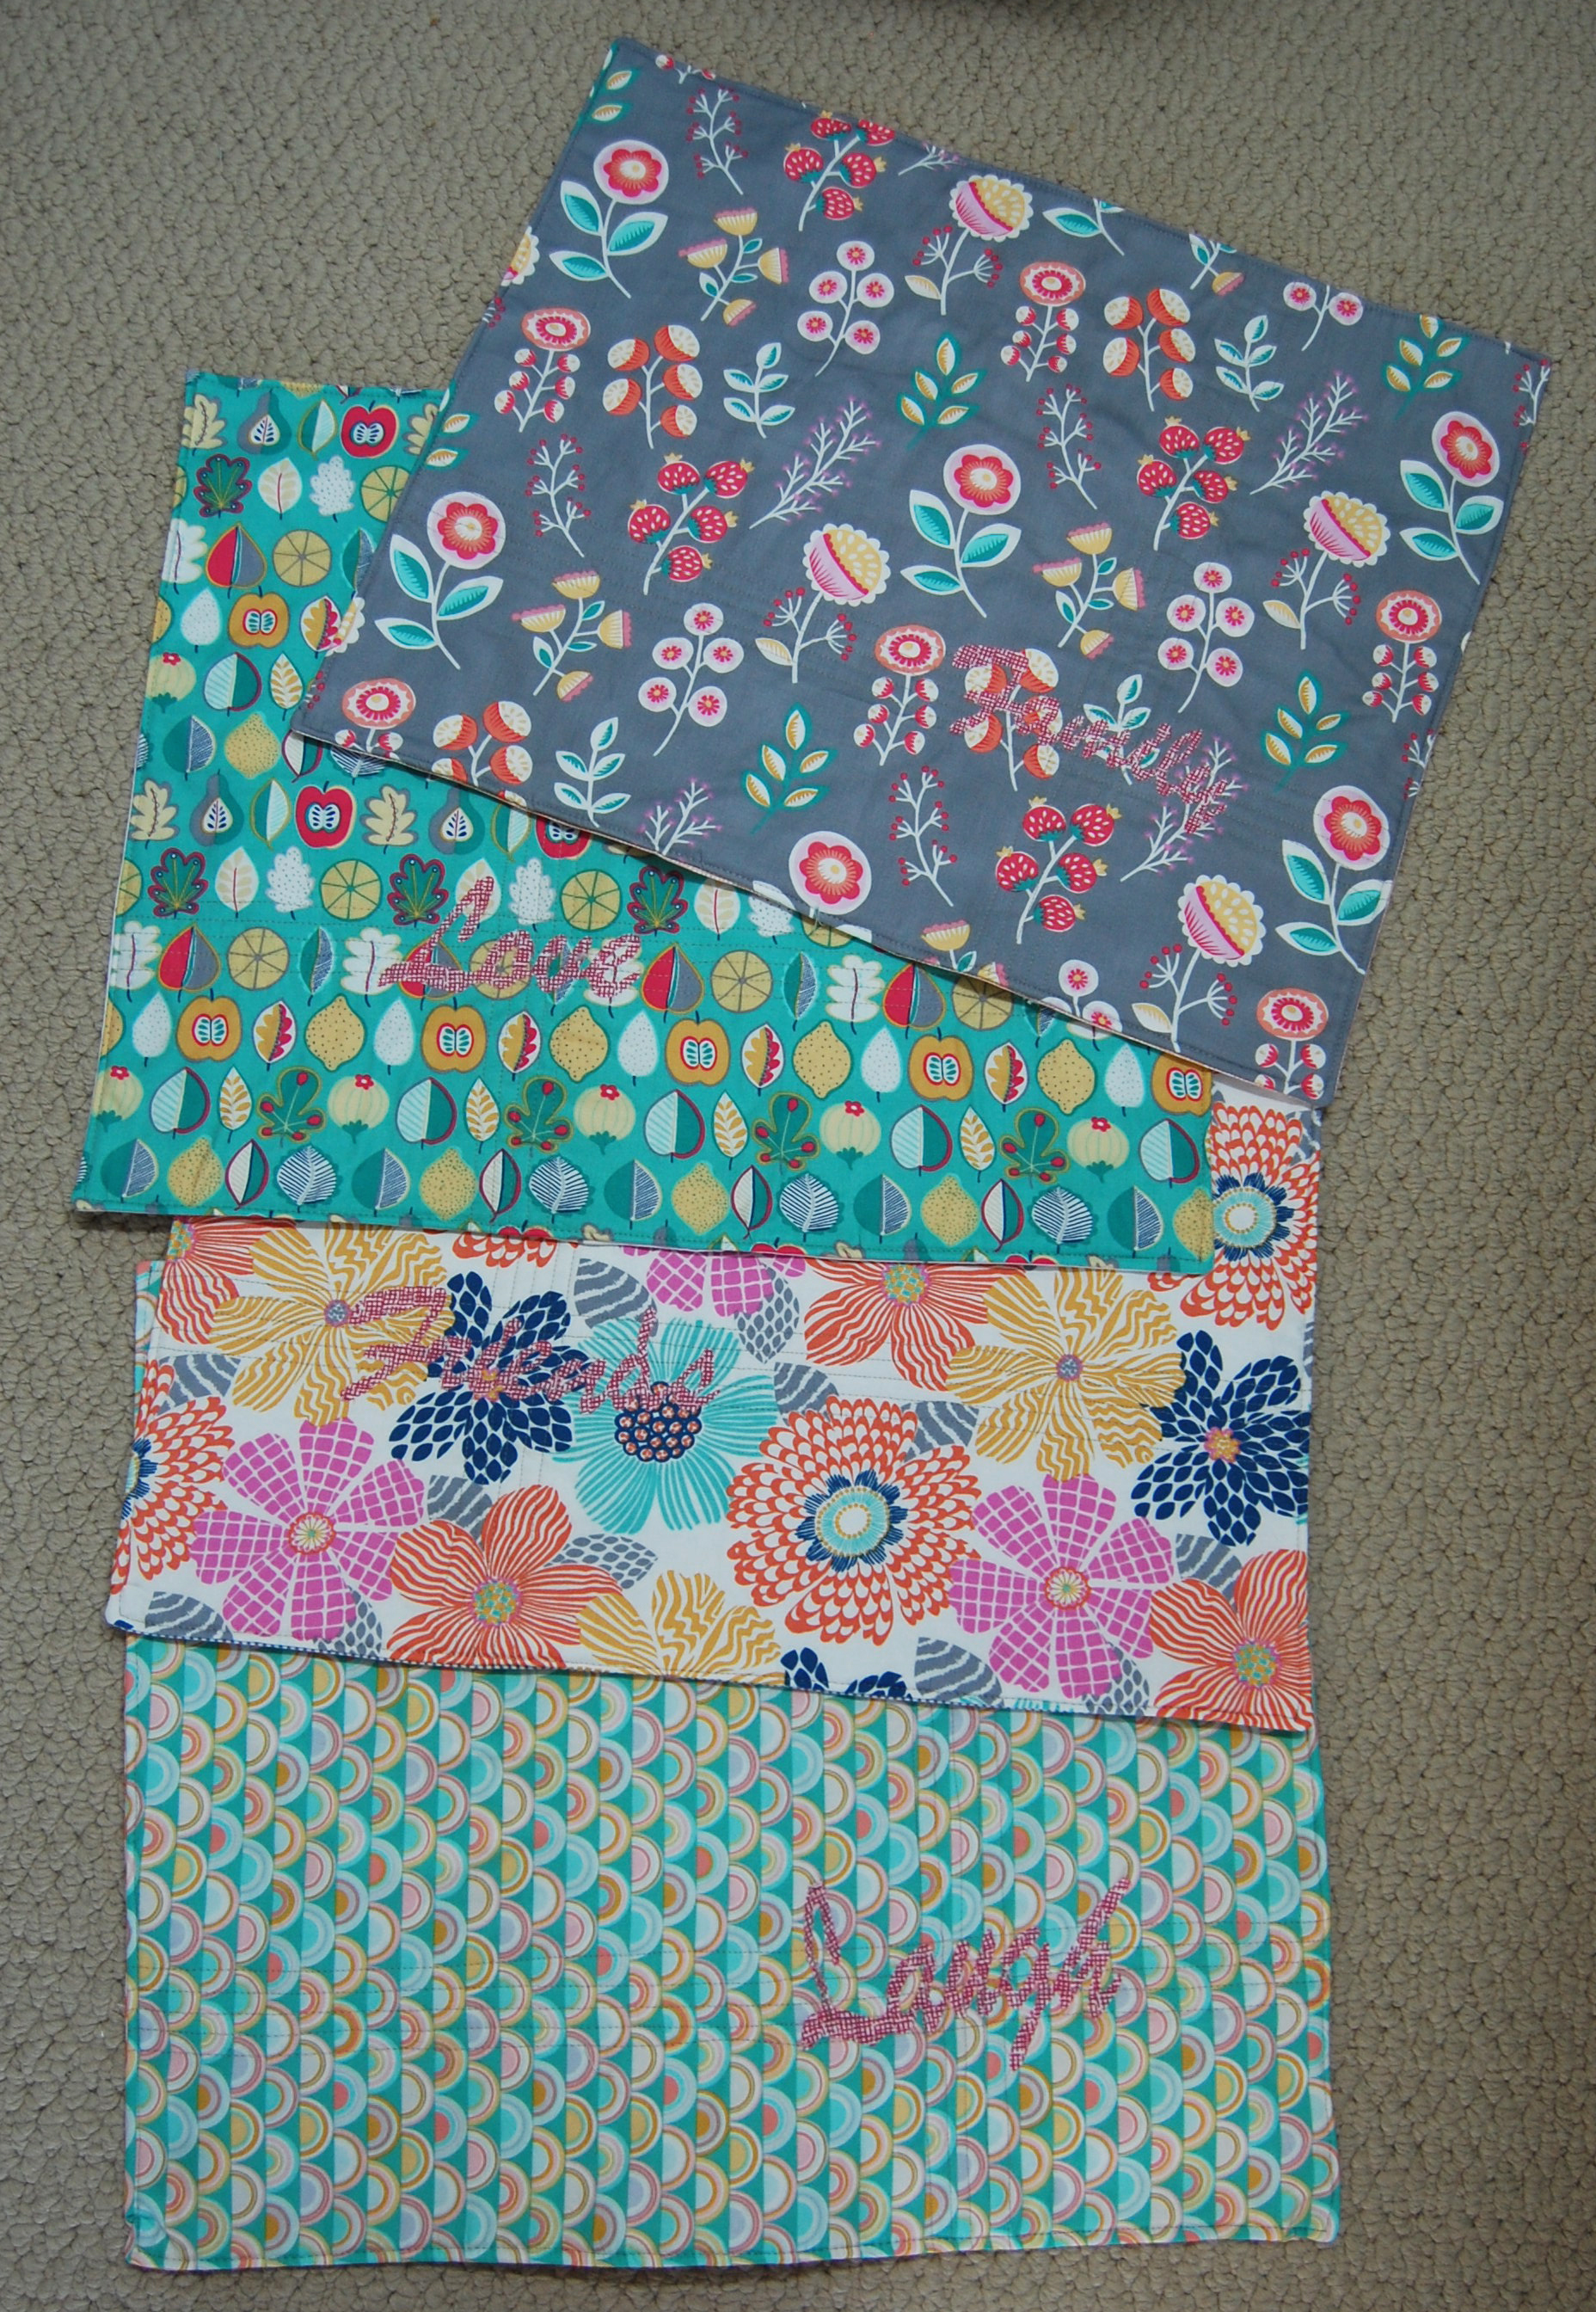
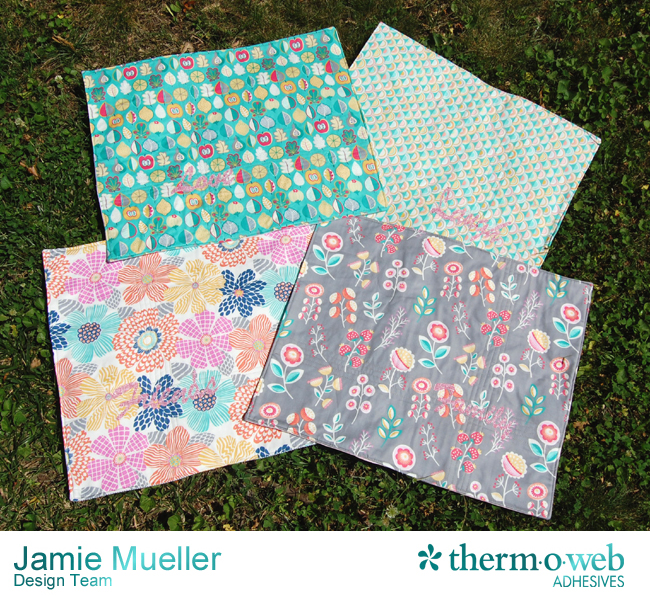 EZ Applique Placemats
Project Supplies:
9 Coordinating Fat Quarters - these are from the Dear Stella Junebug Collection
HeatnBond®EZ Print Featherlite Sheets
SpraynBond® Basting Spray
Batting (enough for 4 Fat Quarters, should be at least 20” X 25” each)
Project Instructions:
*Pick 1 Fat Quarter for applique, 4 Fat Quarters for FRONTS of placemats and 4 Fat Quarters for BACKS of placemats.
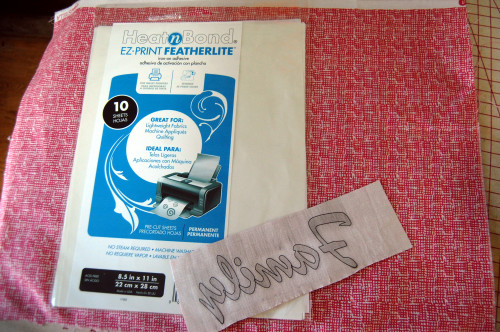
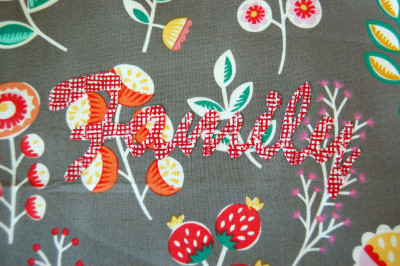
1. Print design or words using HeatnBond® EZ Print Featherlite Sheets
[tooltip text="TooltipText"]*TIP: If printing words, make sure to print them backwards so that when you fuse and cut them out they will read the correct way.[/tooltip]
EZ Applique Placemats
Project Supplies:
9 Coordinating Fat Quarters - these are from the Dear Stella Junebug Collection
HeatnBond®EZ Print Featherlite Sheets
SpraynBond® Basting Spray
Batting (enough for 4 Fat Quarters, should be at least 20” X 25” each)
Project Instructions:
*Pick 1 Fat Quarter for applique, 4 Fat Quarters for FRONTS of placemats and 4 Fat Quarters for BACKS of placemats.
1. Print design or words using HeatnBond® EZ Print Featherlite Sheets
[tooltip text="TooltipText"]*TIP: If printing words, make sure to print them backwards so that when you fuse and cut them out they will read the correct way.[/tooltip]
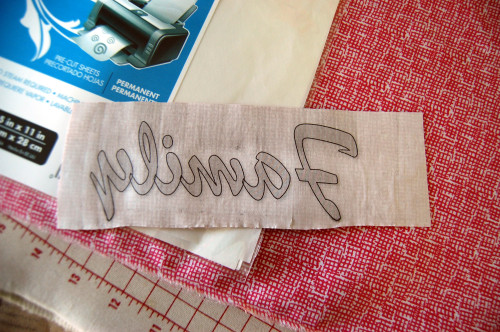
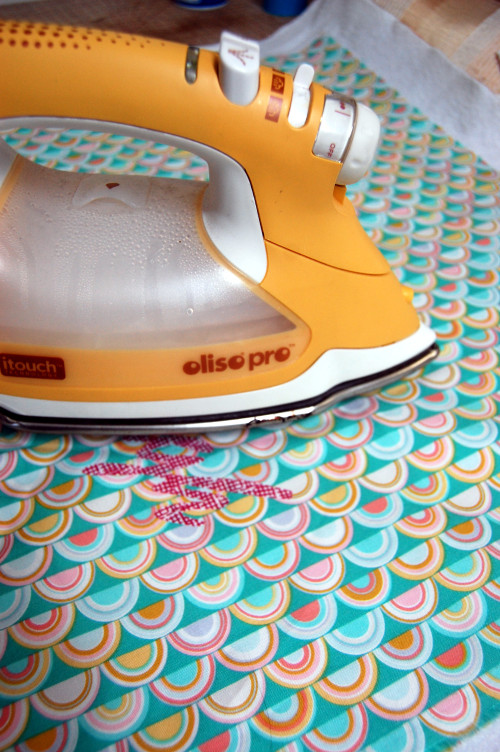
 2. Following package instructions, fuse design onto the wrong side of 1 Fat Quarter.
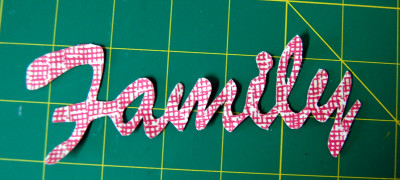
 3. Cut out designs.
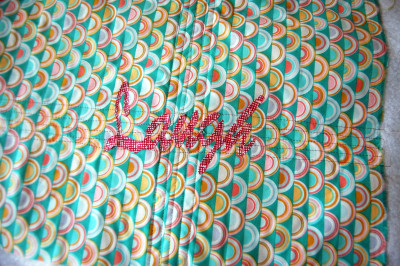
 4. Take 1 FRONT Fat Quarter and fuse cut out design where desired on RIGHT side of fabric. Repeat with remaining 3 FRONT Fat Quarters and designs.
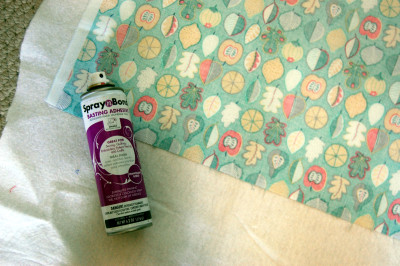
 5. Using SpraynBond® Basting Spray, spray on the WRONG side of fabric on 1 FRONT Fat Quarter and baste onto batting piece being sure to smooth out wrinkles. Repeat with remaining batting and FRONT Fat Quarters.
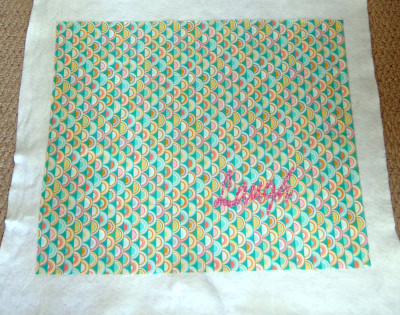 6. Stitch around design using your favorite applique stitch (small zig zag is my favorite) OR quilt over design and placemat as desired.
[pullquote width="300" float="left"]*I decided to quilt using a straight stitch over my applique to secure it down and give more strength to the placemat. Not necessary but will make your placemats stronger.[/pullquote]
6. Stitch around design using your favorite applique stitch (small zig zag is my favorite) OR quilt over design and placemat as desired.
[pullquote width="300" float="left"]*I decided to quilt using a straight stitch over my applique to secure it down and give more strength to the placemat. Not necessary but will make your placemats stronger.[/pullquote]
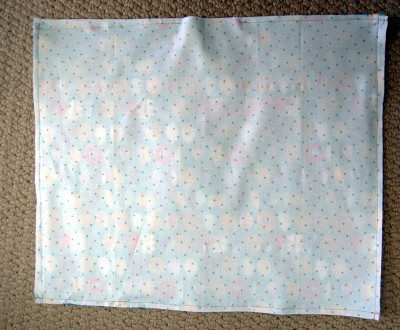
 7. Take the 4 FRONT Fat Quarters/batting pieces and trim them to 17 ½” X 21”. Repeat with 4 BACK Fat Quarters.
8. With RIGHT sides together, take 1 FRONT and 1 Back Fat Quarter and pin in place.
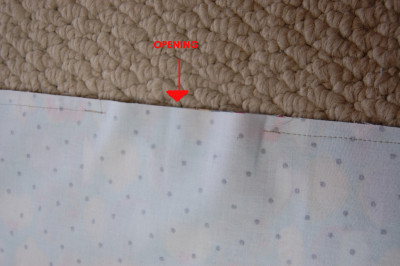
9. Using a ¼” seam allowance, stitch around the entire pinned rectangle (all 4 sides) being sure to leave a 4” opening for turning.
7. Take the 4 FRONT Fat Quarters/batting pieces and trim them to 17 ½” X 21”. Repeat with 4 BACK Fat Quarters.
8. With RIGHT sides together, take 1 FRONT and 1 Back Fat Quarter and pin in place.
9. Using a ¼” seam allowance, stitch around the entire pinned rectangle (all 4 sides) being sure to leave a 4” opening for turning.
 10. Clip corners being sure not to cut stitches.
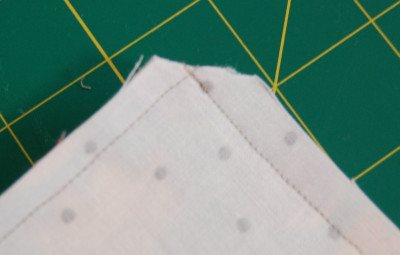 11. Turn placemat RIGHT side out and press flat.
 12. Topstitch around entire placemat using a 1/8” seam allowance being sure to close the 4” opening.
 13. Repeat with remaining 3 placemats and you’re done!
 Enjoy your new placemats and if you make some be sure to tag us! #thermoweb #heatnbond and #sunflowerquilts