No Products in the Cart
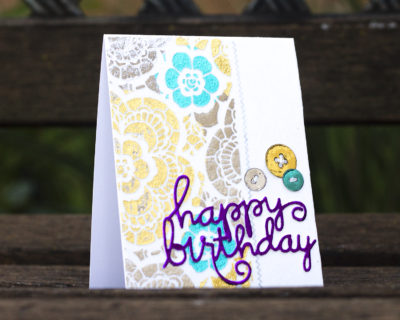 Embossing Paste with Deco Foil Birthday Card
Therm O Web Supplies:
DECO FOIL™ TRANSFER SHEETS • SILVER
DECO FOIL™ TRANSFER SHEETS • GOLD
DECO FOIL™ TRANSFER SHEETS • PURPLE
DECO FOIL™ TRANSFER SHEETS • AQUA
DECO FOIL™ WHITE FOAM ADHESIVE
DECO FOIL™ PEELNSTICKTONER SHEETS
ICRAFT MIXED MEDIA SHEETS • HEAVY WEIGHT
MEMORY TAPE RUNNER XL™
12" FOIL LAMINATOR
Other Supplies:
Tim Holtz Stencil THS034
Papertrey Ink Buttoned Up Dies
Paper Smooches Happy Birthday Words Dies
White Cardstock
Dreamweaver White Embossing Paste
Palette Knife
Scissors
Embroidery Thread
Needle
Hero Arts Soft Granite Ink
Washi Tape (or respositionable tape)
Die Cutting Machine
Paper Trimmer
Project Instructions:
To start, grab you embossing paste, palette knife and mixed media sheet. The sheet should be trimmed to 4.25 x 5.5.
Embossing Paste with Deco Foil Birthday Card
Therm O Web Supplies:
DECO FOIL™ TRANSFER SHEETS • SILVER
DECO FOIL™ TRANSFER SHEETS • GOLD
DECO FOIL™ TRANSFER SHEETS • PURPLE
DECO FOIL™ TRANSFER SHEETS • AQUA
DECO FOIL™ WHITE FOAM ADHESIVE
DECO FOIL™ PEELNSTICKTONER SHEETS
ICRAFT MIXED MEDIA SHEETS • HEAVY WEIGHT
MEMORY TAPE RUNNER XL™
12" FOIL LAMINATOR
Other Supplies:
Tim Holtz Stencil THS034
Papertrey Ink Buttoned Up Dies
Paper Smooches Happy Birthday Words Dies
White Cardstock
Dreamweaver White Embossing Paste
Palette Knife
Scissors
Embroidery Thread
Needle
Hero Arts Soft Granite Ink
Washi Tape (or respositionable tape)
Die Cutting Machine
Paper Trimmer
Project Instructions:
To start, grab you embossing paste, palette knife and mixed media sheet. The sheet should be trimmed to 4.25 x 5.5.
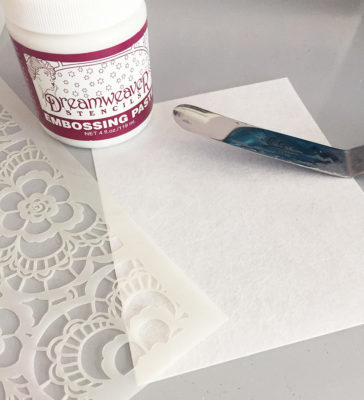
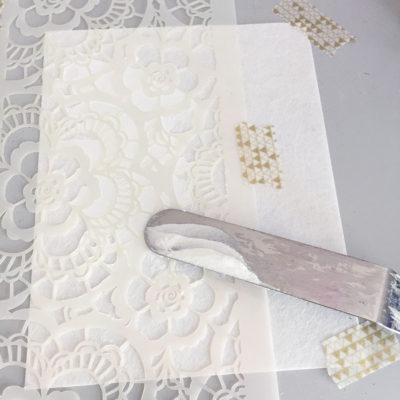
Secure the stencil down with washi tape. Then, add some embossing paste with a palette knife. You can also use a piece of cardstock if you don't have a knife. I would recommend you keep the paste thin. I placed it on, then scraped off the excess.
 Peel off the stencil and clean off the paste right away. If it dries on the stencil, it won't come off! Allow the stenciled paste to dry.
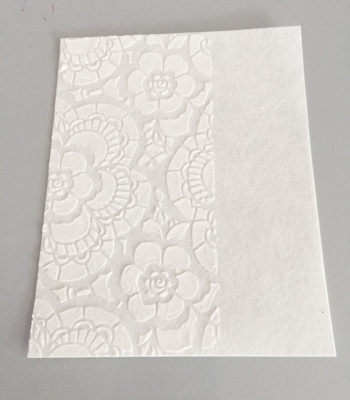 While it is drying, cut out pieces of Deco Foil™ I wanted different colors in different areas, so I used the clean stencil as a guide. I made a few marks with pen, then trimmed out the foil. It wasn't exact. It was just an approximate size for each of the flower areas in the stencil.
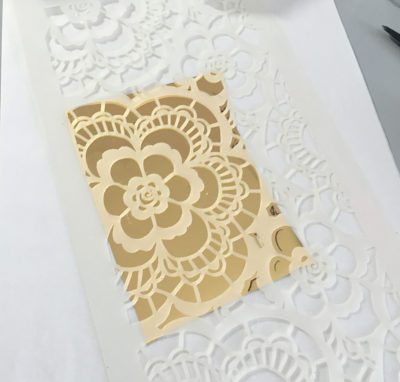 Once it was 100% dry, I placed the Deco Foil™ over the area I wanted. Then I put it all in parchment paper and ran it through a laminator. I only had to run it through once. The foil adhered to the dry paste perfectly!
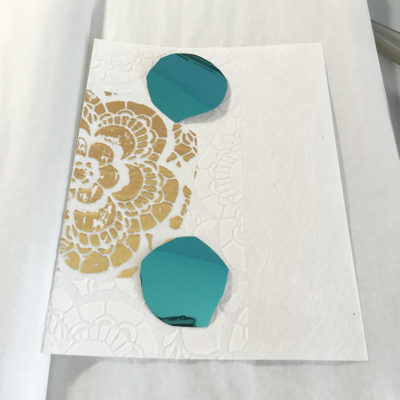
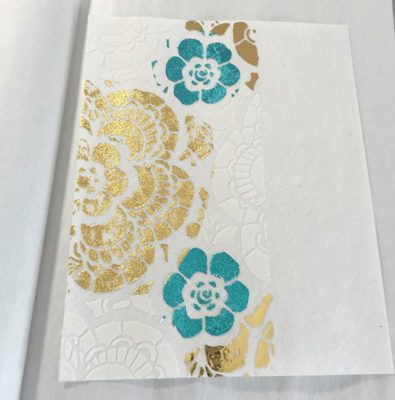
 Then, I repeated the same process using other colors.
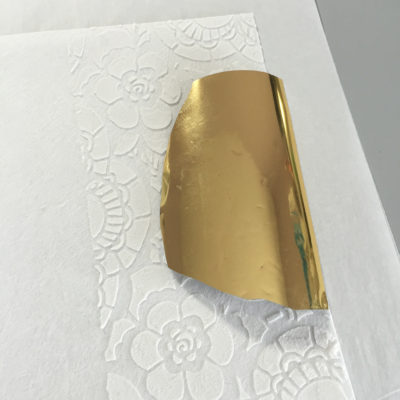
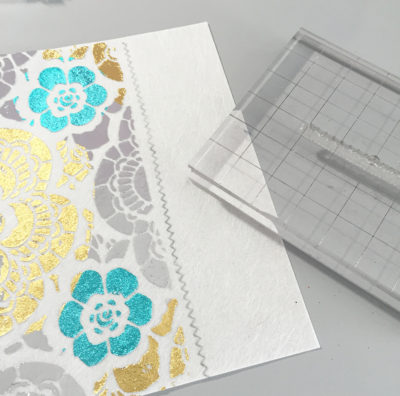
 I used a large piece of silver and I placed it over the entire area. That foiled any areas I missed.
I wanted to add some faux stitching, so I stamped some stitching in gray ink. The mixed media sheets work wonderfully for not just foiling, but for stamping, too!
I used a large piece of silver and I placed it over the entire area. That foiled any areas I missed.
I wanted to add some faux stitching, so I stamped some stitching in gray ink. The mixed media sheets work wonderfully for not just foiling, but for stamping, too!
 I die cut a sentiment out of white foam adhesive and some buttons out of toner sheets.
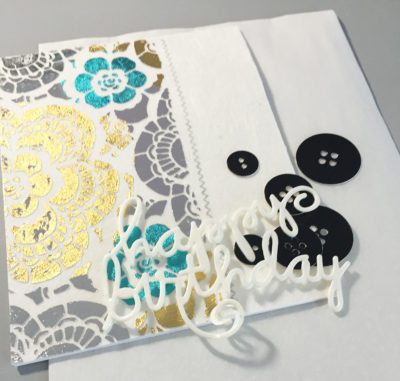 I wanted the sentiment to stand out a bit, so I used purple DecoFoil™. I used the same color scheme for the buttons that I used for the background. Then, I added some embroidery thread in the buttons to make them look like they were really stitched onto the card.
 How awesome is that background? I love the fact that I can add DecoFoil to stenciled areas! It's a match made in heaven!
Now it's your turn! Give this technique a try! Post it anywhere on social media and use the hashtags #decofoil and #thermoweb so we can check it out!
[line]
How awesome is that background? I love the fact that I can add DecoFoil to stenciled areas! It's a match made in heaven!
Now it's your turn! Give this technique a try! Post it anywhere on social media and use the hashtags #decofoil and #thermoweb so we can check it out!
[line]
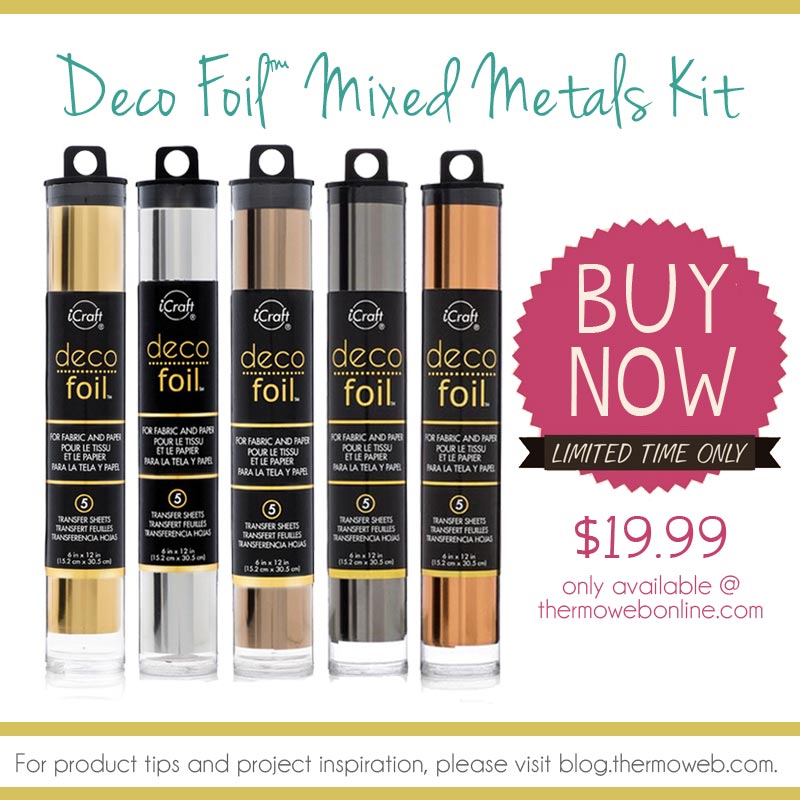 We're offering you a chance to pick up our HOT metal colors at an amazing price! Shop now and purchase this kit of 5 colors.. Gold, Silver, Rose Gold, Pewter and Copper! Purchasing at this price is like getting one roll free! So don't miss out! Click here to shop NOW!
Written by Chrissie Tobas