No Products in the Cart
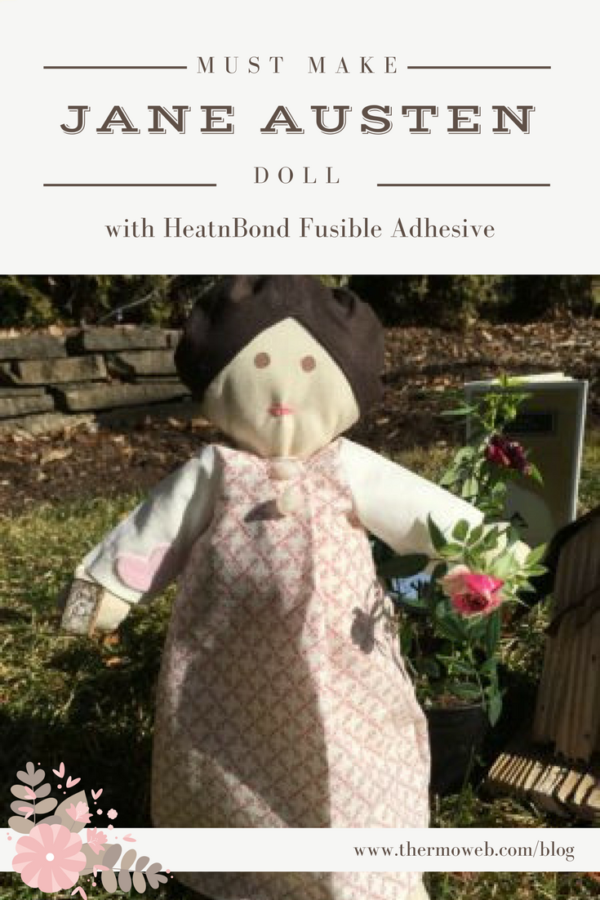
 Make your own Jane Austen doll in an afternoon. It’s easy with HeatnBond® and Sizzix.
Please read all instructions before beginning…. it really helps!
Materials list:
Therm O Web Products:
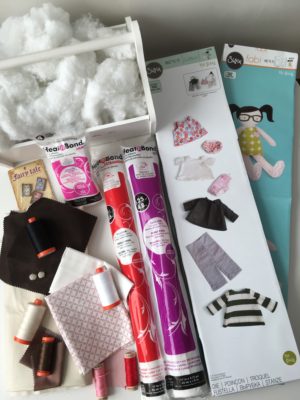
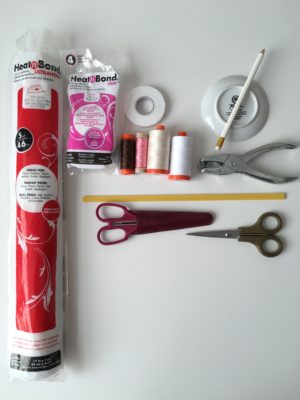
Other products used:
*Note sizes below are approximates, please measure dies & follow instructions for accuracy
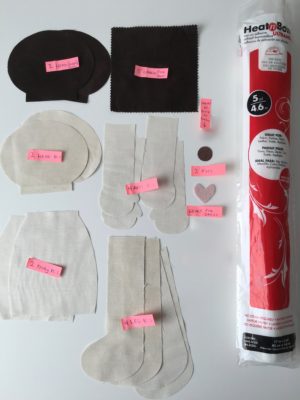
*For the following apply Heat N Bond® Ultra Hold No Sew iron-on adhesive to wrong side of fabric BEFORE cutting with die.
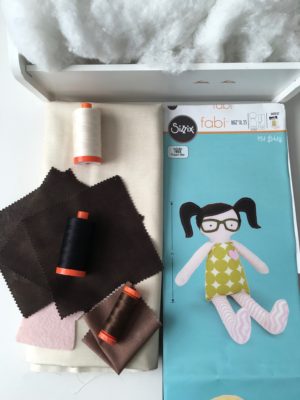
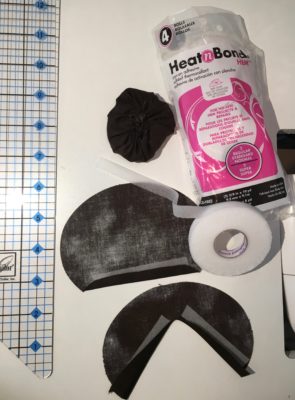
After following Sizzix instructions you should have something similar to this.
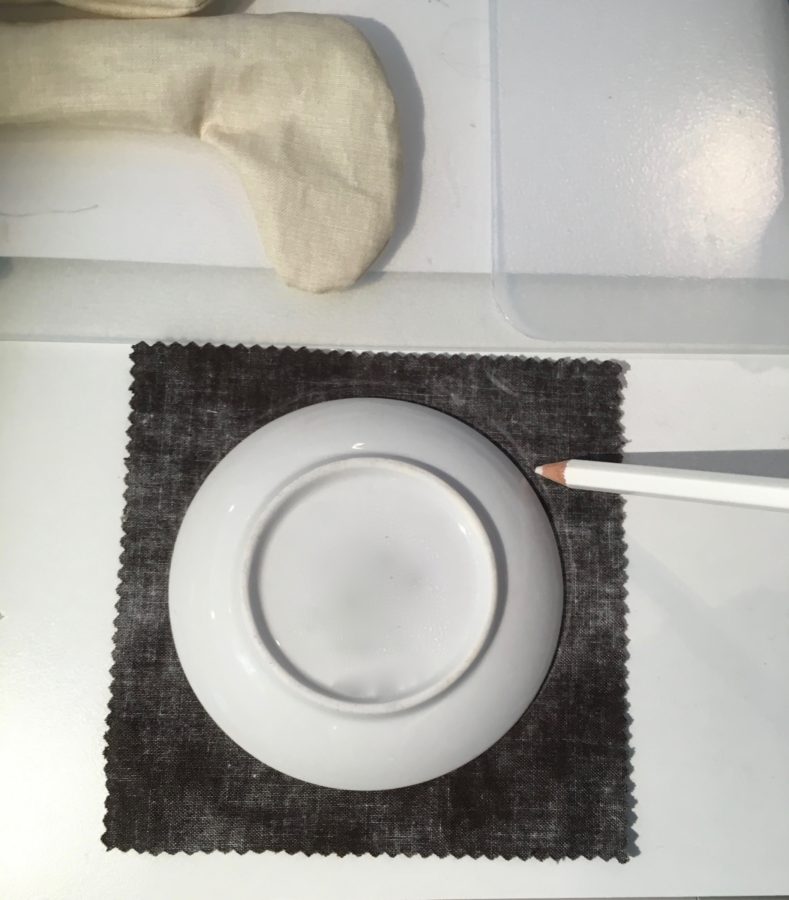
To create Jane’s hair, trace a 4” circle onto the wrong side of the reserved 5” x 5” piece of brown fabric.
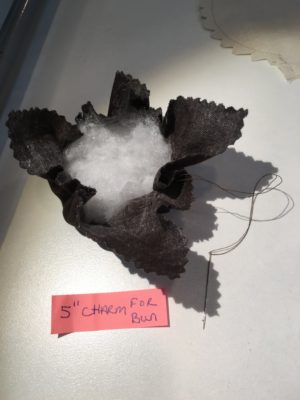
Next, use the needle and brown thread to baste around the circle, put a small amount of stuffing into center and pull ends of thread to create “bun”. When you like the size and look, knot the thread to fasten.
With the 2 pieces of “hair” cut from die, leave one (the back) as is and press a 1/2” seam at bottom “neckline”. For the other piece (front), cut a small triangle out of center and press a 1/4” - 1/2” seam to create an even part. You may need to trim more fabric to create the right look.
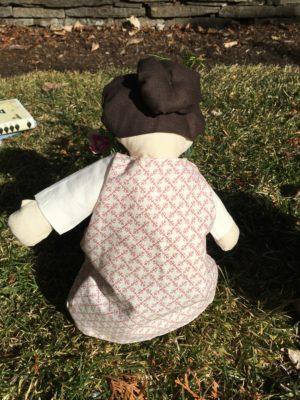
When you are happy with the look, attach bun to the middle of the back of hair with needle and thread, putting one or two stitches through center of bun creating a natural looking “bunching”. See photo at top for bun detail.
Using HeatnBond® Hem iron-on adhesive 3/8” wide, trimming if necessary, iron seams closed following package directions.
It’s personal preference to attach the eyes and mouth before or after stuffing. It’s easier to do so before, however the face shape can change when stuffed and assembled.
Now assemble according to directions included with die.
For eyes: use 1/4” circle punch to make 2 from medium brown circle. Place and press to adhere (following HeatnBond® Ultra Hold instructions.) Embroider a simple mouth using the needle and pink floss. See photos at top for detail.
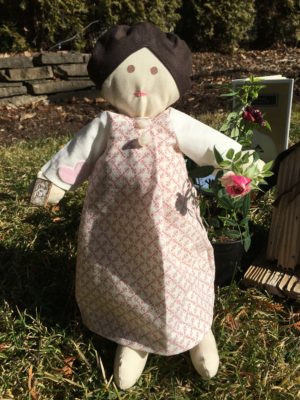
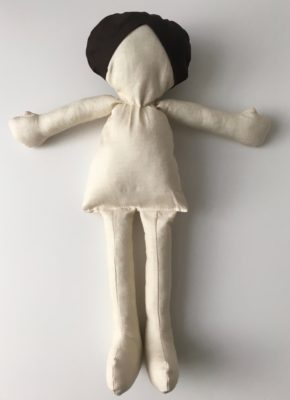
After assembling, Jane should look something similar to this!
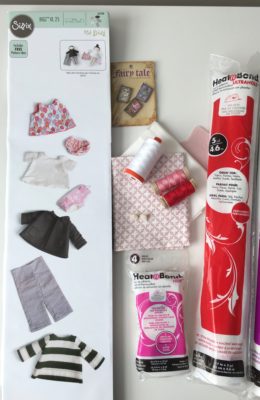
2 pieces of 5” x 5” 100% cotton fabric white or other solid color (for sleeves)
9” x18” piece of 100% cotton fabric in a small print (for dress.) shown is: Molly B’s Basic Shirtings design # 5584
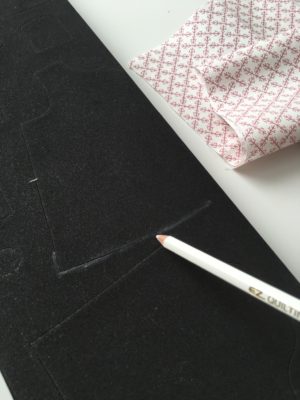
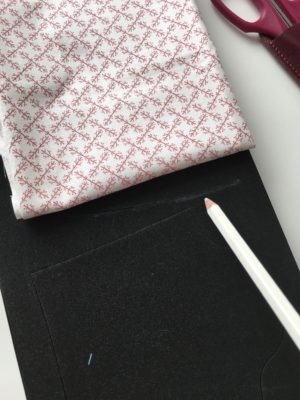
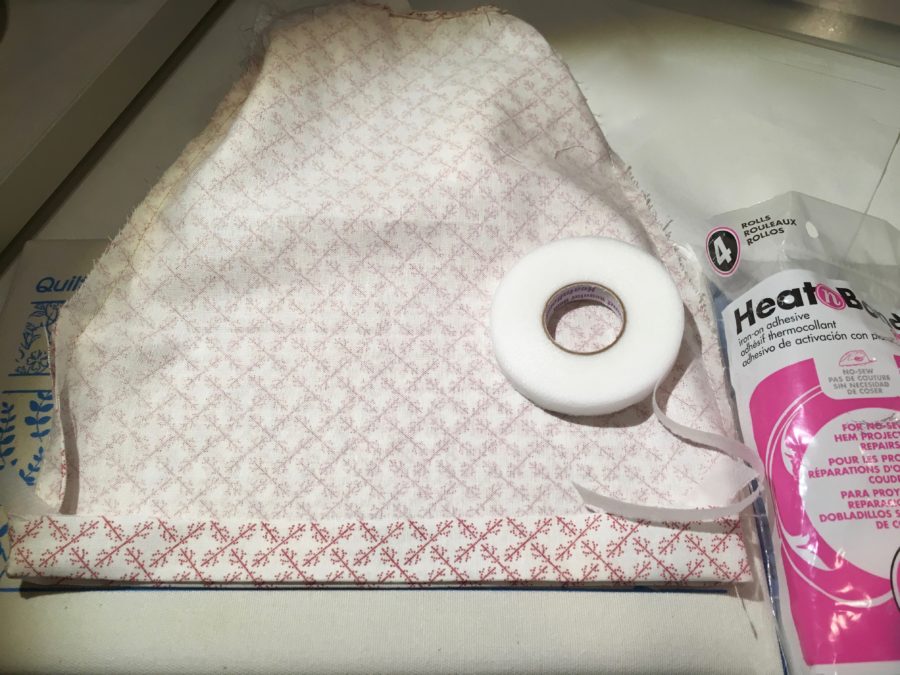
[tooltip text="TooltipText"]Please note the dress fabric was folded “up” to prevent the bottom “cut”. That way you can make the dress long and trim the bottom for desired length. Here are two photos showing the cut line on the bottom of the die, and how to fold up to prevent it from cutting.[/tooltip]
After cutting, the Dress pieces should look similar to this:
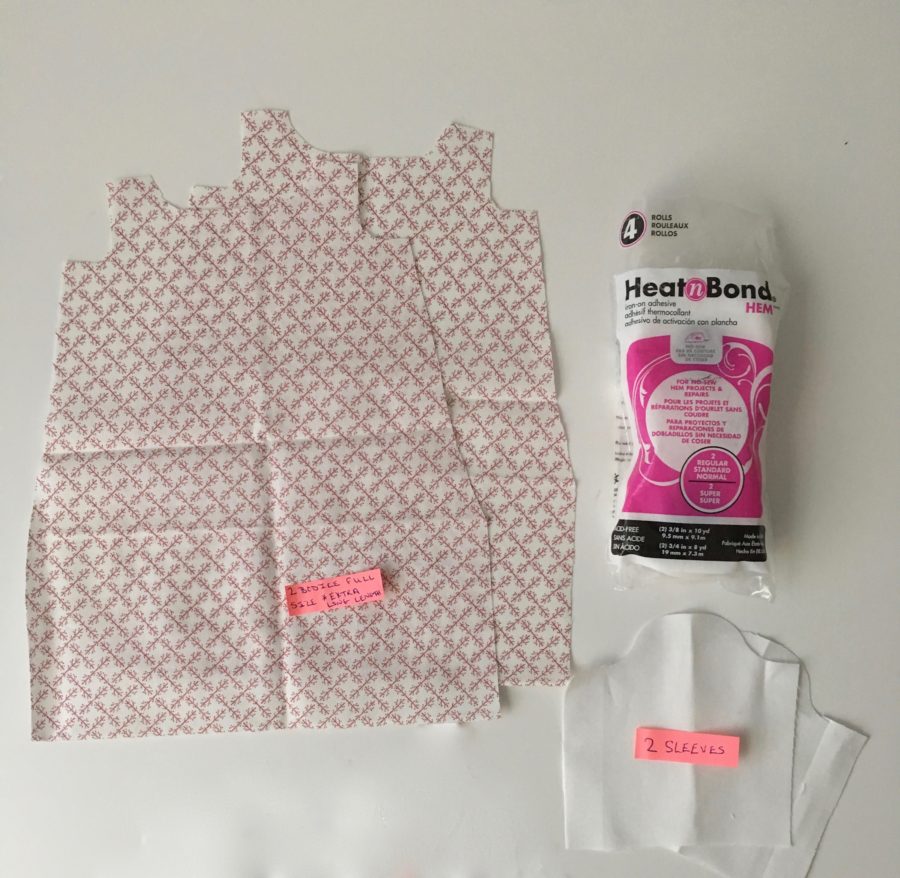
Assemble dress according to die instructions and use HeatnBond® Hem to speed up the process of hemming dress and sleeves!
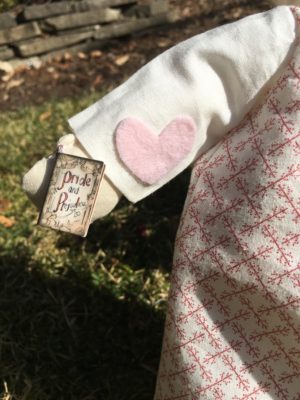
Place the heart on the sleeve and press to adhere (following HeatnBond® Ultra Hold instructions.) Using needle and thread, attach 2 buttons on bodice of Jane’s dress and also the book charm to Jane’s hand. see top photos for details.
…and she’s kitty approved!
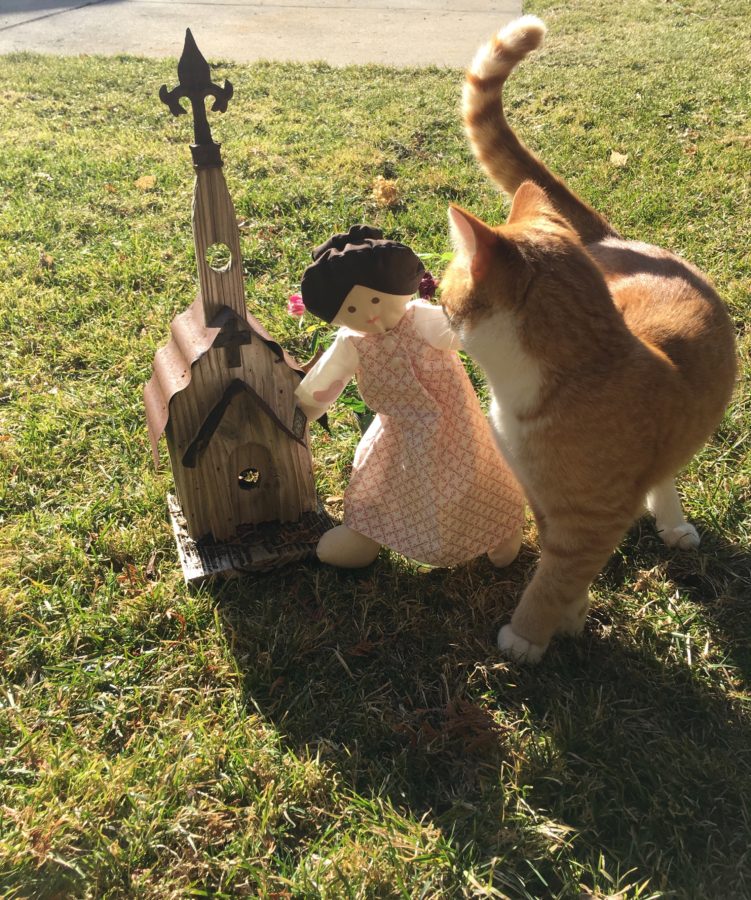
Remember to “Run mad as often as you choose, but do not faint!” ― Jane Austen