No Products in the Cart
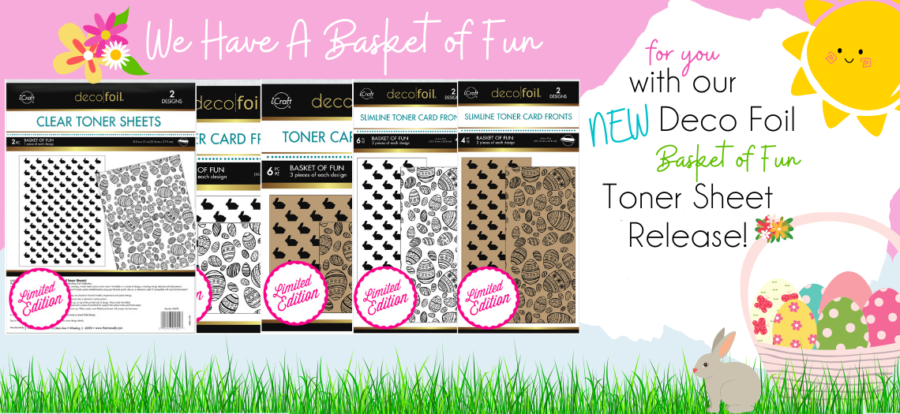 Hello! It's Andrea with you sharing some Easter inspiration using the new Basket of Fun Toner products.

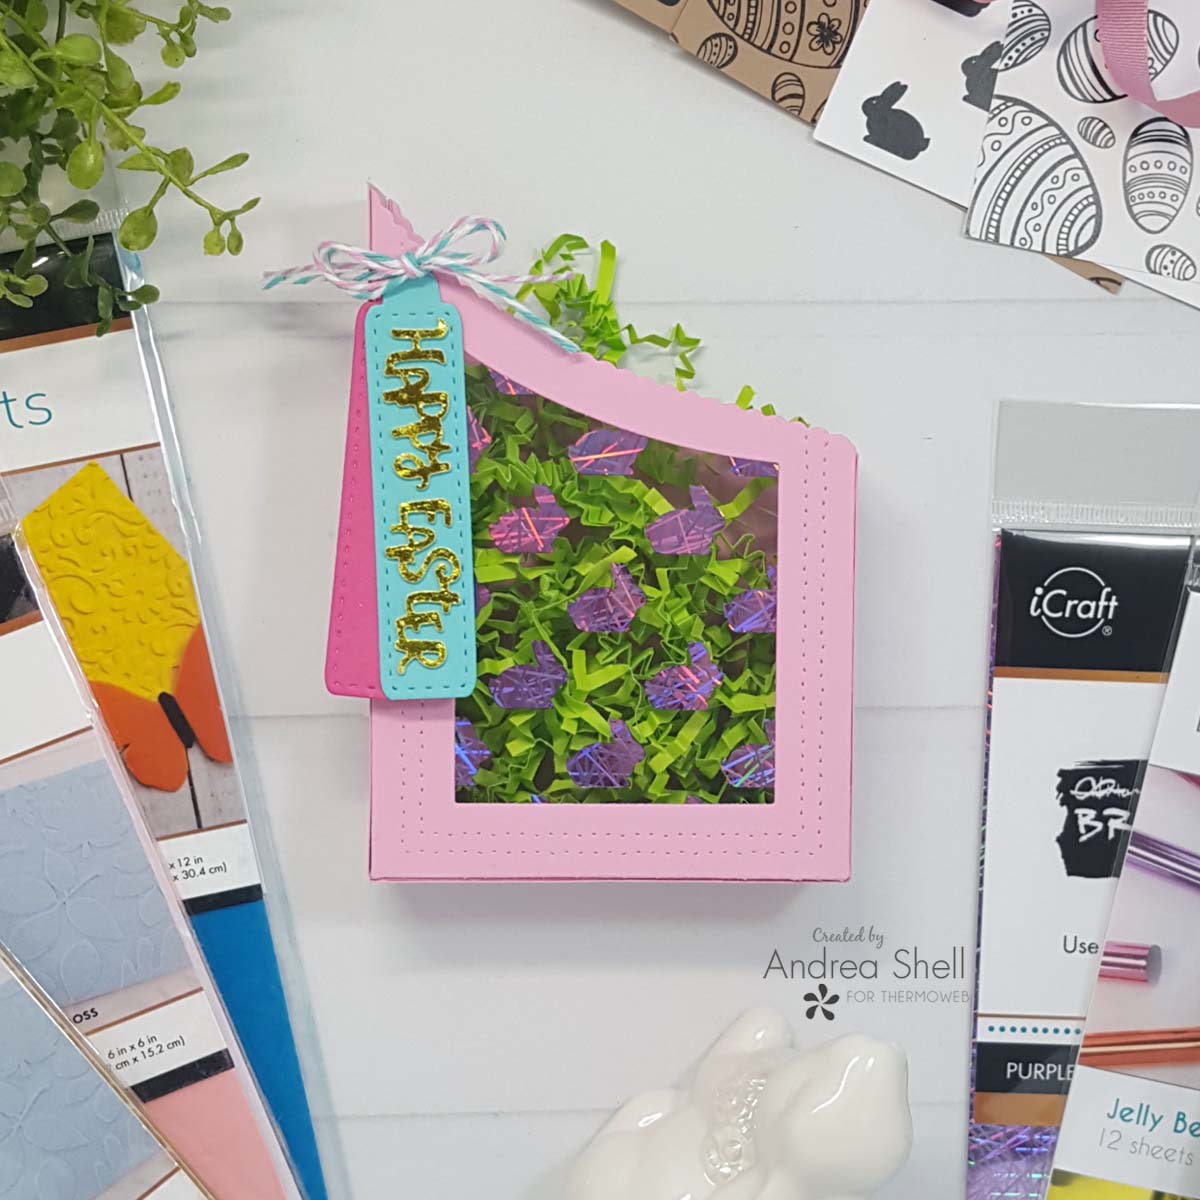 For my first project, I made a sweet treat box that's perfect for gifting some Easter goodies. I used Whimsy Stamps' Slimline Scallop Pocket Dies for the box and one of the Clear Basket of Fun Toner Sheets for the window.
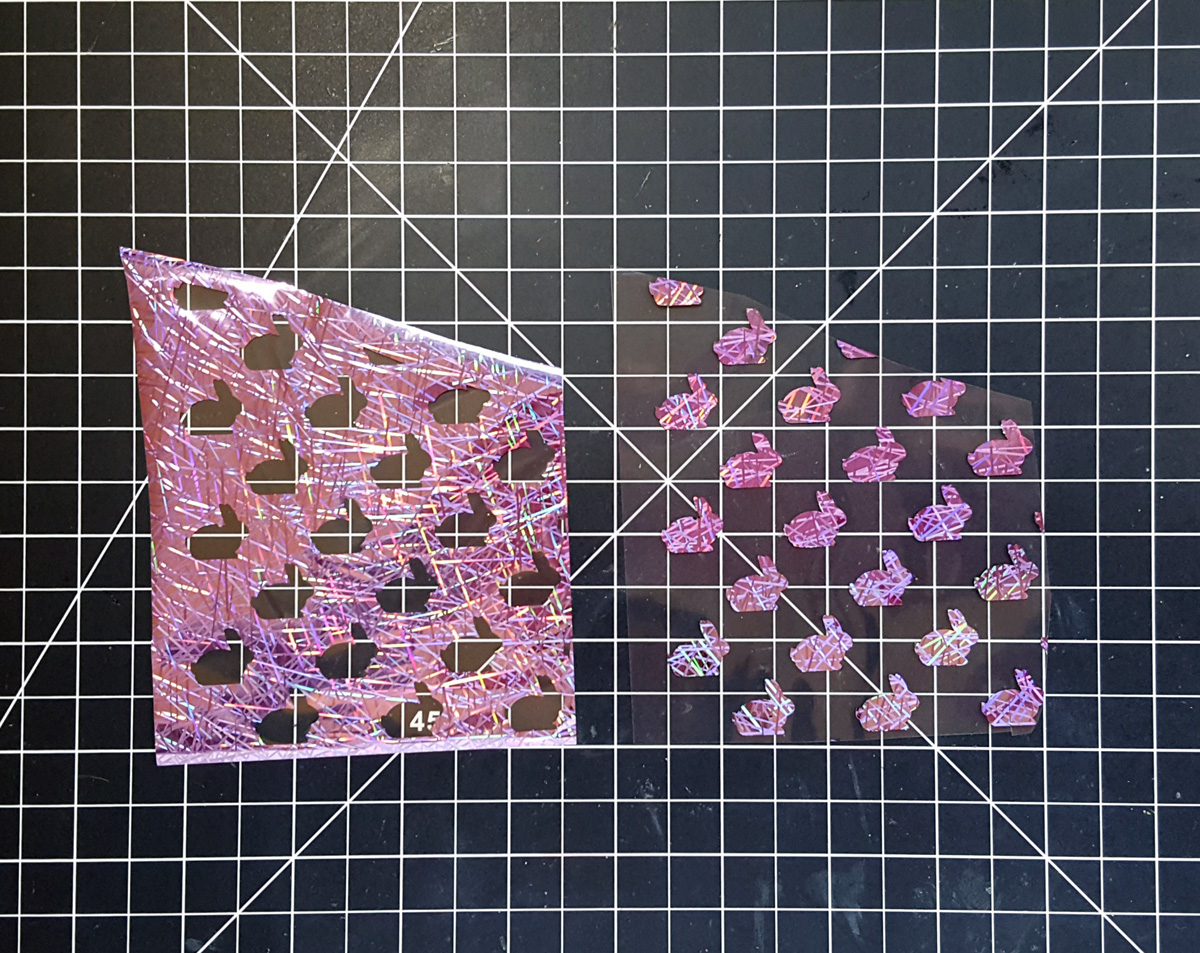 I trimmed a section of the bunny toner sheet to roughly the shape of the pocket die. Using my laminator, I added Brutus Monroe Purple Sketch Foil Transfer Sheet to the piece.
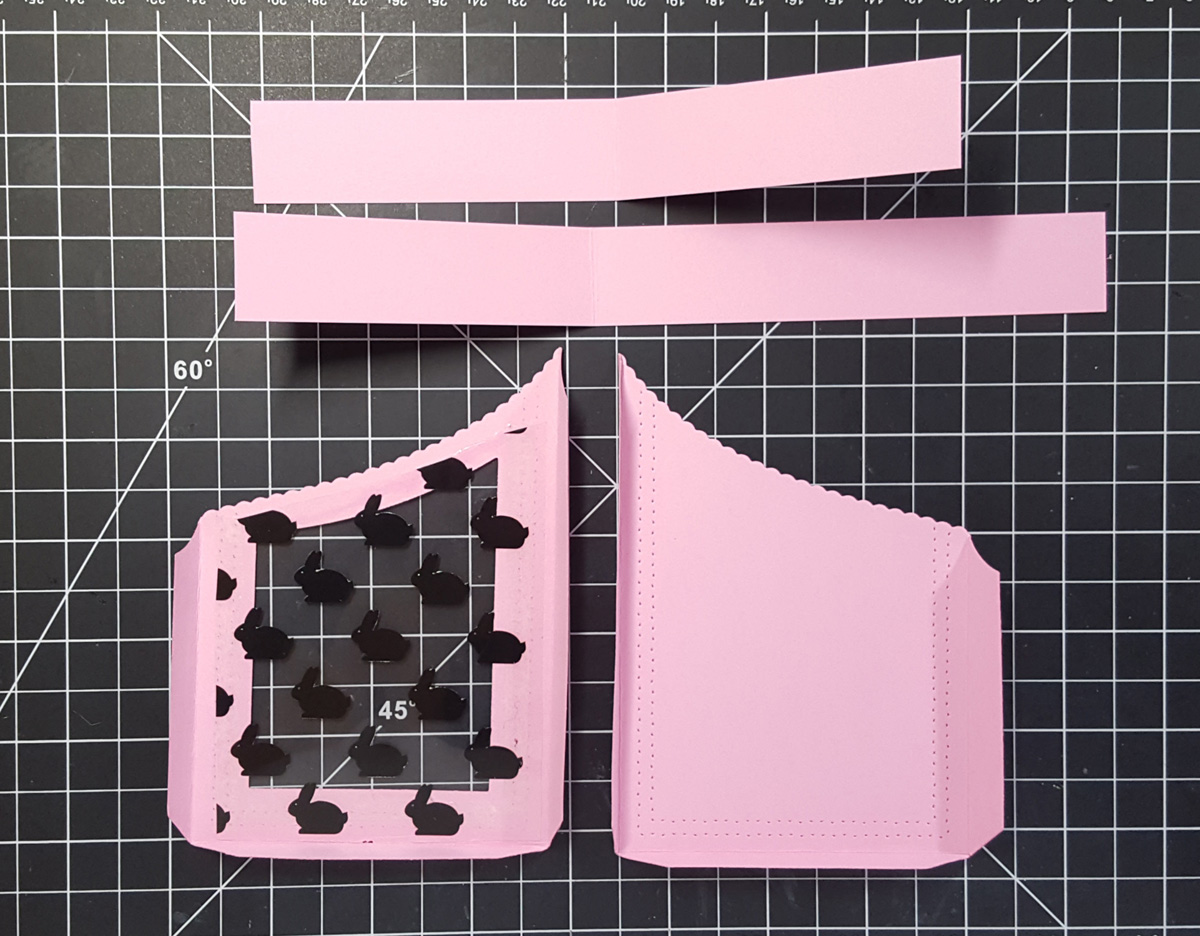 Using the Slimline Scallop Pocket Dies, I die-cut two pockets from pink cardstock and die-cut an opening into one of them. Behind that opening, I adhered the foiled bunnies with Easy-Tear Tape. After taking the photo above, I altered how I assembled the box. I trimmed two 1" wide strips of pink cardstock - one at 8 1/4" long and one at 6 1/2".
I scored both strips at 3 1/8" and adhered them together along that section with Easy-Tear Tape. Next, I added Easy-Tear Tape to the tabs on both pockets and adhered them to the strip. Note: To create the box, the tabs on the solid pocket are folded against the scoreline.
Using the Slimline Scallop Pocket Dies, I die-cut two pockets from pink cardstock and die-cut an opening into one of them. Behind that opening, I adhered the foiled bunnies with Easy-Tear Tape. After taking the photo above, I altered how I assembled the box. I trimmed two 1" wide strips of pink cardstock - one at 8 1/4" long and one at 6 1/2".
I scored both strips at 3 1/8" and adhered them together along that section with Easy-Tear Tape. Next, I added Easy-Tear Tape to the tabs on both pockets and adhered them to the strip. Note: To create the box, the tabs on the solid pocket are folded against the scoreline.
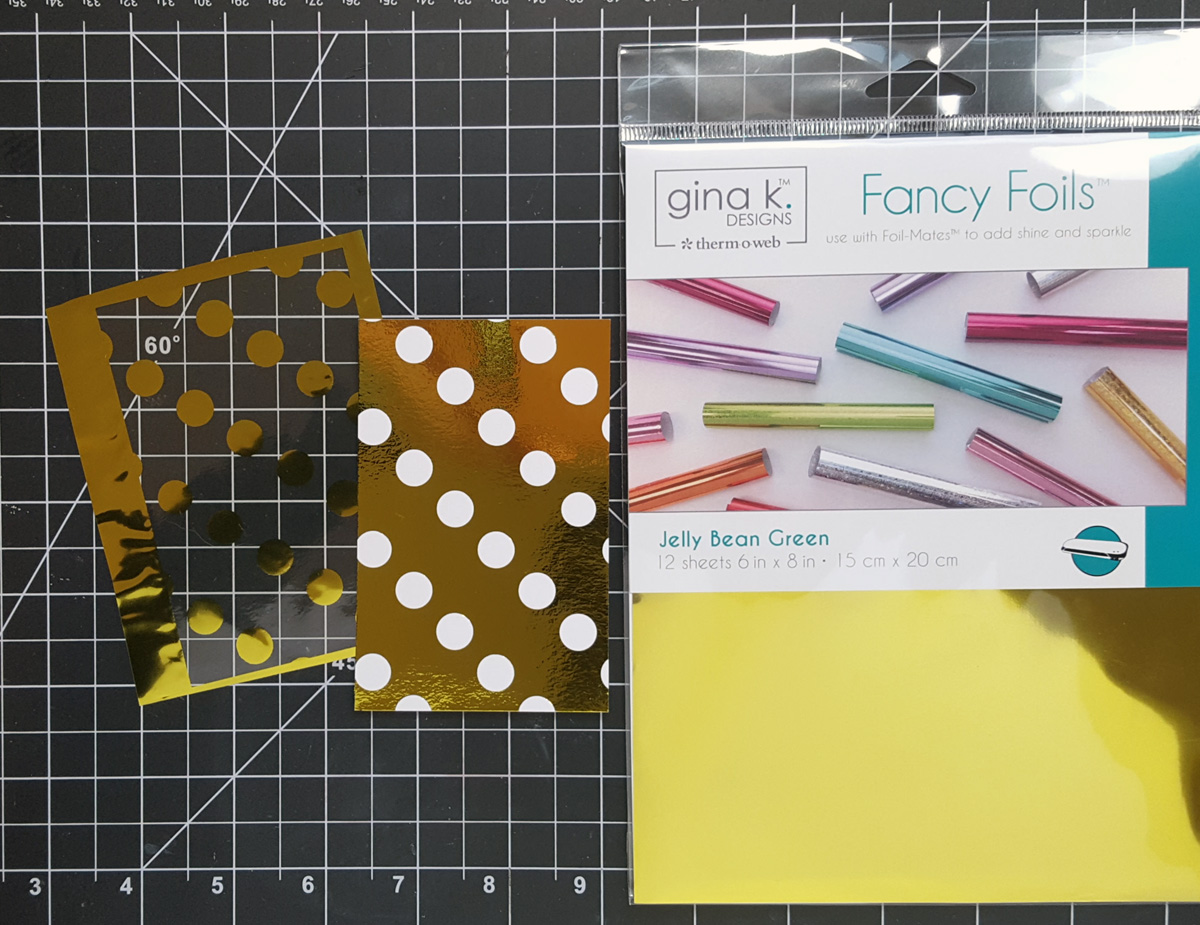
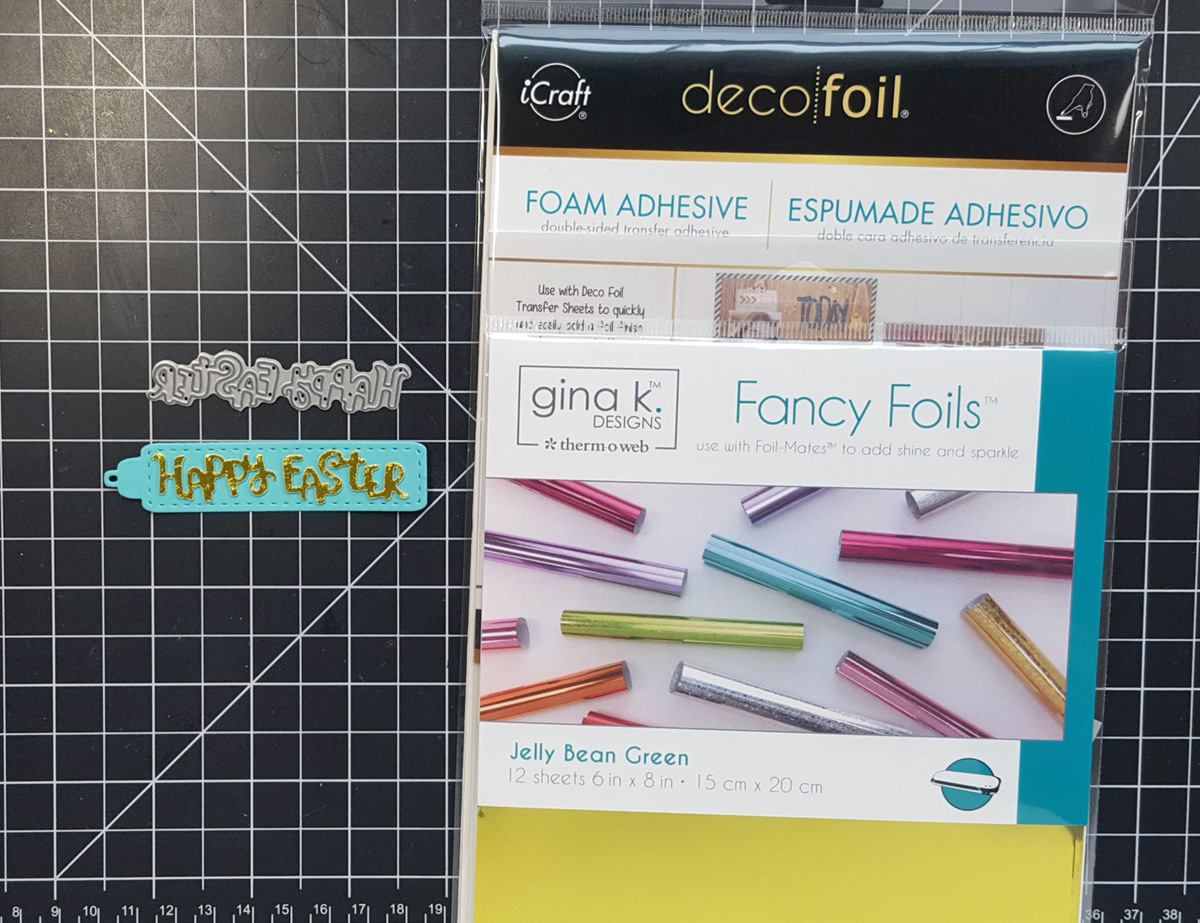 For my sentiment, I die-cut Deco Foil Foam Adhesive with Newton's Nook Designs' Spring Pile Up Dies. I removed the liner from the front of the die-cut and applied Gina K. Designs' Jelly Bean Green Foil to it. After die-cutting a teal tag with Whimsy Stamps' Bookmark and Tags Dies, I adhered the foiled die-cut to the tag.
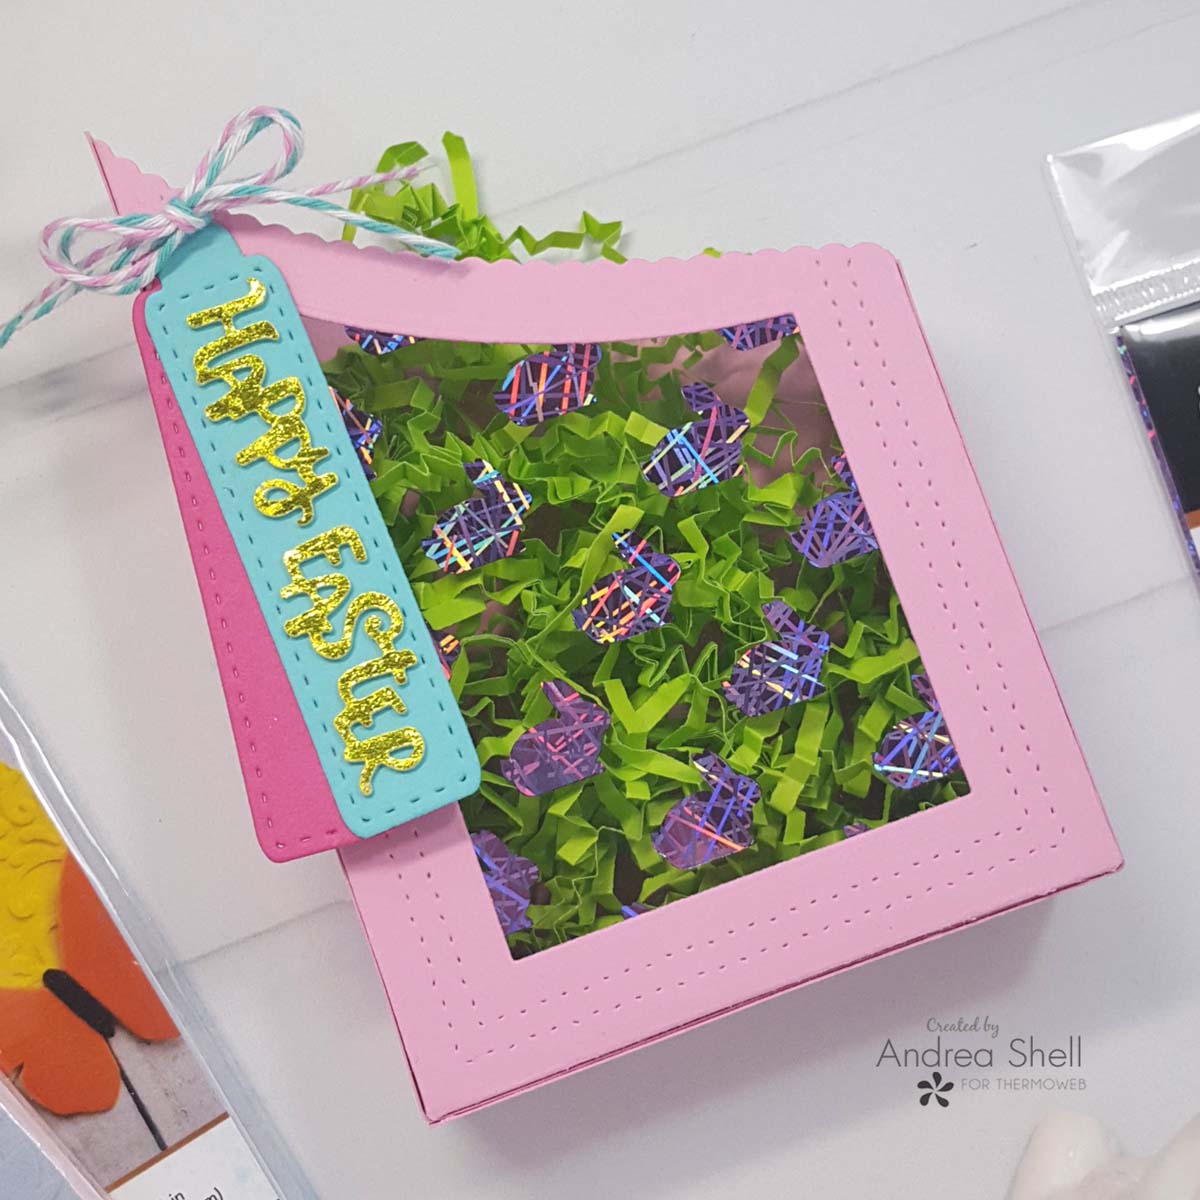 To embellish the box, I die-cut a pink tag and adhered it to the teal one with Ultra Bond Adhesive. I punched a hole through the box, threaded twine through the hole and tags, and tied a bow. There you have it - a fun and cute Easter treat box!
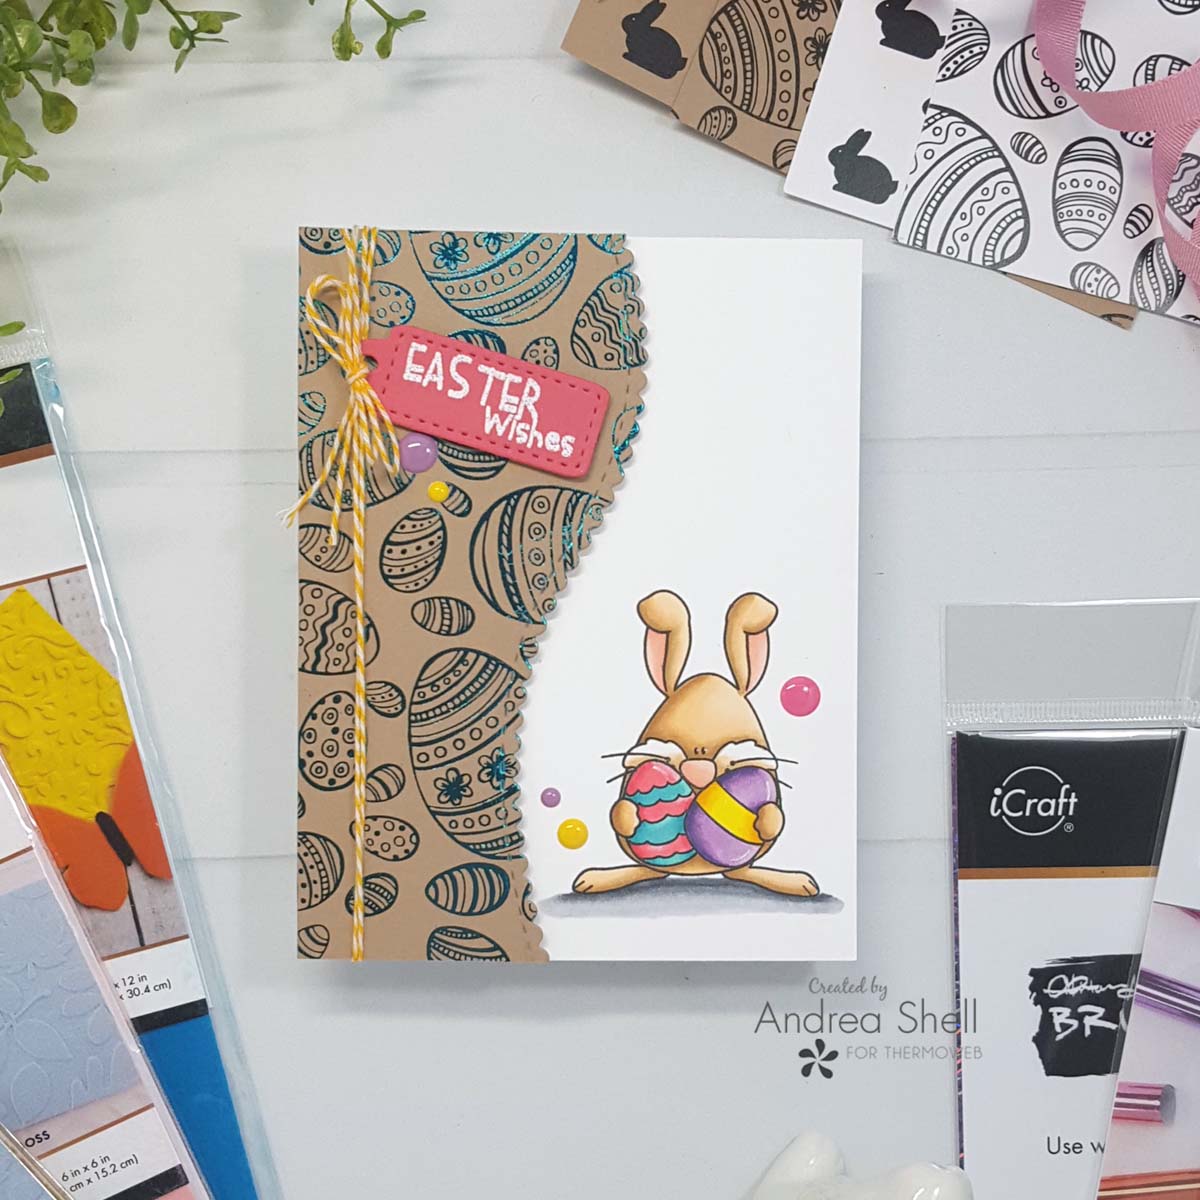 My first card features one of the Kraft Basket of Fun Deco Foil Toner Card Fronts and an adorable Easter bunny from Whimsy Stamps.
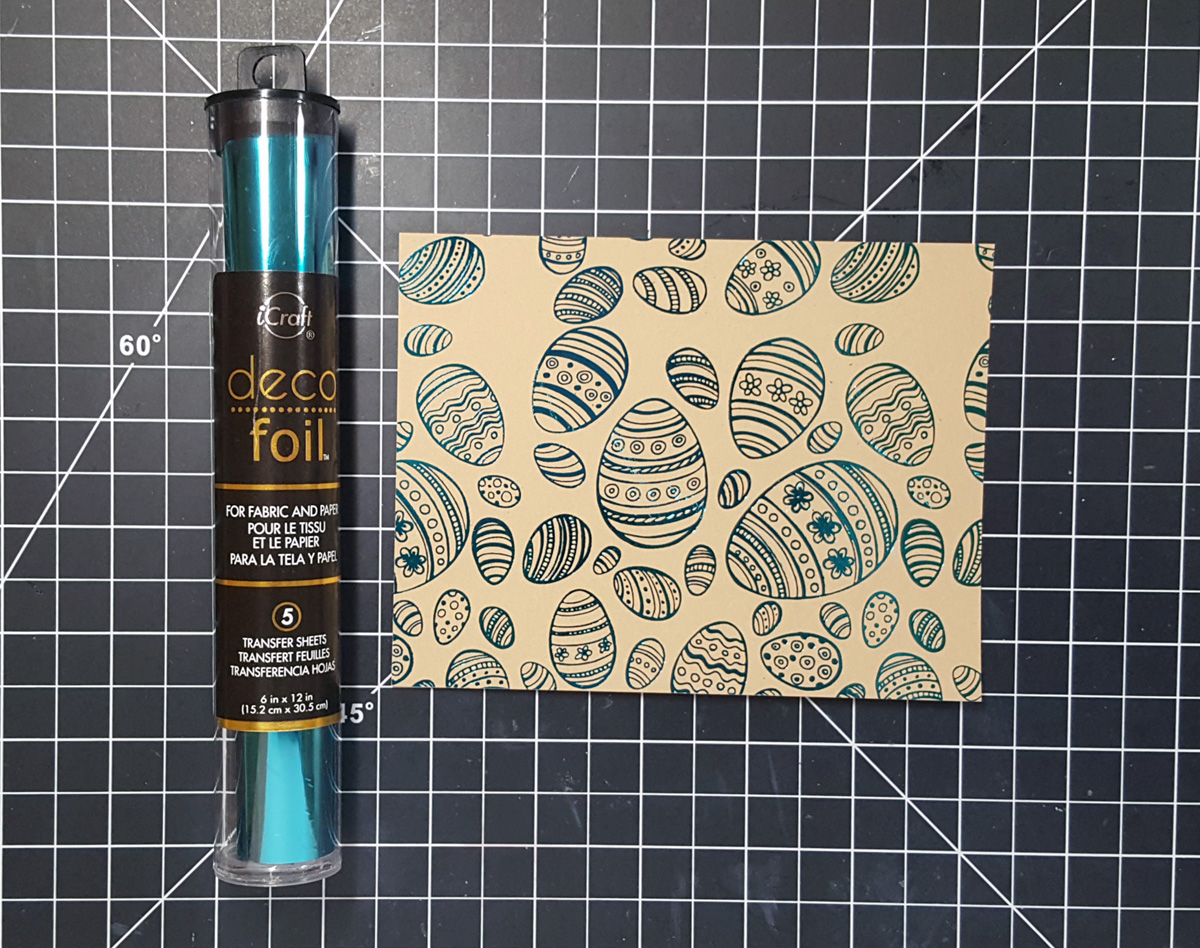 Using my laminator, I applied Teal Deco Foil to the egg paper.
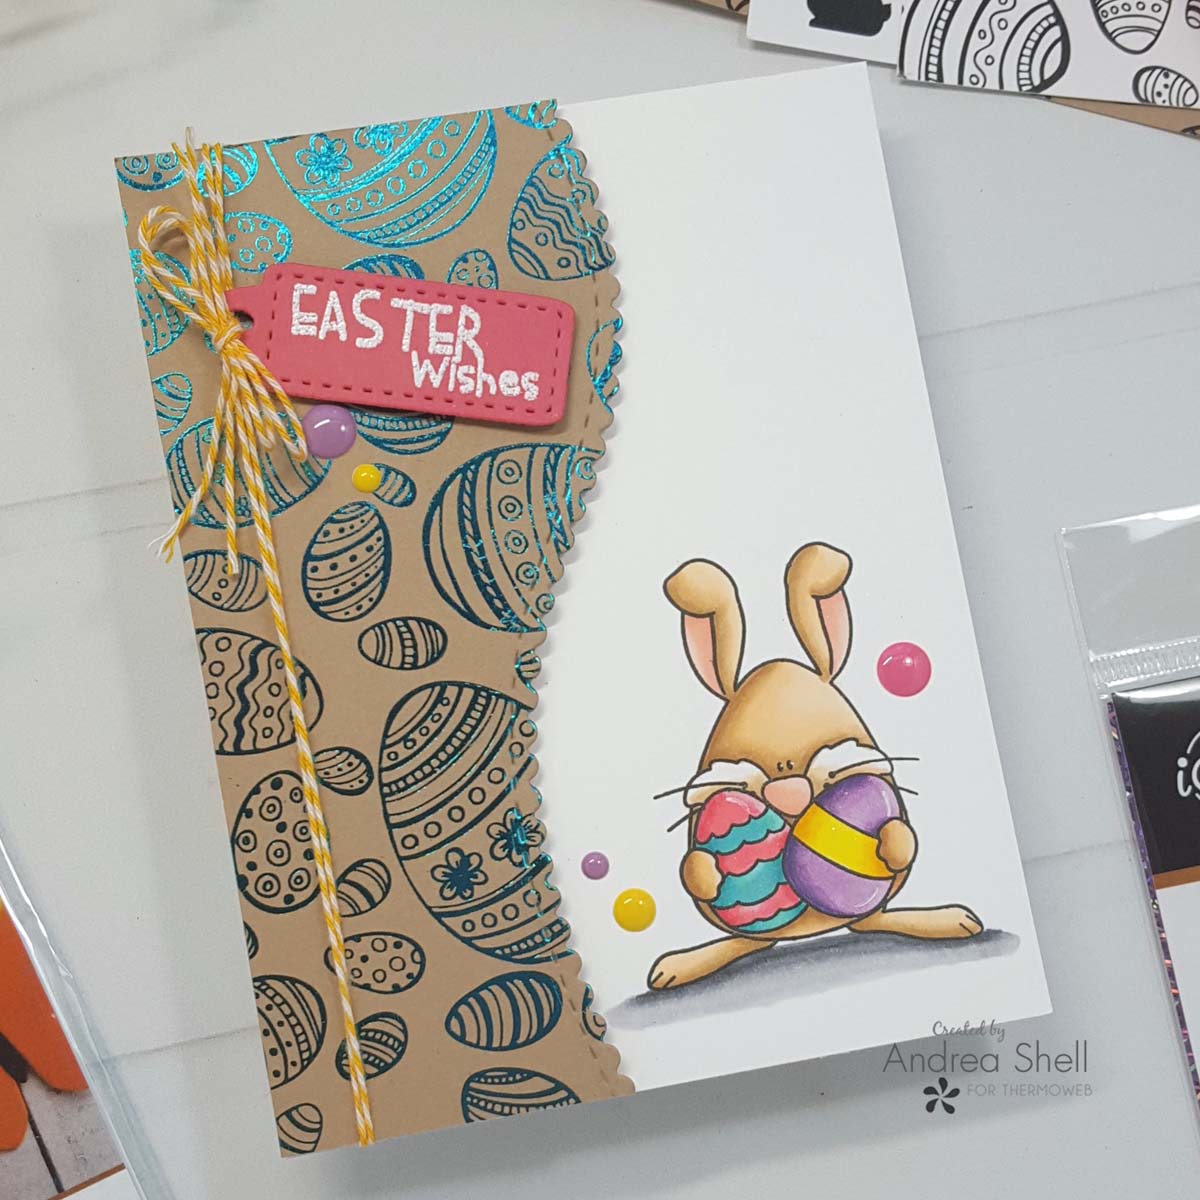 Onto an A2 panel of white cardstock, I stamped the bunny from Whimsy Stamps' Spring Bunnies set. I colored him with Copics and added highlights with a white gel pen. I adhered the panel to a white card with the Memory Tape Runner XL.
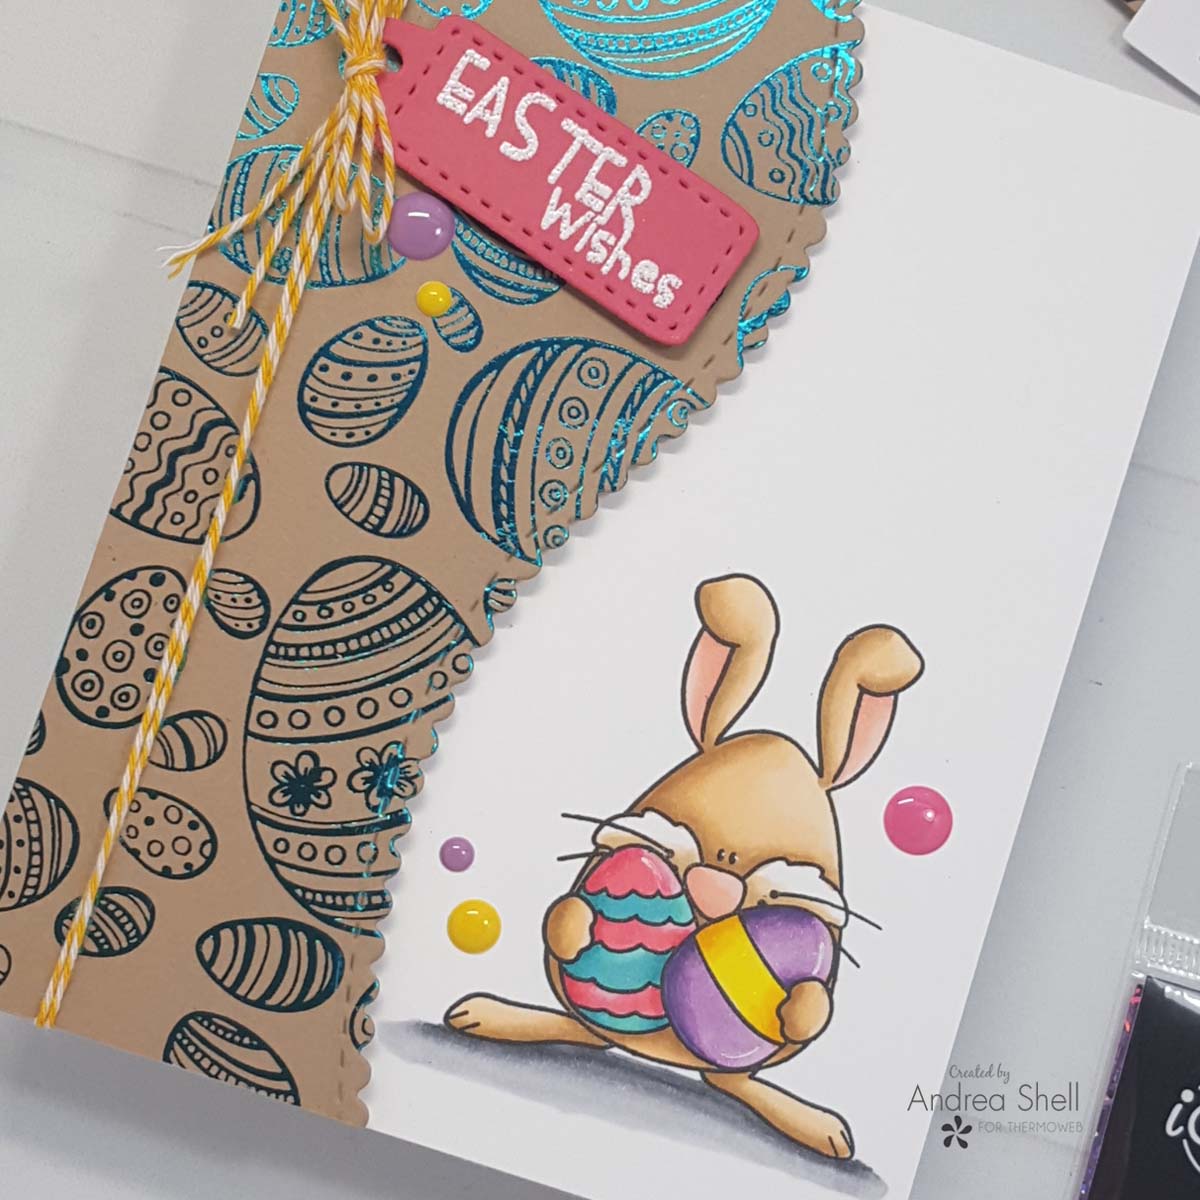 I die-cut a pink tag with the Bookmark and Tags Dies and white heat-embossed a sentiment from Spring Bunnies. After die-cutting the foiled panel with Whimsy Stamps' Wavy Edgers Dies, I wrapped some twine around it, threaded it through the tag, and tied a bow. I secured the tag with Gina K. Designs' White Foam Squares and adhered the panel to the card with Gina K. Designs' White Foam Tape. Finally, I brushed clear sparkle over the colored eggs and finished with a scattering of enamel dots.
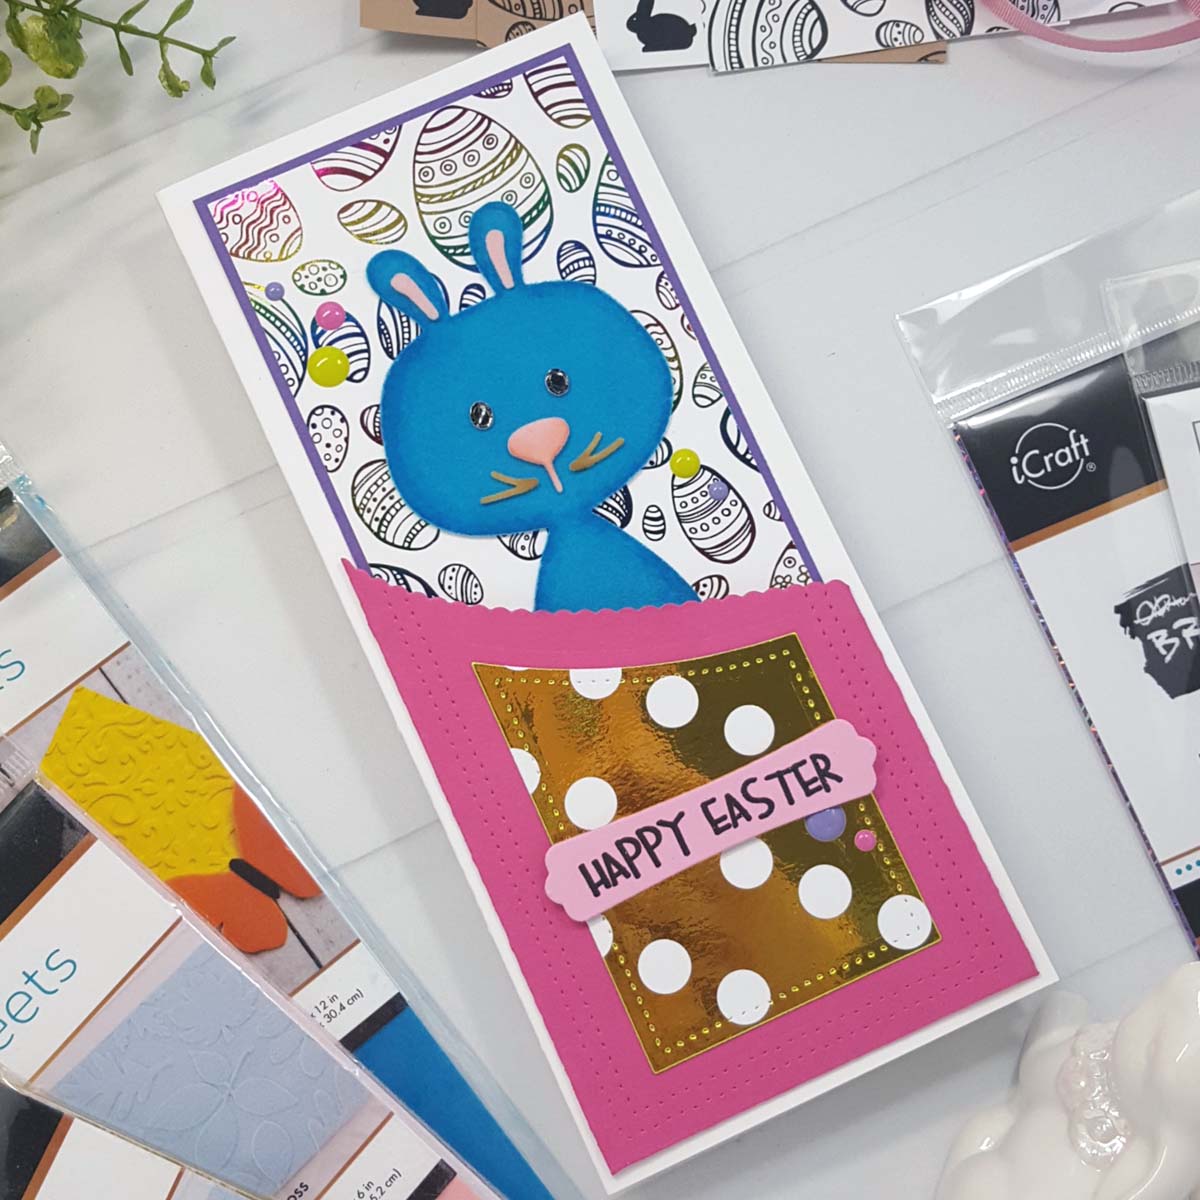
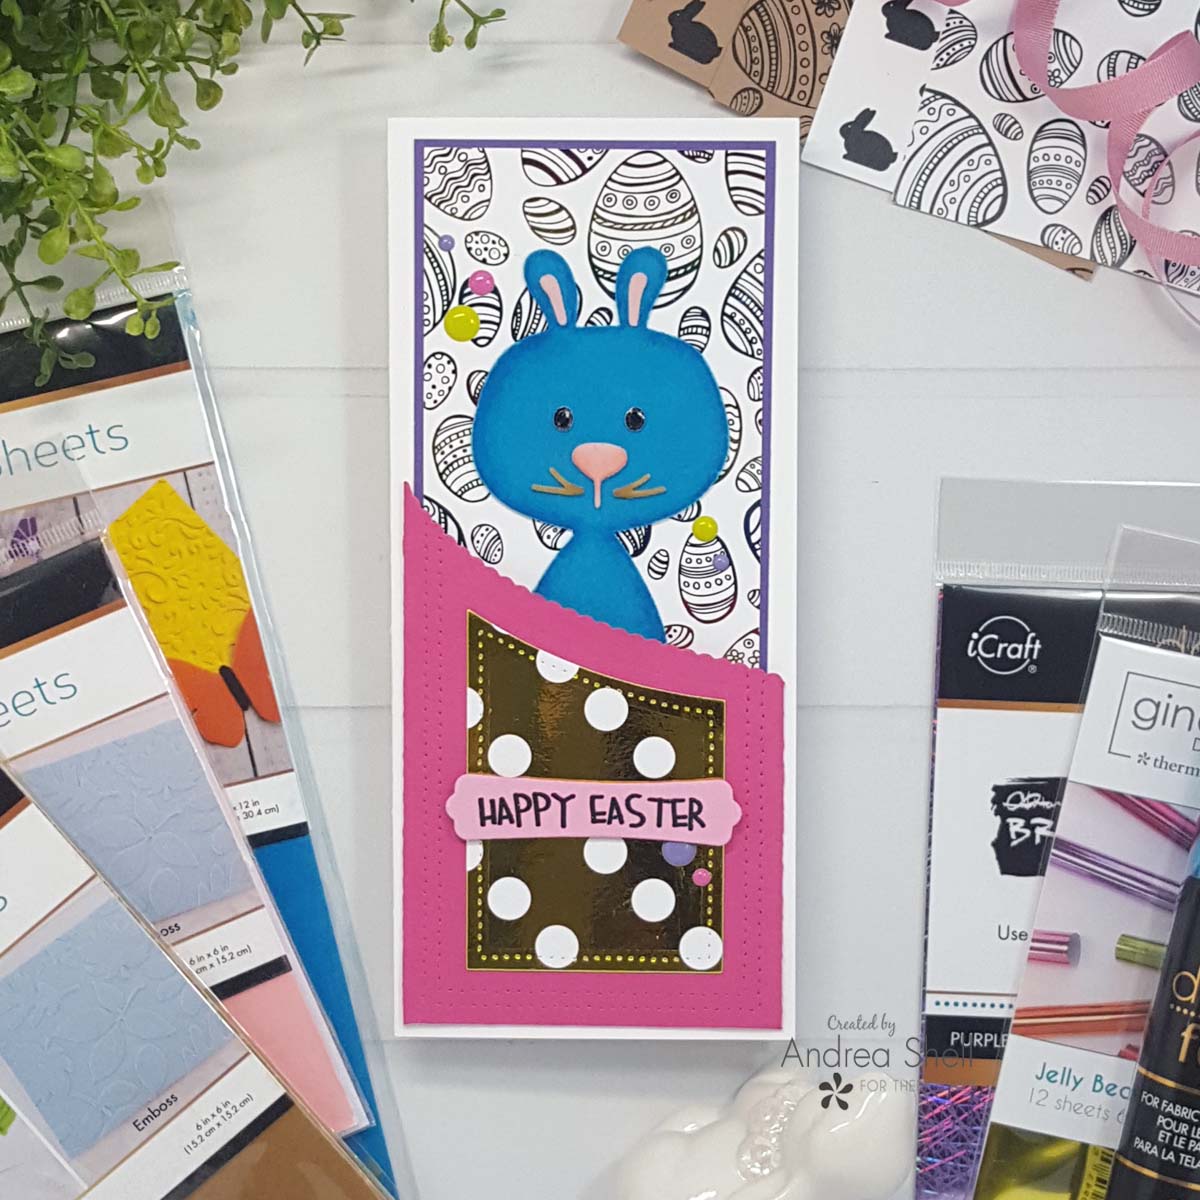 For my final project, I made a slimline card with one of the New Deco Foil Slimline Toner sheets.
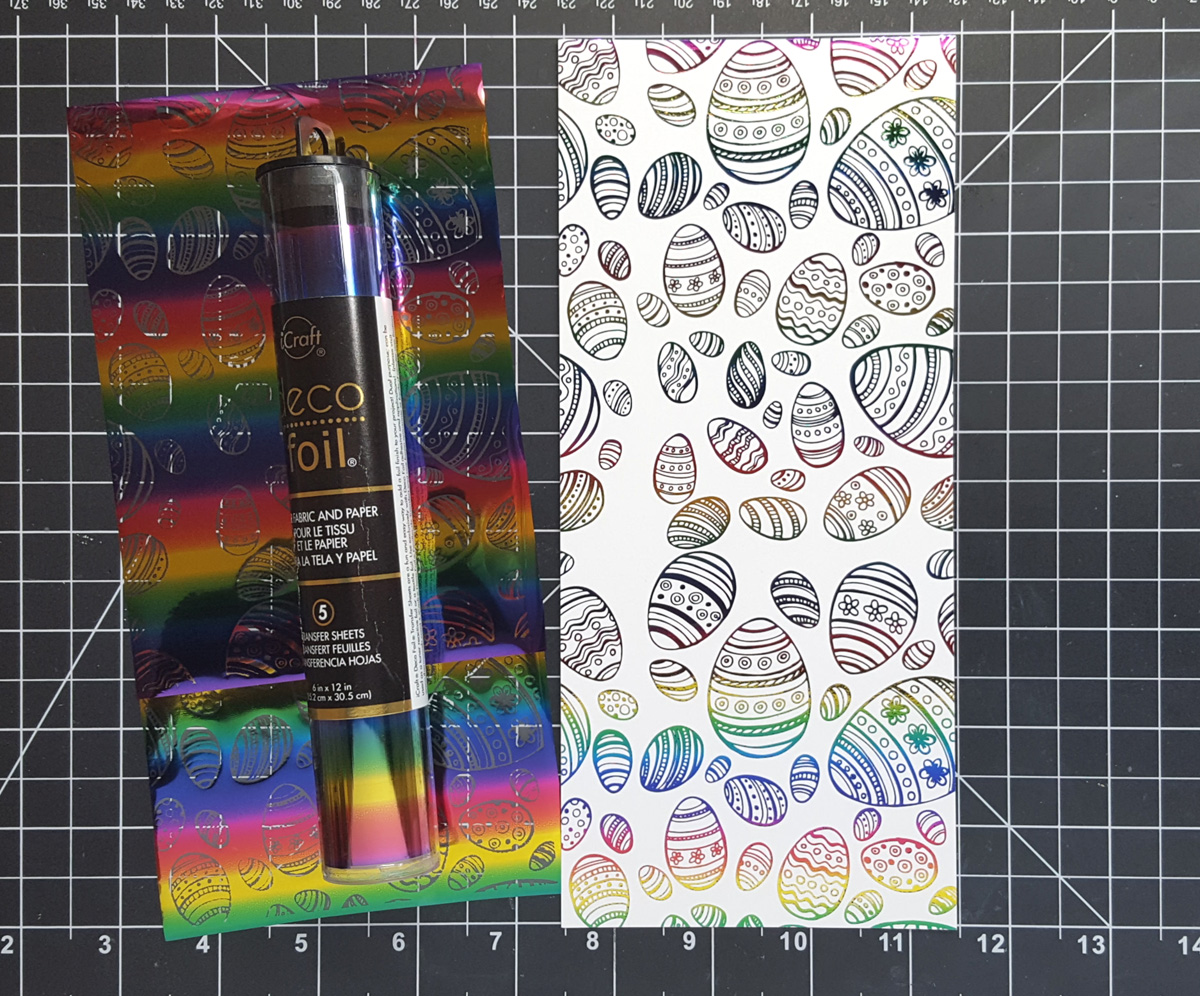 With my laminator, I applied Rainbow Deco Foil to one of the Slimline Basket of Fun Toner Card Front.
 I trimmed a Reverse Polka Toner Card Front in half and applied Gina K. Designs Jelly Bean Green Foil to it with my laminator.
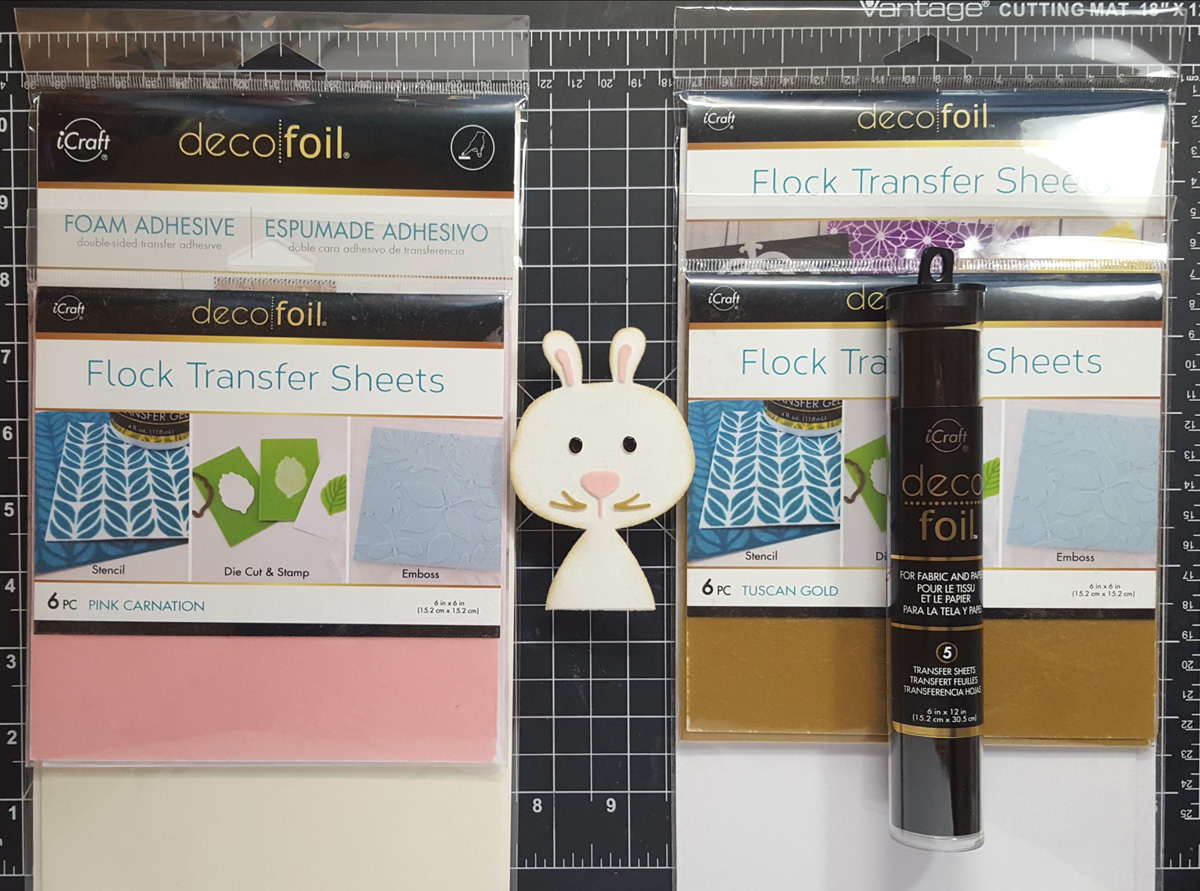 The above photo shows the first bunny I made, not the one I ended up using, which I forgot to photograph. The steps are the same, however. Using C.C. Designs' Bunny Accessories Dies, I die-cut the various elements from Deco Foil Foam Adhesive. I then used my die-cutting machine to transfer Deco Foil Flock to the pieces. The colors I used are Blue Diamond (White Latte is pictured), Pink Carnation, and Tuscan Gold. For the eyes I used Black Deco Foil.
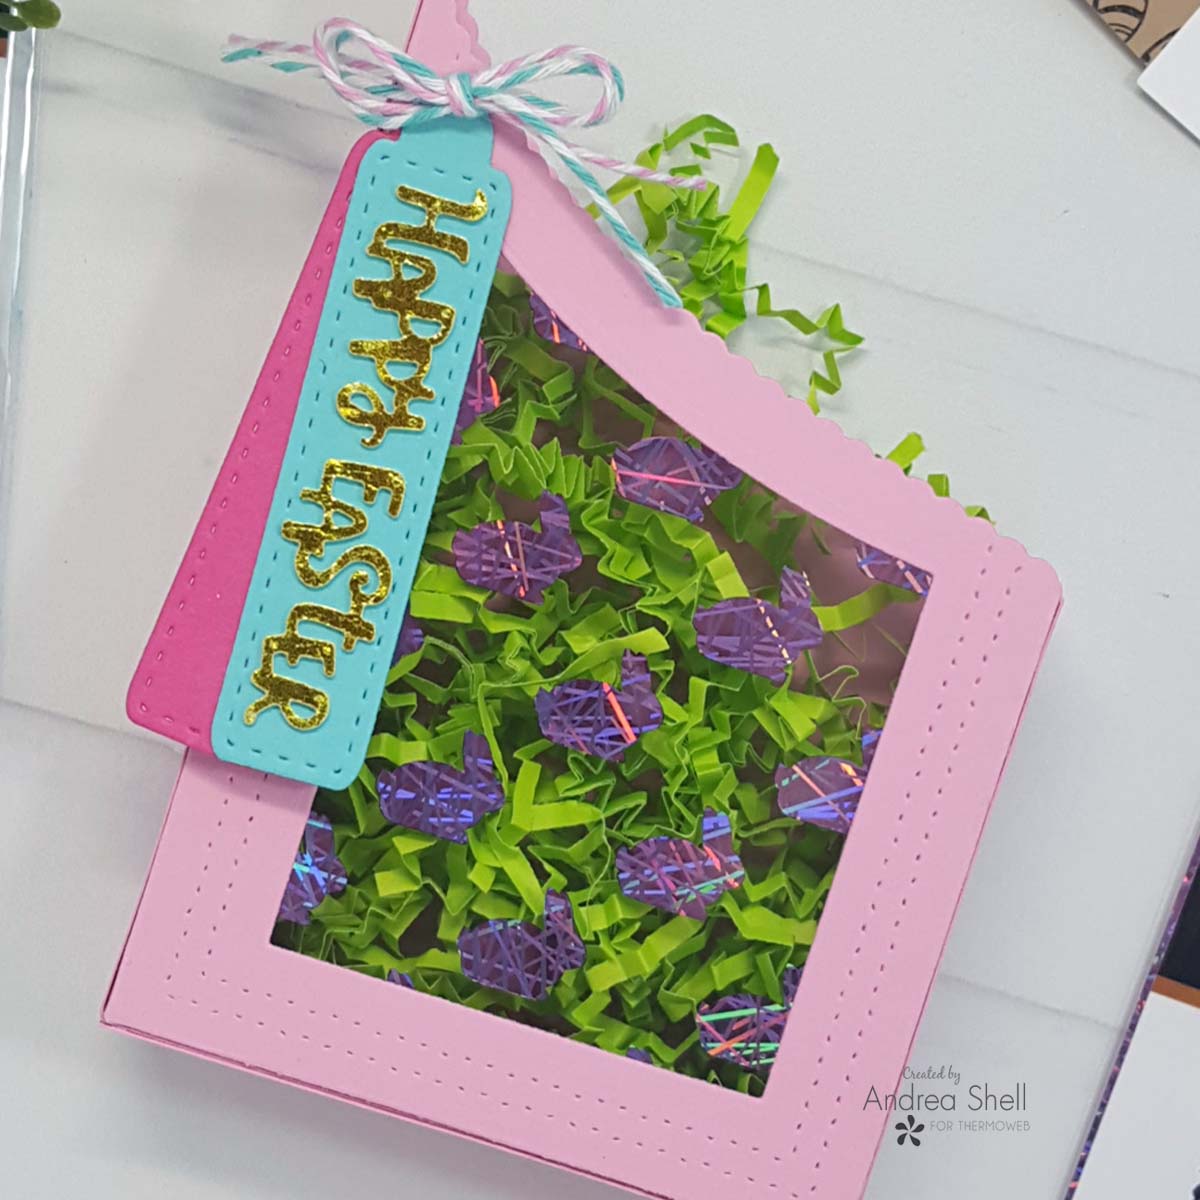
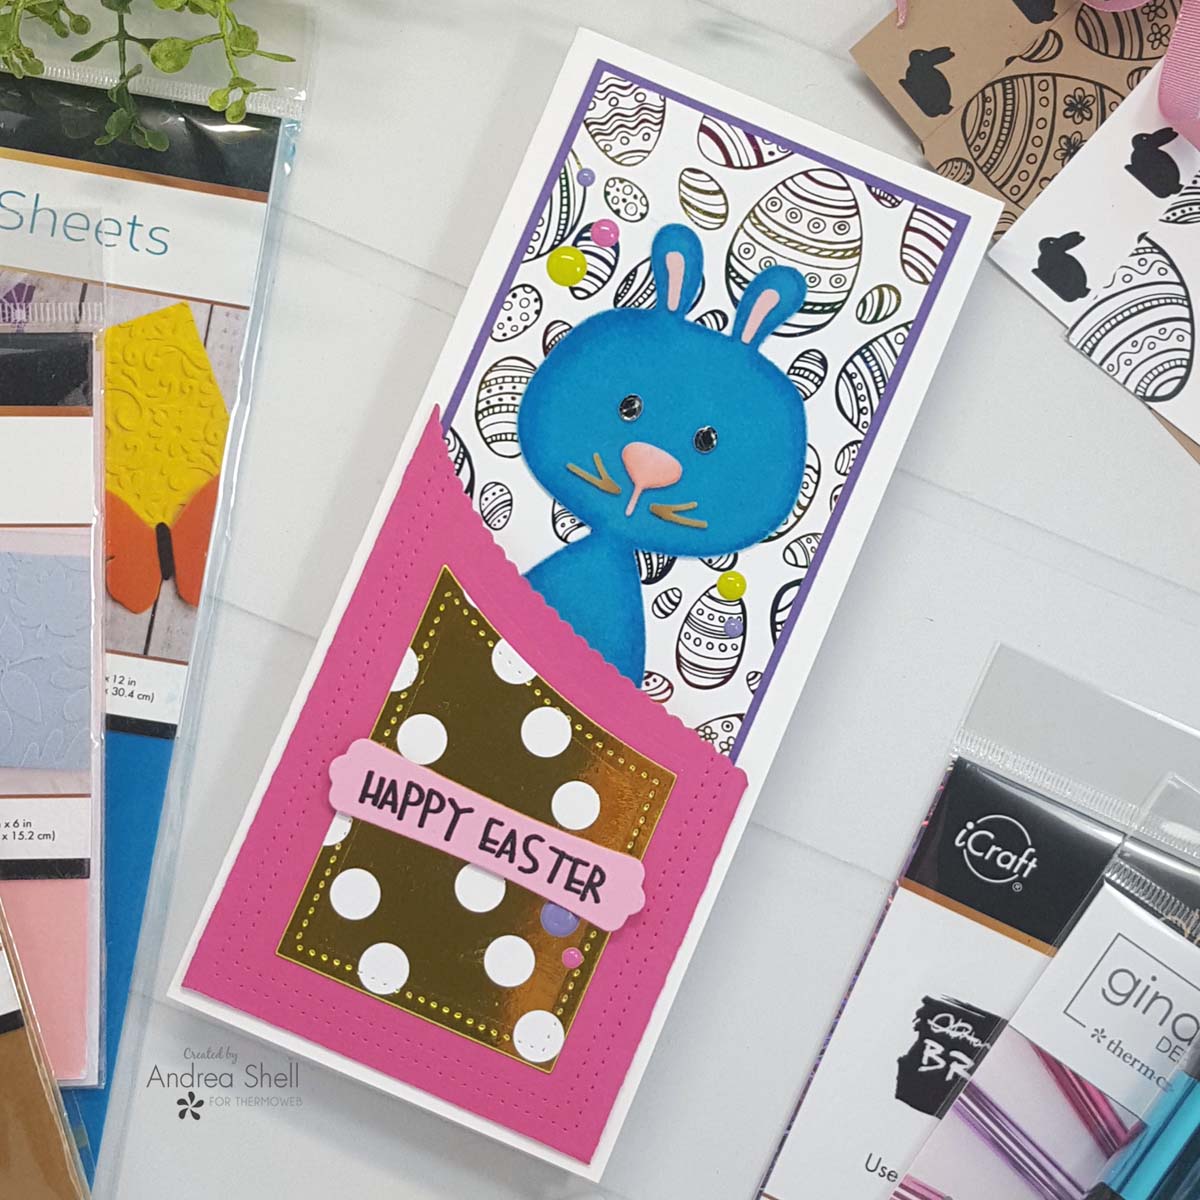 I trimmed down the foiled egg panel and matted it with purple cardstock using the Memory Tape Runner XL. I die-cut the pocket from pink cardstock and attached it to a white card with Easy-Tear Tape. I adhered the matted egg panel with the tape runner.
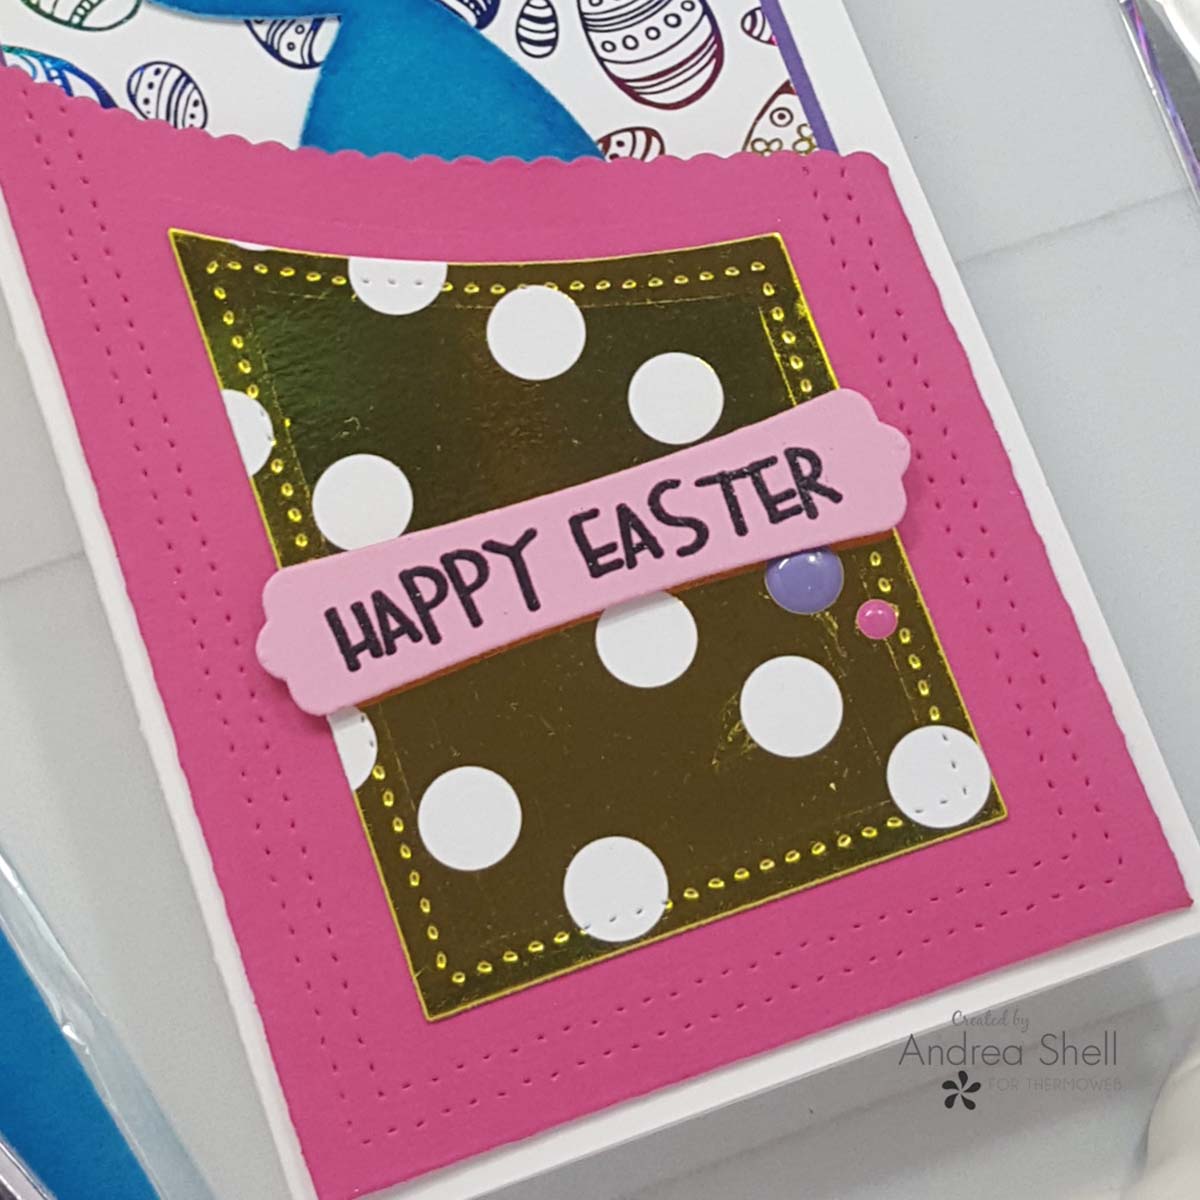 I die-cut the Reverse Polka Dot card front with the smaller pocket die and adhered it with the tape runner. I heat-embossed a sentiment from Spring Bunnies onto a die-cut tag and attached it with Gina K. Designs White Foam Squares.
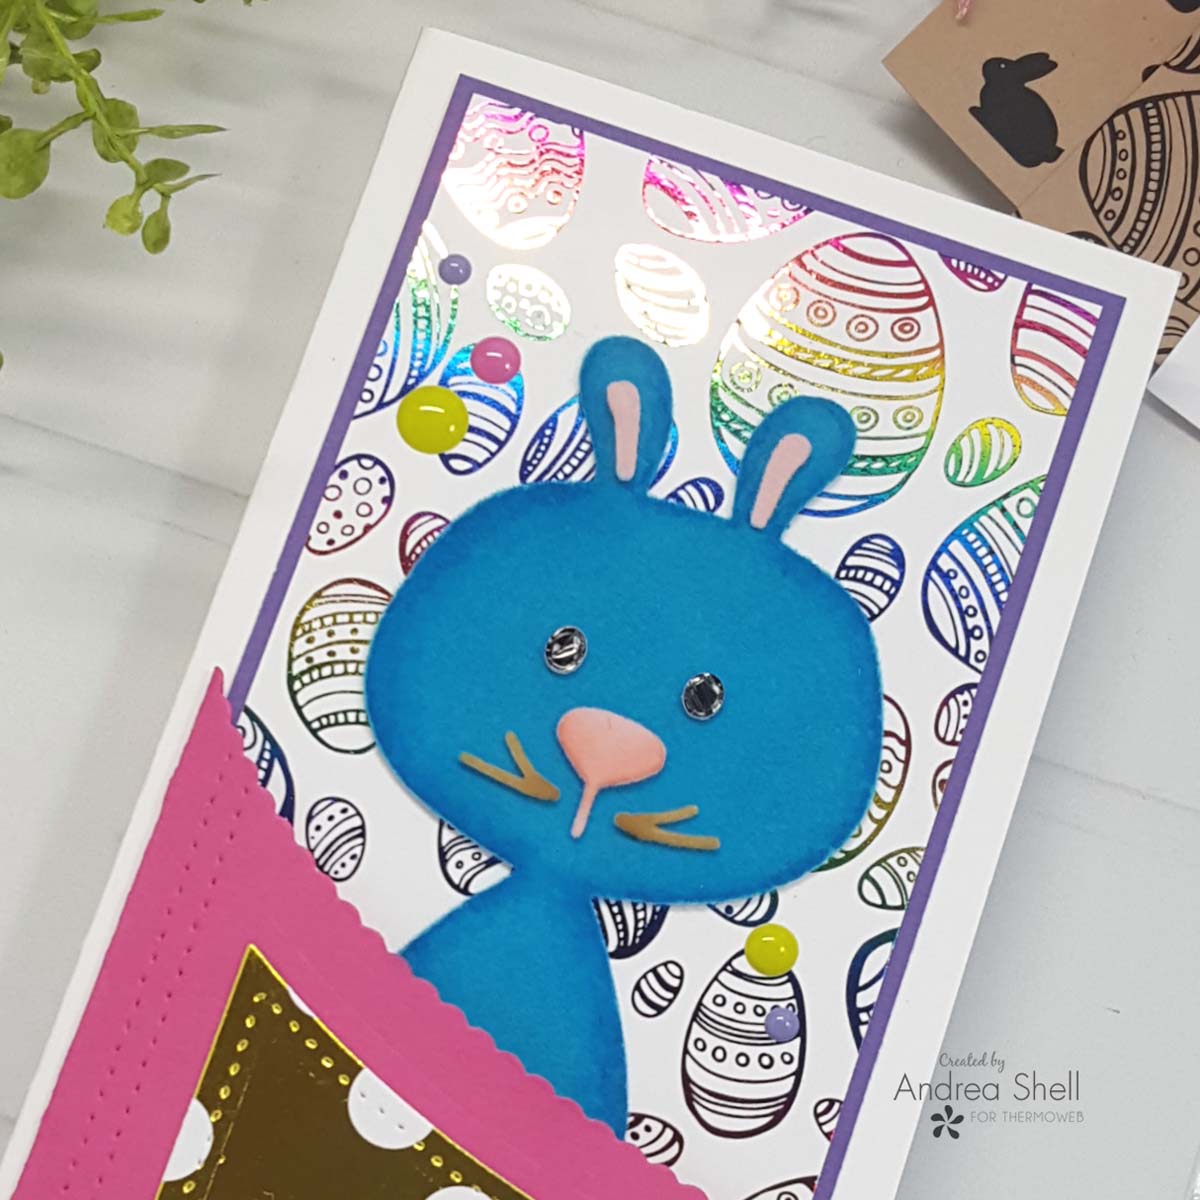 After removing the backing from the bunny, I tucked him into the pocket. I added some shading to the bunny with Copics and added highlights to the eyes with a white gel pen. I finished with a scattering of enamel dots.
 Thanks for stopping by!
*Affiliate links used at no cost to you.
Therm O Web Products:
Deco Foil Clear Designer Toner Sheets - Basket of Fun
Deco Foil Kraft Toner Card Fronts - Basket of Fun
Deco Foil Slimline Toner Card Fronts - Basket of Fun
Deco Foil Transfer Sheets - Teal
Deco Foil Transfer Sheets - Rainbow
Deco Foil Transfer Sheets - Black
Gina K. Designs Fancy Transfer Foil - Jelly Bean Green
Brutus Monroe Foil Transfer Sheets - Purple Sketch
Deco Foil Foam Adhesive
Gina K. Designs White Foam Tape
Gina K Designs White Foam Squares
iCraft Easy-Tear Tape 1/4"
Memory Tape Runner XL
Ultra Bond Adhesive
Metal Tips for Liquid Adhesive
Deco Foil Flock - Blue Diamond
Deco Foil Flock - Pink Carnation
Deco Foil Flock - Tuscan Gold
Other Products:
Whimsy Stamps Slimline Scallop Pocket Dies
Whimsy Stamps Bookmark and Tags Dies
Whimsy Stamps Spring Bunnies stamp
Whimsy Stamps Wavy Edgers Dies
Newton's Nook Designs Spring Pile Up Dies
C.C. Designs Bunny Accessories Dies
Thanks for stopping by!
*Affiliate links used at no cost to you.
Therm O Web Products:
Deco Foil Clear Designer Toner Sheets - Basket of Fun
Deco Foil Kraft Toner Card Fronts - Basket of Fun
Deco Foil Slimline Toner Card Fronts - Basket of Fun
Deco Foil Transfer Sheets - Teal
Deco Foil Transfer Sheets - Rainbow
Deco Foil Transfer Sheets - Black
Gina K. Designs Fancy Transfer Foil - Jelly Bean Green
Brutus Monroe Foil Transfer Sheets - Purple Sketch
Deco Foil Foam Adhesive
Gina K. Designs White Foam Tape
Gina K Designs White Foam Squares
iCraft Easy-Tear Tape 1/4"
Memory Tape Runner XL
Ultra Bond Adhesive
Metal Tips for Liquid Adhesive
Deco Foil Flock - Blue Diamond
Deco Foil Flock - Pink Carnation
Deco Foil Flock - Tuscan Gold
Other Products:
Whimsy Stamps Slimline Scallop Pocket Dies
Whimsy Stamps Bookmark and Tags Dies
Whimsy Stamps Spring Bunnies stamp
Whimsy Stamps Wavy Edgers Dies
Newton's Nook Designs Spring Pile Up Dies
C.C. Designs Bunny Accessories Dies
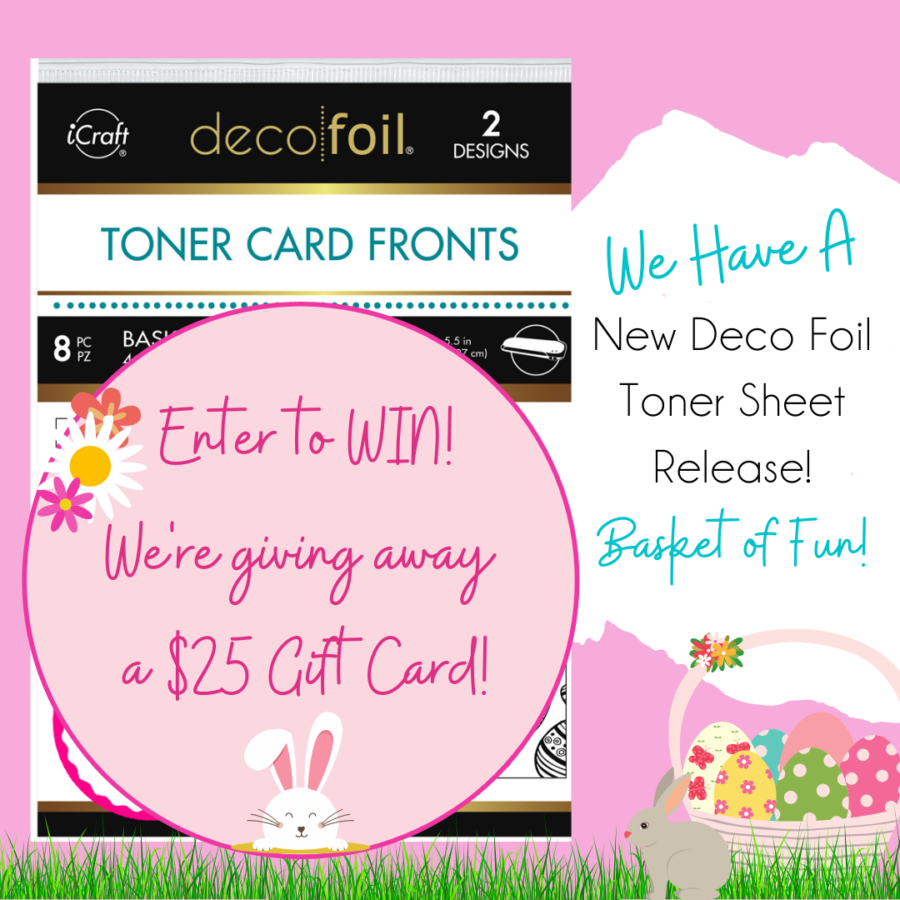 And that's not all! It would not be a new release if we didn't offer a GIVEAWAY! Because let's face it...we ALL love them!
This post contains affiliate links. For more information, see our disclosure HERE.
 
And that's not all! It would not be a new release if we didn't offer a GIVEAWAY! Because let's face it...we ALL love them!
This post contains affiliate links. For more information, see our disclosure HERE.