No Products in the Cart



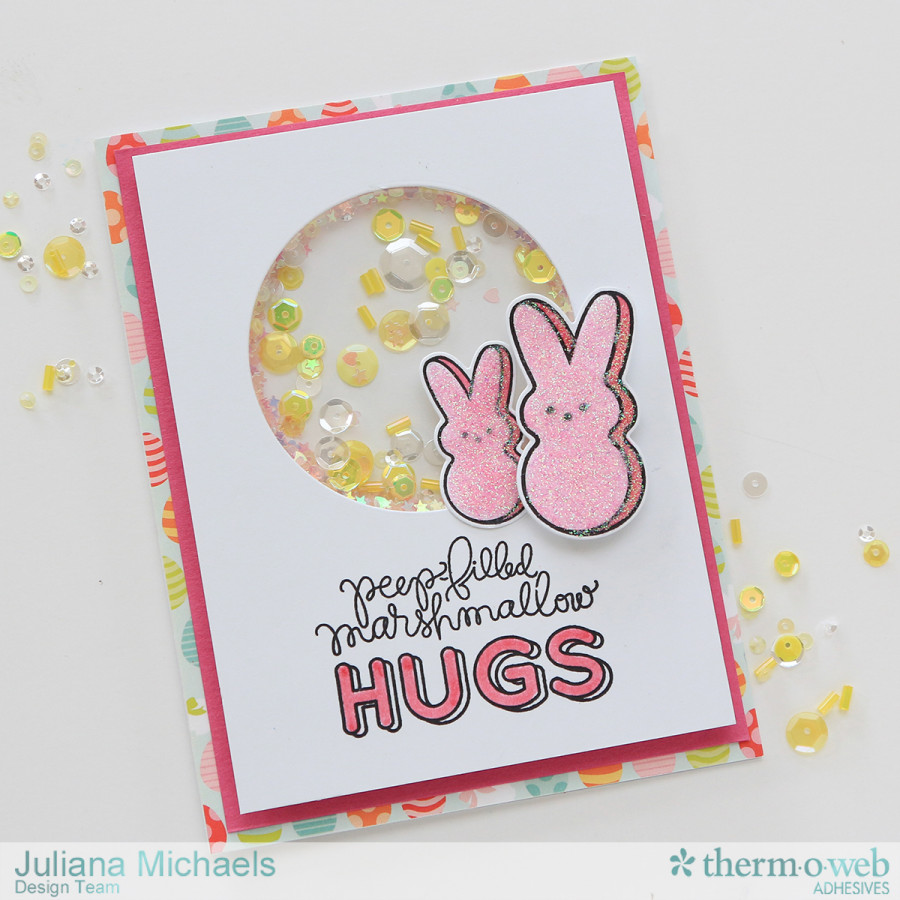
iCraft® Adhesive Sheets and Fun Foam Easter Shaker Box Card Tutorial
This tutorial creates a shaker box card that measures 4.25 x 5.5 inches. The shaker box is layered on to a piece of cardstock that measures 4 x 5.25 inches and then onto a piece of patterned paper that measures 4.25 x 5.5. This entire piece is then attached to the A5 card base.
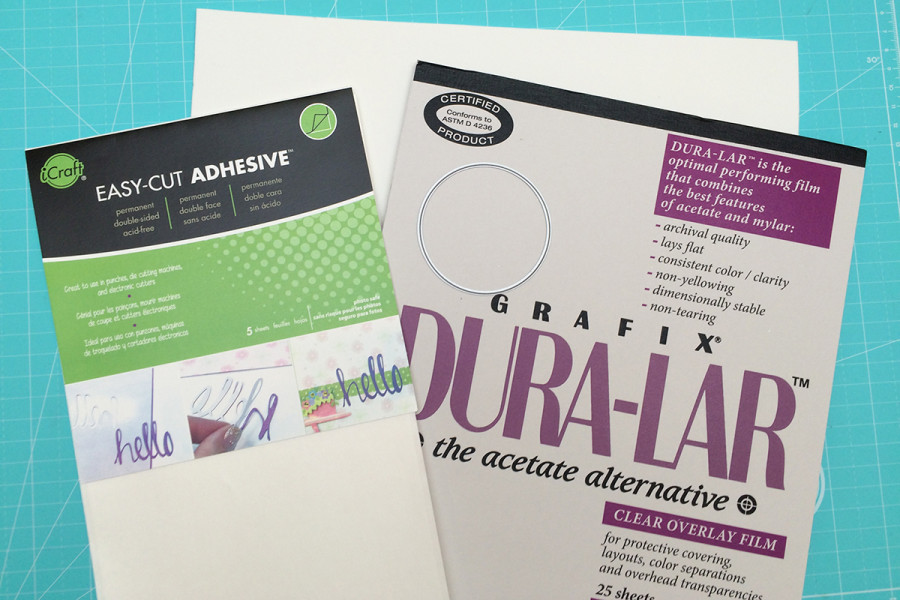 Cut the iCraft Easy-Cut Adhesive Sheet to 3.5 x 4.75 inches – repeat this until you have 3 pieces each measuring 3.5 x 4.75 inches.
Cut the Fun Foam to to 3.5 x 4.75 inches – repeat this until you have 2 pieces each measuring 3.5 x 4.75 inches. By doubling up on the foam, the shaker part will be deeper and allow you to add more sequins.
Cut the Transparency to to 3.5 x 4.75 inches. This will cover the shaker box to help hold the sequins inside the shaker box and allow you to see what is inside.
Cut a piece of paper to 3.5 x 4.75 inches. This will be the paper that covers the backside of the shaker and will help hold the sequins inside the shaker box. You will adhere this piece at the very end.
Cut the iCraft Easy-Cut Adhesive Sheet to 3.5 x 4.75 inches – repeat this until you have 3 pieces each measuring 3.5 x 4.75 inches.
Cut the Fun Foam to to 3.5 x 4.75 inches – repeat this until you have 2 pieces each measuring 3.5 x 4.75 inches. By doubling up on the foam, the shaker part will be deeper and allow you to add more sequins.
Cut the Transparency to to 3.5 x 4.75 inches. This will cover the shaker box to help hold the sequins inside the shaker box and allow you to see what is inside.
Cut a piece of paper to 3.5 x 4.75 inches. This will be the paper that covers the backside of the shaker and will help hold the sequins inside the shaker box. You will adhere this piece at the very end.
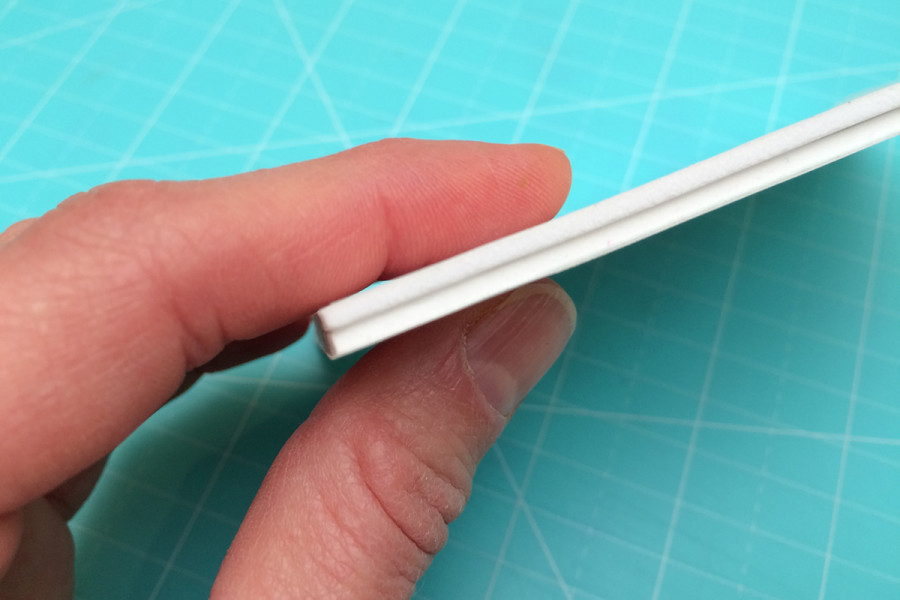
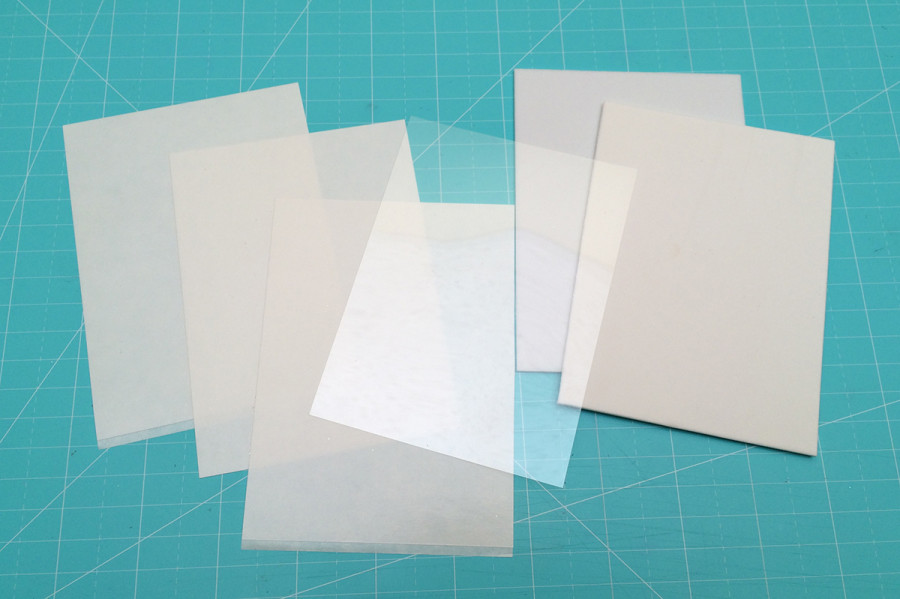 After you have everything cut out, adhere the iCraft Easy-Cut Adhesive Sheet to the Fun Foam. You will alternate layering them – adhesive sheet, fun foam, adhesive sheet, fun foam, adhesive sheet. Do not remove the liner from the top of the top adhesive sheet or from the bottom of the bottom adhesive sheet.
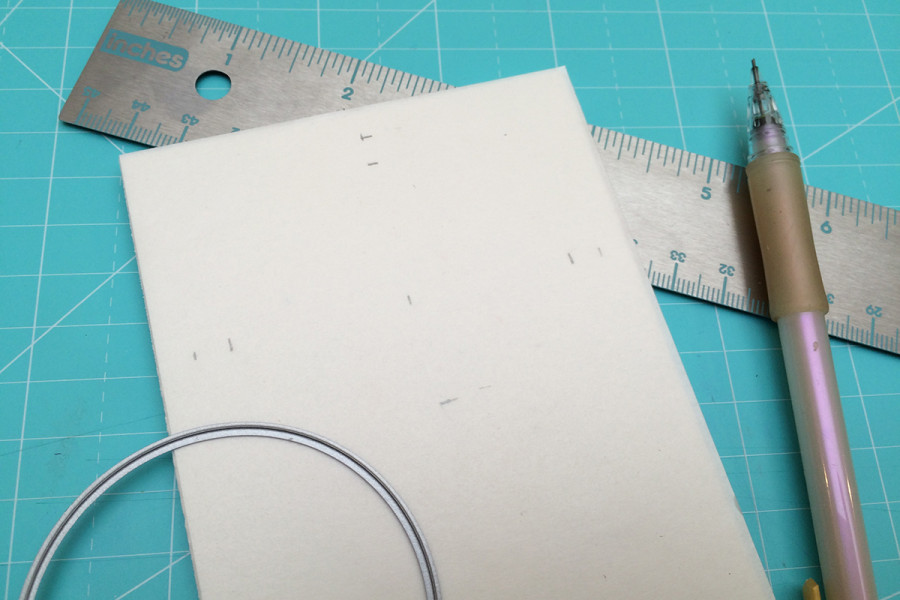
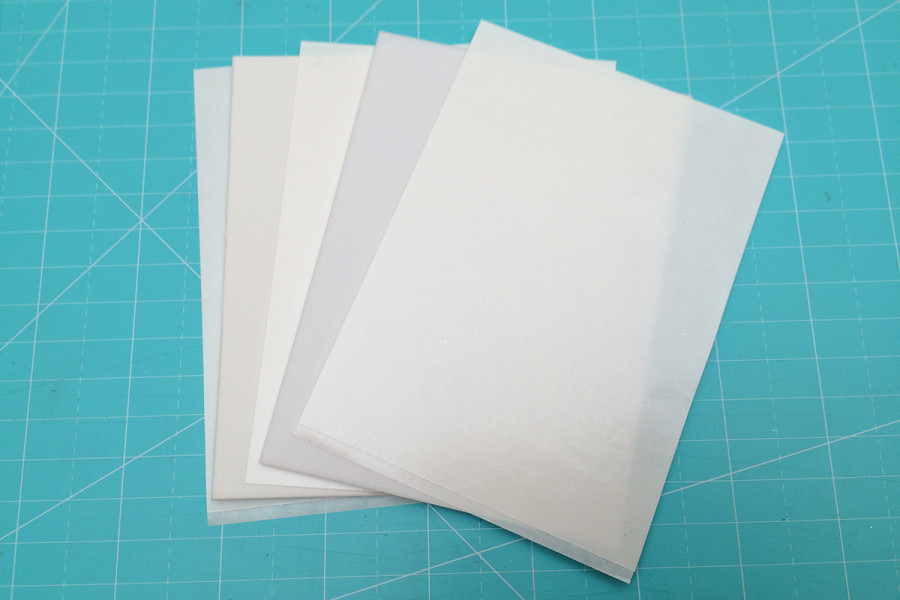 Once your adhesive and fun foam “sandwich” is complete, use a ruler and pencil to determine where to place the circle die to cut out the opening for your shaker.
 Measure a ½ inch from the top and sides of the adhesive and fun foam “sandwich”.
 Center a 2.5 inch circle die on the sandwich and use washi tape to help hold the die in place. Run this through a die cut machine.
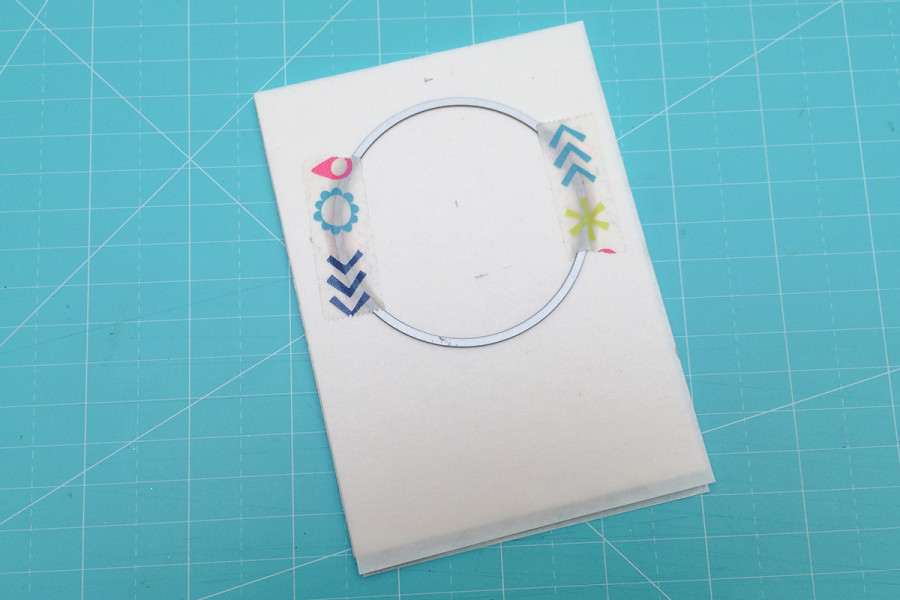 You may need to run this through your die cut machine several times to cut through all of the layers. I used a Cuttlebug and had no difficulty cutting through all of them. Remove the cut circle and discard.
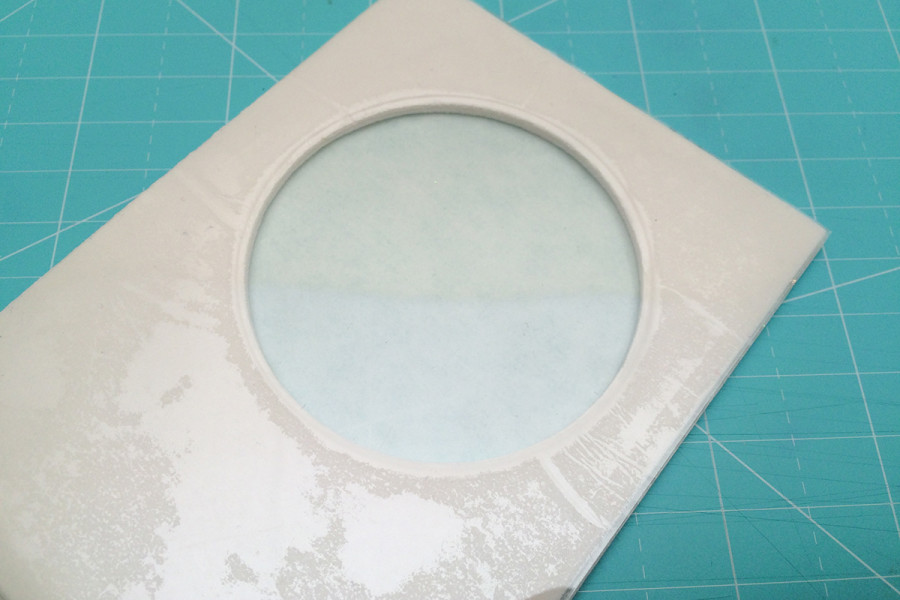
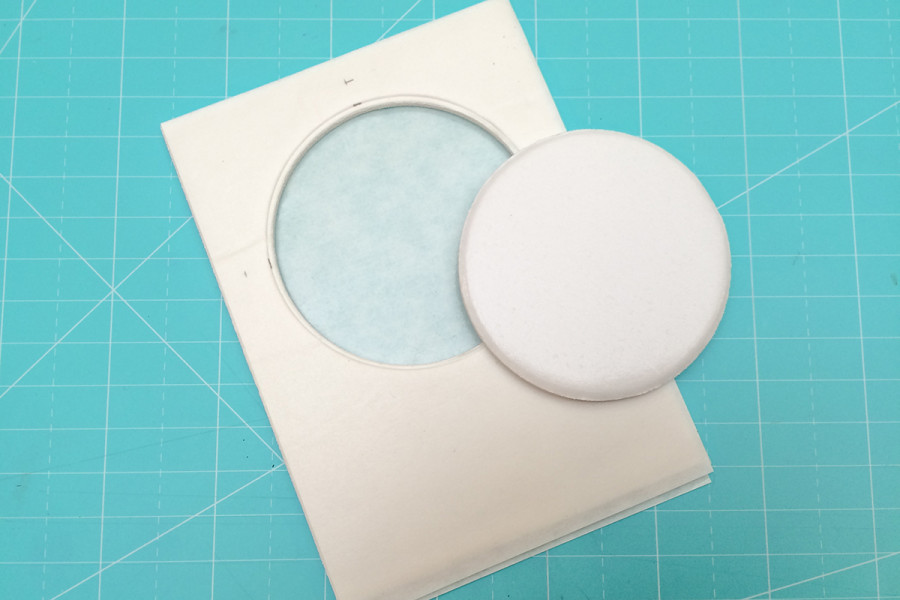 You will now have a hole in your “sandwich”. Remove the liner from the top of the “sandwich” and adhere the clear overlay film.
 Cut a piece of cardstock or paper to 4.25 x 5.5. This will be the top piece of the card. You will trim it down to size after you have die cut the hole for the shaker.
Measure a 3/4 inch from the top and sides of the top paper.
Cut a piece of cardstock or paper to 4.25 x 5.5. This will be the top piece of the card. You will trim it down to size after you have die cut the hole for the shaker.
Measure a 3/4 inch from the top and sides of the top paper.
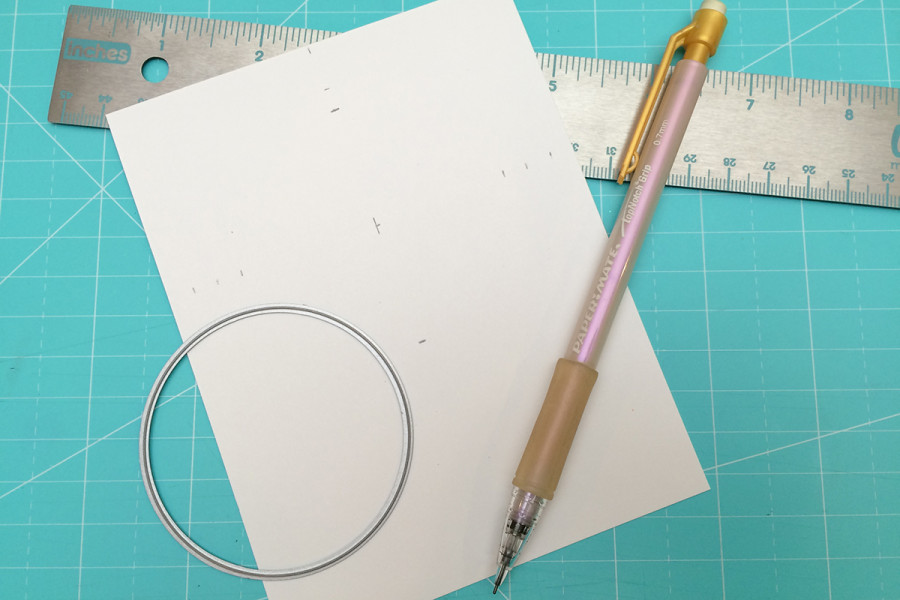 Center a 2.5 inch circle die on the paper and use washi tape to help hold the die in place.
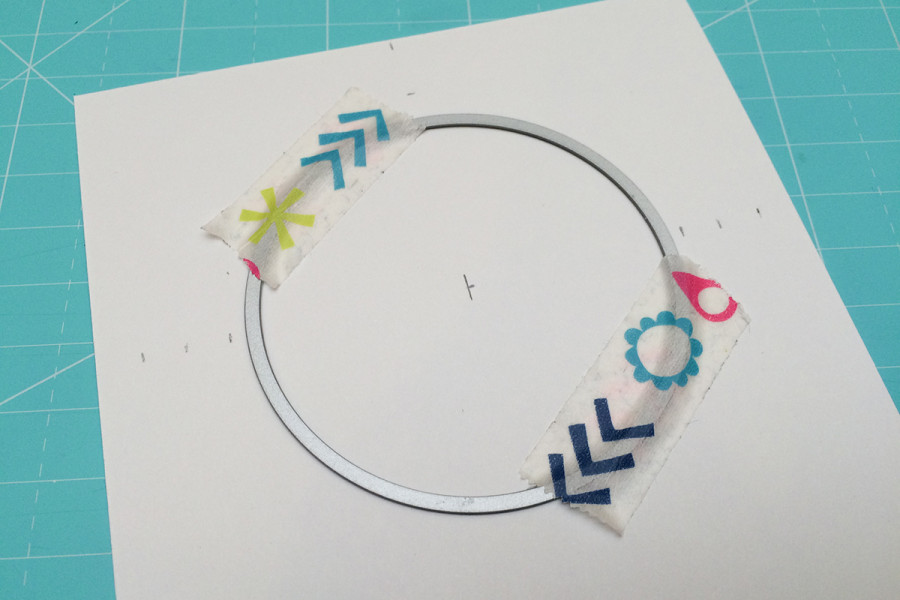 Run this through a die cut machine.
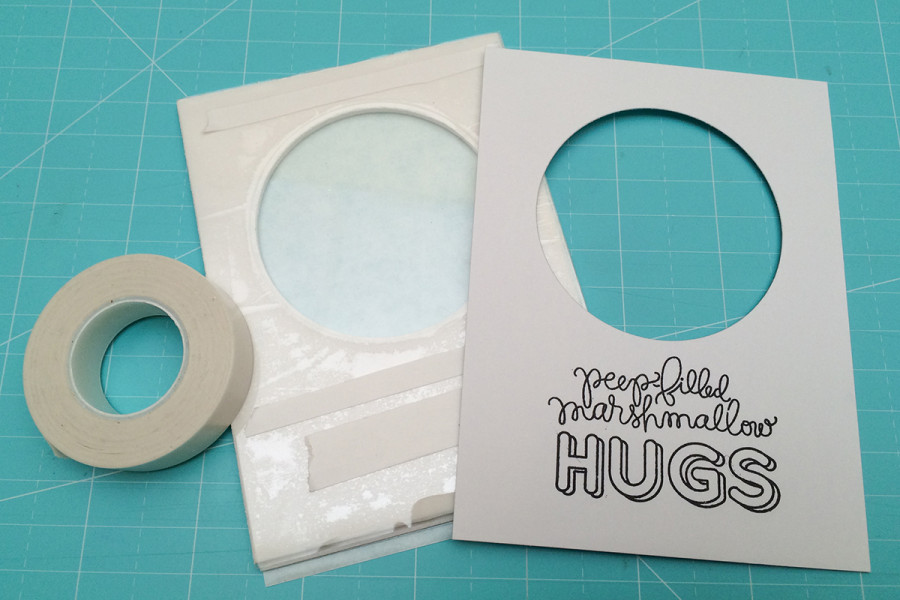
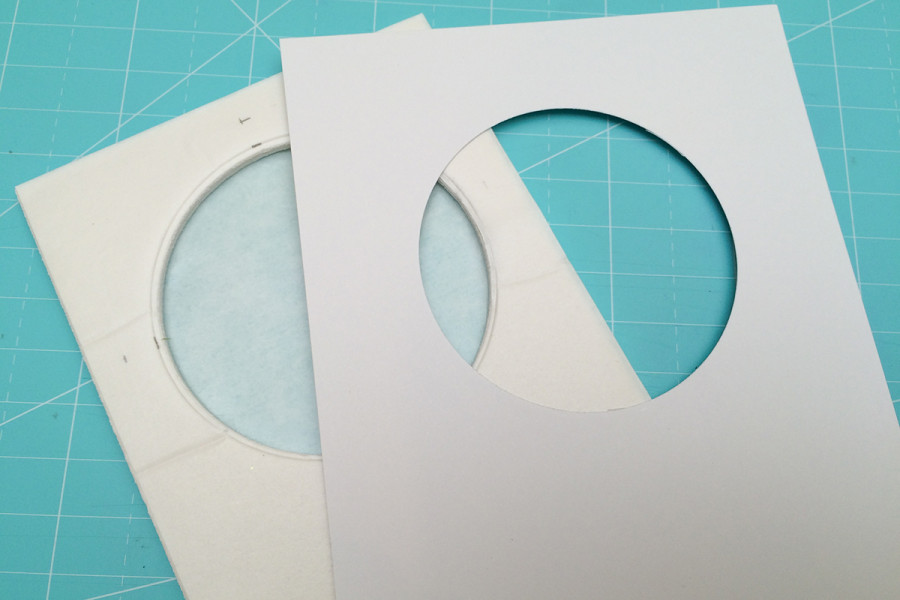 Trim 3/8 inch off the top and ¼ inch off the sides and bottom of the card front. Decorate and embellish the card front with stamps or other accents. Adhere the card front to the top of shaker box using iCraft Easy Tear Tape. Make sure to center the piece and line up the die cut circle openings.
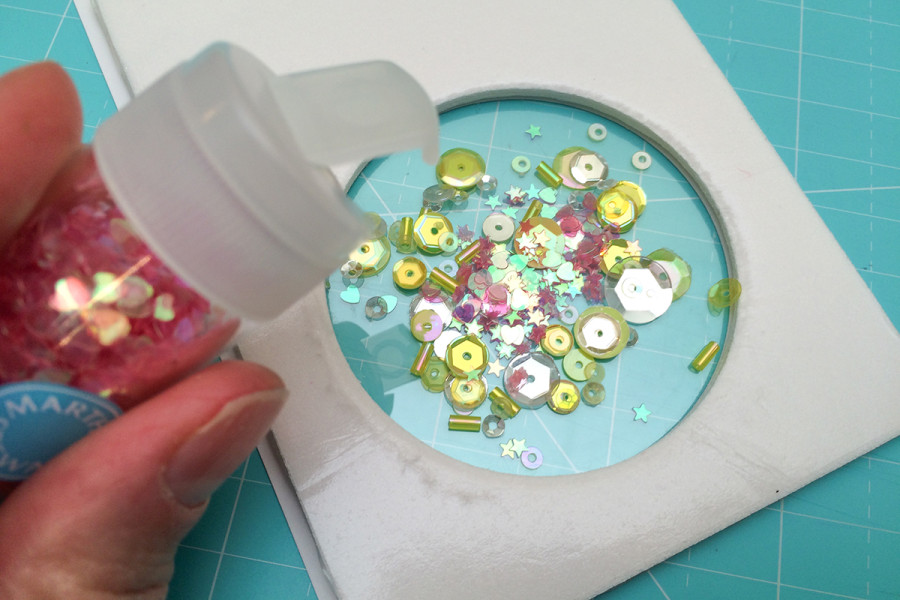
 Now it's time to fill the shaker box. Place the shaker box face down, remove the liner from the back of the “sandwich” and fill the shaker box with sequins, beads or other small items. Before filling the shaker, I recommend wiping the overlay film with rubbing alcohol or a used dryer sheet to help decrease static electricity.
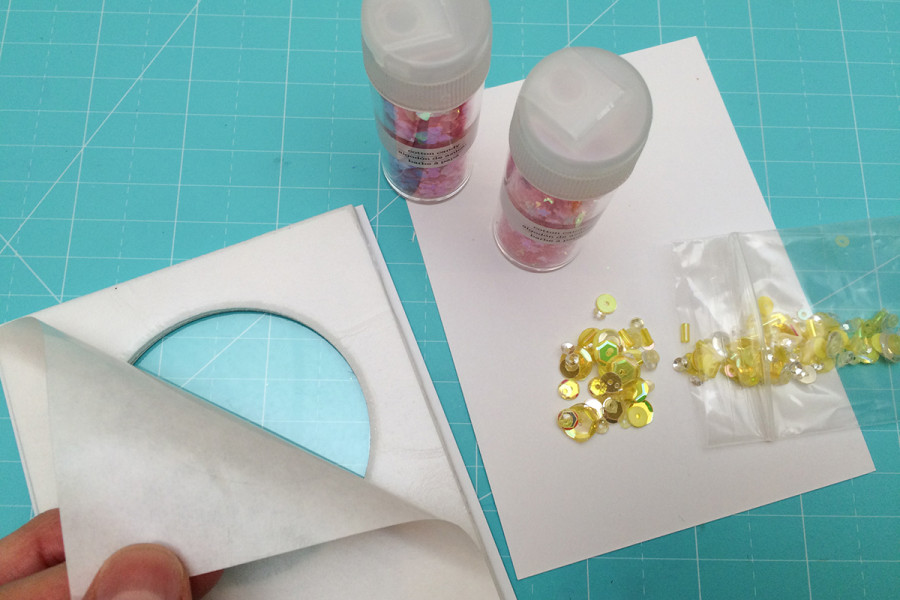
 After you have filled the shaker box, remove the liner and adhere the 3.5 x 4.75 piece of paper to cover the opening and hold your sequins in place.
To complete the card, adhere the entire shaker piece to cardstock and/or patterned paper and then attach them to the card base using iCraft Easy-Tear Tape.
After you have filled the shaker box, remove the liner and adhere the 3.5 x 4.75 piece of paper to cover the opening and hold your sequins in place.
To complete the card, adhere the entire shaker piece to cardstock and/or patterned paper and then attach them to the card base using iCraft Easy-Tear Tape.
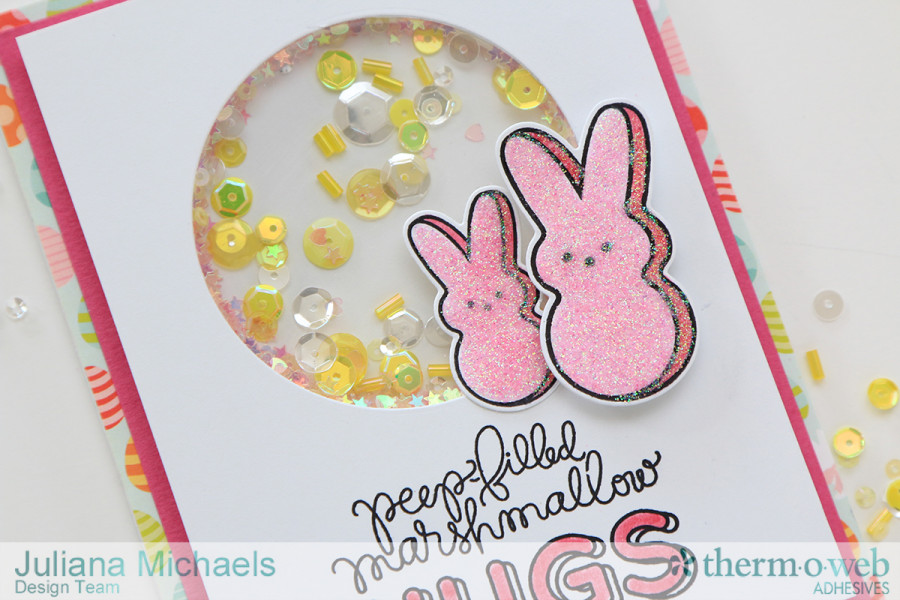 Now it's your turn to pull out your Therm O Web adhesives and make your own Easter shaker box cards!
HUGS!
Juliana
Now it's your turn to pull out your Therm O Web adhesives and make your own Easter shaker box cards!
HUGS!
Juliana