No Products in the Cart

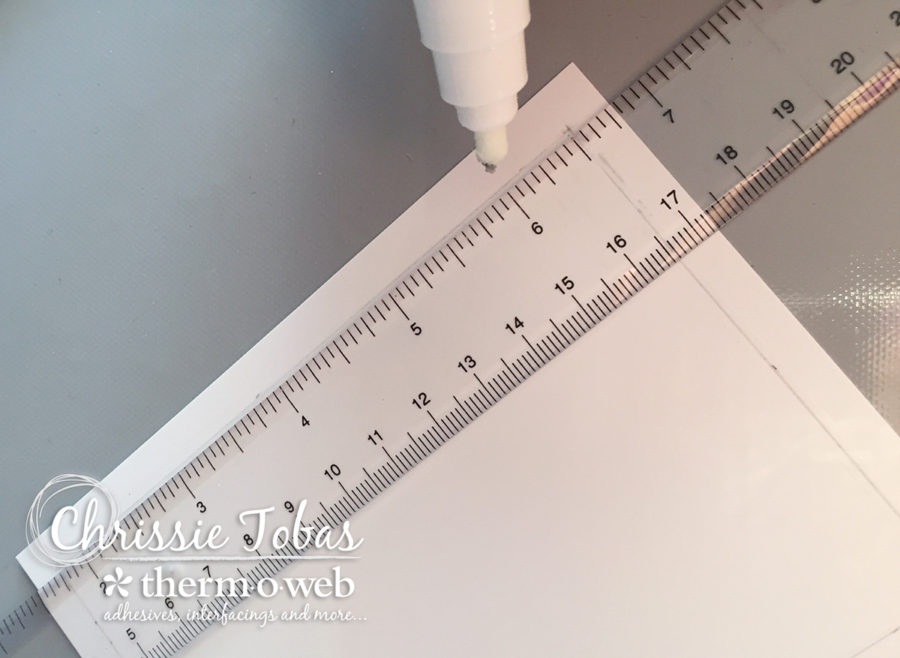
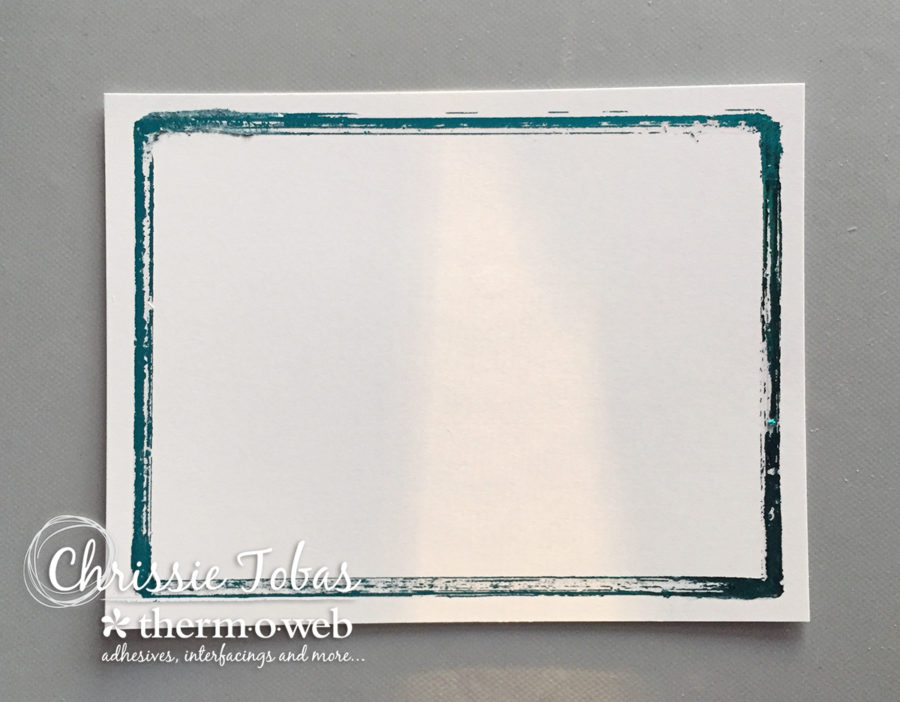
Trace over the line using the DecoFoil Adhesive Pen, either freehand or by using the ruler as a guide. If the ruler is used, make sure to clean it off afterwards since the adhesive is very sticky.
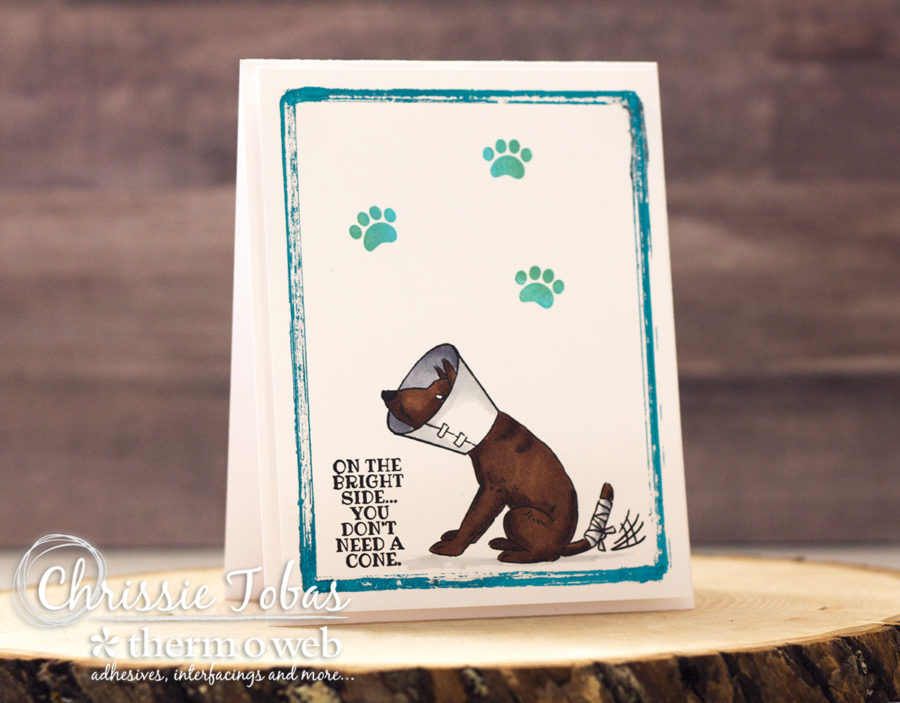
Once the adhesive on the panel is dry, place a piece of Teal DecoFoil™ onto it, Silver side down (Teal side up). Press foil into the adhesive. You can use a bone folder or your finger.
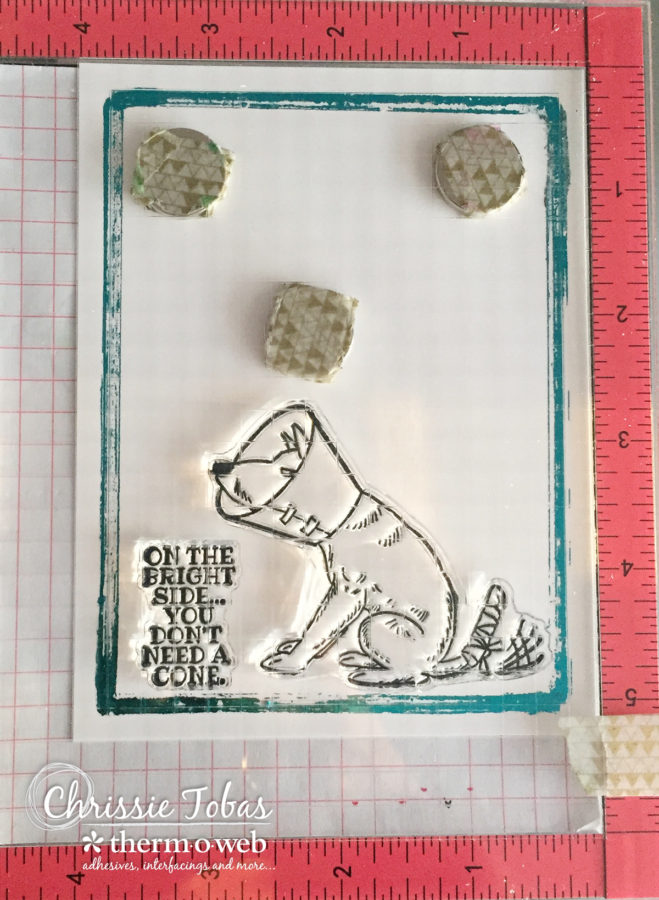
Start stamping the adorable images! I used a MISTI stamping tool, to make sure everything was laid out the way I wanted, but any acrylic block will work, too.
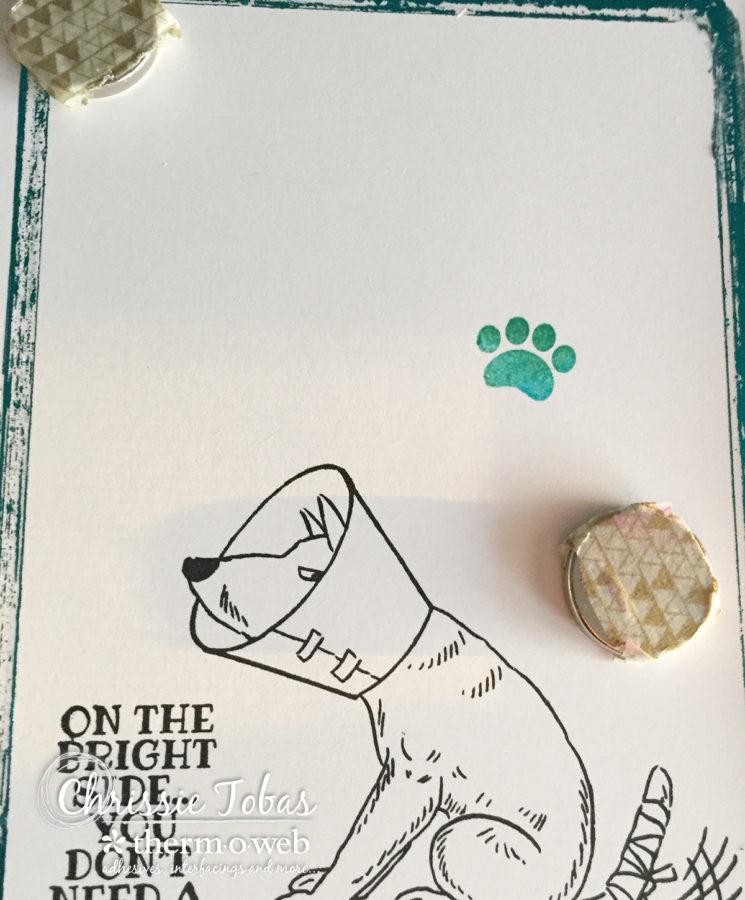
Stamp the paws in multiple colors. The MISTI works best for this technique, but it can be done with a block. Ink up half of the image in one color, then add the second color, slightly overlapping the first color. This will give a slight ombre effect.
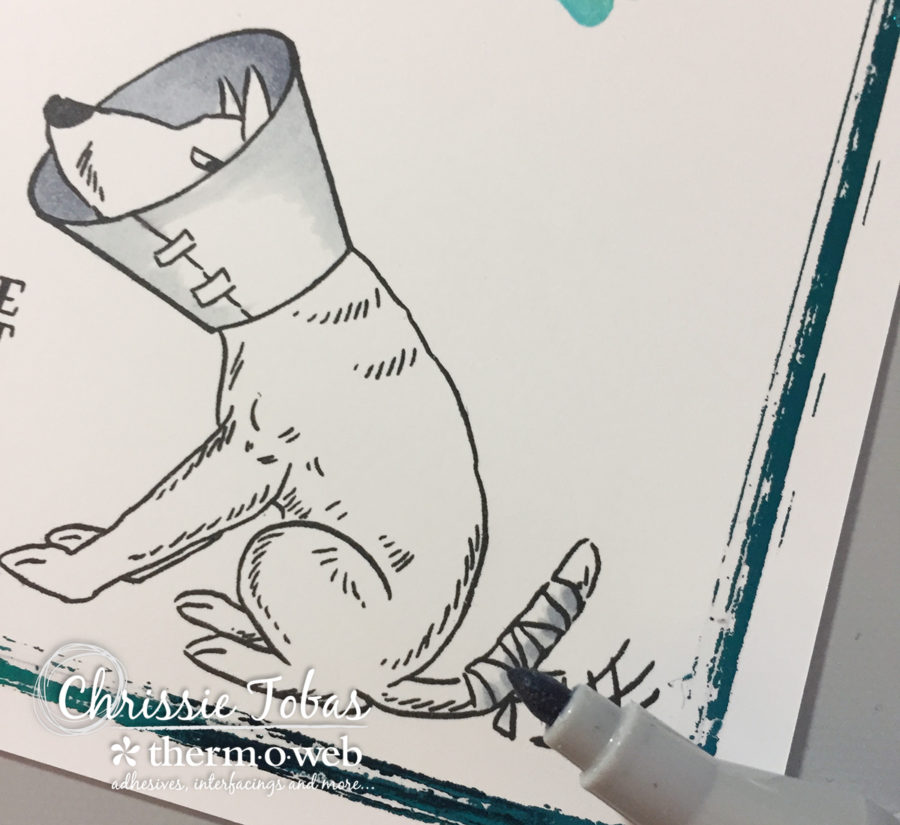
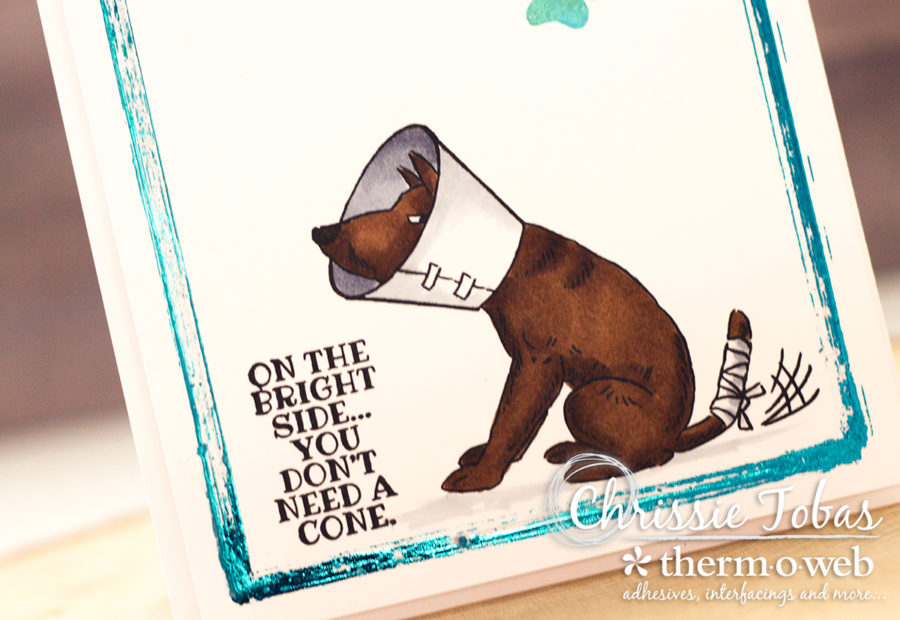
Begin to color in the image using alcohol markers. Start with the lightest colors, then blend in the darker shades.

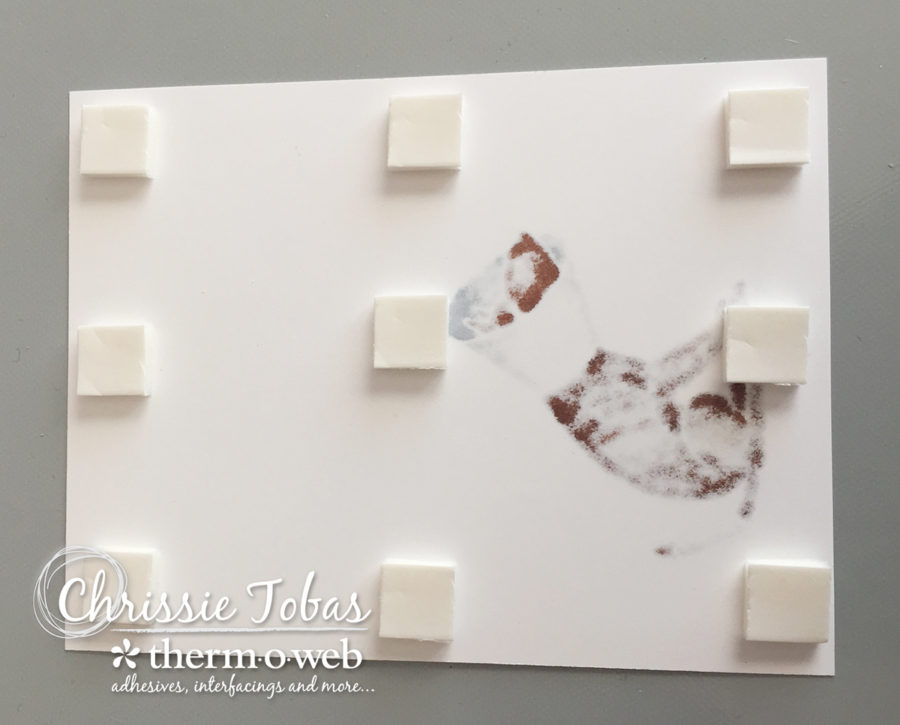
Once the coloring is done, add foam squares to the back of the panel to add dimension. Adhere it to a standard top-folding card base (4.25 x 11, scored at 5.5 inches).

Looking for more inspiration? Make sure to follow Therm O Web on Instagram! And don't forget to use the hashtags #thermoweb and #decofoil when sharing your projects across Social Media! We can't wait to see them!
And we can't let you go without giving you a chance to win! Our sweet friends at Art Impressions have offered us these new stamps with a $50 value for you to win! And we'll include some goodies as well such as our Deco Foil Adhesive Pen, 2 colors of your choice of our Deco Foil Transfer Sheets, some SuperTape and yes..our must have 3D Foam Squares too! Just follow the Rafflecopter to enter to win! a Rafflecopter giveaway
Written by Chrissie Tobas