No Products in the Cart
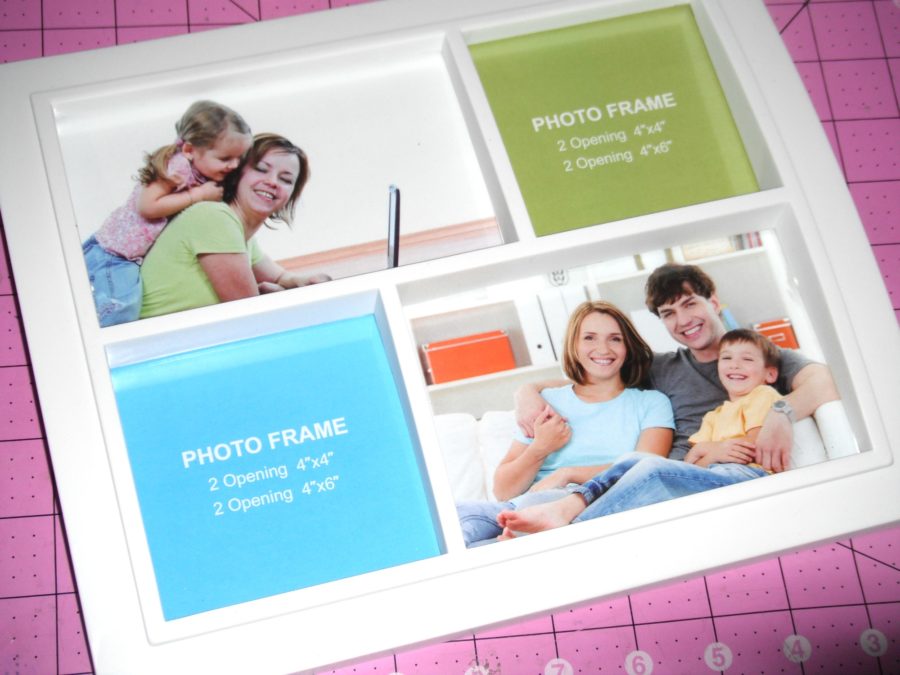
 Hello! It's Gracie from Graciellie Design and today I have a fun DIY home decor tutorial to share. I was doing some shopping and saw a photo frame that reminded me of a scrapbooking / photo journal layout. I love doing home decor DIY's so I brought this frame home and gave it a few touches with gold Deco Foil™!
 Therm O Web Supplies:
Deco Foil™ PeelnStick Toner Sheets
Deco Foil™ Transfer Sheets • Gold
12″ Foil Laminator
Other Supplies:
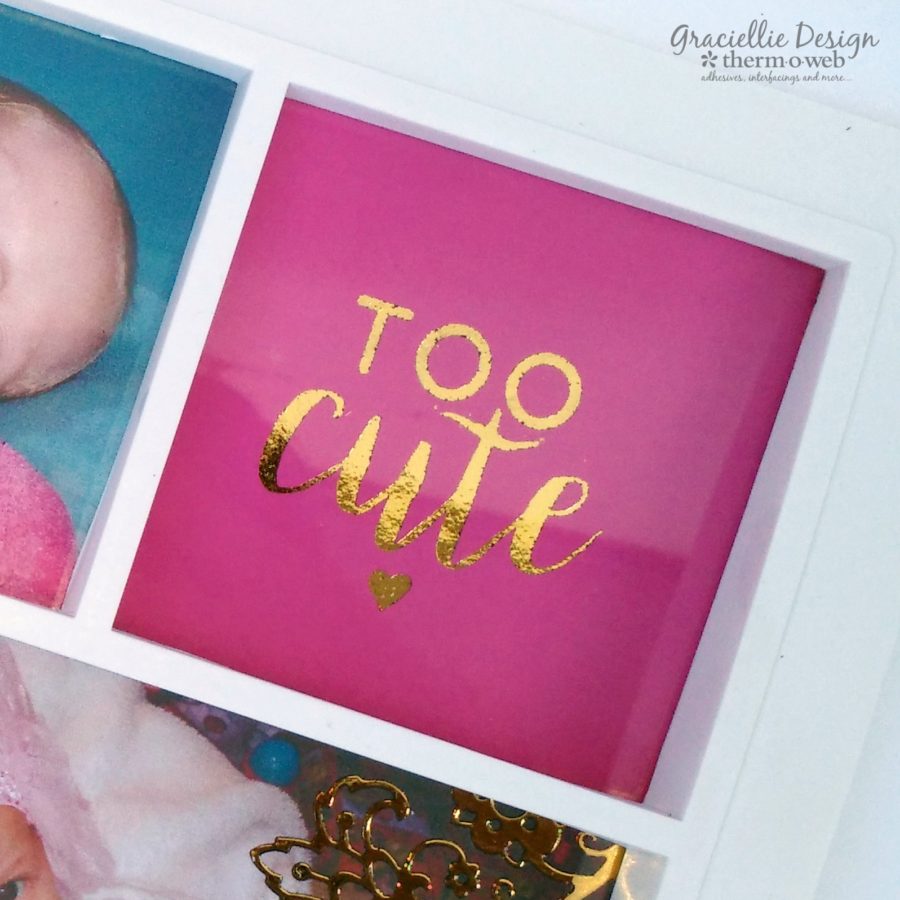
Two Journaling Cards (free printables)
Photo frame
Floral Patterned Paper
Hot Pink Paper
Therm O Web Supplies:
Deco Foil™ PeelnStick Toner Sheets
Deco Foil™ Transfer Sheets • Gold
12″ Foil Laminator
Other Supplies:
Two Journaling Cards (free printables)
Photo frame
Floral Patterned Paper
Hot Pink Paper
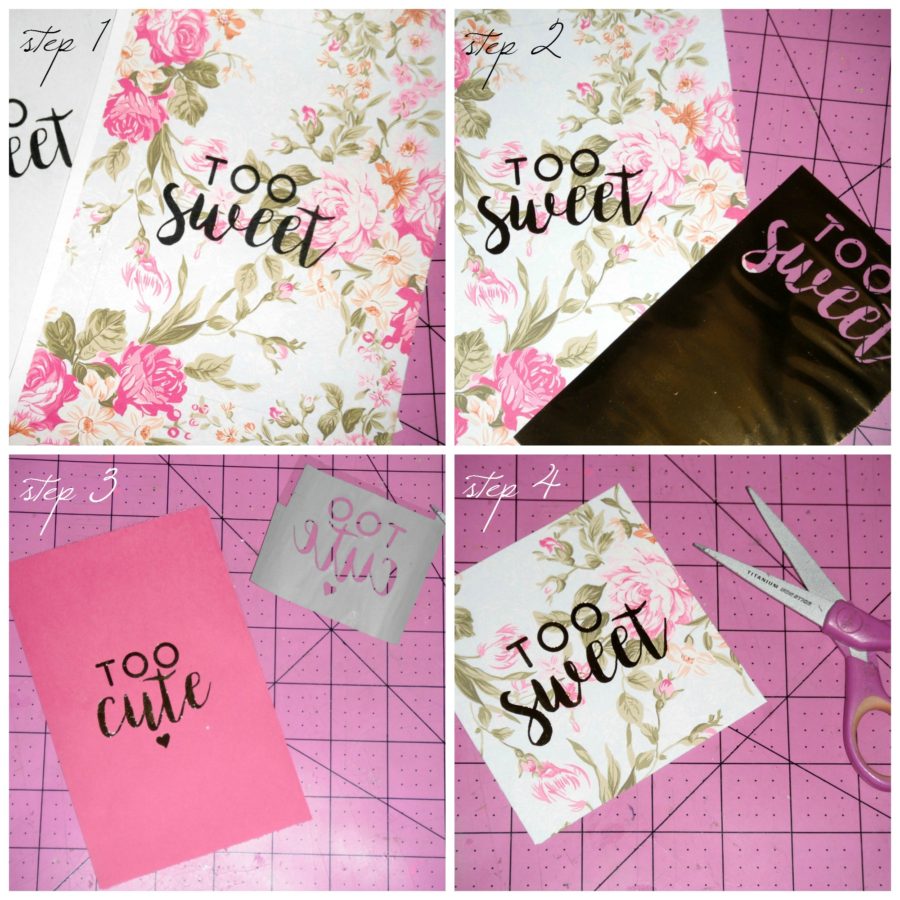 These cards on their own will make the frame look special but there's even more you can do to personalize it...
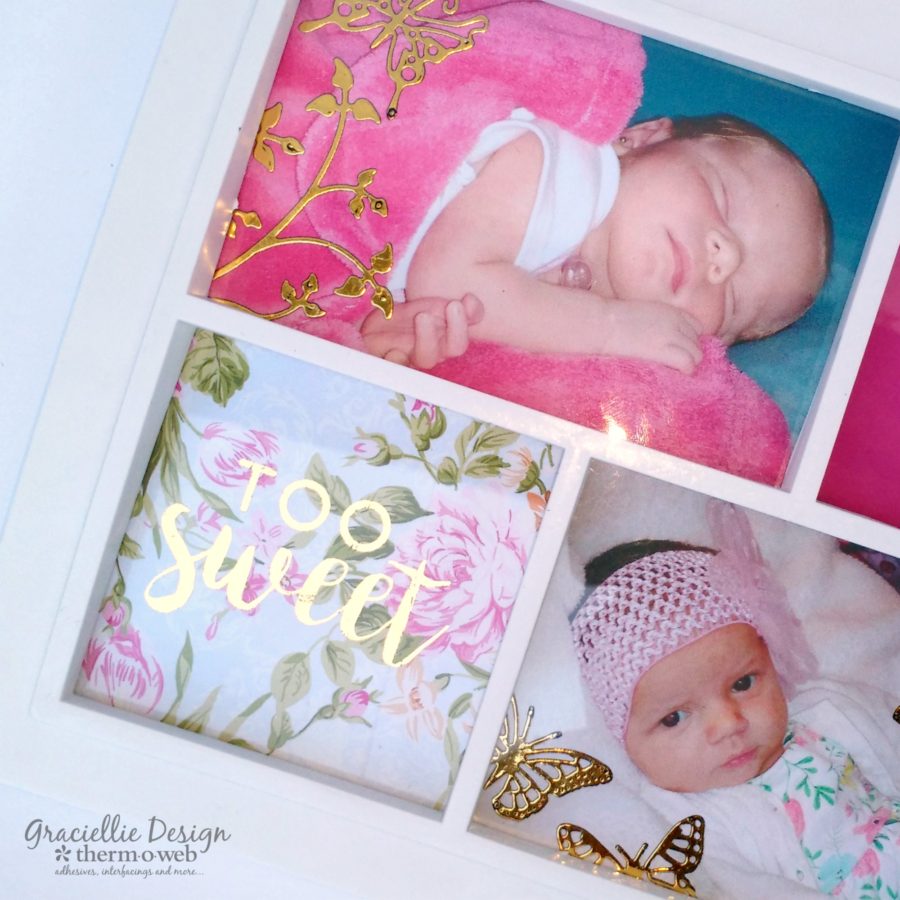
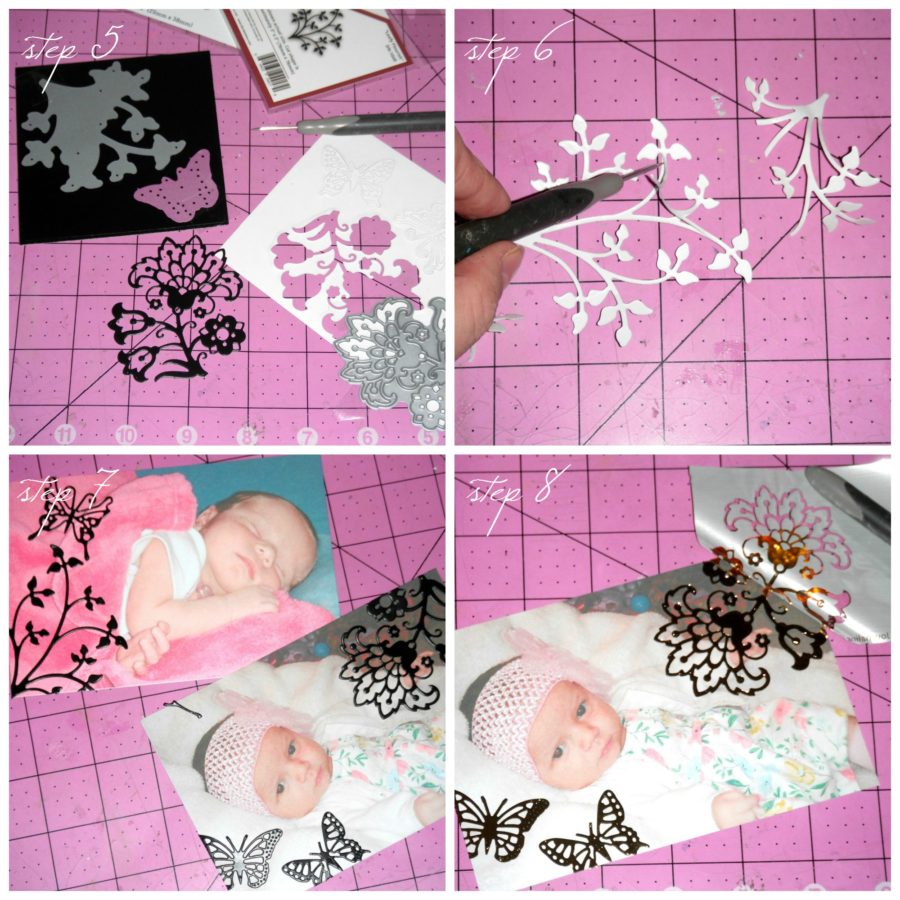
Step 5. Use Deco Foil™ PeelnStick Toner Sheets to die cut different shapes (as desired). I cut a few branches and butterflies.
Step 6. Once cut, peel the backing from the shapes.
Step 7. Adhere the toner sheet die cuts to the pictures you want to use, framing the images.
Step 8. Cover the pictures with Deco Foil™ Transfer Sheets • Gold and run them through the laminator to give the die cuts a foiled effect.
These cards on their own will make the frame look special but there's even more you can do to personalize it...
Step 5. Use Deco Foil™ PeelnStick Toner Sheets to die cut different shapes (as desired). I cut a few branches and butterflies.
Step 6. Once cut, peel the backing from the shapes.
Step 7. Adhere the toner sheet die cuts to the pictures you want to use, framing the images.
Step 8. Cover the pictures with Deco Foil™ Transfer Sheets • Gold and run them through the laminator to give the die cuts a foiled effect.
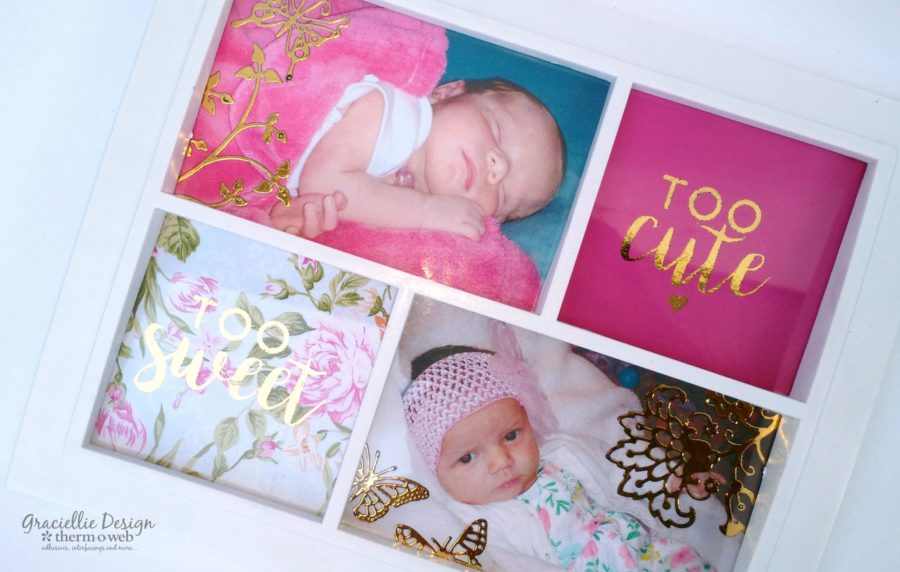
 Step 9. Finally, use the example layout that comes with the frame to place your foiled cards and pictures and put together your personalized photo frame!
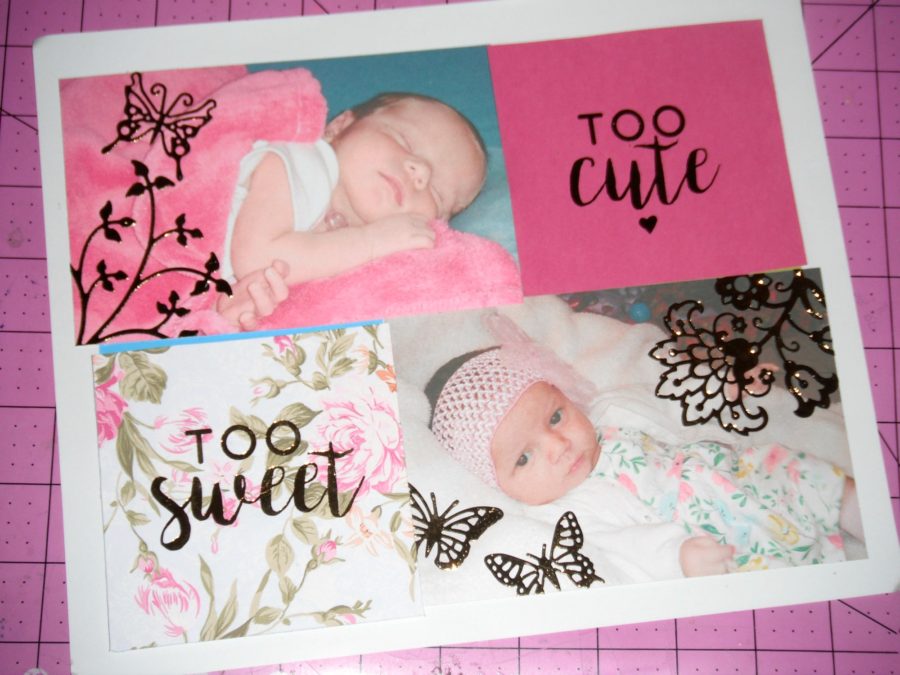 And that's it! This frame would make a lovely personalized gift too, don't you think? I designed two journaling cards for this project and I want to share it with you! Make sure to click HERE and HERE to download the free printables.