No Products in the Cart
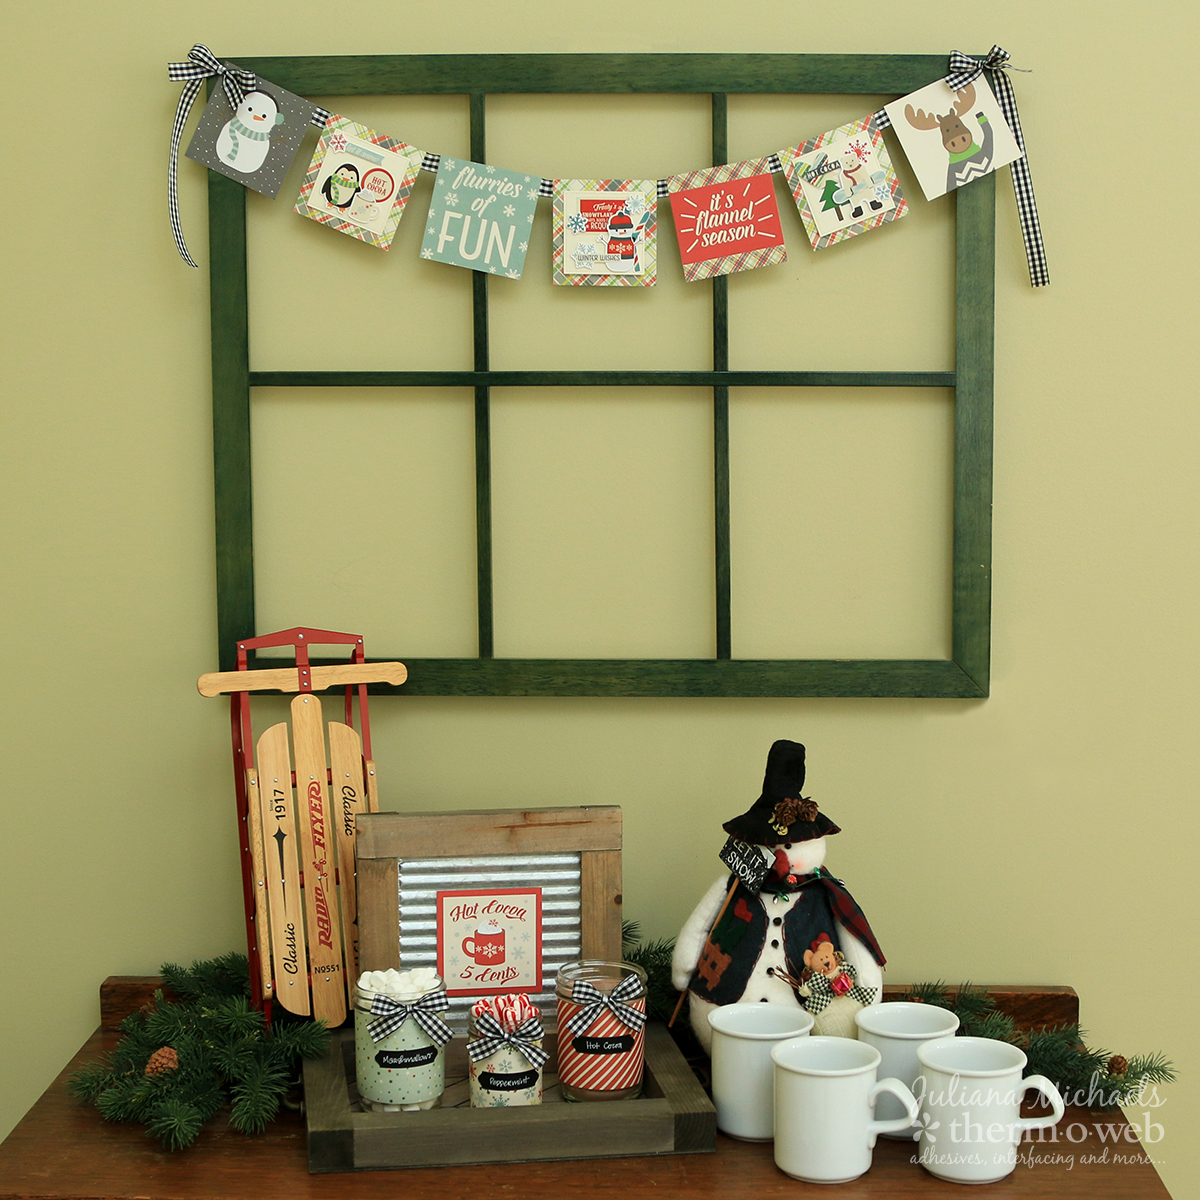
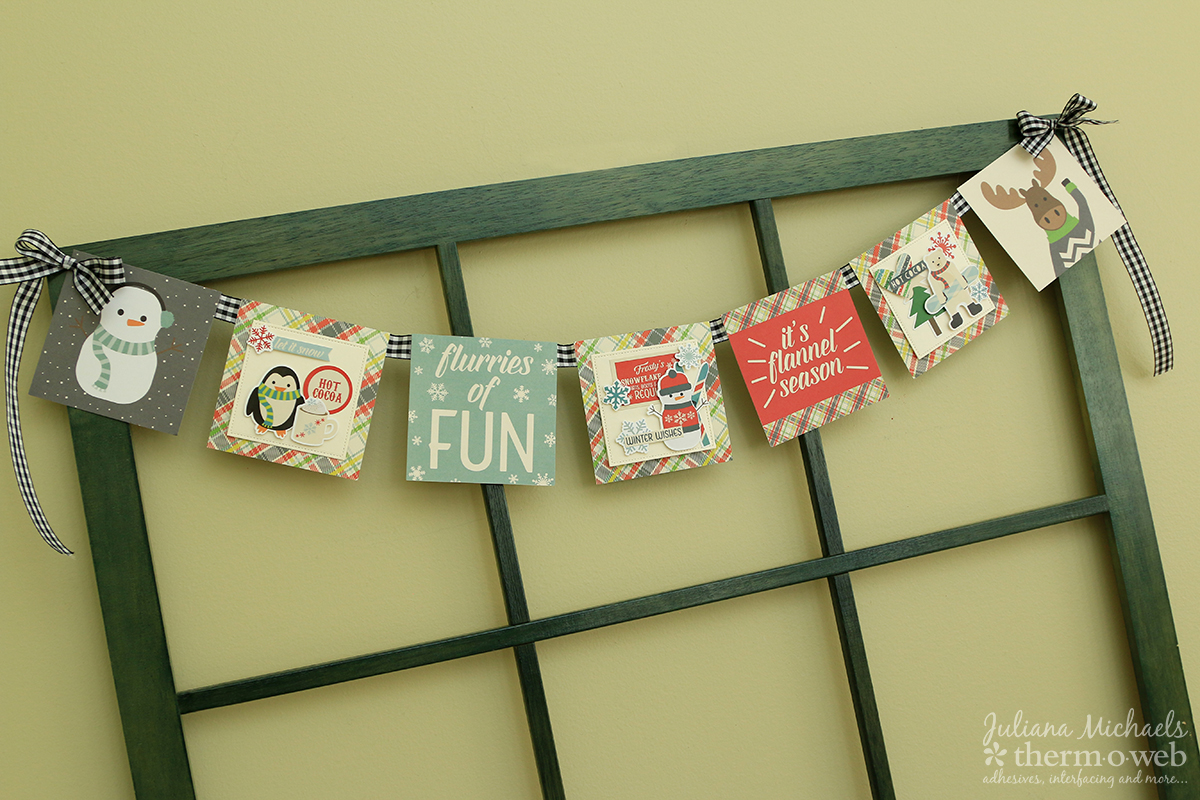 Use Therm O Web Super Tape™ to adhere the 4x4 squares to a piece of Gina K Designs Gingham Fancy Ribbon.
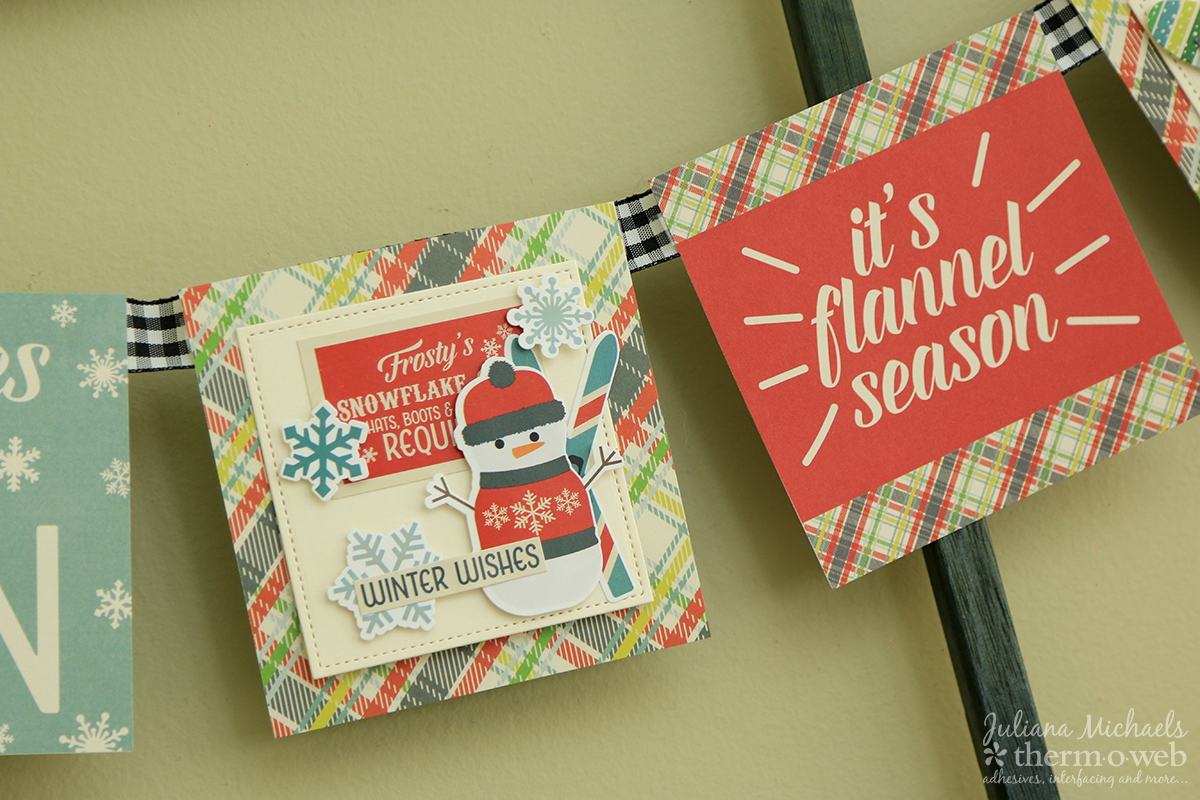
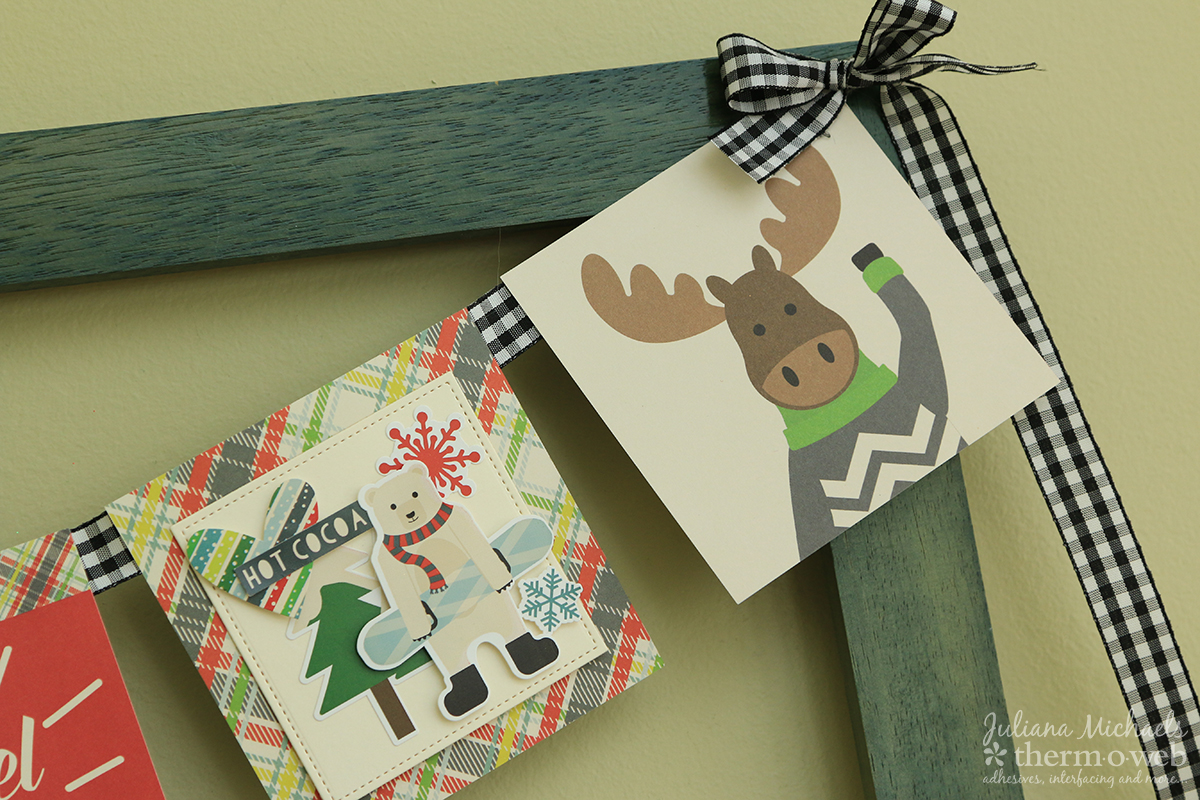
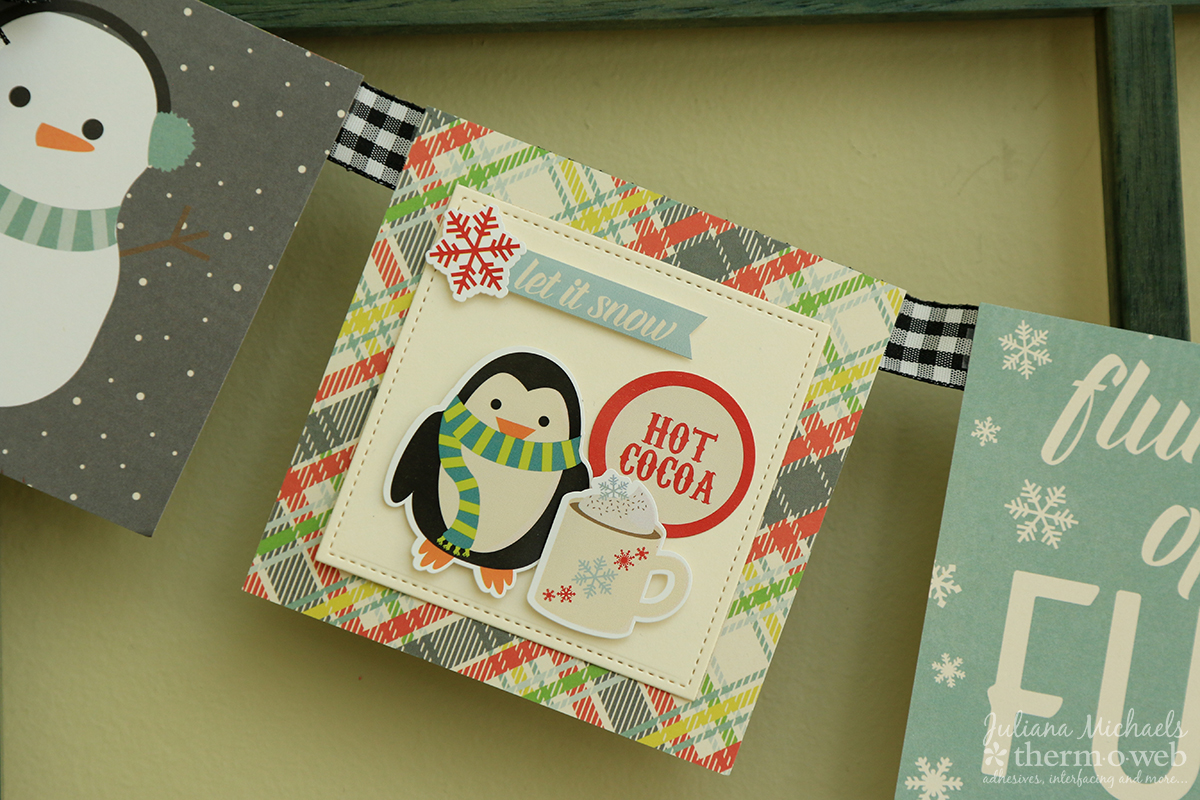 To embellish the banner, use Gina K Designs Single Stitched Square Dies to cut cream colored cardstock to layer on the plaid print. Adhere the squares to the patterned paper using Therm O Web Memory Tape Runner XL. Embellish these squares with stickers and use 3D Foam Squares to give some of them a bit of dimension.
 For the final touch adhere a gingham bow to each end using Therm O Web Zots.
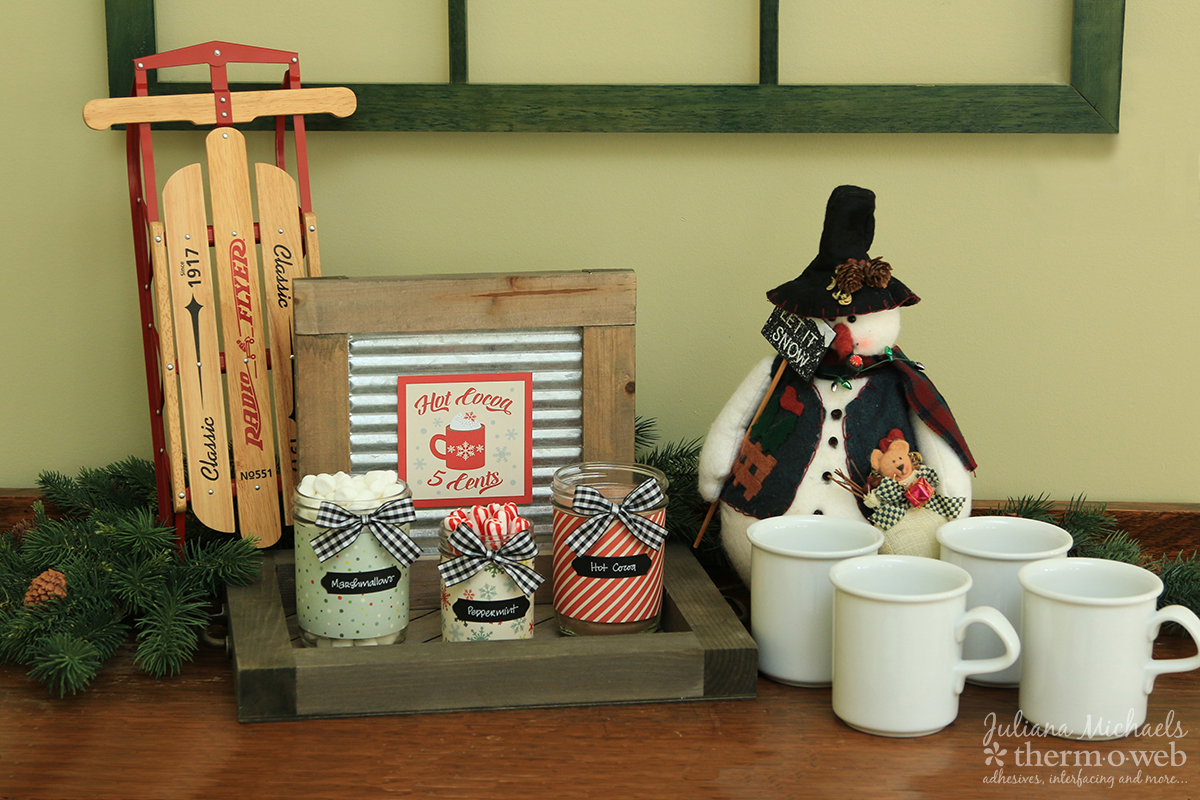
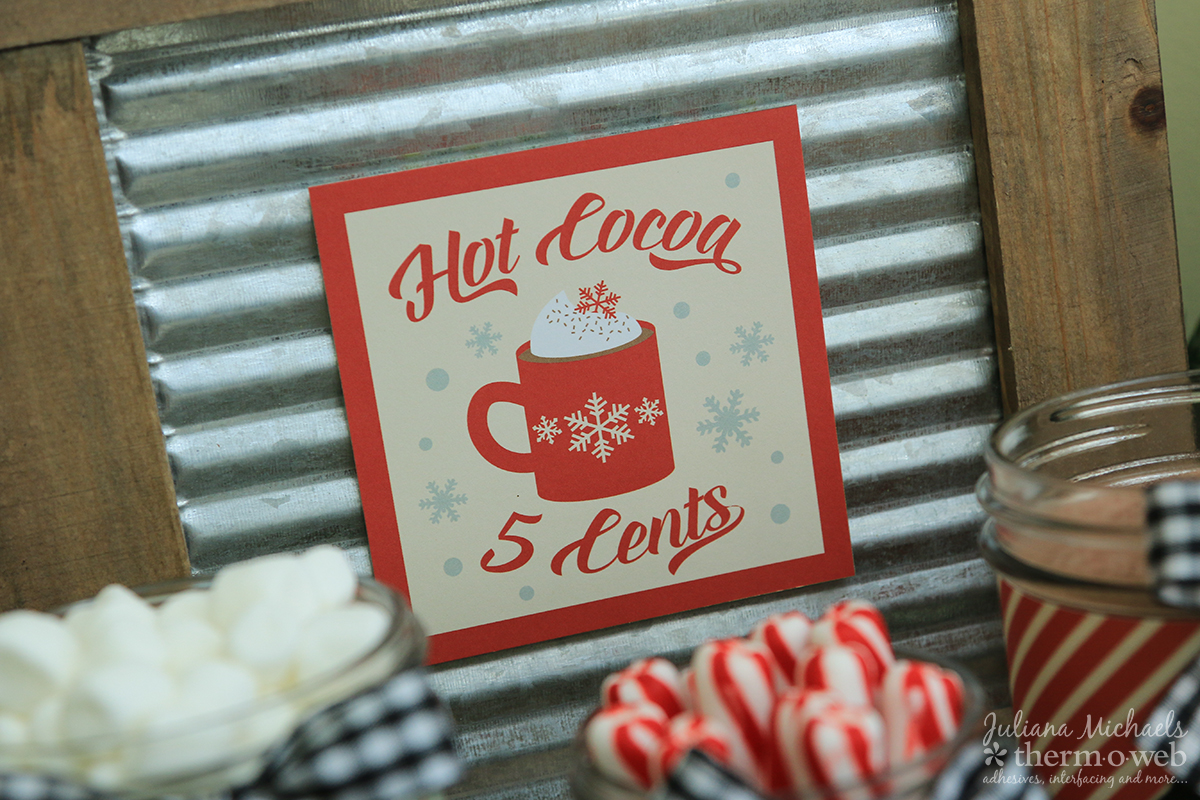
 Some suggestions for toppings include: marshmallows, sprinkles, red hots, chocolate chips, peanut butter chips, butterscotch chips, whipped cream, chocolate syrup, caramel syrup, and caramels. You can also include some fun stirrers such as: peppermint sticks, cinnamon sticks, and pirouettes. If your Hot Cocoa Bar is for adults, you could also offer some alcoholic options for mixing in...such as Bailey’s, Kalua, Fireball Whiskey or peppermint schnapps.
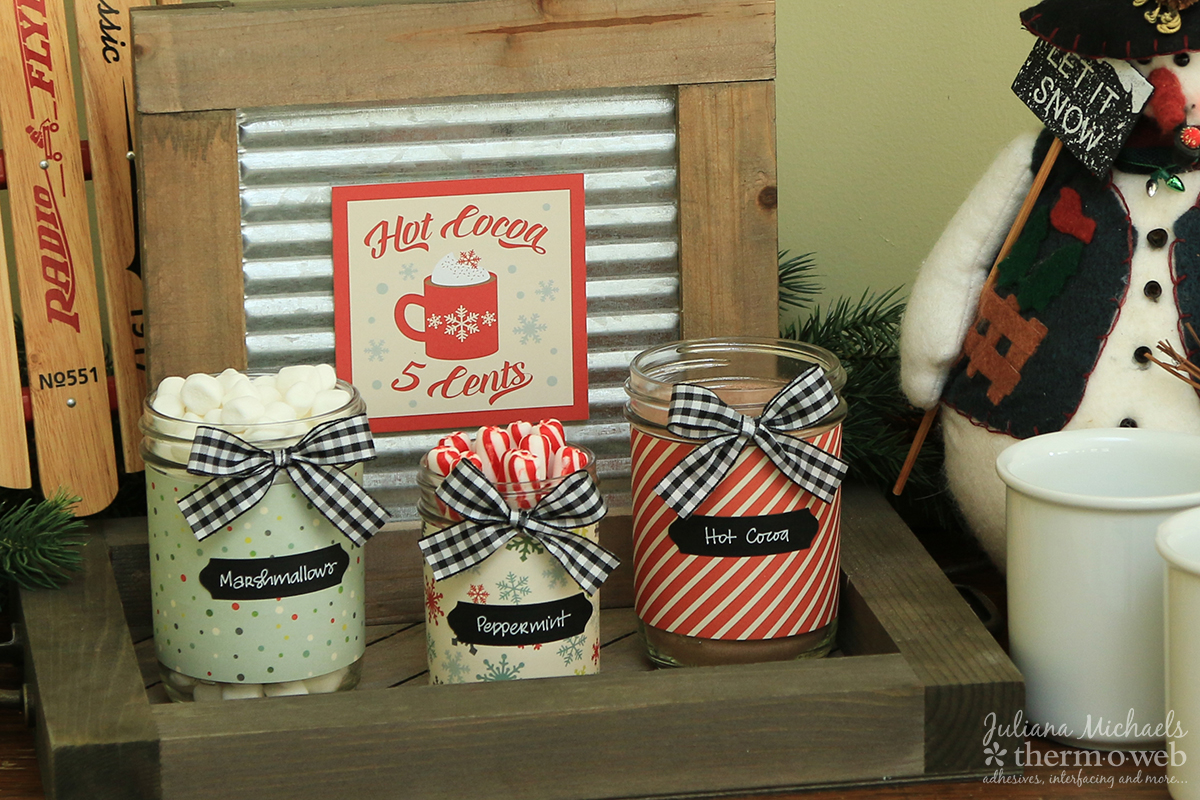
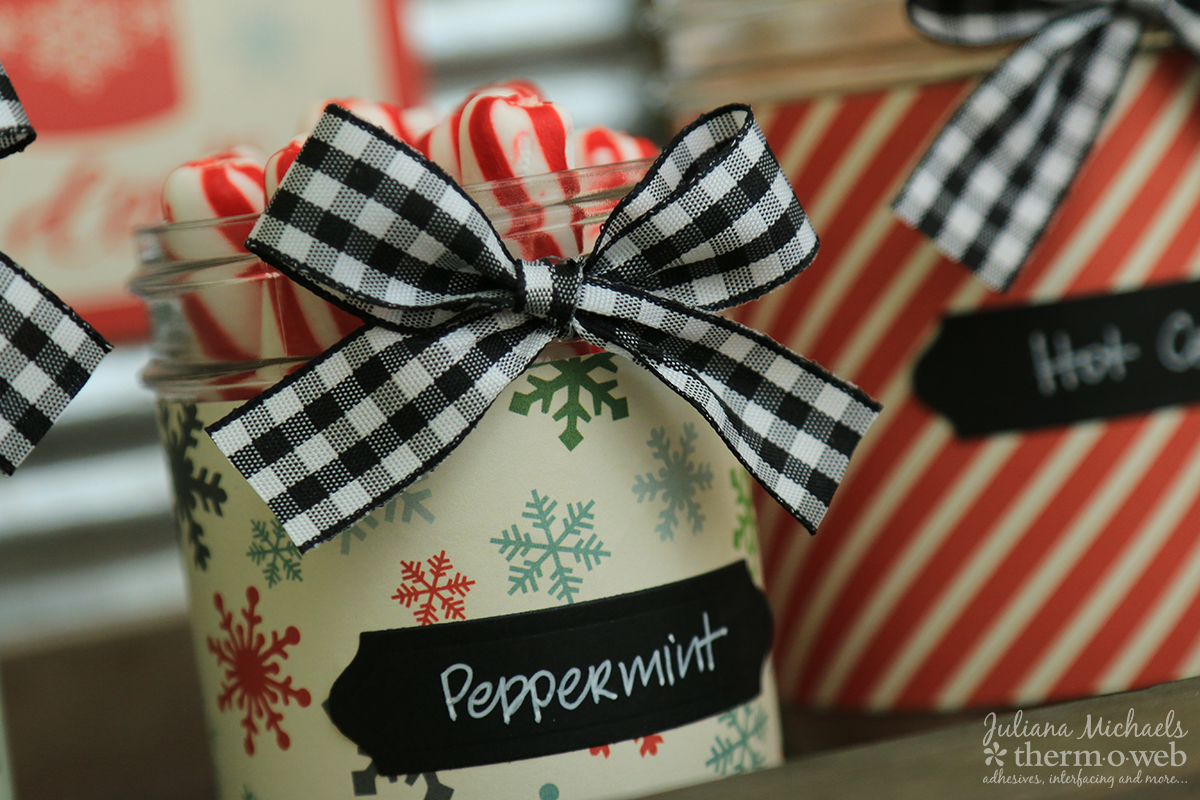
 Next, select some patterned paper and cut it into strips wide enough to wrap around the jars. Depending on the type of toppings you select, you may want different size jars. The bar I created uses 8 and 12 oz jars. Adhere the patterned paper using iCraft Mixed Media Liquid Adhesive.
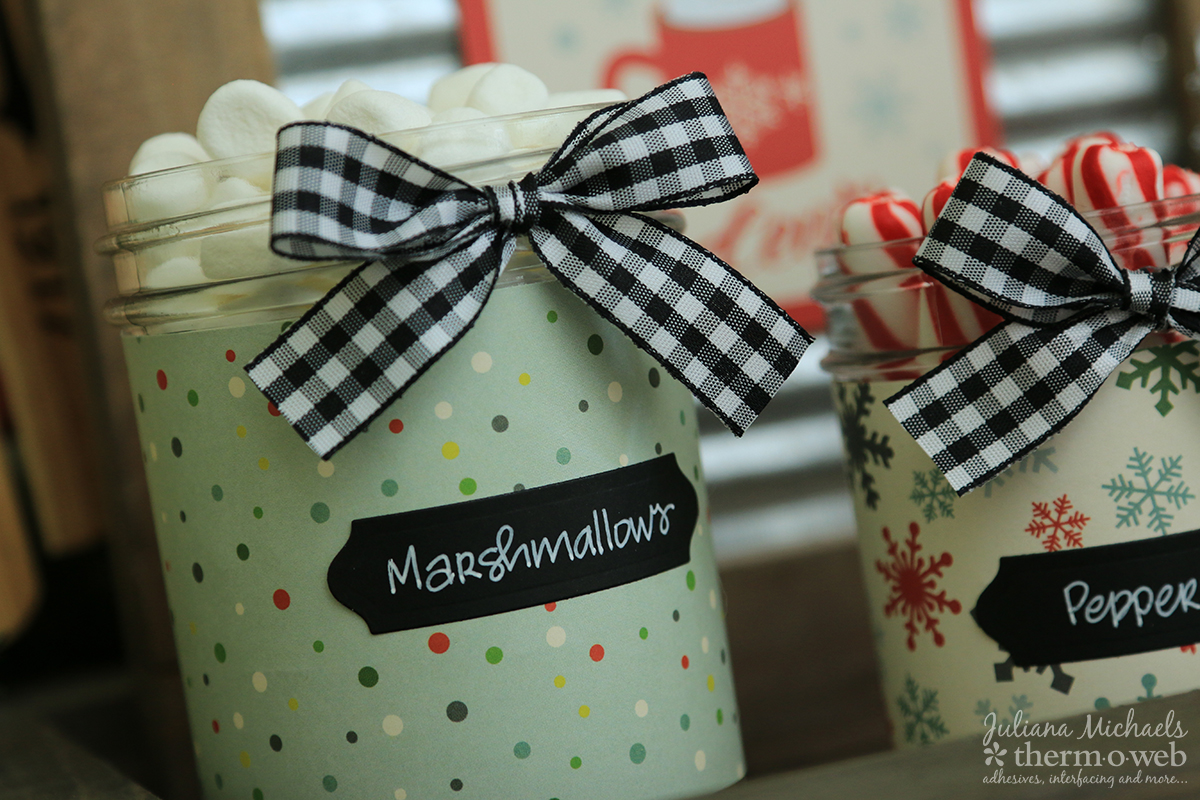 To create the labels for each jar, die cut a piece of black cardstock using the smallest label die from the Gina K Designs Nested Label Die Set. Use a white gel pen to write the topping on the label. Adhere the label to the front of the jar using iCraft Mixed Media Liquid Adhesive. Tie a bow using the Gina K Designs Gingham Fancy Ribbon and attach it to the jar using a Therm O Web Zot.
 So who's ready to create their own DIY Hot Cocoa Bar? What toppings would you want for your hot chocolate?