No Products in the Cart
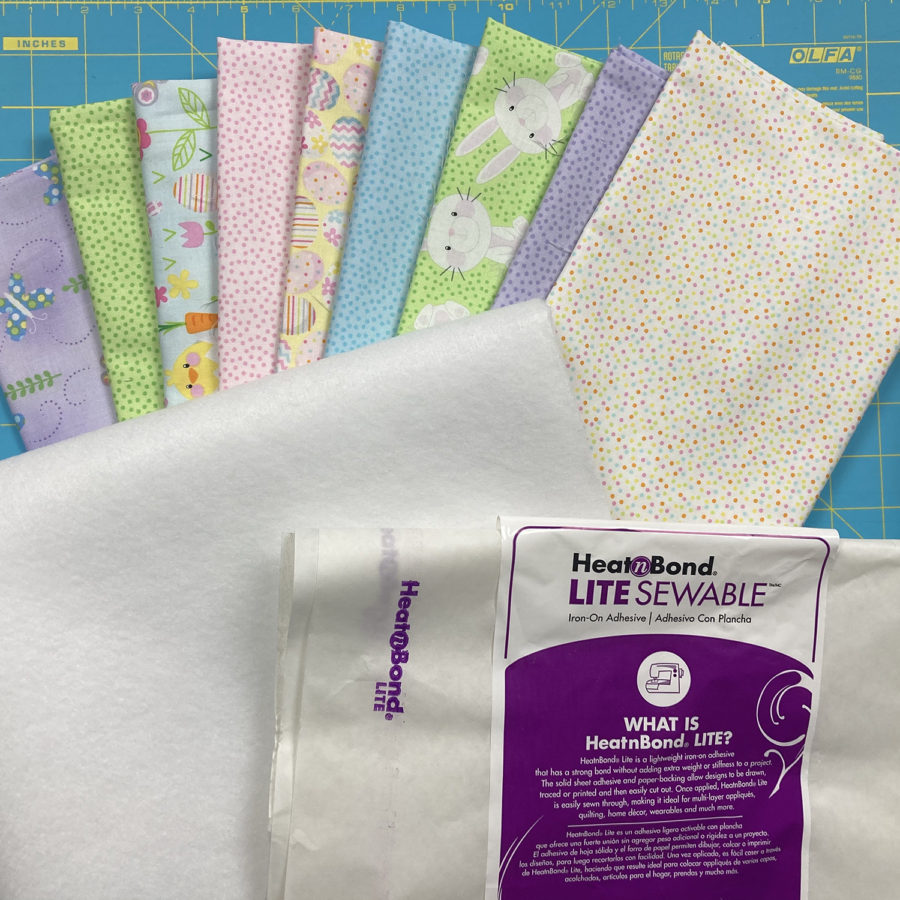
 I love dyeing Easter eggs, but they never turn out exactly how I imagine. This year, I decided to make fabric eggs instead, using fusible applique to decorate these little cuties. The pastel prints from Benartex's Hippity Hoppity collection are the perfect palette for my fabric eggs, and HeatnBond Lite lets me create all the details I envisioned.
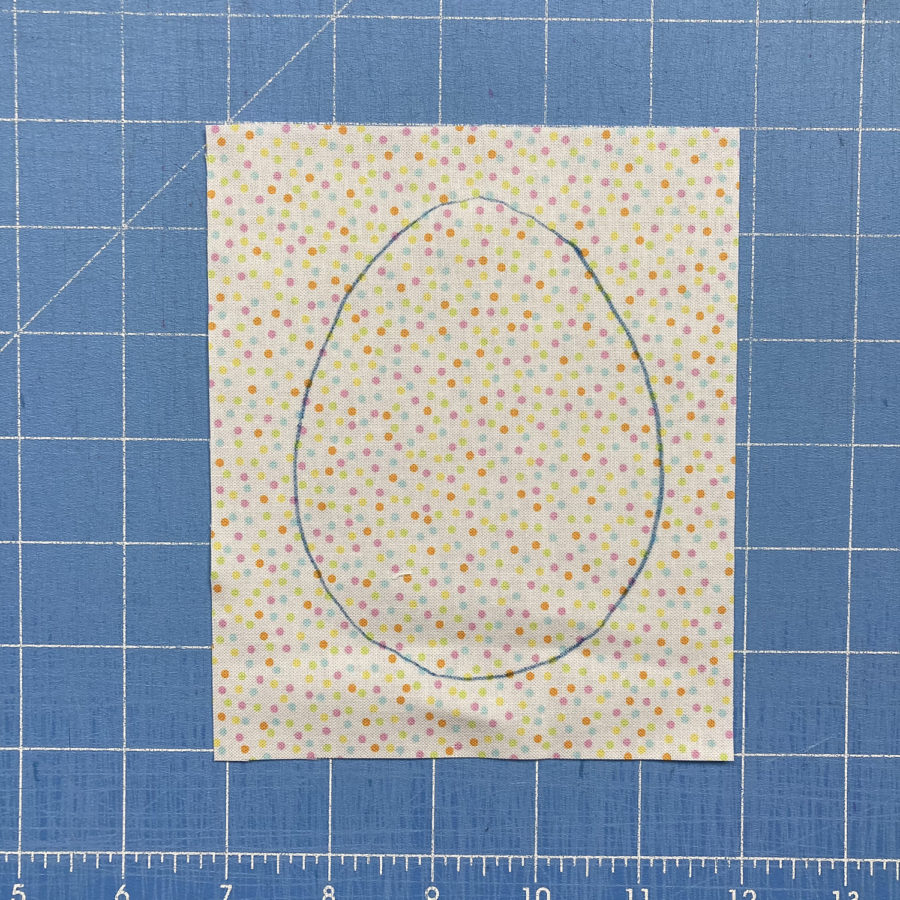 Trace your desired decorative shapes onto the paper side of HeatnBond Lite, leaving 1/4" between shapes. Tip: If you're making multiple squiggles or zigzag lines from the same fabric, you can stack the traced template shapes as shown to cut more efficiently. Cut out shapes and remove the paper backing.
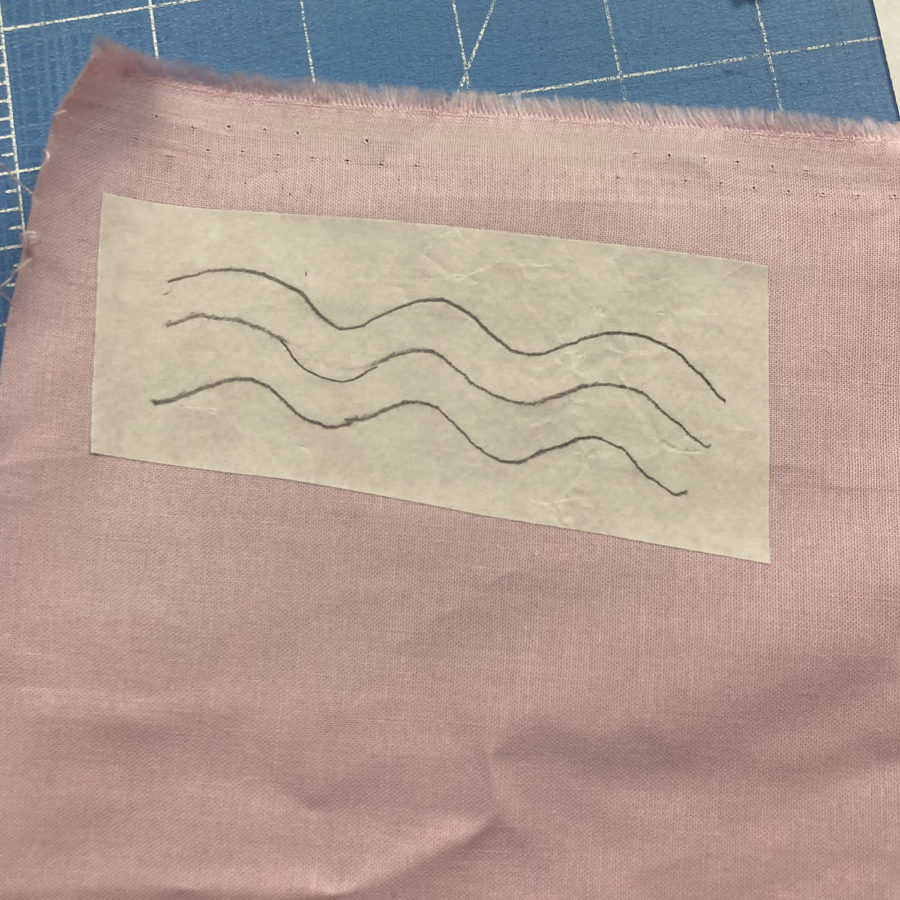 Position decorative shapes on the egg shape, making sure shapes extend 1/4" past drawn line.
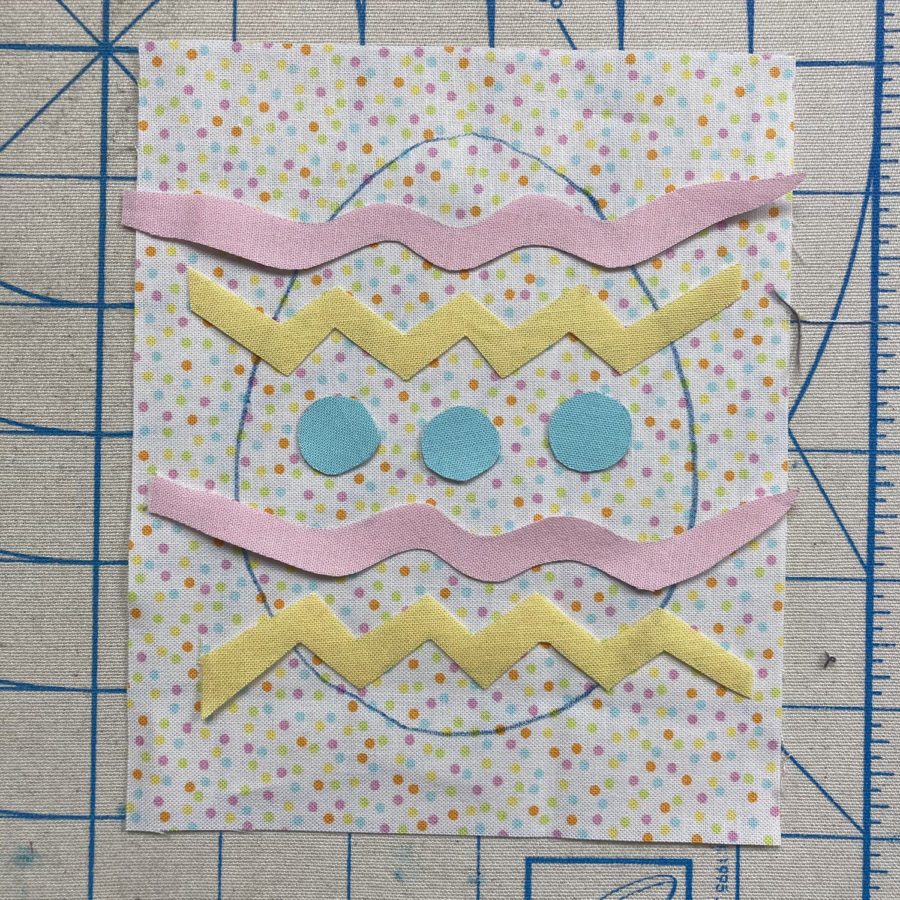 Fuse decorative shapes in place.
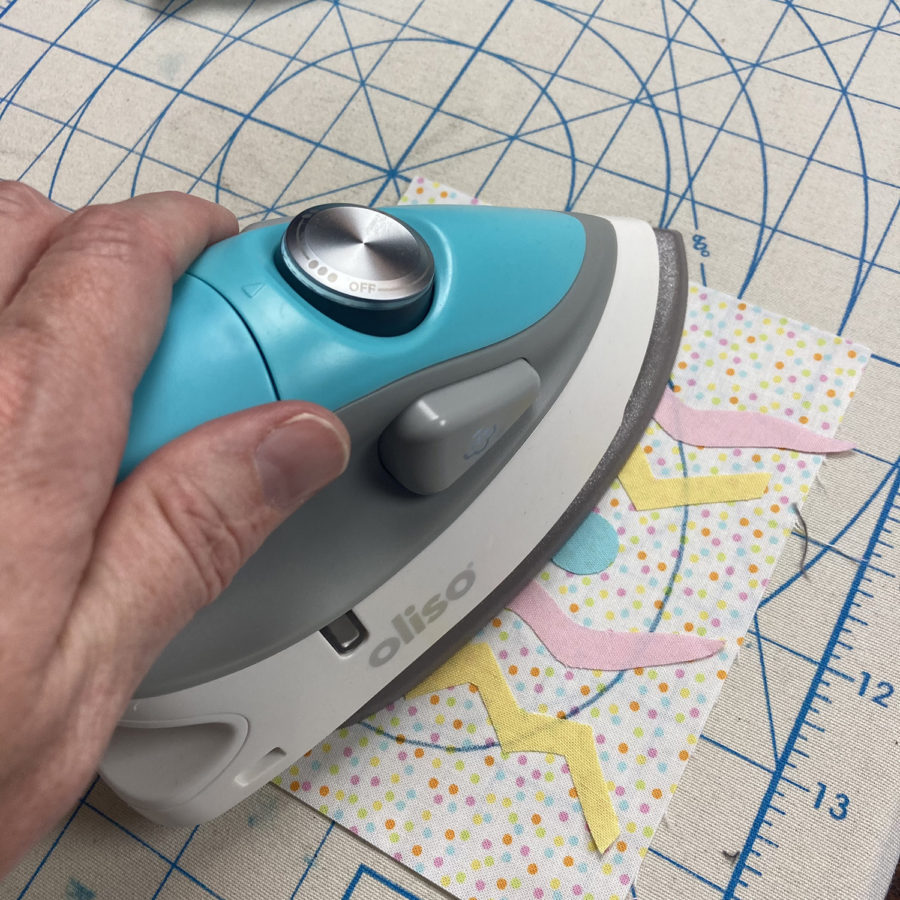 Cut (1) 5" x 6" fabric piece for egg back. Cut (2) 5" x 6" Fusible Fleece pieces. Adhere one fleece piece to the wrong side of the decorated egg front and one fleece piece to the wrong side of the backing piece.
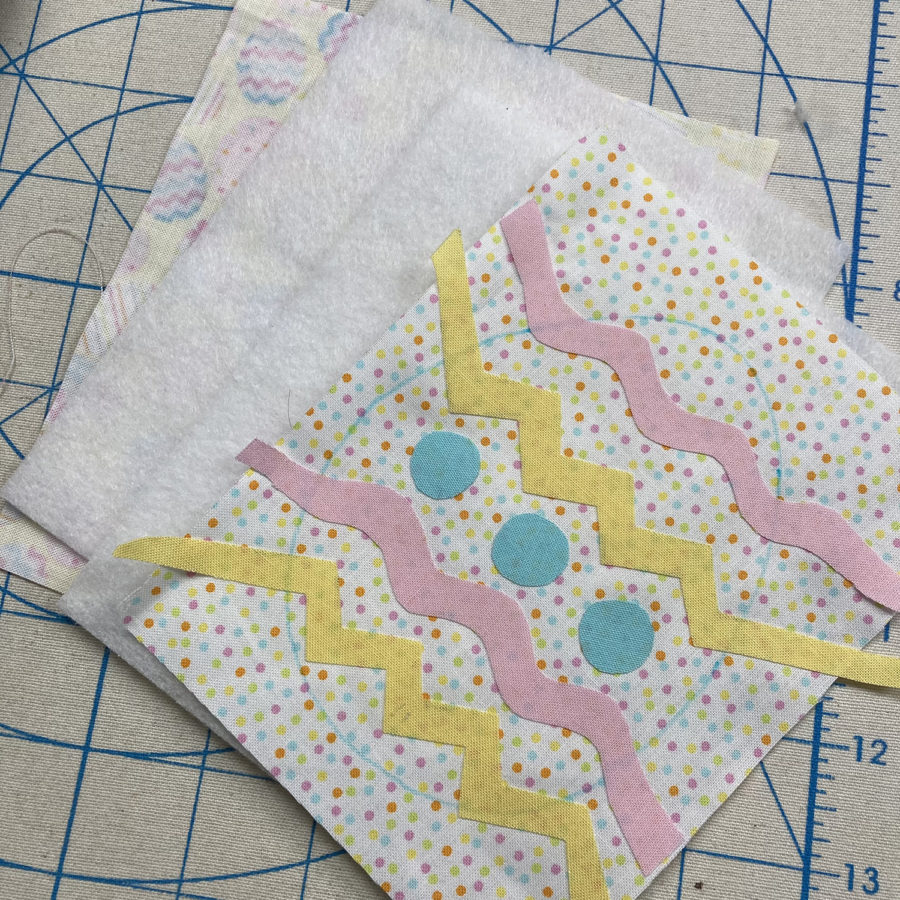 Sandwich the egg front and back, pin to secure, and stitch on the drawn line.
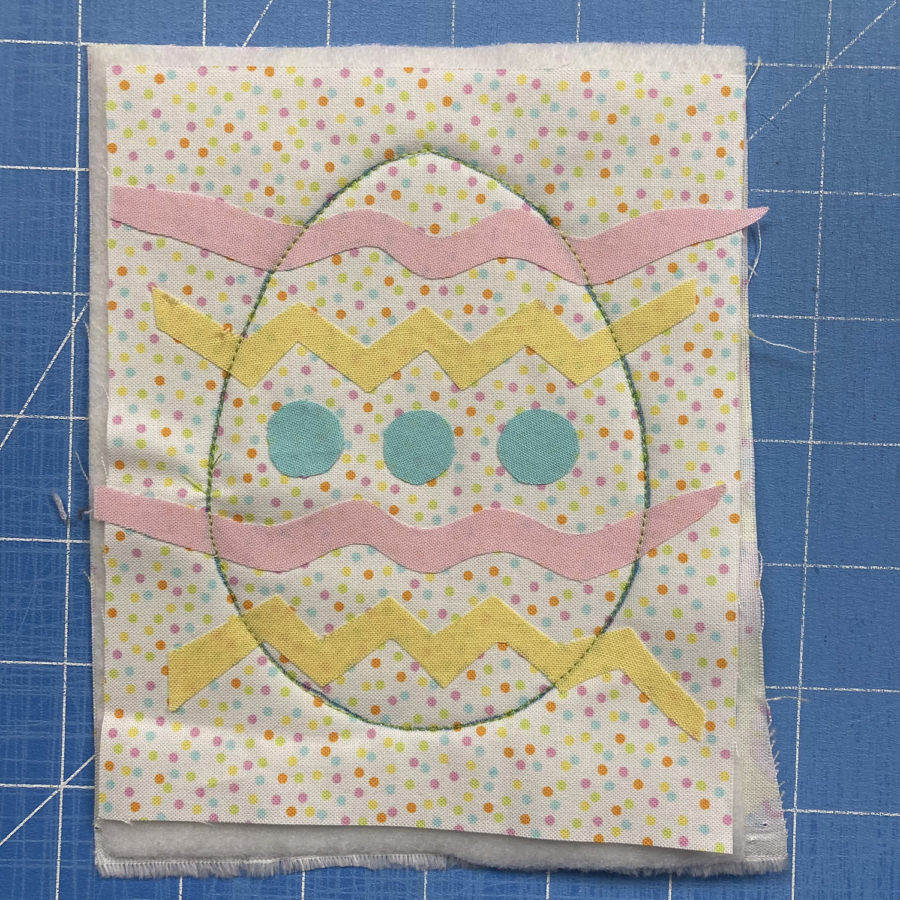 Use pinking shears to cut 1/4" past the stitched egg outline.
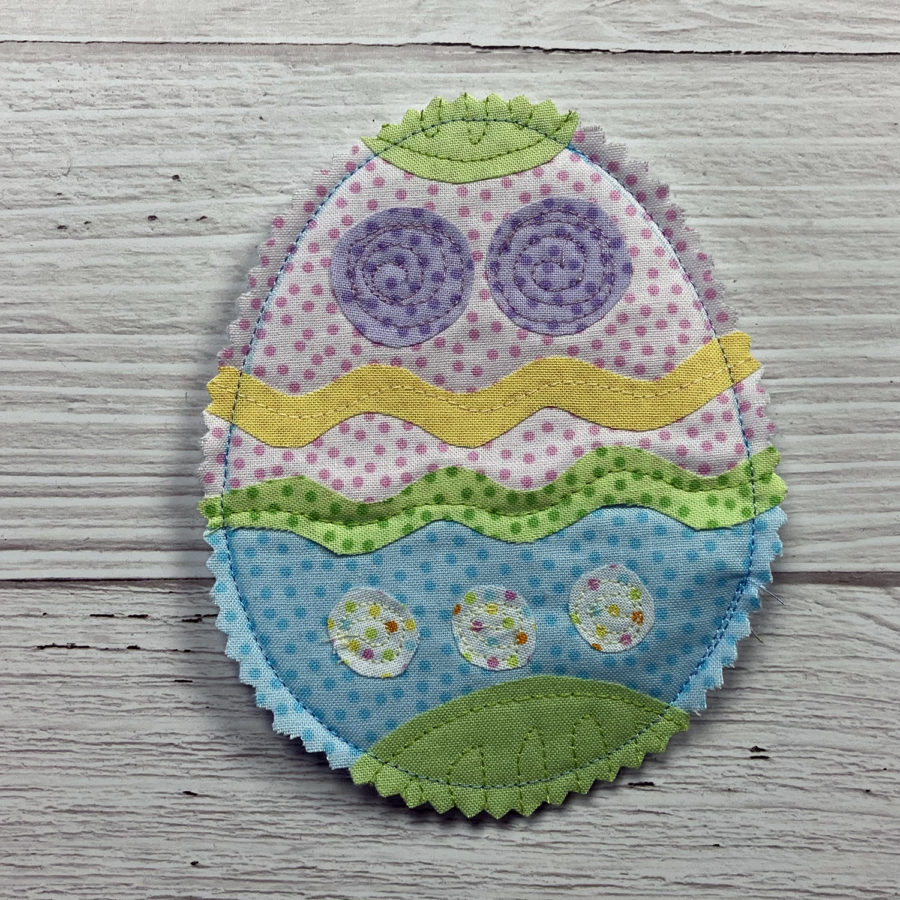
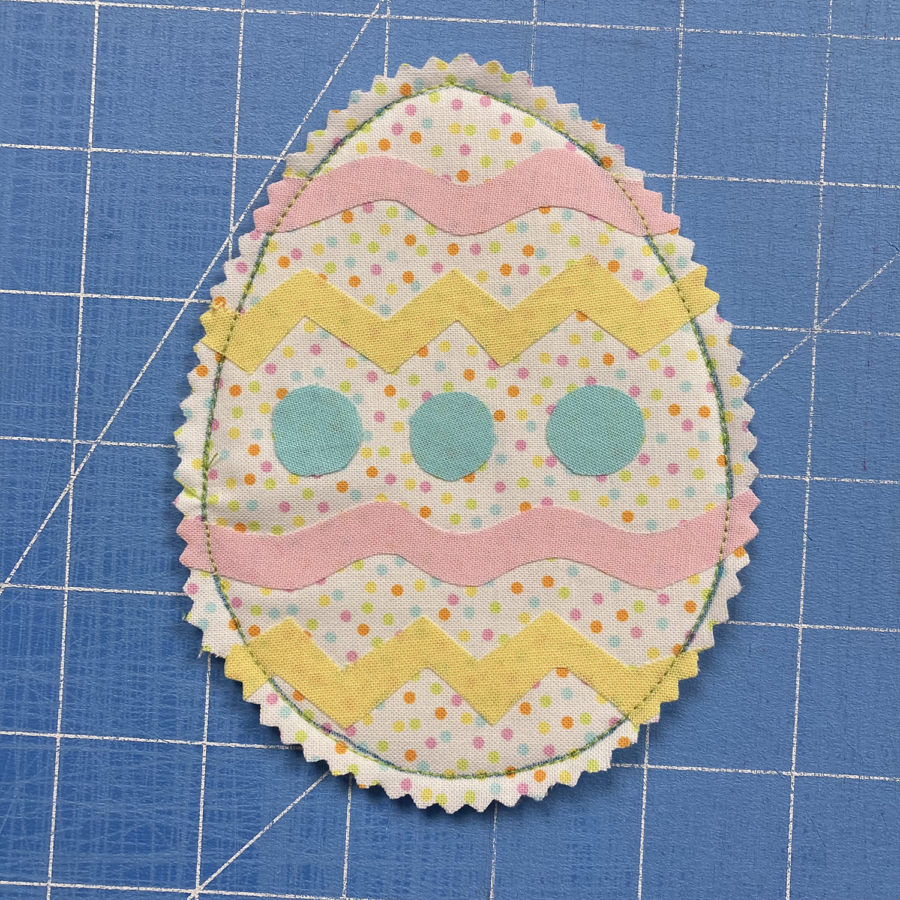 Stitch on decorative shapes with matching or contrasting thread to embellish. Quilt egg background as well if desired.
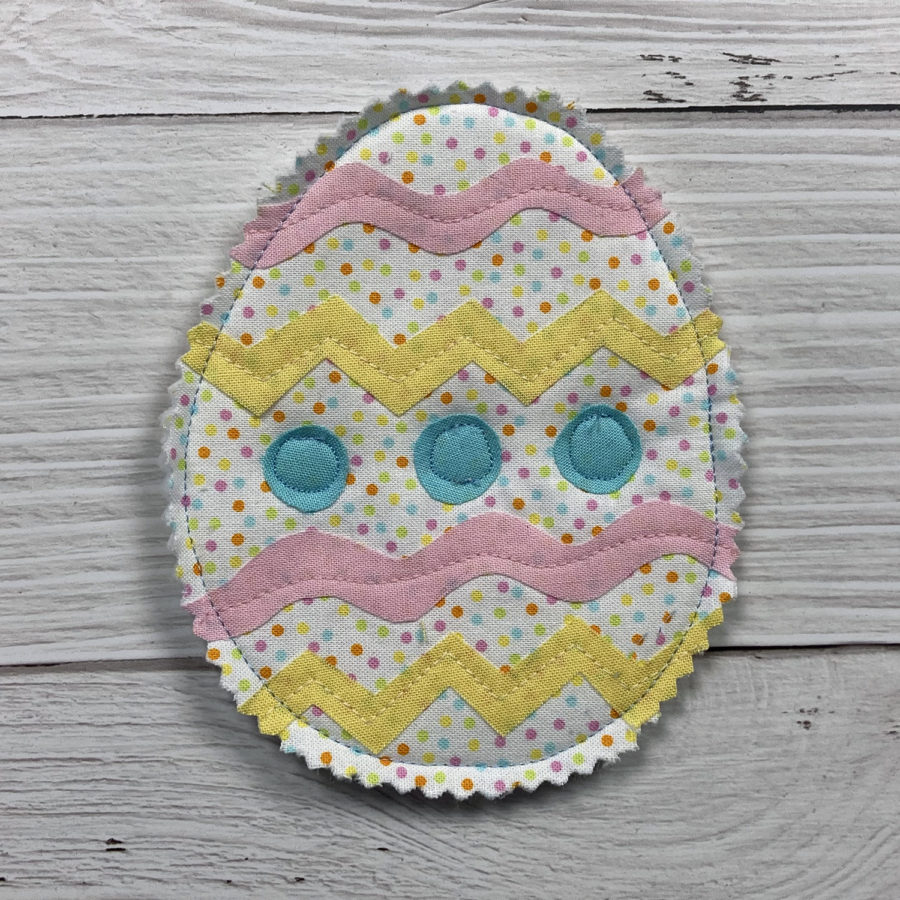
Egg with pieced background:
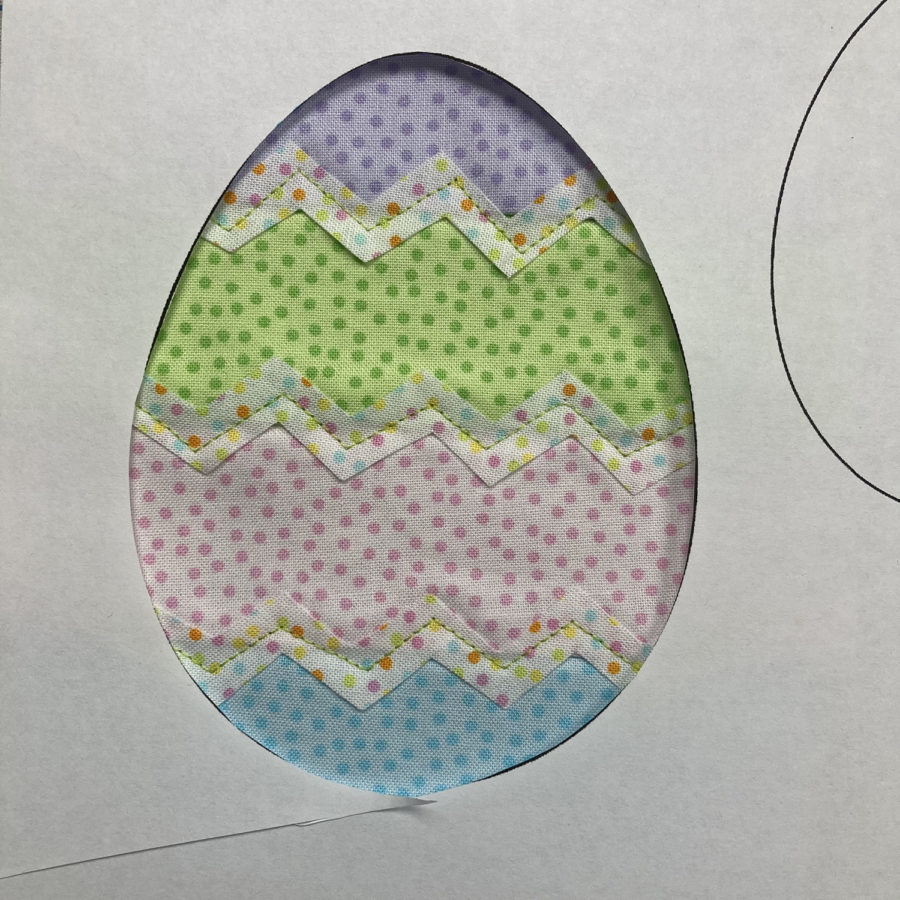
To center a fabric motif for fussy-cutting (or to ensure stripes are even as shown below), use the cut out of the egg template to trace egg shape prior to stitching.
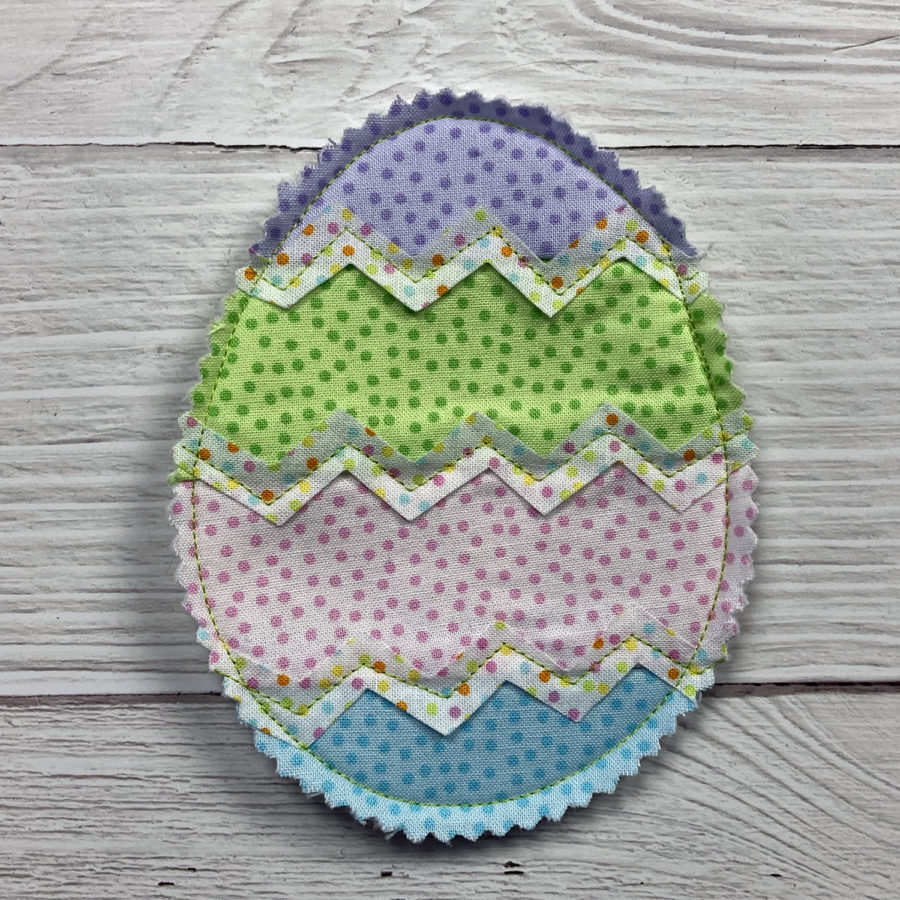
 Finished egg:
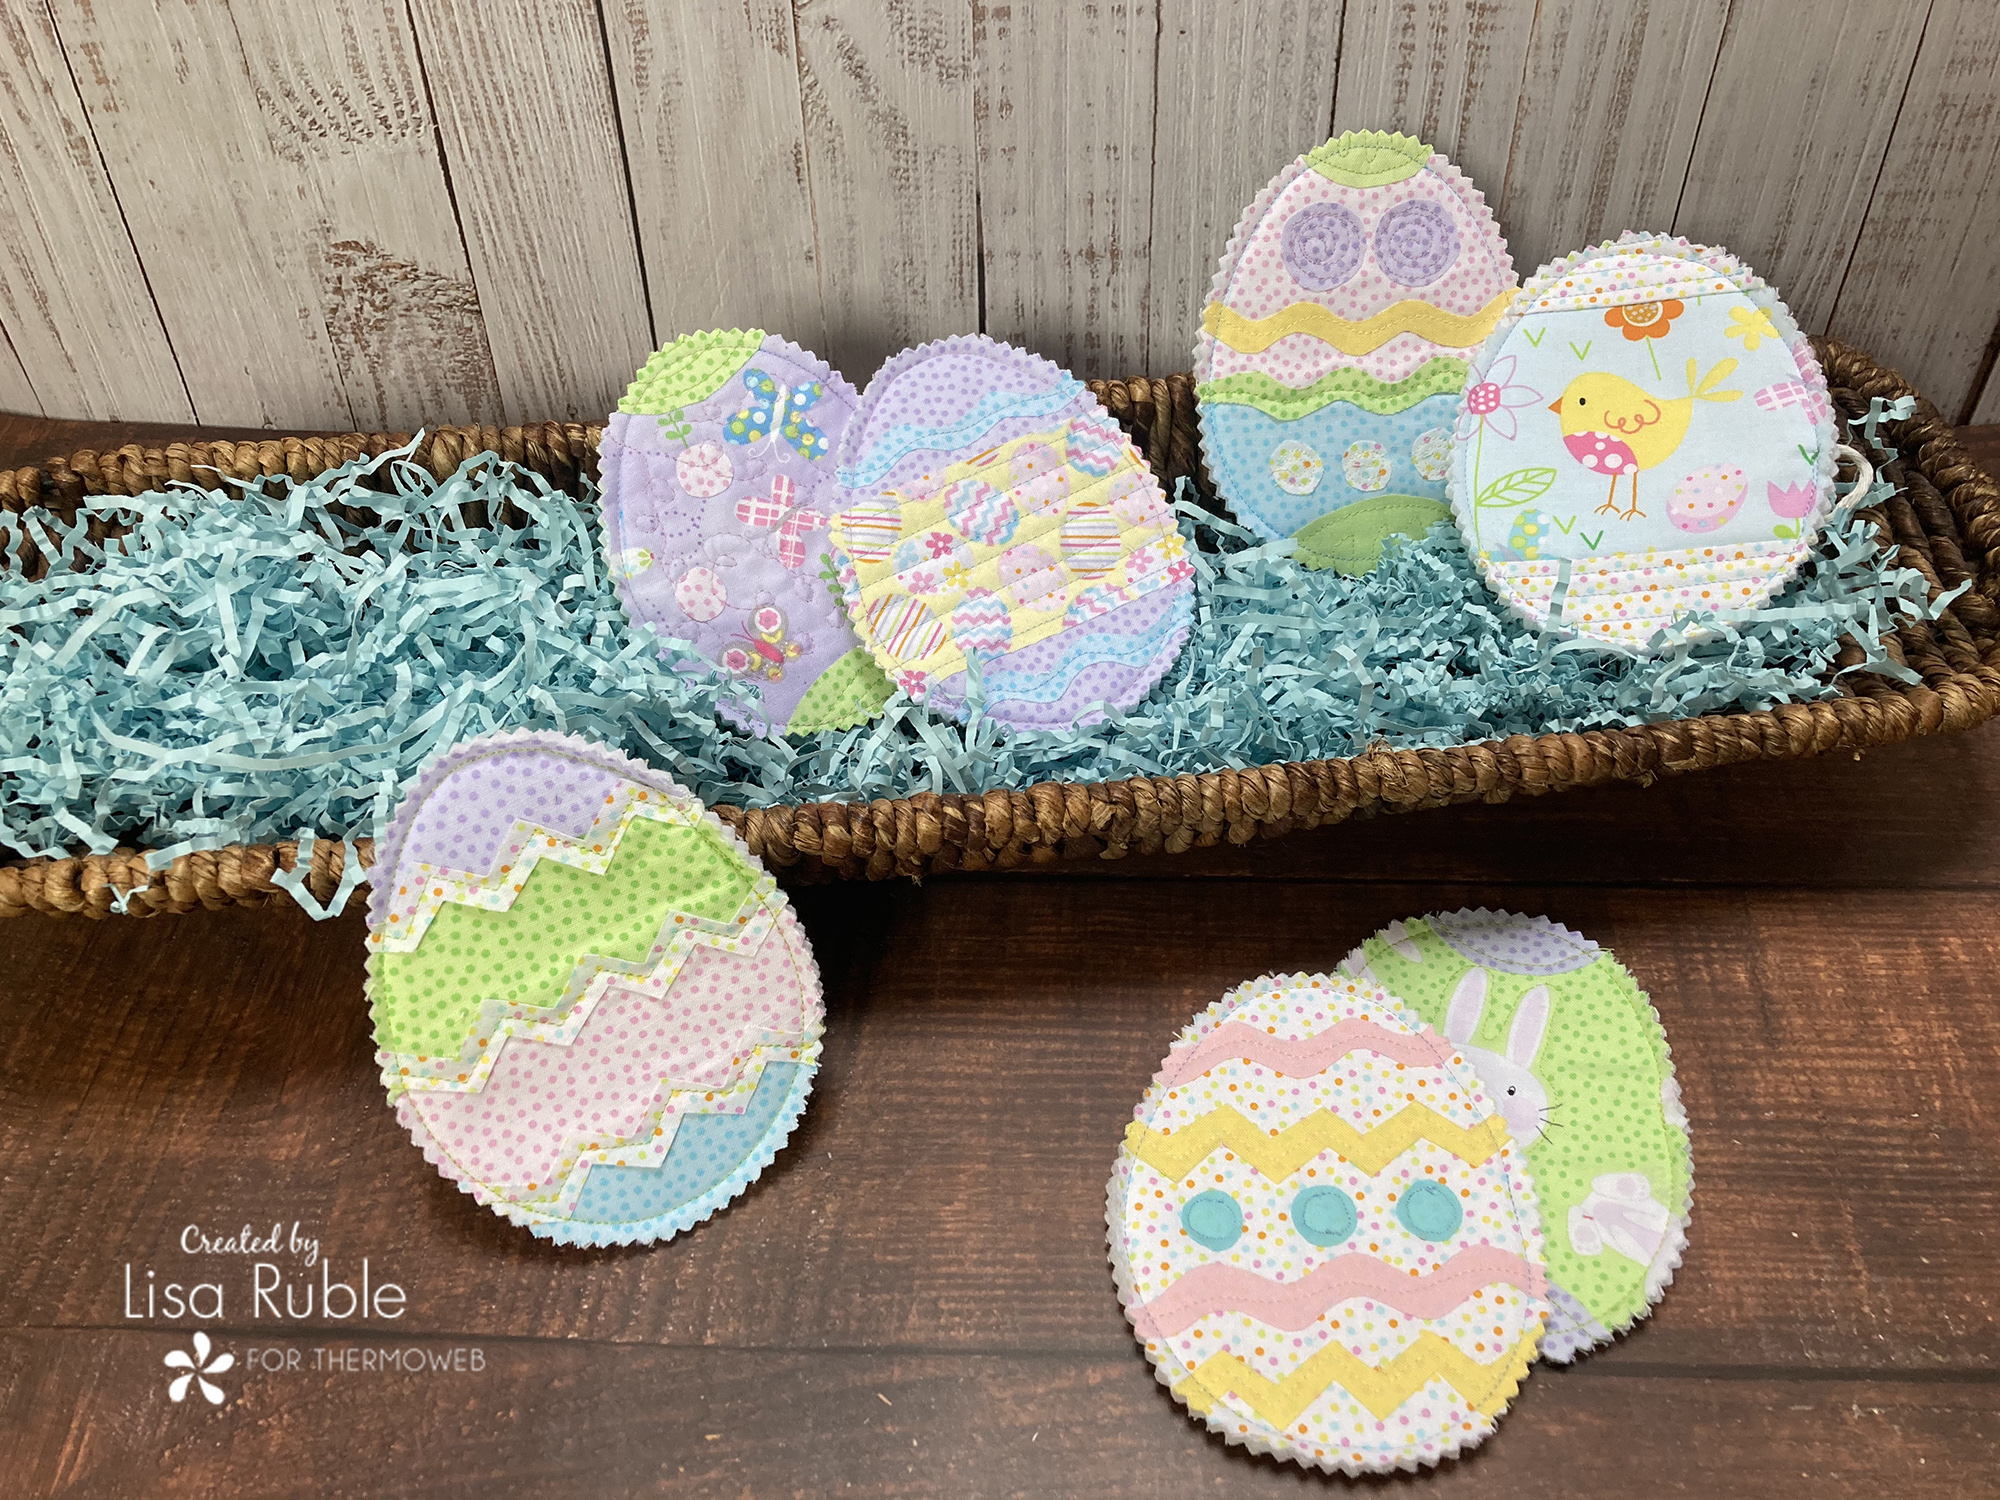
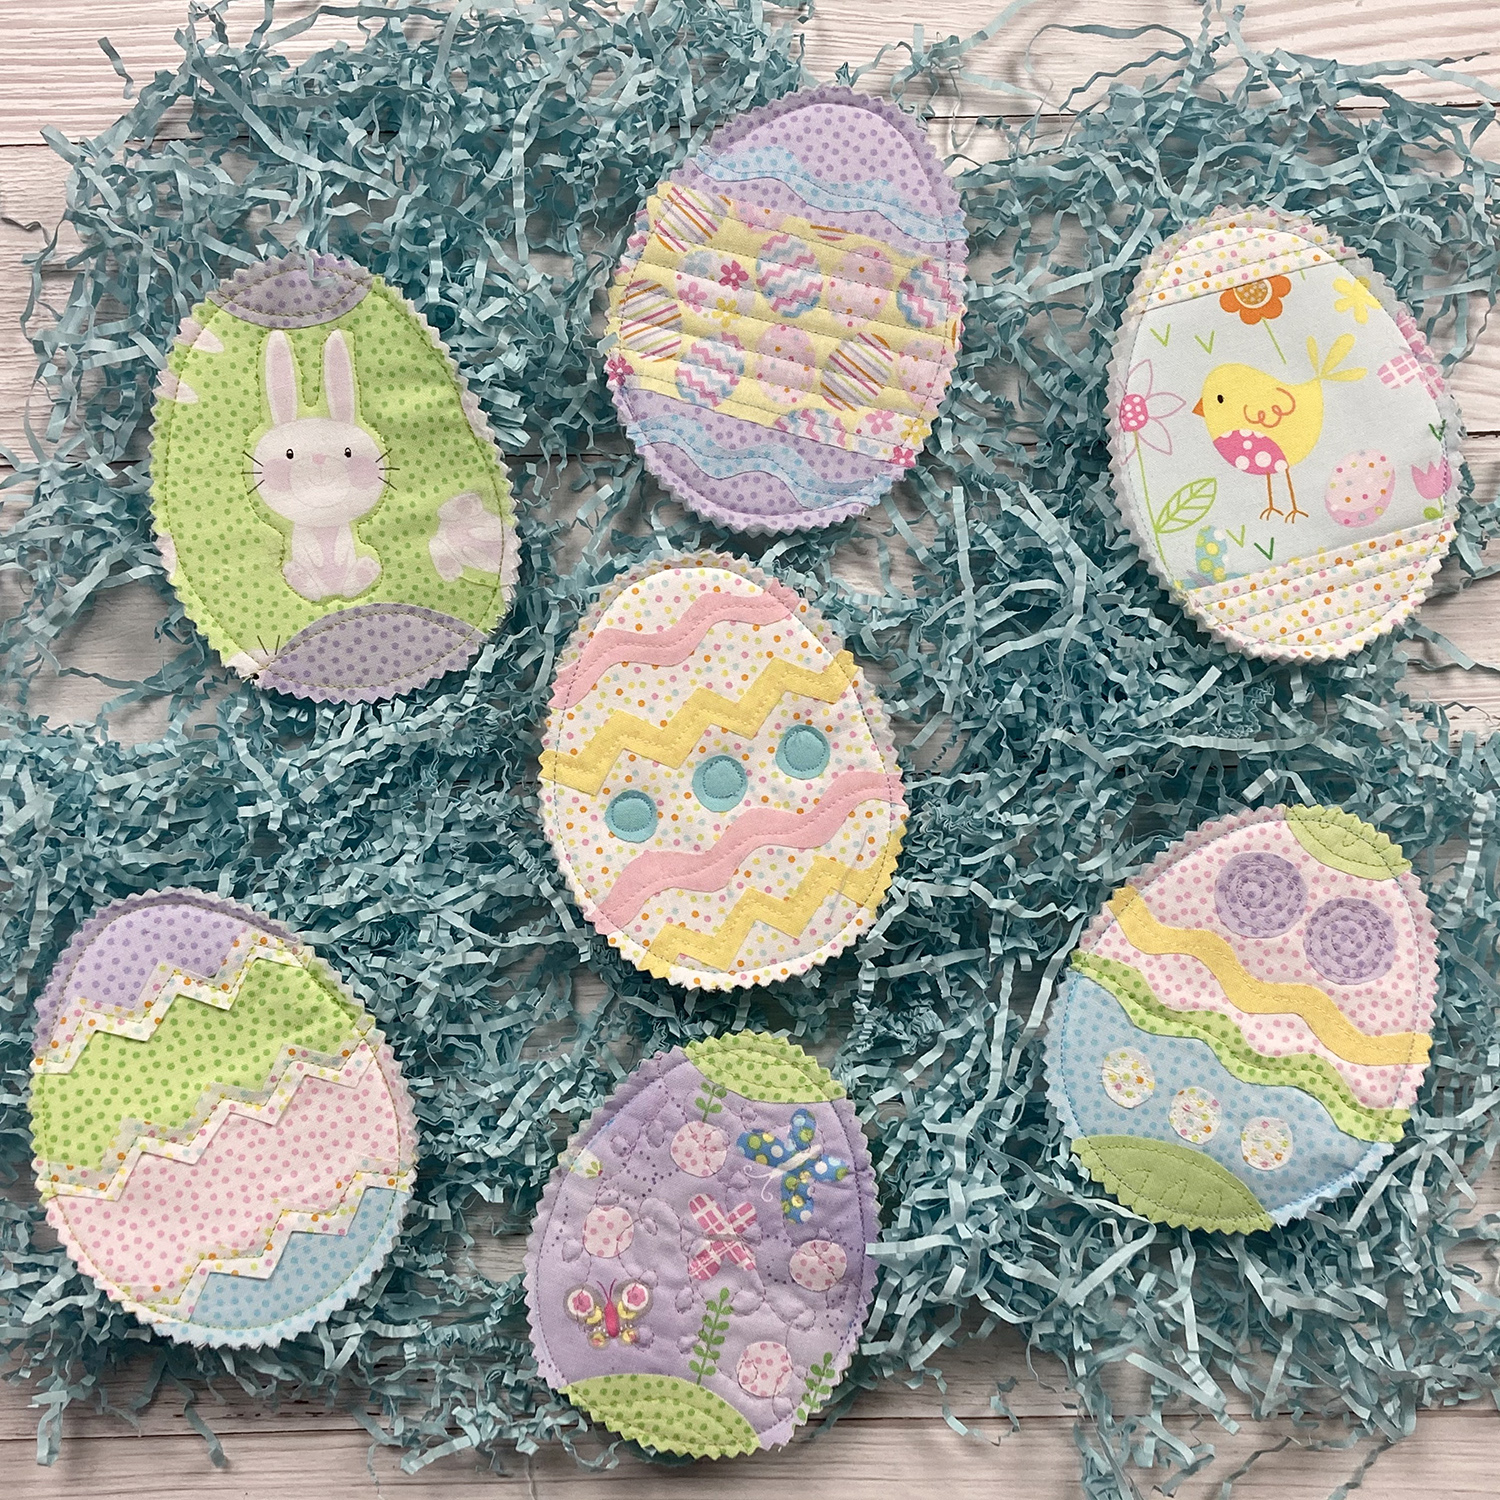 These eggs would make fun table decor for Easter dinner, or maybe even coasters! I'm going to tuck a few inside each of my kids' Easter baskets! I've got plans to make a few more eggs, as well as a basket for these eggs, so head over to my blog, Love to Color My World, to see what I'm sewing!
Happy Easter Egg decorating!
Lisa
These eggs would make fun table decor for Easter dinner, or maybe even coasters! I'm going to tuck a few inside each of my kids' Easter baskets! I've got plans to make a few more eggs, as well as a basket for these eggs, so head over to my blog, Love to Color My World, to see what I'm sewing!
Happy Easter Egg decorating!
LisaWritten by Lisa Ruble