No Products in the Cart
 Size: unfinished 10 ½” x 10 ½”
finished 10” x 10”
Supplies:
Pattern - Download HERE
3 sheets of HeatNBond EZ Print Lite
Aurifil thread: 50 wt. (#2692)
Fabric:
Pumpkin:
For stem (tan): 1 - 4 ½” x 4 ½”
2 light (pieces C & D) – 5” x 8 ½”
3 dark (pieces E, F, and G) – 5” x 8 ½”
Background (white): 1- 10 ½” x 10 ½” square
Other Supplies:
Erasable Fabric Pen
Ruler
Iron (I love my Oliso Pro)
Sewing machine and other general sewing supplies
Size: unfinished 10 ½” x 10 ½”
finished 10” x 10”
Supplies:
Pattern - Download HERE
3 sheets of HeatNBond EZ Print Lite
Aurifil thread: 50 wt. (#2692)
Fabric:
Pumpkin:
For stem (tan): 1 - 4 ½” x 4 ½”
2 light (pieces C & D) – 5” x 8 ½”
3 dark (pieces E, F, and G) – 5” x 8 ½”
Background (white): 1- 10 ½” x 10 ½” square
Other Supplies:
Erasable Fabric Pen
Ruler
Iron (I love my Oliso Pro)
Sewing machine and other general sewing supplies
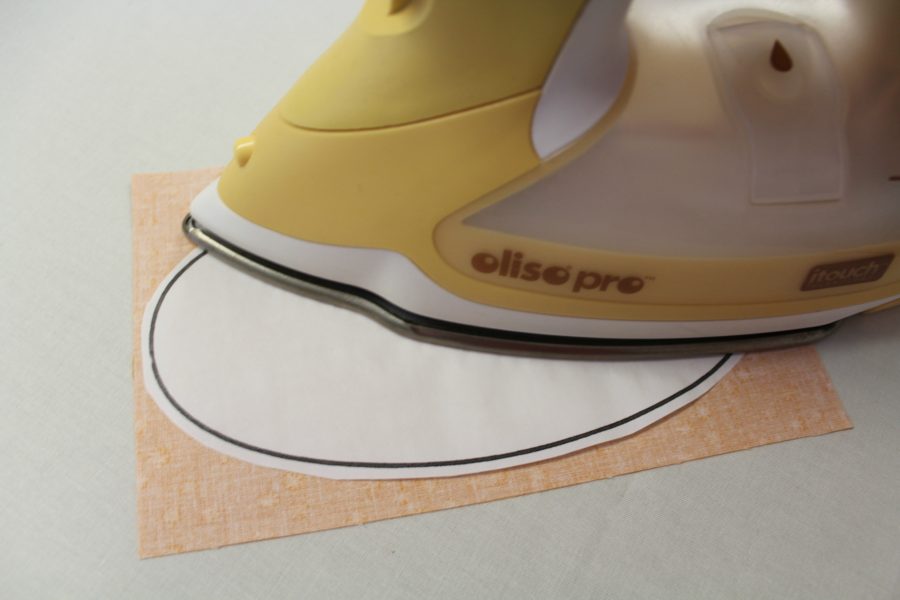 Fuse HeatnBond Lite pieces to the wrong side of 5” x 8 ½” fabrics following the package instructions, let cool and cut out all the pieces on the dark solid lines.
Step 3 - On the 10 ½” x 10 ½” background square, mark a line ½” from the top with an erasable fabric marker.
Place a mark ¾” from the edge on the other 3 sides. This will help with the placement of the pieces.
Fuse HeatnBond Lite pieces to the wrong side of 5” x 8 ½” fabrics following the package instructions, let cool and cut out all the pieces on the dark solid lines.
Step 3 - On the 10 ½” x 10 ½” background square, mark a line ½” from the top with an erasable fabric marker.
Place a mark ¾” from the edge on the other 3 sides. This will help with the placement of the pieces.
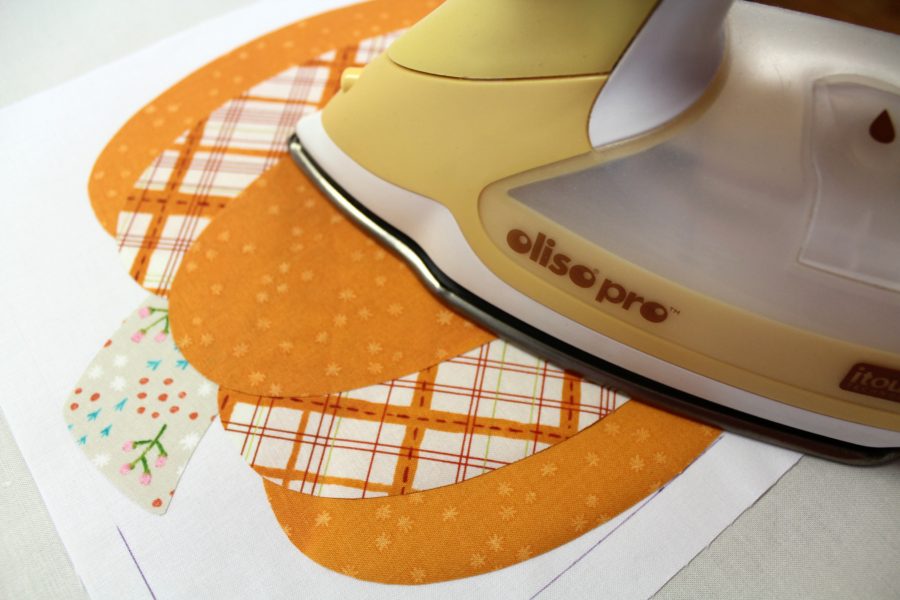
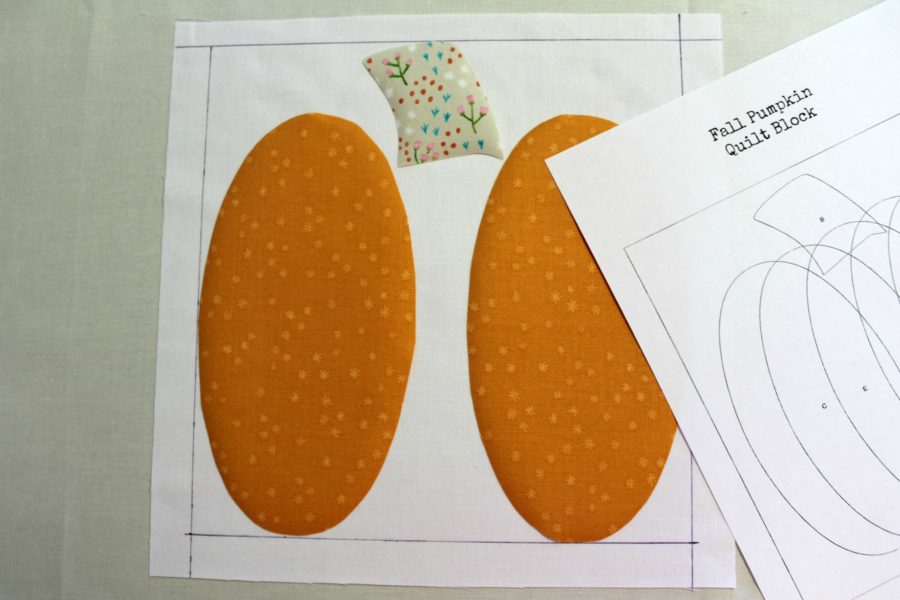 Step 4 - With the background piece on an ironing surface right side up, peel off the backing paper and place the first outside pieces on the background with the adhesive side down. Line up the outside of the oval with the ¾” marks on each side as pictured.
Peel the paper from the back of the stem. Use the key to place the stem on the background using the top ½” mark and the placement key.
Next place the contrasting pieces of the pumpkin measuring 1” from the edge of the first orange pieces.
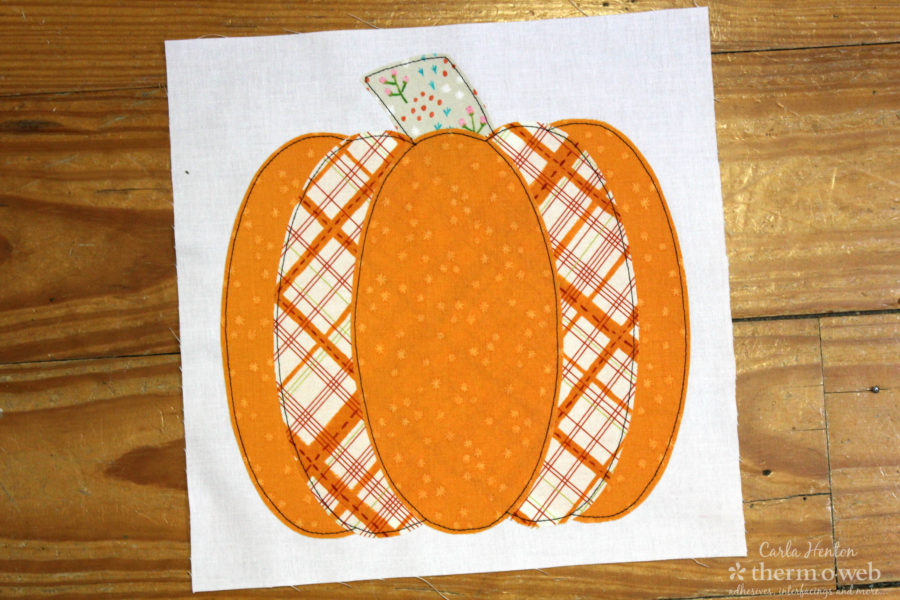
Now center the last pumpkin piece over the contrasting pieces using the key as a guide. HeatN Bond Lite is perfect for layering applique pieces, but the excess can be trimmed if desired. The effect of the layered ovals is perfect for these pumpkins. Fuse all the pieces of pumpkin to the background at once in sections following the package instructions. Remove the marks on all sides of background.
Step 4 - With the background piece on an ironing surface right side up, peel off the backing paper and place the first outside pieces on the background with the adhesive side down. Line up the outside of the oval with the ¾” marks on each side as pictured.
Peel the paper from the back of the stem. Use the key to place the stem on the background using the top ½” mark and the placement key.
Next place the contrasting pieces of the pumpkin measuring 1” from the edge of the first orange pieces.
Now center the last pumpkin piece over the contrasting pieces using the key as a guide. HeatN Bond Lite is perfect for layering applique pieces, but the excess can be trimmed if desired. The effect of the layered ovals is perfect for these pumpkins. Fuse all the pieces of pumpkin to the background at once in sections following the package instructions. Remove the marks on all sides of background.
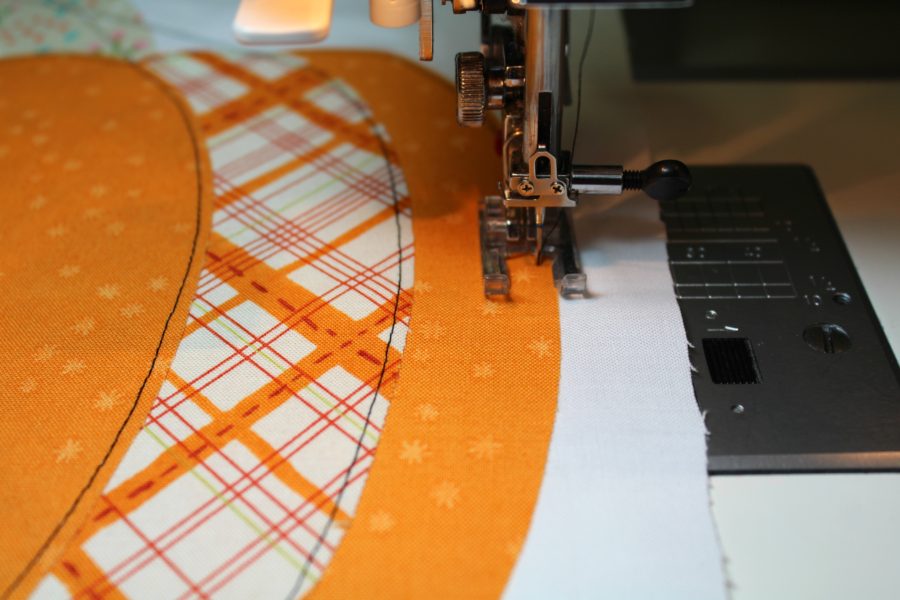
 Step 5 - Stitch around each piece with Aurifil thread in a straight, zigzag, or blanket stitch.
 Now for some fun with this block!
 Supplies:
3- prepared HeatNBond EZ Print Lite Pumpkin Quilt Blocks size 10 1/2" x 10 ½” (part 1)
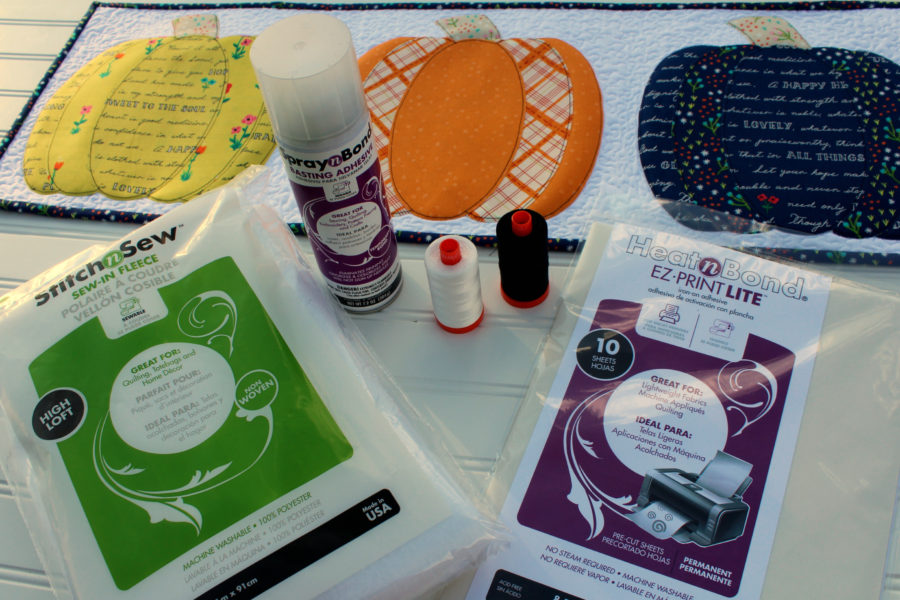
StitchnSew™ Sew-In fleece, High Loft – 12” x 32”
SpraynBond® basting adhesive
Backing fabric – 14” x 34”
Binding fabric – ¼ yard
Aurifil 50 weight cotton thread (#2021, 2692)
Supplies:
3- prepared HeatNBond EZ Print Lite Pumpkin Quilt Blocks size 10 1/2" x 10 ½” (part 1)
StitchnSew™ Sew-In fleece, High Loft – 12” x 32”
SpraynBond® basting adhesive
Backing fabric – 14” x 34”
Binding fabric – ¼ yard
Aurifil 50 weight cotton thread (#2021, 2692)
 Supplies:
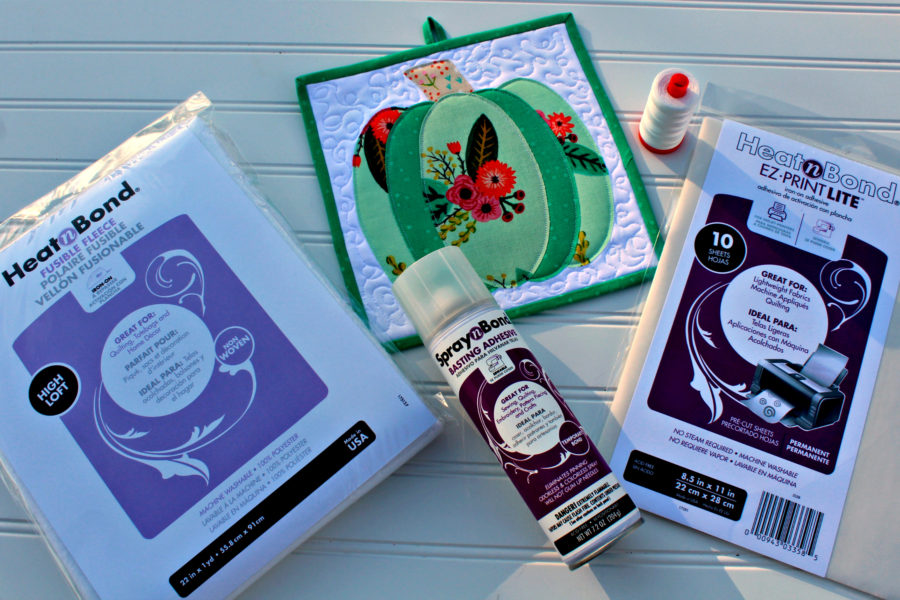 SpraynBond® basting adhesive
Aurifil 50 weight cotton thread (#2021)
3 sheets of HeatNBond EZ Print Lite
HEATnBOND® FUSIBLE Fleece – 2 pieces: 8” x 8”
Fabric: (Meriwether by Amy Gibson for Windham Fabrics)
Backing fabric – 8 ½” x 8 ½”
Binding fabric – fat quarter
Hanging loop – 1” x 4”
For pumpkin:
For stem (tan): 1 - 3 ½” x 3 ½”
2 light (pieces C & D) – 4 ½” x 7”
3 dark (pieces E, F, and G) – 4 ½” x 7”
For Background (white): 1- 8 ½” x 8 ½” square
SpraynBond® basting adhesive
Aurifil 50 weight cotton thread (#2021)
3 sheets of HeatNBond EZ Print Lite
HEATnBOND® FUSIBLE Fleece – 2 pieces: 8” x 8”
Fabric: (Meriwether by Amy Gibson for Windham Fabrics)
Backing fabric – 8 ½” x 8 ½”
Binding fabric – fat quarter
Hanging loop – 1” x 4”
For pumpkin:
For stem (tan): 1 - 3 ½” x 3 ½”
2 light (pieces C & D) – 4 ½” x 7”
3 dark (pieces E, F, and G) – 4 ½” x 7”
For Background (white): 1- 8 ½” x 8 ½” square
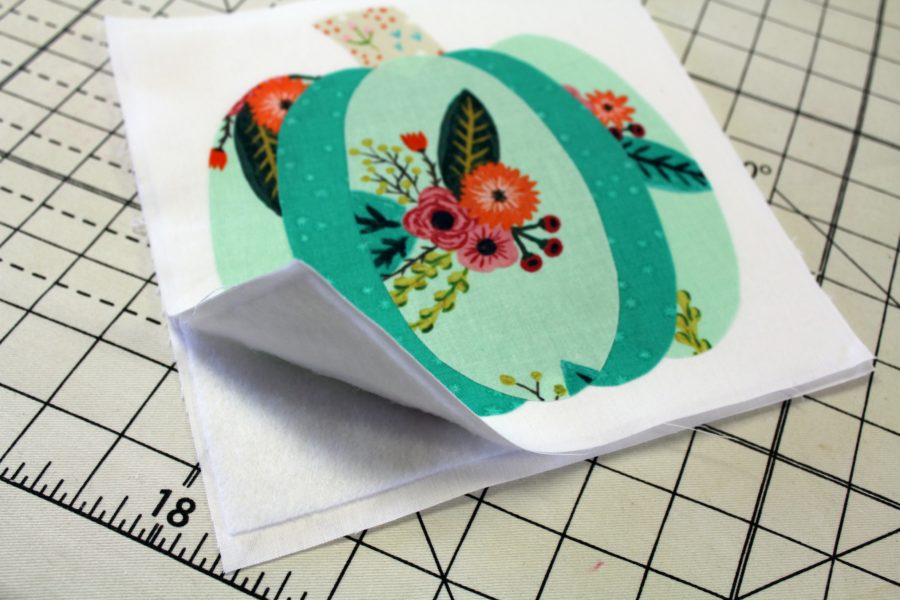 Step 4: Baste the backing fabric and quilt block together with the 2 pieces of fleece sandwiched in the middle by spraying the fleece that was bonded to the backing fabric with SpraynBond® basting adhesive. Now lay the fleece backed quilt block on top with the two pieces of fleece in the middle. The 2 pieces of fleece will be the insulator for the potholder.
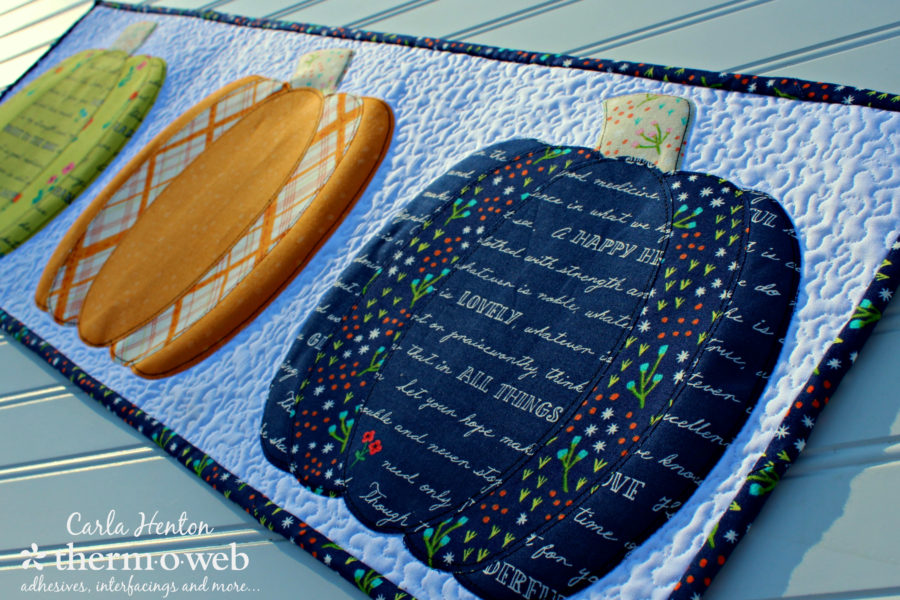
Step 5: Quilt as desired. This one was quilted around the pumpkin first and then a meandering pattern with loops was added to the background. (pumpkin vines?)
Step 4: Baste the backing fabric and quilt block together with the 2 pieces of fleece sandwiched in the middle by spraying the fleece that was bonded to the backing fabric with SpraynBond® basting adhesive. Now lay the fleece backed quilt block on top with the two pieces of fleece in the middle. The 2 pieces of fleece will be the insulator for the potholder.
Step 5: Quilt as desired. This one was quilted around the pumpkin first and then a meandering pattern with loops was added to the background. (pumpkin vines?)
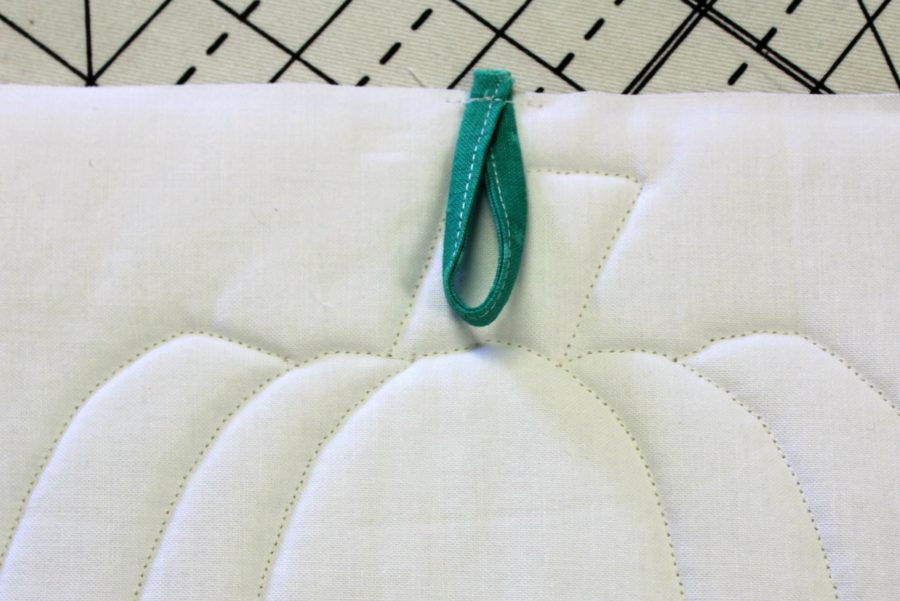
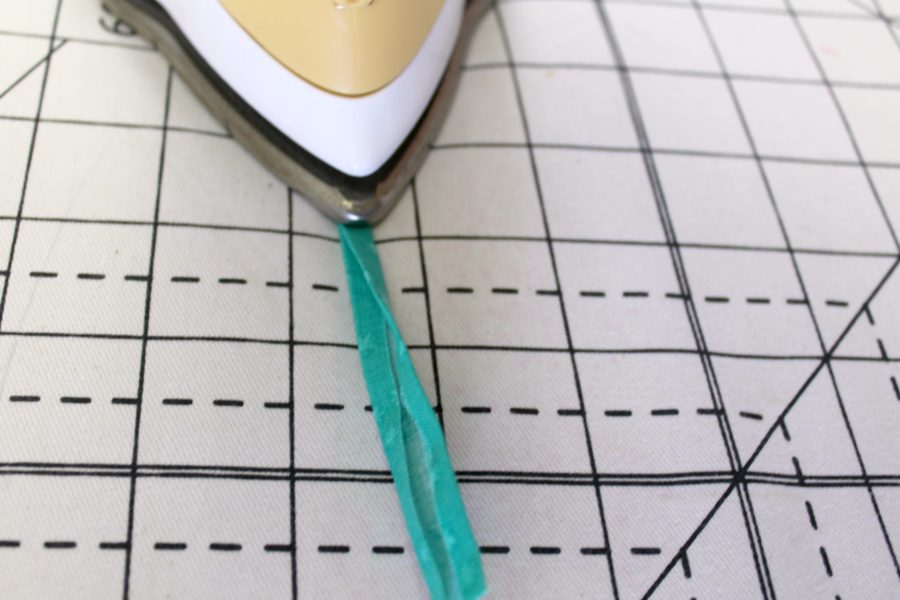 Step 6: To make the hanging loop, fold the 1”x 4” piece of fabric lengthwise and press. Open it up and fold both side edges to meet in the middle lengthwise where the fold mark is and press. Now fold the unit together lengthwise and the raw edges are tucked in the middle. Stitch lengthwise along the edge. Fold the quilt block in half to find the middle top. This is where the loop will be placed. Stitch 1/8” across both ends of the loop as shown.
 Step 7: Add binding to edges with preferred method.
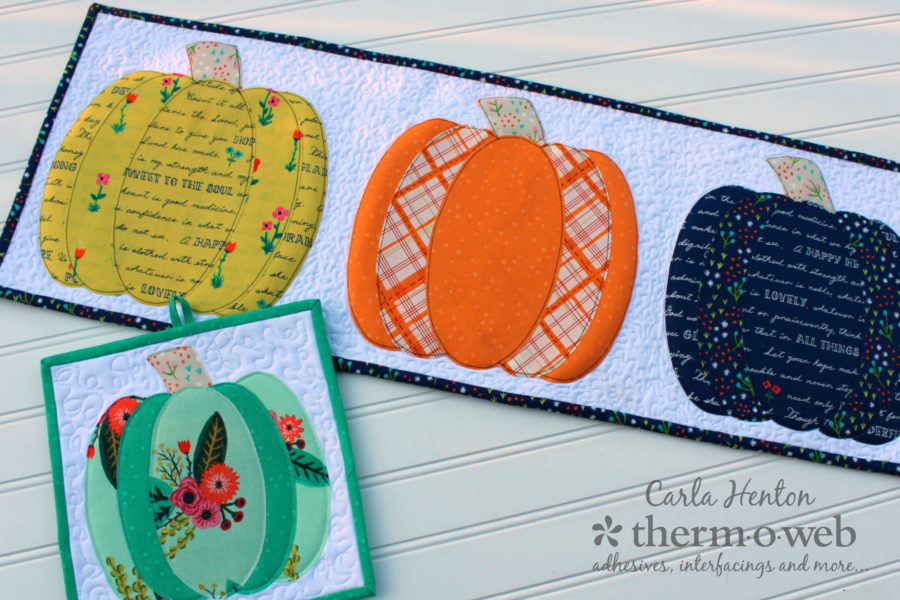
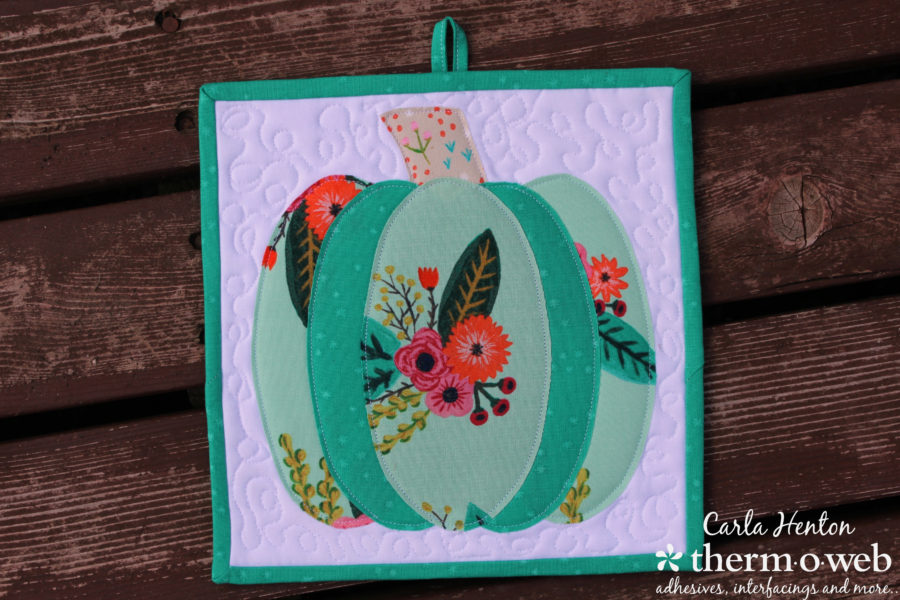
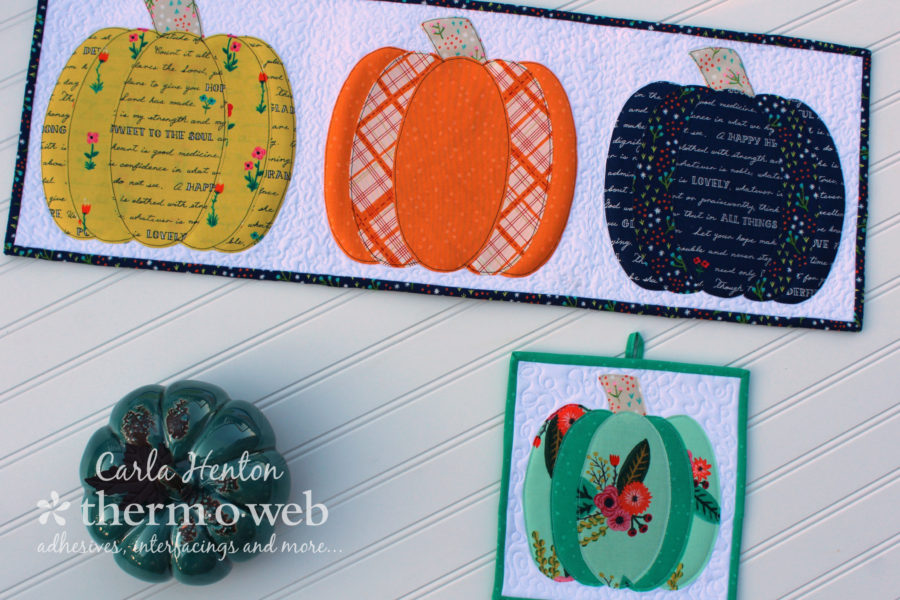 Happy Fall! I hope you have a chance celebrate your passion for sewing with my pumpkin palooza!
Carla
Happy Fall! I hope you have a chance celebrate your passion for sewing with my pumpkin palooza!
Carla