No Products in the Cart



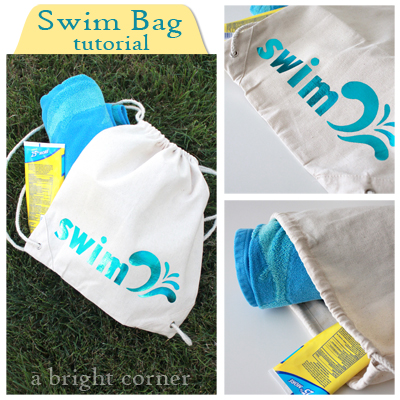
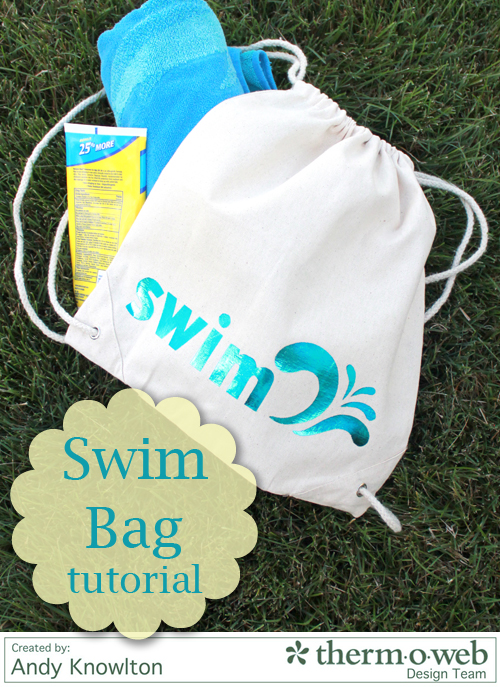 Hello Thermoweb readers! It's Andy from A Bright Corner, with a tutorial for a fun and quick swim bag. On these hot summer days, I'm finding that we need a small-ish bag to bring some basics with us to the pool. I found this pre-made bag at my local JoAnn Fabrics, but I've also seen them at other big box craft supply shops. It's the perfect size for a towel, a tube of sunscreen and a good book!
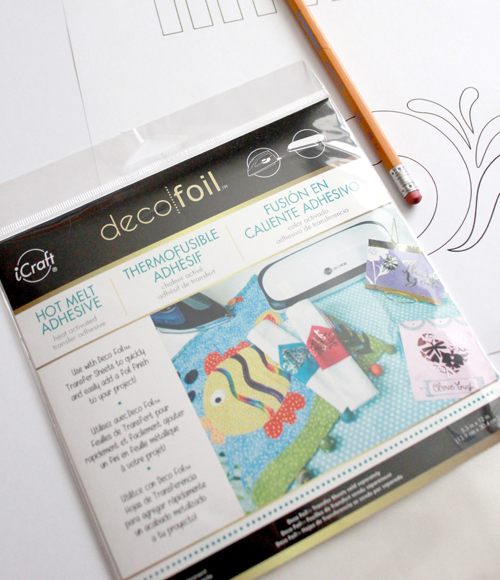
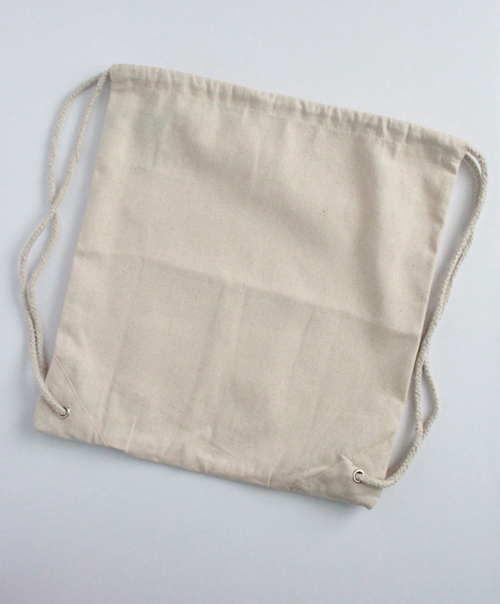 I'll show you how to add some iCraft® Deco Foil™ to the pre-made bag to give it some personality! Here's what you'll need:
 Place the letters and splash shapes on to the bag. Use a ruler to make sure the letters are even with the bottom of the bag (mine are 2" up from the bottom of the bag.)
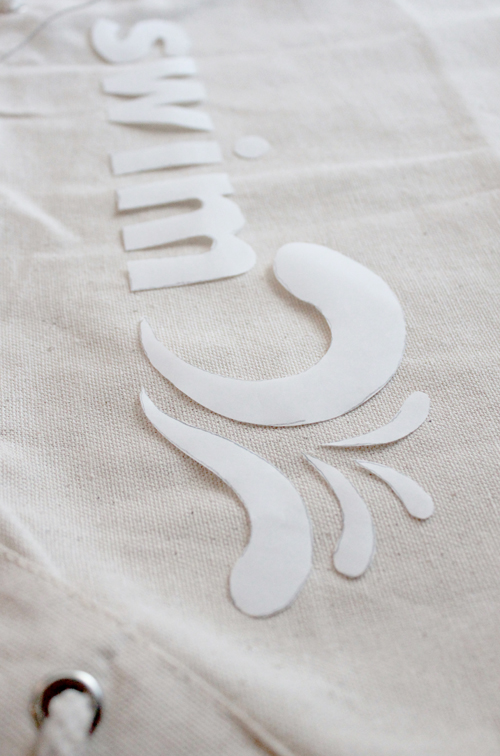 Use an iron to press the shapes in place.
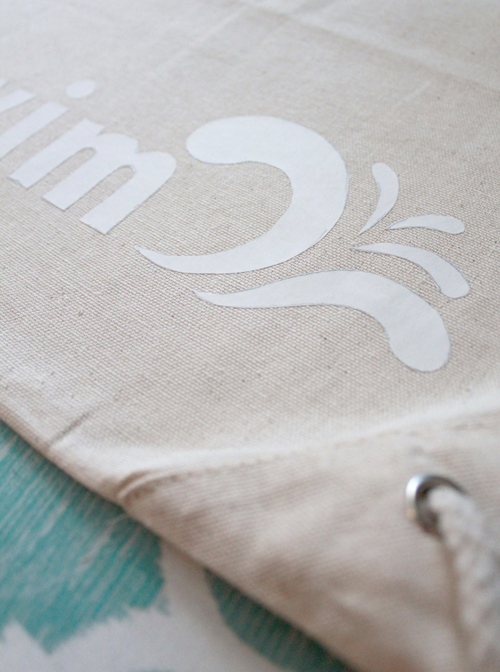 Let them cool completely, then peel off the paper.
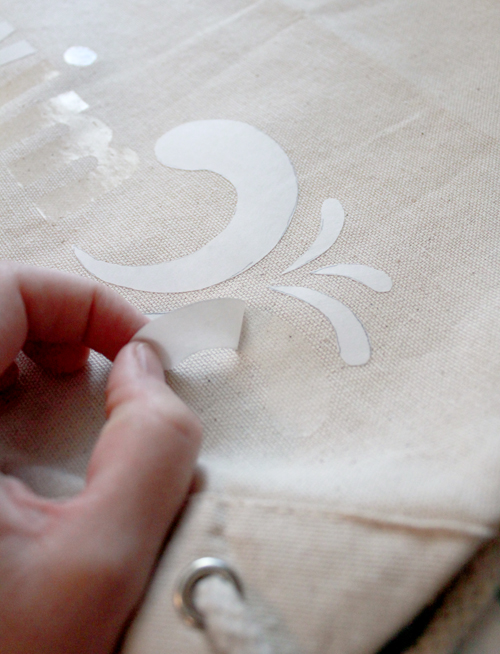 Cut a sheet of Teal Deco Foil™ to cover the splash shapes and letters. Following the instructions on the package, press foil on to the Hot Melt Adhesive. You can see in the photos below that I used two smaller sheets of Deco Foil™ and applied them to just half of the shapes at a time. I prefer to apply the foil in smaller sections like this, and if you do the same, just be sure to only iron over the sections that are covered with foil!
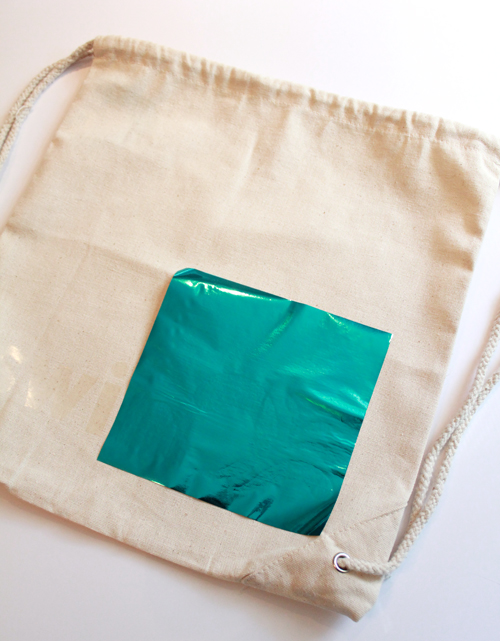 Let the project cool completely, then peel off the Foil sheet.
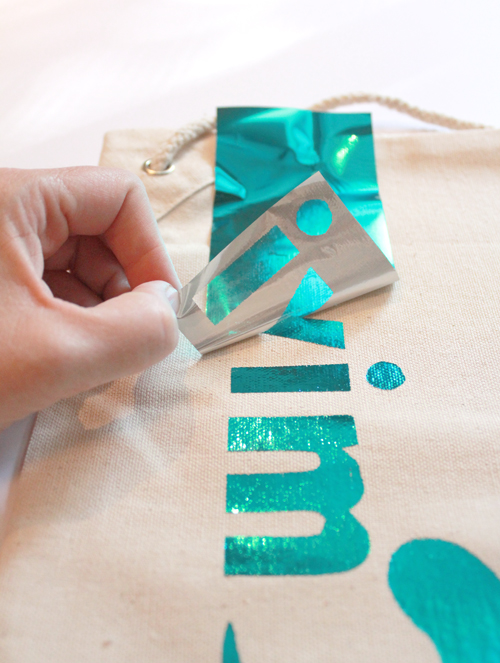 And your bag is done! I love using iCraft® Deco Foils™ to add fun details to everyday things.
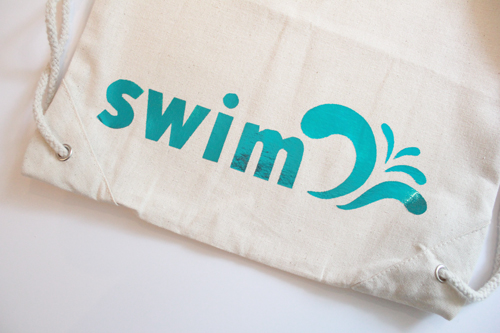
Now off to the pool we go!
Written by Andy Knowlton
