No Products in the Cart
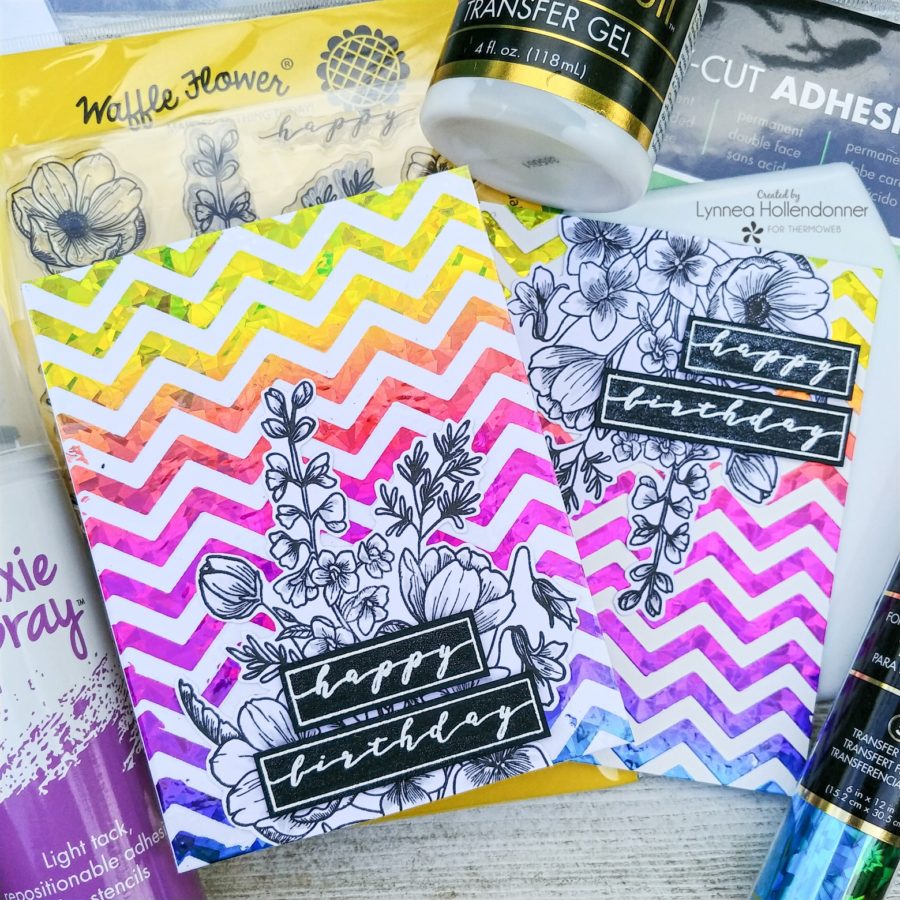
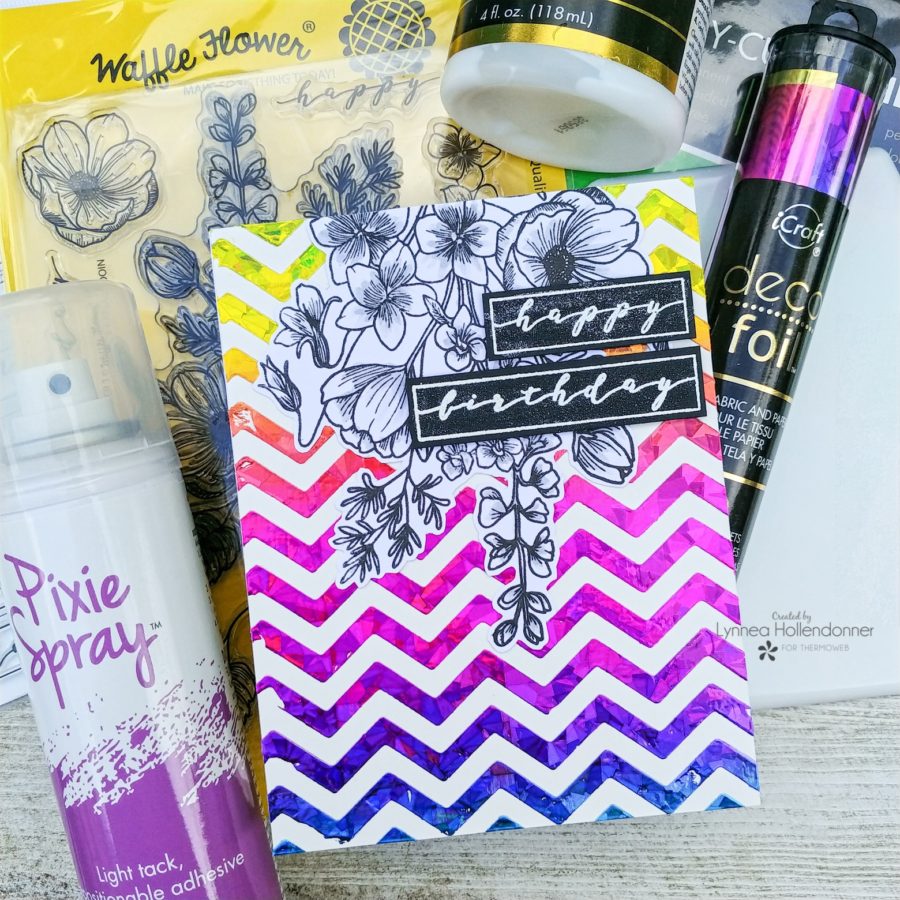
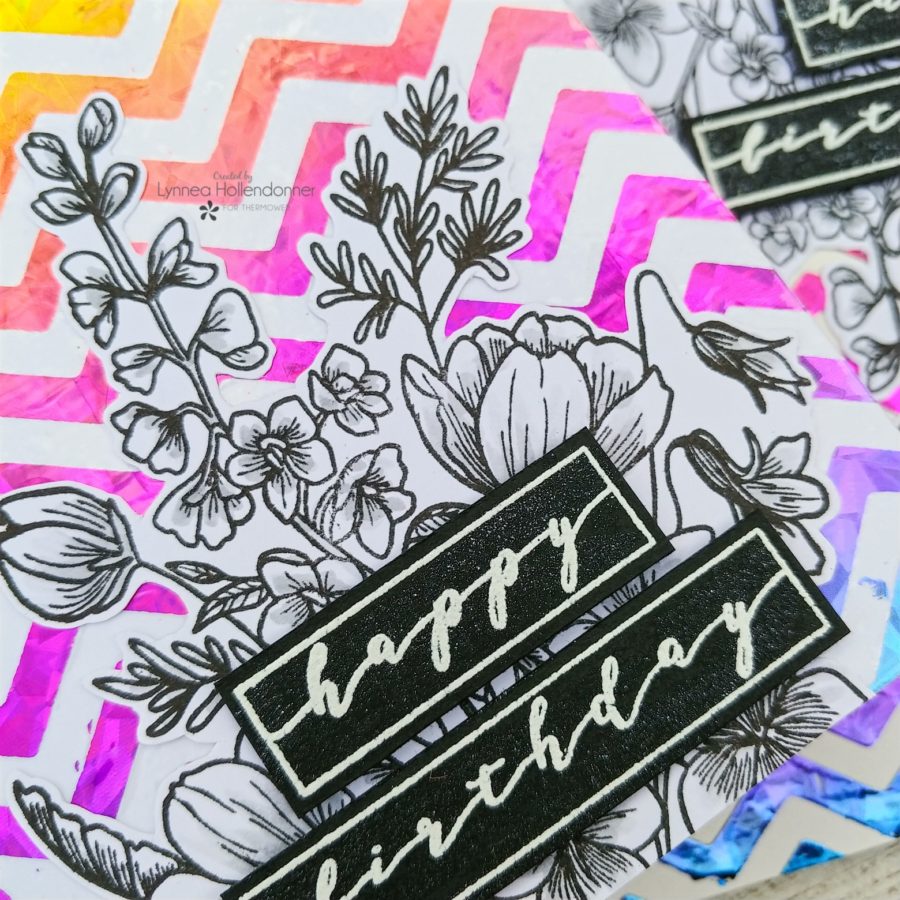
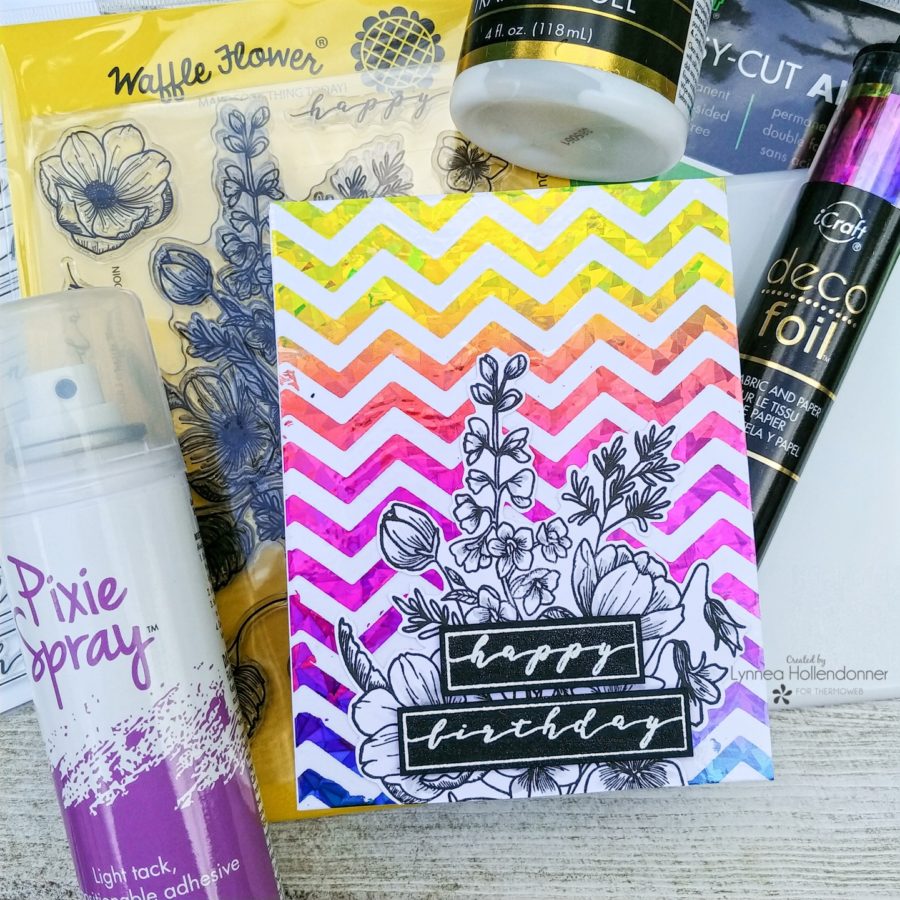 Once the Transfer Gel was dry I cut a piece of Rainbow Shattered Glass Deco Foil slightly larger than my card front and ran it through my laminator. I found that I get the best results when I use a piece of the parchment paper folded in half as my carrier sheet and run it through my laminator twice. After the Rainbow Shattered Glass Deco Foil was transferred onto my card front I had the negative piece leftover. It was the same chevron pattern - just a bit different! And guess what?! This piece is TOTALLY usable!
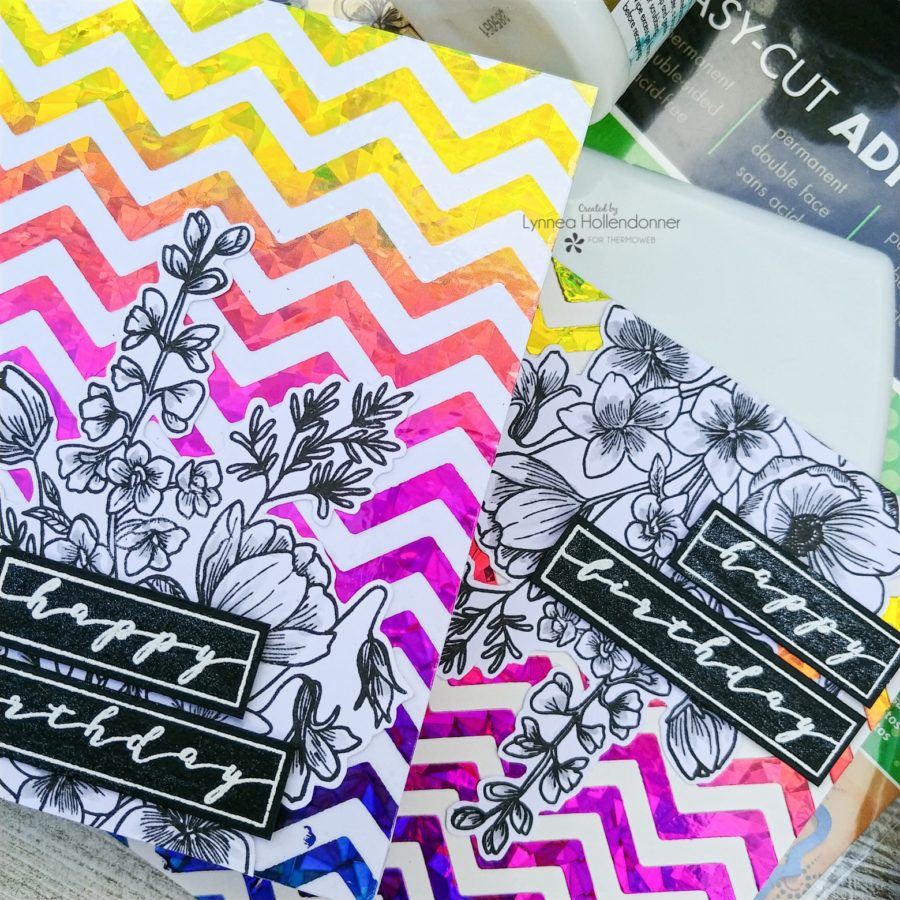 Now that the backgrounds are done I needed something gorgeous to go on top! I grabbed the Bouquet Builder 3 stamp set from Waffle Flower and stamped the large image onto Copic friendly cardstock. I LOVE the look of white against a bright background - so I decided to color the whole floral arrangement white. I used N0 and N2 Copic markers and gave each flower and leaf a bit of shading. I trimmed them out and added them to my card fronts with iCraft Ultra Bond Liquid Adhesive. I stamped out sentiments from the Label Greetings stamp set onto black cardstock and white heat embossed them and added them to my cards with Gina K Designs Black Foam Squares.
 What's a black sentiment strip without some sparkle?! I added some liquid glitter to finish off my cards! Here's my video! Enjoy!
https://youtu.be/DAGXvvghKc8
ThermOWeb products used -
Pixie Spray
Rainbow Shattered Glass Deco Foil Transfer Sheets
Deco Foil Transfer Gel
Stencil Pal
iCraft 6 x 6 Easy Cut Adhesive Sheets
iCraft Ultra Bond Liquid Adhesive
Gina K Designs Black Foam Squares
Waffle Flower products used -
Bouquet Builder 3 stamp set
Label Greetings stamp set
Other products used -
Kindred Stamps Chevron stencil
Thanks so much for stopping by today! We would love to see what YOU create with the Deco Foil Flock Transfer sheets - be sure to use #decofoil and #thermoweb on Social Media!
And don't miss a chance to get yourself entered to win a $30 Gift Card! PLUS head over to Waffle Flower's Blog for their giveaway as well!
a Rafflecopter giveaway
What's a black sentiment strip without some sparkle?! I added some liquid glitter to finish off my cards! Here's my video! Enjoy!
https://youtu.be/DAGXvvghKc8
ThermOWeb products used -
Pixie Spray
Rainbow Shattered Glass Deco Foil Transfer Sheets
Deco Foil Transfer Gel
Stencil Pal
iCraft 6 x 6 Easy Cut Adhesive Sheets
iCraft Ultra Bond Liquid Adhesive
Gina K Designs Black Foam Squares
Waffle Flower products used -
Bouquet Builder 3 stamp set
Label Greetings stamp set
Other products used -
Kindred Stamps Chevron stencil
Thanks so much for stopping by today! We would love to see what YOU create with the Deco Foil Flock Transfer sheets - be sure to use #decofoil and #thermoweb on Social Media!
And don't miss a chance to get yourself entered to win a $30 Gift Card! PLUS head over to Waffle Flower's Blog for their giveaway as well!
a Rafflecopter giveaway