No Products in the Cart
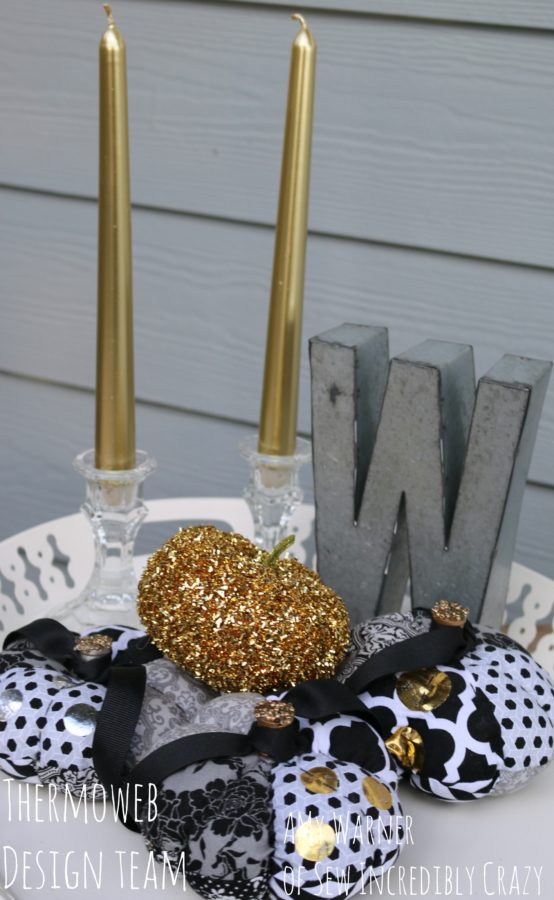
 In our home, we do small decorations that will interchange between Halloween and Thanksgiving. These little pumpkins function well for both.
To make the pumpkins, I used the tutorial from Lori of The Jaunt Box and our very own Audrey Pettit also has a tutorial of stacked pumpkins on the blog here.
Supplies you will need:
Mixed Media Adhesive
DecoFoil Hot Melt Adhesive
Gold or Silver DecoFoil
Glitter Dust
Small wooden Spools
seed beads
4 to 8 fabric fat quarters
Embroidery floss
ribbon
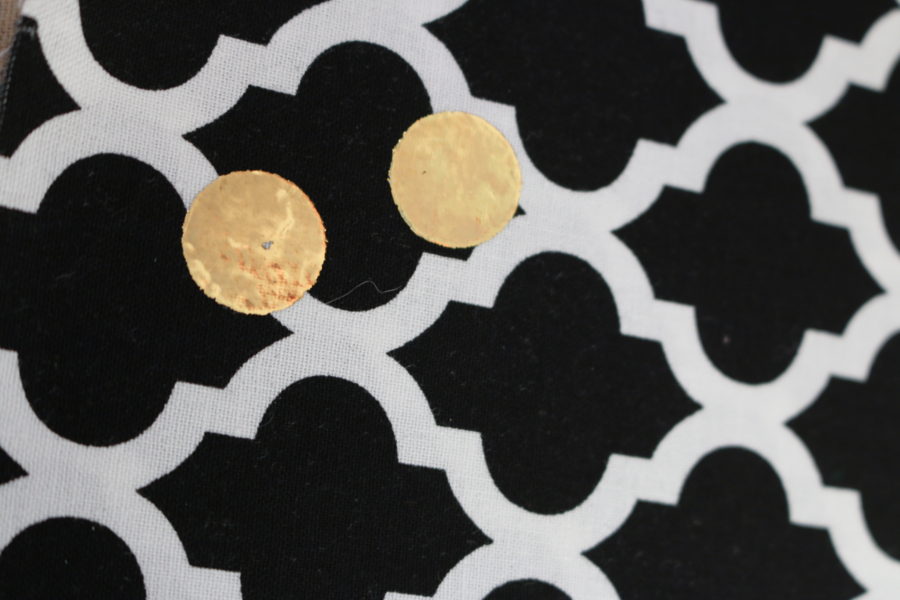
After sewing the pieces to the top of the pumpkin together, you will add the DecoFoil Hot Melt Adhesive to the fabric.
In our home, we do small decorations that will interchange between Halloween and Thanksgiving. These little pumpkins function well for both.
To make the pumpkins, I used the tutorial from Lori of The Jaunt Box and our very own Audrey Pettit also has a tutorial of stacked pumpkins on the blog here.
Supplies you will need:
Mixed Media Adhesive
DecoFoil Hot Melt Adhesive
Gold or Silver DecoFoil
Glitter Dust
Small wooden Spools
seed beads
4 to 8 fabric fat quarters
Embroidery floss
ribbon
After sewing the pieces to the top of the pumpkin together, you will add the DecoFoil Hot Melt Adhesive to the fabric.
 Using a craft hole punch, you can get the perfect circle to iron on. Follow the direction on the package to get the perfect coverage.
 Complete sewing up the pumpkin. For the stem, grab your Glitter Dust spray. This spray can also be used on the pumpkin itself to add a little bling, because who really doesn't like a little glitter.
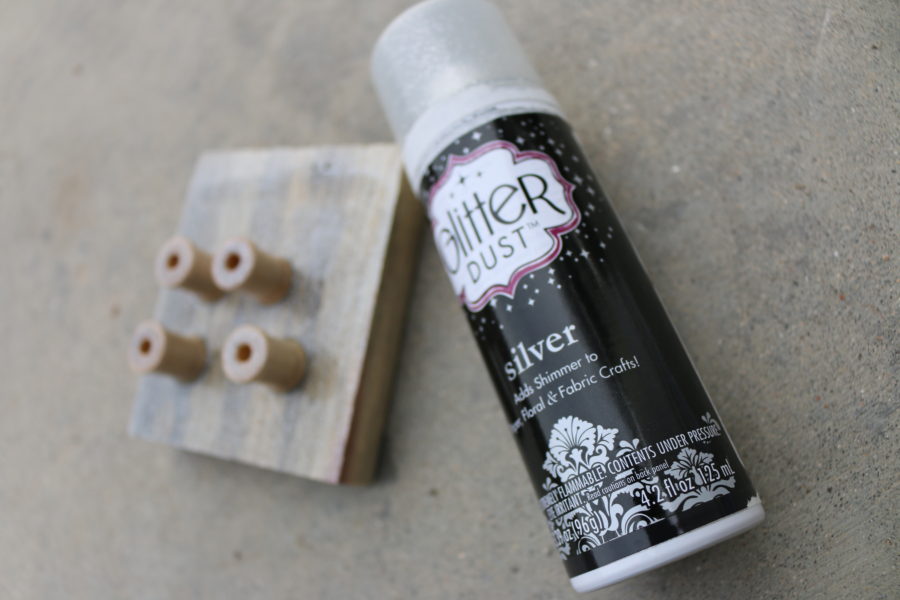
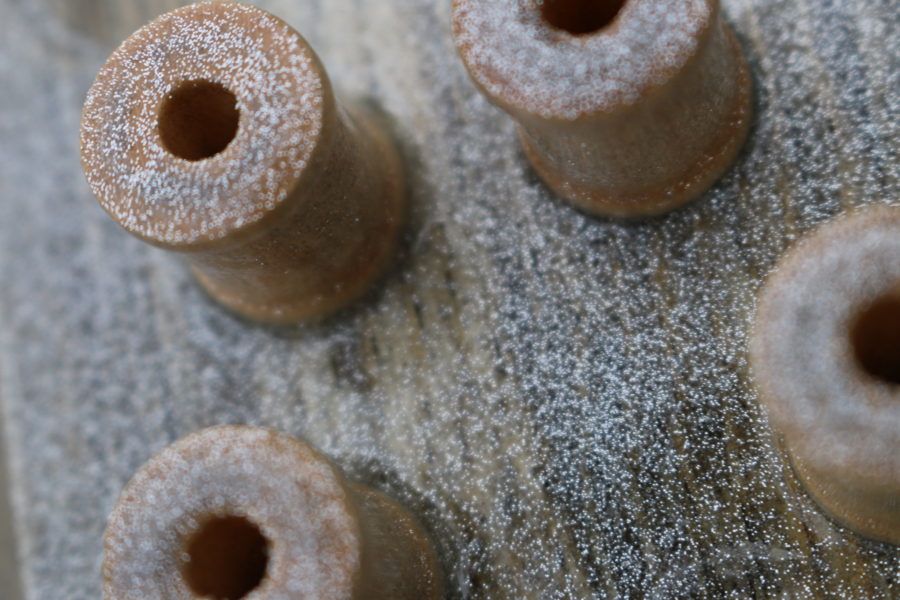 Let the Glitter Dust dry completely. You can also spray the glitter on after painting the stems a different color. After it is dry, take your Mixed Media Adhesive and add a layer to the top of the spool.
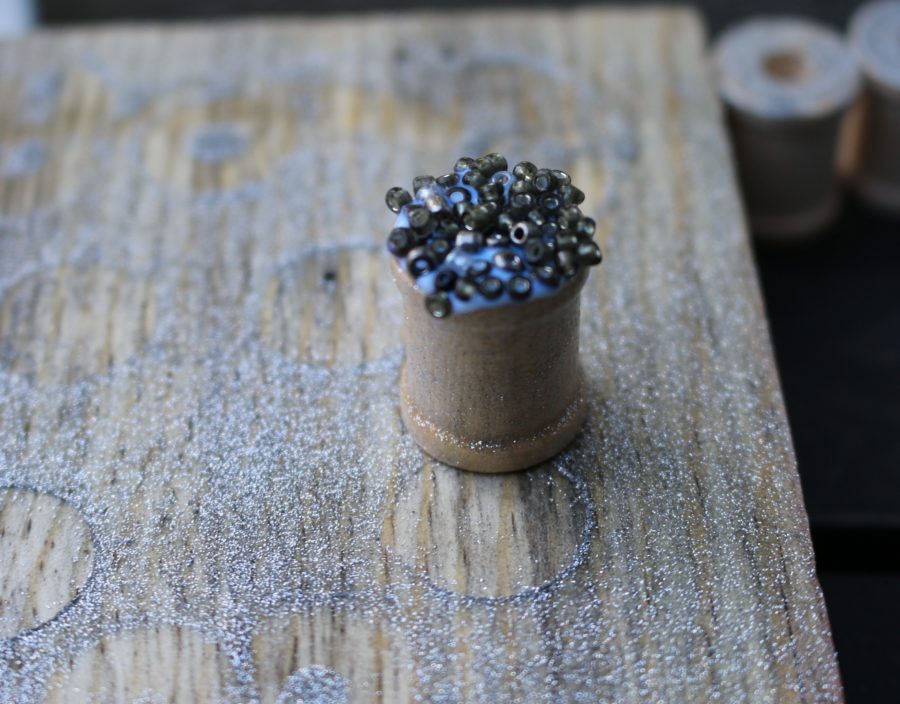
 Press your beads onto the top of the spool. The adhesive will dry completely clear.
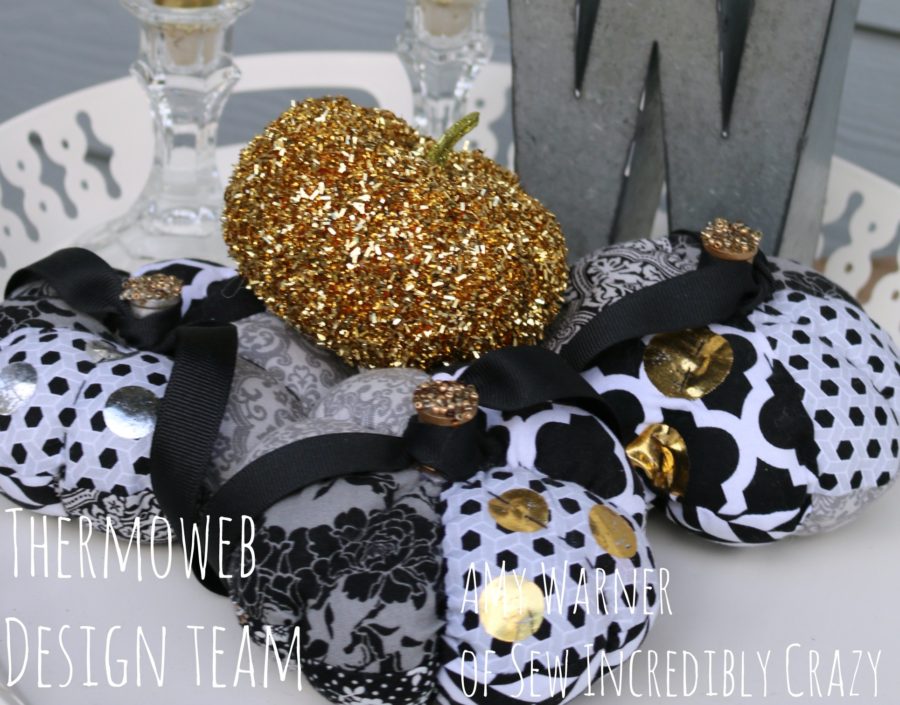
 Glue the spool to the top of your pumpkin. I used hot glue for this step, so that the pumpkins would be ready to set on the table right away.
There you have a glittered pumpkin to add to your dinning room table or around the house. For another idea, you could glitter up a pumpkin with a cute carved DecoFoiled face or maybe some creepy spiders crawling up the side, the options are endless.
Glue the spool to the top of your pumpkin. I used hot glue for this step, so that the pumpkins would be ready to set on the table right away.
There you have a glittered pumpkin to add to your dinning room table or around the house. For another idea, you could glitter up a pumpkin with a cute carved DecoFoiled face or maybe some creepy spiders crawling up the side, the options are endless.