No Products in the Cart




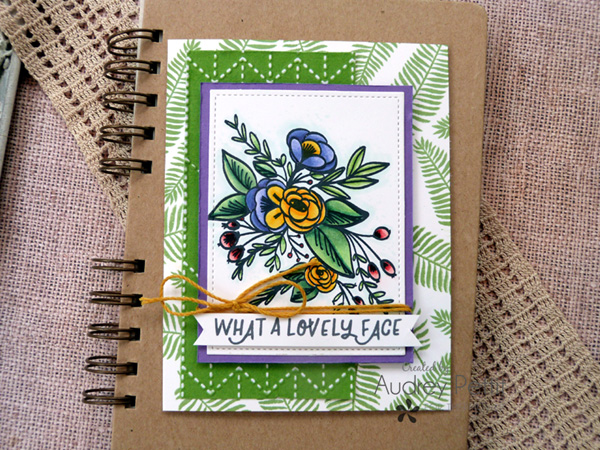
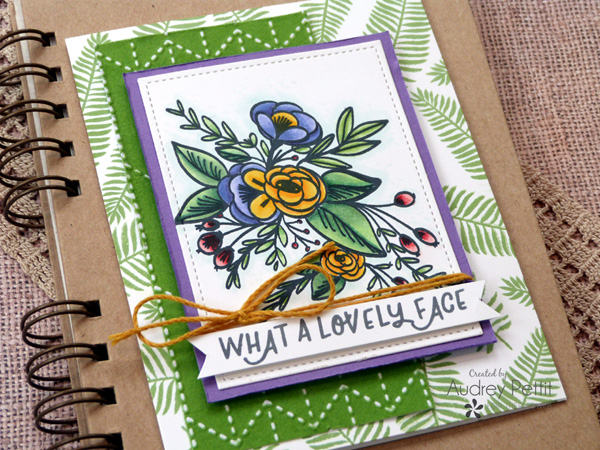 This week, the Therm O Web team is super excited to be joining up with our friends at Ink Road Stamps. Today I have two bright and happy floral cards to share with beautiful stamped images and eye-catching background accents made with our new Deco Foil Flock sheets. These sheets come in lots of amazing colors, and there are so many ways you can use them. I've got a quick technique to share for adding texture and dimension to the flock sheets with embossing folders. Let's take a closer look.
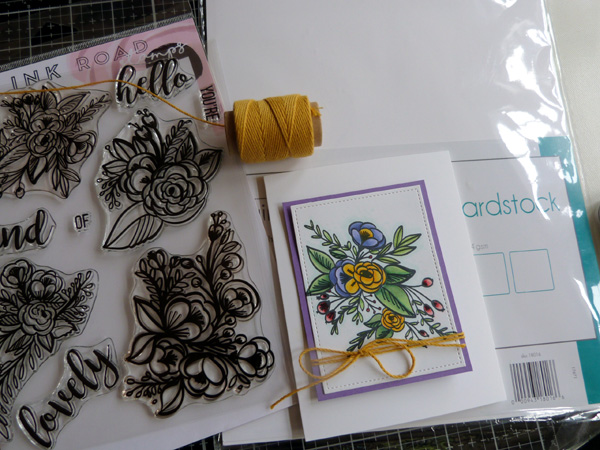 To begin, stamp a floral image onto Luxury White cardstock with Copic-friendly black ink and then color the image with markers. Die cut the image with the largest rectangle shape from the Large Stitched Rectangles die set. Trim a panel of Wild Lilac cardstock slightly larger, and then adhere the die cut image to the purple cardstock. Wrap twine around the bottom of the image, tying it into a bow on the left side. Create an A2 card base from the white cardstock.
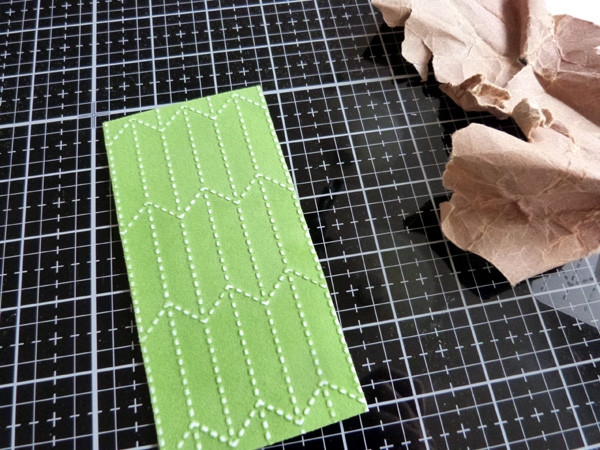 Trim a 3" x 5" piece of Green Envy Deco Foil Flock Transfer Sheet. Place the flock paper into an embossing folder, and run it through your die cutting machine using the same sandwich you use for regular embossing. Lightly sand the raised embossed areas with sandpaper to expose the white core of the paper underneath.
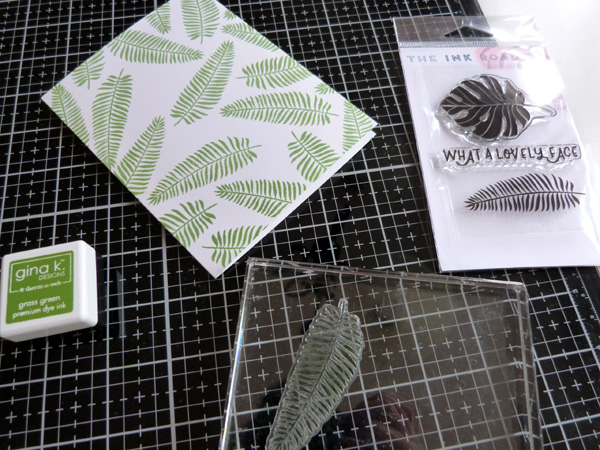 Randomly stamp the fern frond over the entire card base using Grass Green dye ink. Adhere the flock paper to the left side of the card base.
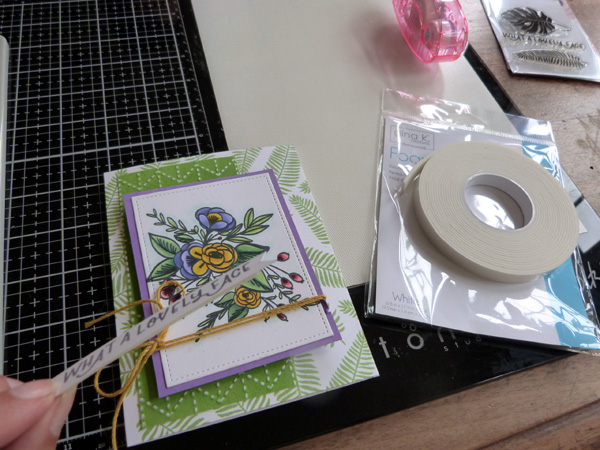 Place strips of foam tape onto the back side of the floral panel, and then adhere it to the center of the card. Stamp the sentiment onto a thin strip of white cardstock using grey ink. Trim the ends of the strip into a V-notch. Place foam tape onto the back side, and adhere the sentiment to the bottom of the floral image.
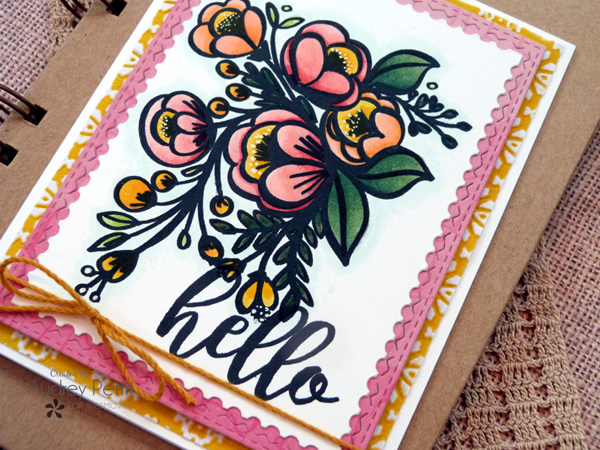
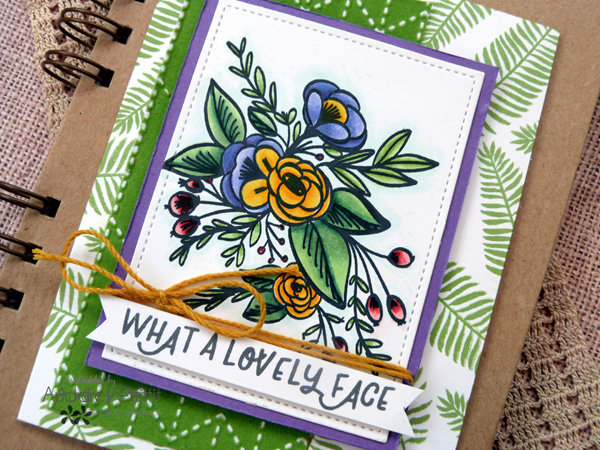 My second card uses similar elements but looks completely different just from switching up the color palette from outdoorsy greens to a feminine combo of bright pink and yellow.
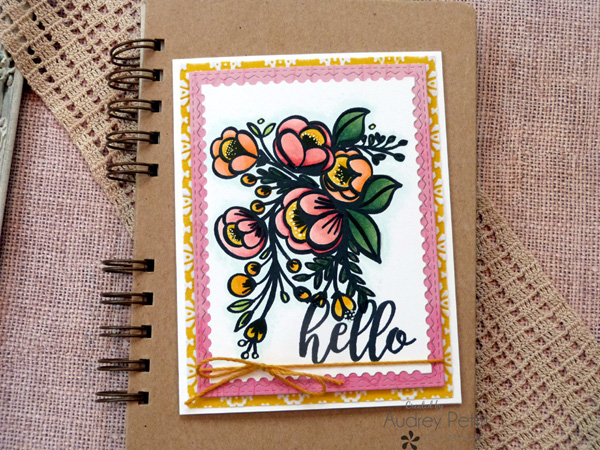
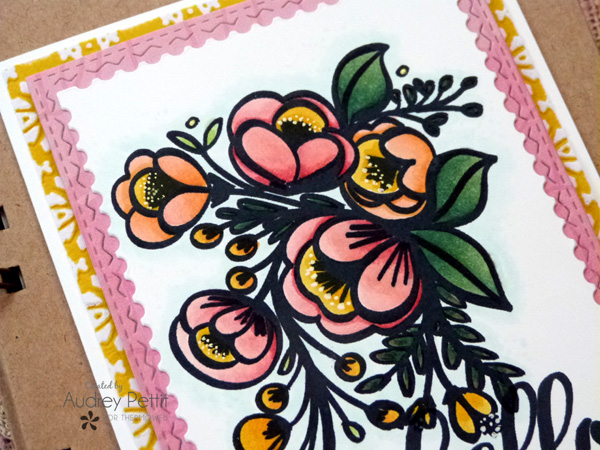 Once again, begin by stamping a floral image onto Luxury White cardstock using black ink, and color the image with Copic Markers. Add dot detailing to the flower centers using a white gel pen.
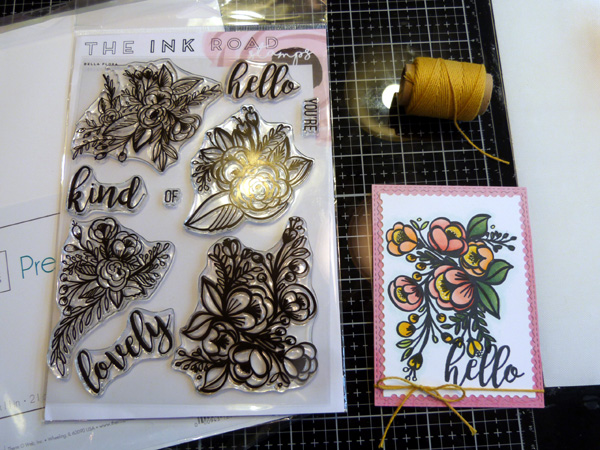 Stamp a hello sentiment below the flowers using black ink. Die cut the image with a postage frame die. Layer onto a panel of patterned paper that was die cut with a larger rectangle die. Wrap twine around the bottom of the image, tying it into a bow on the left side. Create an A2 card base from Luxury White cardstock.
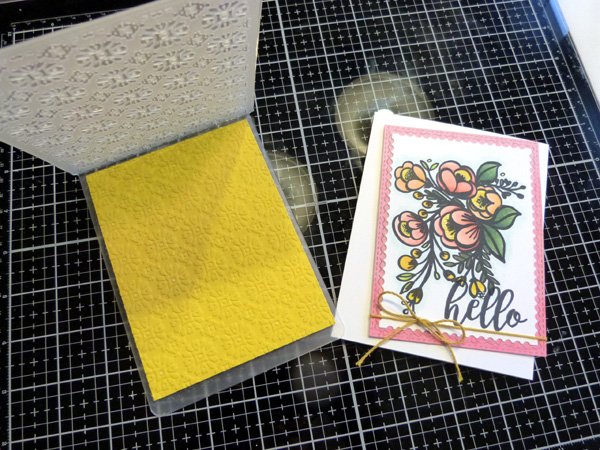 Trim a 4" x 5.25" panel of Sunshine Yellow iCraft Deco Foil Flock sheet, and emboss it using the Rosette texture fade folder.
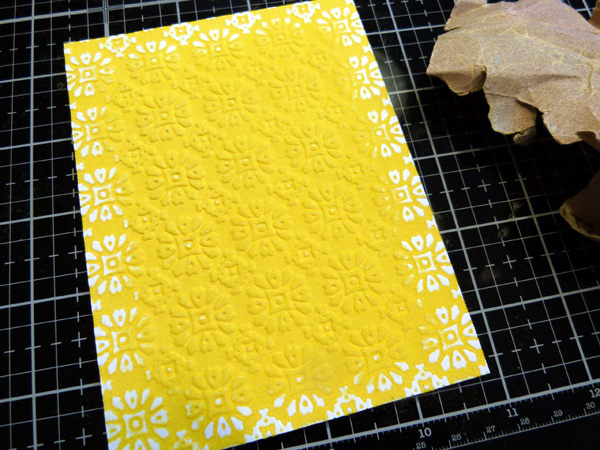 Sand the raised areas around the edges of the flock paper to expose the white core beneath. Adhere this panel to the card base. Add strips of foam tape onto the back side of the stamped panel, and then adhere it to the center of the card.
 Thanks to everyone for stopping by, and a huge thanks to Ink Road Stamps for all the fun this week! I hope you enjoy!
 Be sure to take a moment to get yourself entered to win so you too can shop for these amazing products. Then visit our friends at Ink Road Stamps to see what kind of inspiration they are sharing with our products!
You'll find a bonus opportunity to enter to win a $40 Gift Card by following an exclusive IG account here!
a Rafflecopter giveaway
Be sure to take a moment to get yourself entered to win so you too can shop for these amazing products. Then visit our friends at Ink Road Stamps to see what kind of inspiration they are sharing with our products!
You'll find a bonus opportunity to enter to win a $40 Gift Card by following an exclusive IG account here!
a Rafflecopter giveaway
