No Products in the Cart

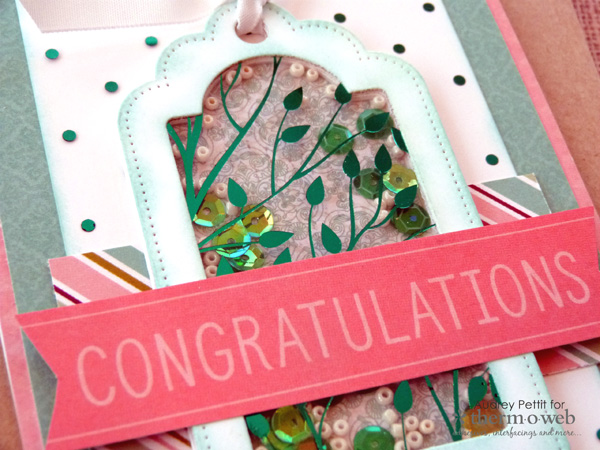 Hand-in-hand with the recent 2018 Creativation show comes an expansion of our ever-popular Deco Foil collection. This time, 6 beautiful new colors of foil transfer sheets, and the release of our brand new Toner Sheets that take foiling to a whole new level. Today I've used one of the new 2018 foil colors along with two of the new patterned toner sheets to create a bright and happy shaker card. And follow along to see just how easy it was!
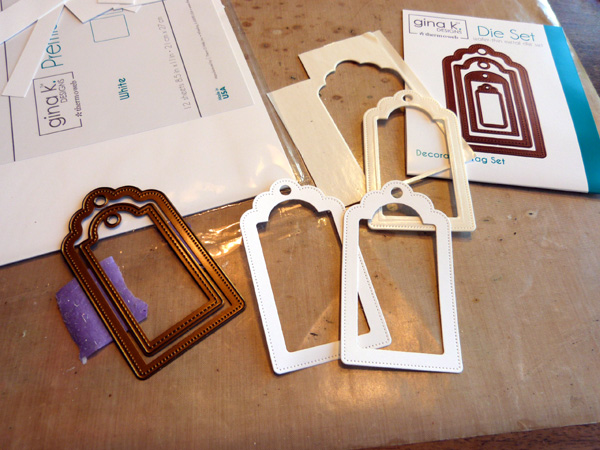 The first step for creating this shaker card is putting together the actual shaker element, which in this case is a layered window made from Therm O Web cardstock and double-sided adhesive foam, die cut from the Gina K Designs Decorative Tag Die set. To start, nestle the two largest tag dies and secure them together with a bit of our new Purple Tape. Die cut the tag frame two times from white cardstock, and once from double-sided white adhesive foam.
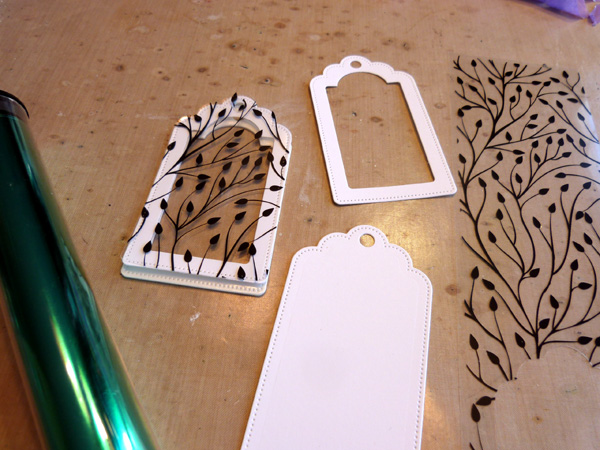 Remove the purple tape from the dies, and continue to diecut using only the largest of the two die shapes. Die cut the tag one more time from cardstock, for the back of the window, and once from the Branching Out Clear Designer Toner Sheet.
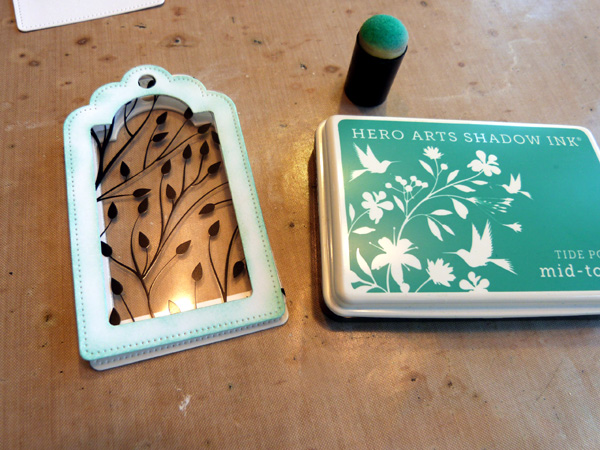 Now you have all the layers necessary for building up a dimensional shaker window frame. Before assembling the frame, ink the edges of one of the tag frame pieces using a color of ink to match your project.
 Now it's time to add foil to our die cut toner sheet tag. To do so, heat up your laminator while getting your supplies ready. Place a piece of scrap cardstock between the sheets of a folded piece of parchment paper. Place the die cut acetate tag on top of the cardstock, with the printed toner side up. If you're not sure which side to use, lightly run your fingertip over the acetate to feel for the slight dimension of the printer toner. Cut a piece of Deco Foil Transfer Sheet that is slightly larger than the tag shape. Place the foil onto the tag, with the silver side down and the colored side up.
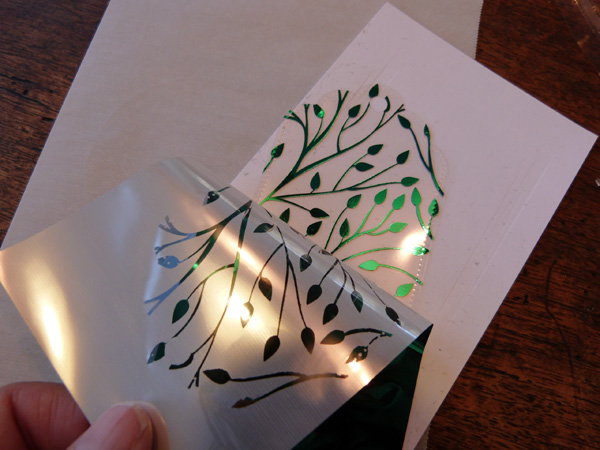 Run this sandwich through the headed laminator two times. Then peel back the sheet to reveal the beautiful foiled tag.
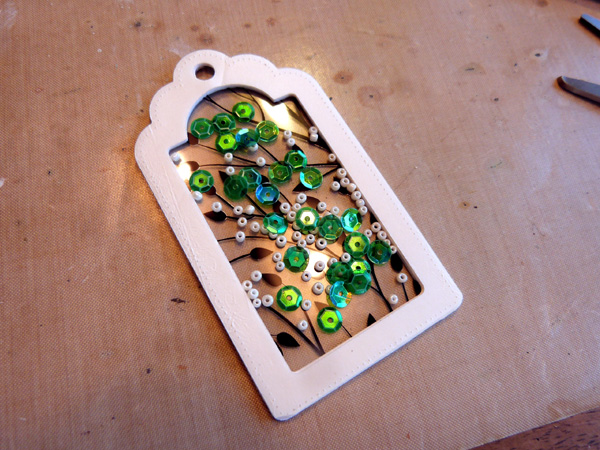 To assemble the tag, adhere the foiled acetate toner sheet to the back of the inked tag frame using Mixed Media Adhesive around the edges. Then ink the second tag frame to the back of the acetate. Allow to dry. Peel off the top release sheet of the tag shape die cut from double-sided adhesive foam, and carefully adhere the foam to the back of the tag. Use an anti-static powder tool along the inside edges of the foam to remove the sticky from the inside of the frame, and then fill the window frame with sequins and beads. Peel off the liner from the foam, and adhere the last whole tag shape to the back of the frame.
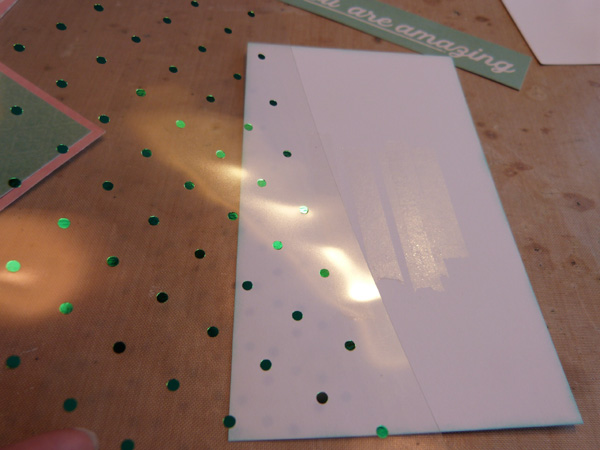 Create a card base from Therm O Web white cardstock, and add patterned papers as you choose. Round the bottom corners of the card. Trim a panel of white cardstock to fit the center of the card. Foil a piece of Polka Dot Toner Sheet that is the same size as the white panel in the exact manner as outlined above. Since the shaker tag will cover the center of this piece, you can adhere the acetate with a bit of XL Memory Tape Runner adhesive strategically placed in the middle section only.
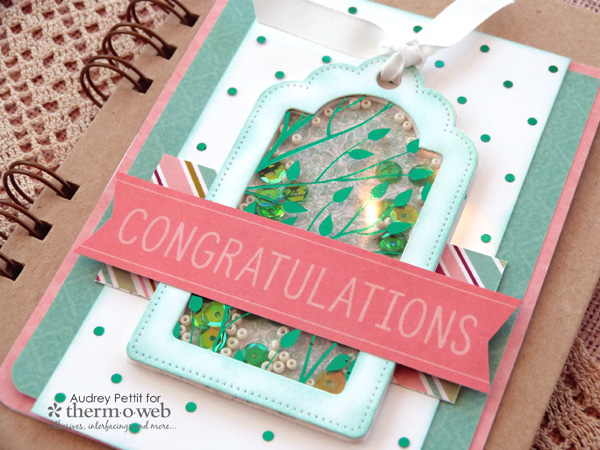 Tie the top of the shaker tag with a bit of ribbon, and adhere the tag and sentiment strip to the center of the card base.
Enjoy!
Tie the top of the shaker tag with a bit of ribbon, and adhere the tag and sentiment strip to the center of the card base.
Enjoy!