No Products in the Cart
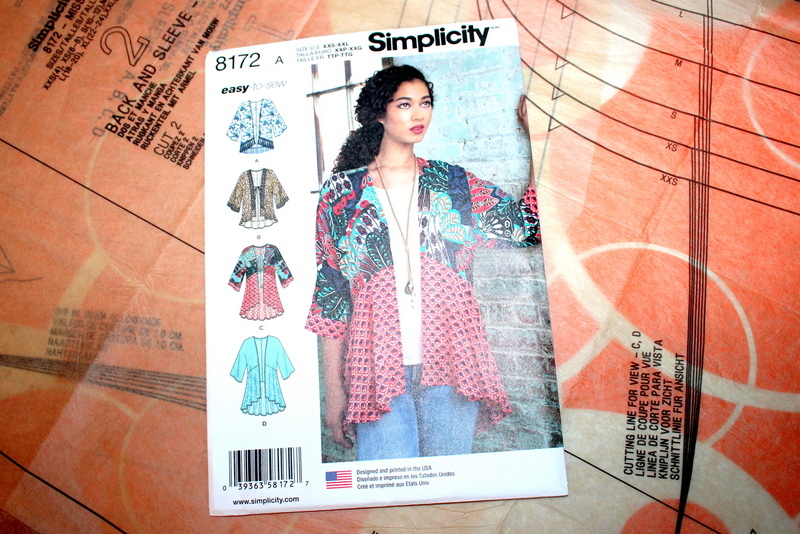
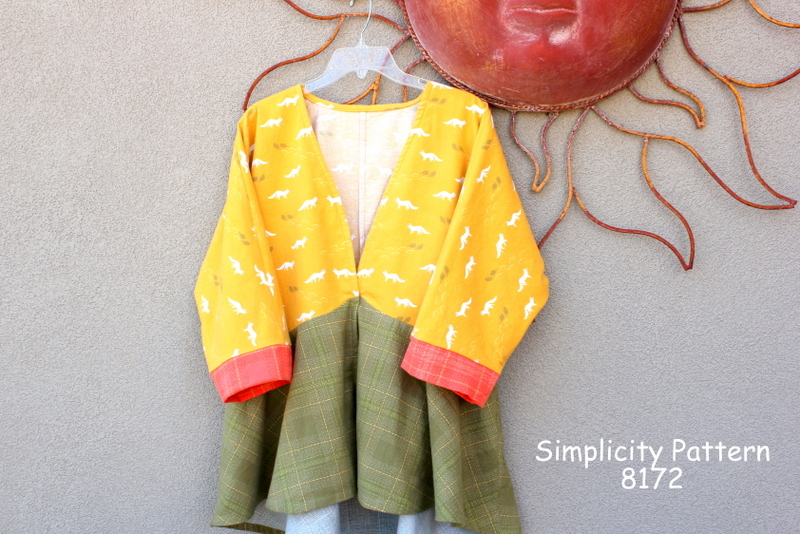
I found the solution for staying warm and keeping my hands free by making Simplicity Pattern 8172, a kimono/jacket. The pattern fits perfectly according to the size chart and was so easy to make. It’s a little longer in the back and would be great in any fabric.
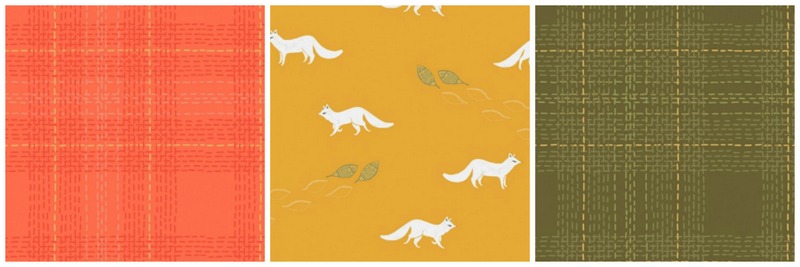
I used three flannel designs from the Dear Stella Winter Cabin Arctic Fox fabric line for this jacket. The fabric is so soft and the colors and designs are amazing! I loved sewing with this fabric!
 To make the jacket you’ll need to gather some supplies, including fabric:
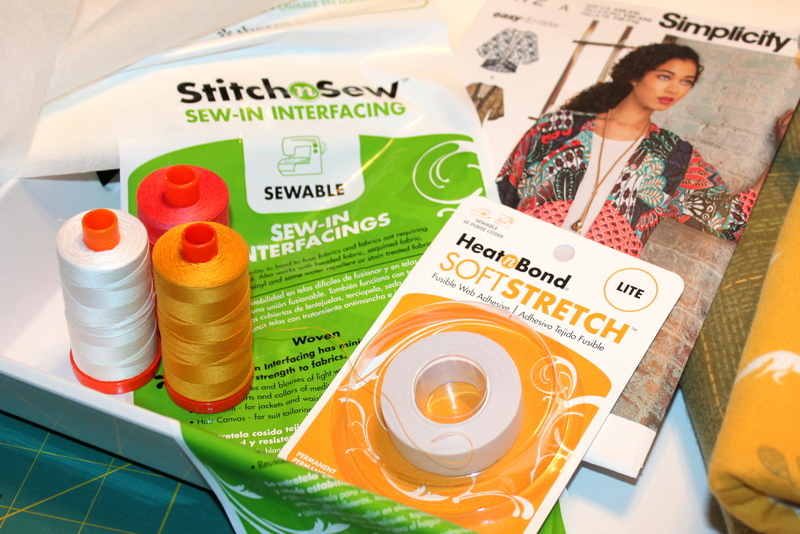 ThermOWeb Stitch n Sew Pattern Material
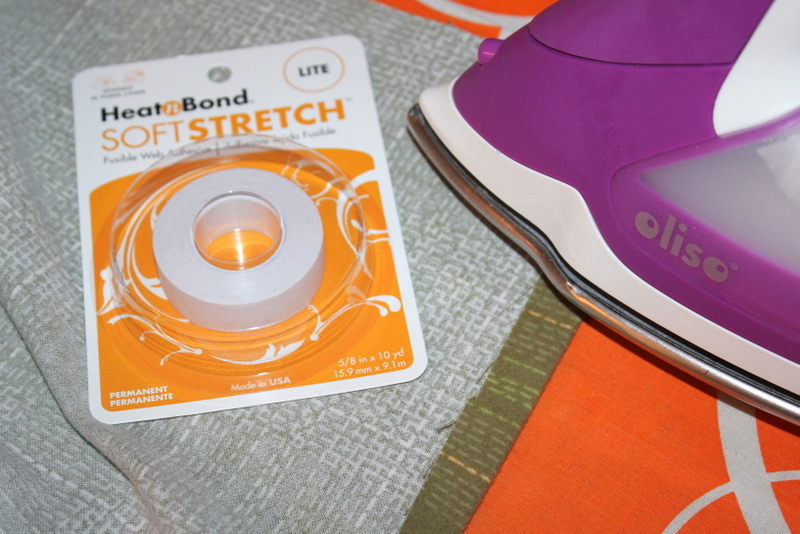
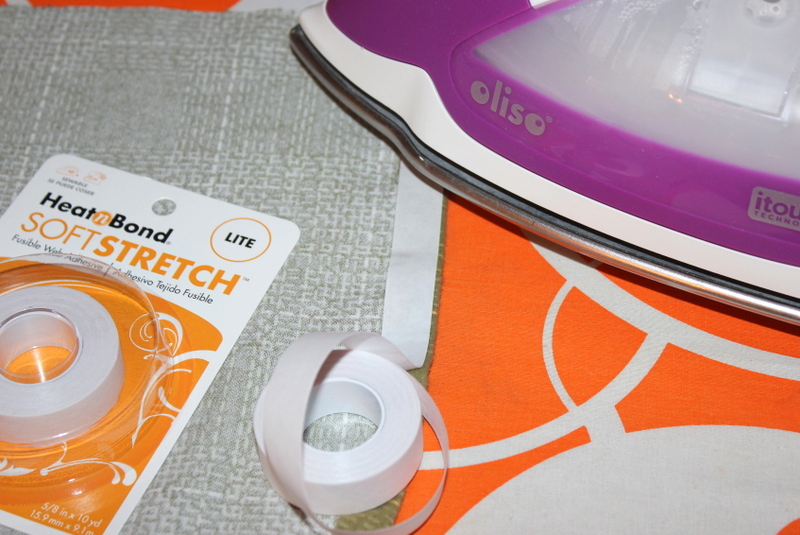
Heat n Bond Soft Stretch Lite
Oliso Purple Iron
Simplicity pattern #8172
1 1/2 yard for upper part of jacket
1 1/2 yard for flounce and cuff
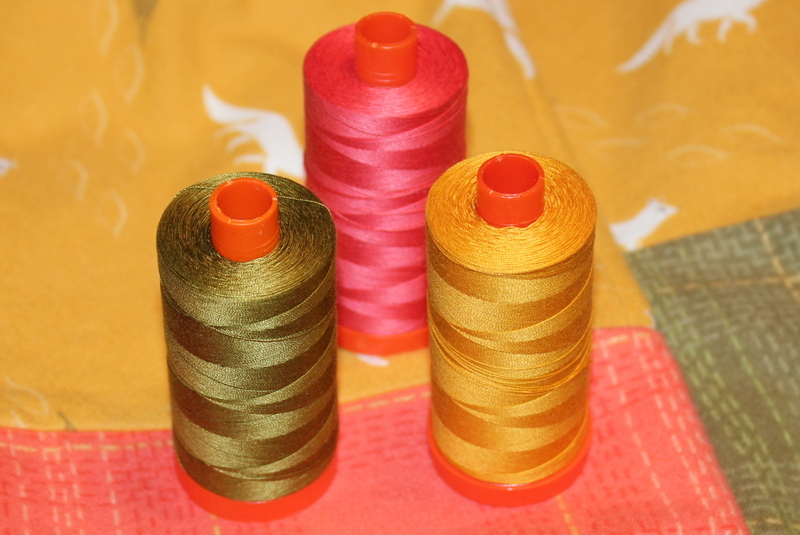
Aurifil Thread – These 50wt colors were a great match to the Dear Stella flannel: #5002, #2910, #2140 and of course, white
ThermOWeb Stitch n Sew Pattern Material
Heat n Bond Soft Stretch Lite
Oliso Purple Iron
Simplicity pattern #8172
1 1/2 yard for upper part of jacket
1 1/2 yard for flounce and cuff
Aurifil Thread – These 50wt colors were a great match to the Dear Stella flannel: #5002, #2910, #2140 and of course, white
 [line]Dear Stella Kimono Jacket Project with StitchnSew Interfacing
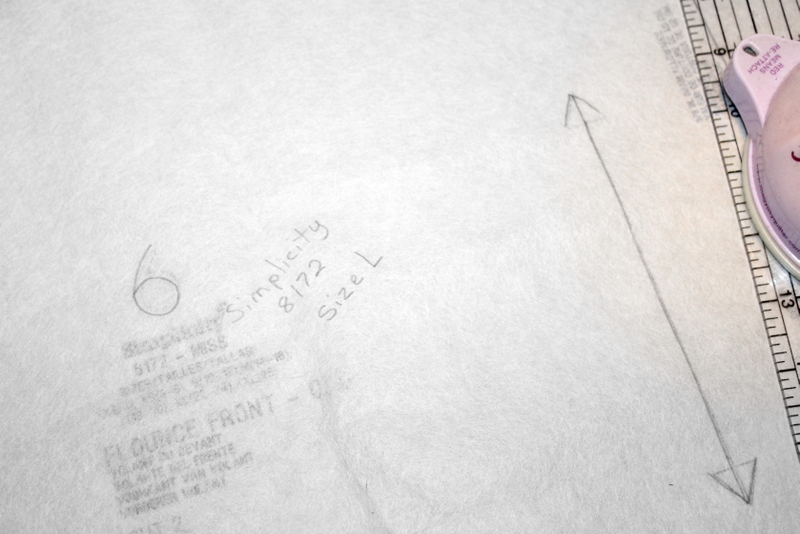
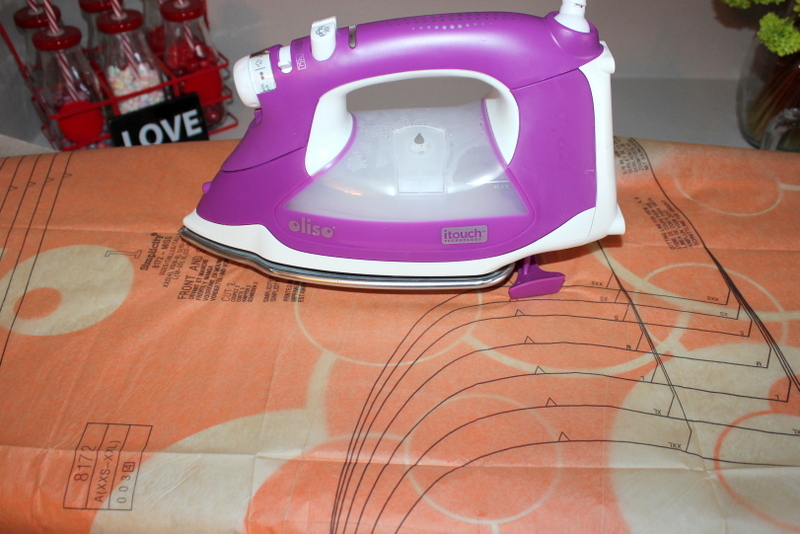 Step 3: Patterns can be traced onto ThermOWeb Stitch n Sew Pattern Material to make different sizes and prolong the life of the pattern. The pattern material comes in different widths, including one that is 58½” and is sold by the yard. It’s perfect for tracing patterns because it is so wide! Be sure to add any markings on the pattern material like size, pattern number, and directional arrows.
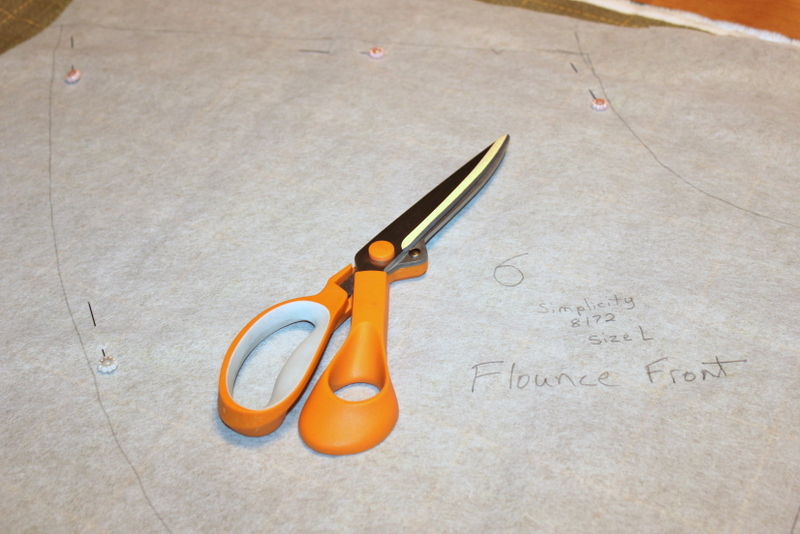
 Step 4: Pin your pattern to the flannel; cut on solid lines according to pattern directions.
 Step 5: Follow the pattern directions to assemble the kimono/jacket. Use pinking shears or serge the seams to help prevent fraying of the flannel.
Here are a few suggestions that were used to make this kimono/jacket:
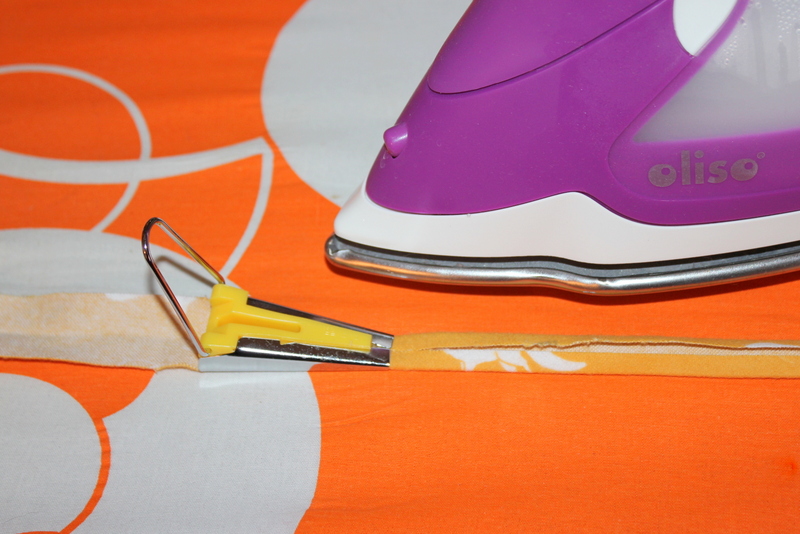
a. The pattern calls for purchased 1/2” single fold bias tape, but it is easy to make your own. The flannel has stretch so it wasn’t cut on the bias. Cut three strips 1” x width of fabric and sew short ends together to make a long strip; press seams open. Press a 1/4” on the wrong side of flannel on both lengthwise sides. Using a Clover 1/2” bias tape maker makes the process so much easier!
Step 5: Follow the pattern directions to assemble the kimono/jacket. Use pinking shears or serge the seams to help prevent fraying of the flannel.
Here are a few suggestions that were used to make this kimono/jacket:
a. The pattern calls for purchased 1/2” single fold bias tape, but it is easy to make your own. The flannel has stretch so it wasn’t cut on the bias. Cut three strips 1” x width of fabric and sew short ends together to make a long strip; press seams open. Press a 1/4” on the wrong side of flannel on both lengthwise sides. Using a Clover 1/2” bias tape maker makes the process so much easier!
 b. Fold the hem under 5/8” and press.
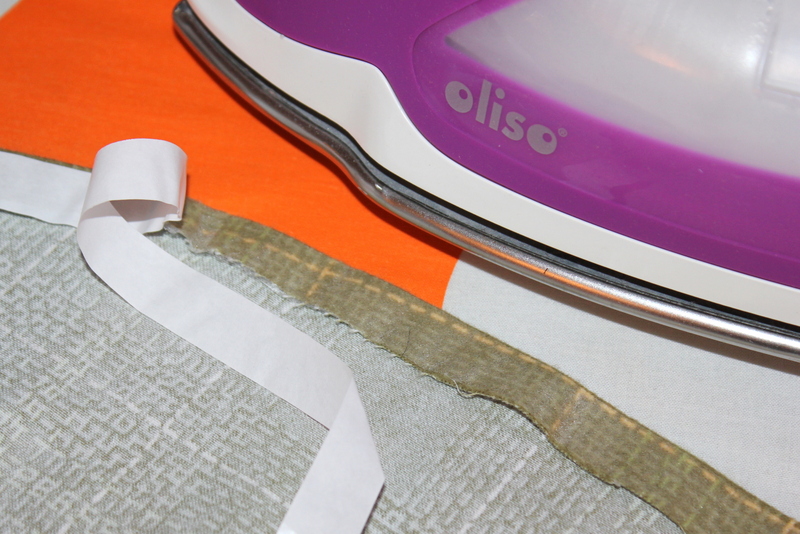
 c. Iron Heat n Bond Soft Stretch Lite tape to fabric's right side of fold, no steam, for 5 seconds until all surfaces are bonded. *Using the Heat n Bond Soft Stretch Lite tape instead of just sewing the hem down will make for a smoother and cleaner hem. The Soft Stretch is flexible and stretches with the fabric.
 d. Remove protective tape.
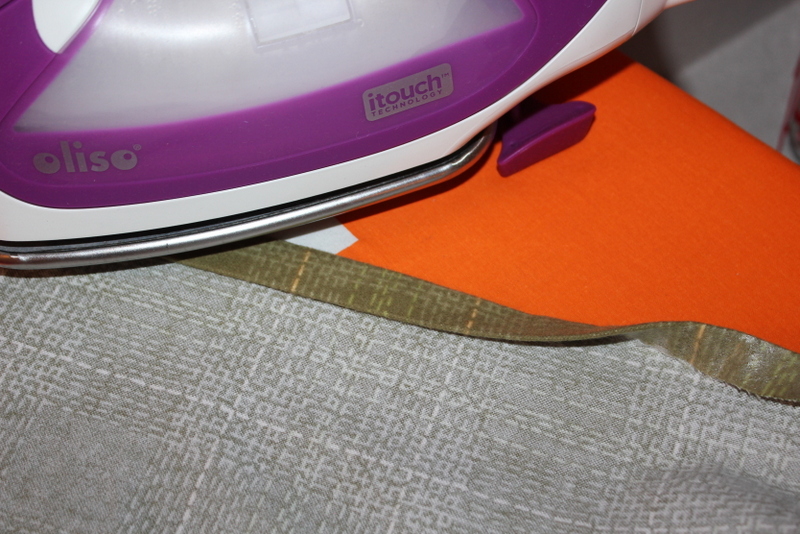
 e. Fold over hem and with adhesive facing wrong side of fabric, iron with steam for 20 seconds until all surfaces are bonded. Sew hem in place as directed by the pattern.
 f. Use the Heat n Bond Soft Stretch Lite to hold the bias tape in place before sewing in place just as you did the hem above. Easy and ready to wear!
 The back is so cute, too!

Written by Carol Swift