No Products in the Cart
 Hi! It's Lynnea Hollendonner with a video for our ThermOWeb and Joy Clair collaboration week! Today I'm trying out a new to me technique - heat embossing on foil! The results are so fabulous! And I used the GORGEOUS Lion and Lamb stamp set from Joy Clair to create a fun gatefold card!
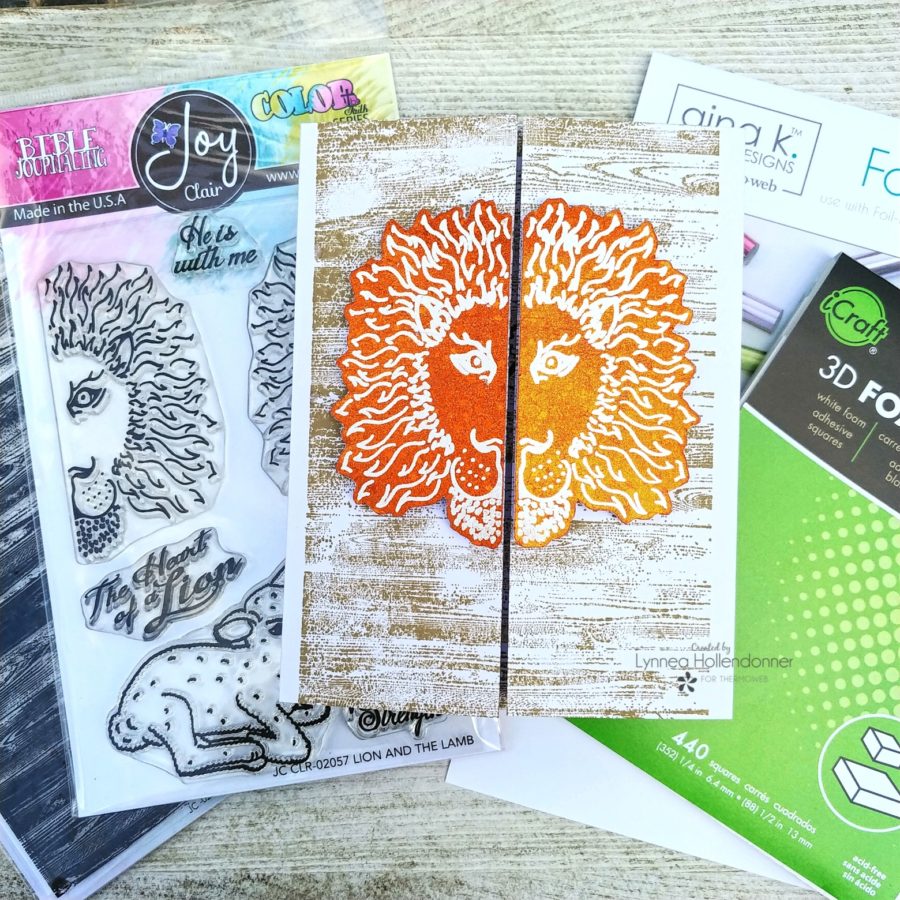 The line of ThermOWeb foils are so amazing and versatile! I'm always using them in different ways! I saw the Gina K Designs Dazzling Orange Fancy Foils and knew that I wanted to make them the background for the lion image from the Lion and the Lamb stamp set from Joy Clair. But how? Heat embossing of course! This was a complete trial for me - I didn't even know if it would work! But I figured it was worth the try!
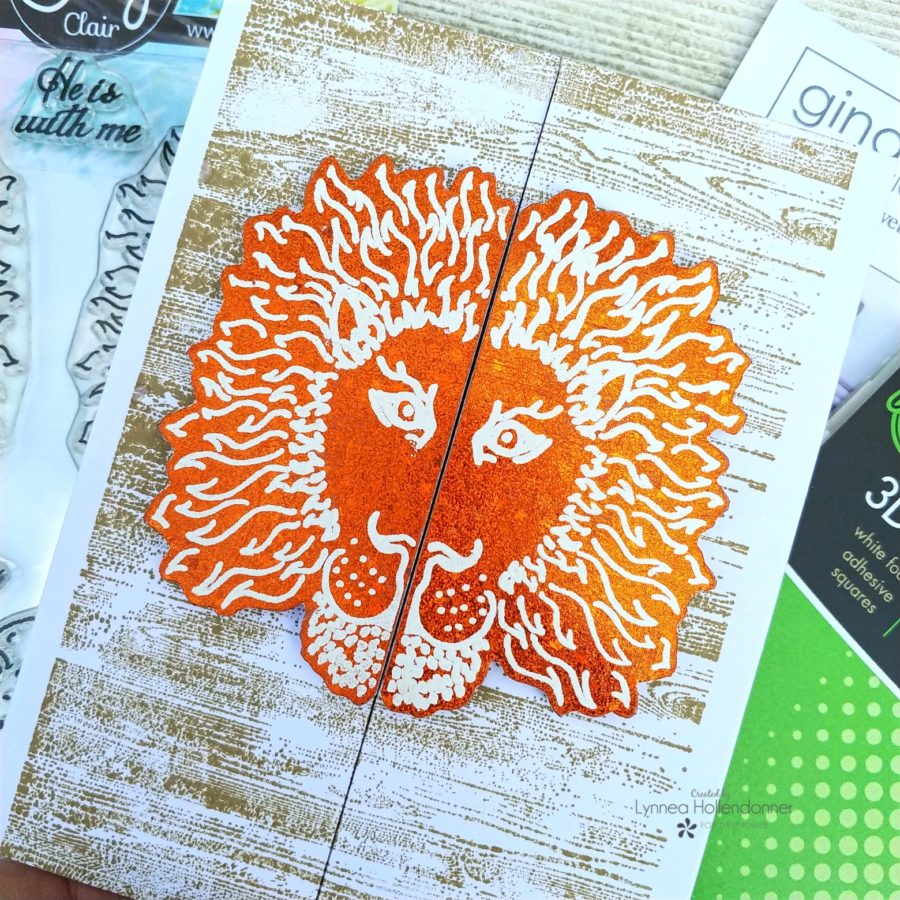
 My finished card is standard A2 sized, but because the stamp set had two separate lion head images, I thought it would be super fun to create a gatefold card! I cut a sheet of 8.5 x 11-inch cardstock in half so that my cardstock was 5.5 x 8.5 inches - like you would to create a side folding A2 card. I wanted my card to be 5.5 inches tall, so I laid my cardstock long ways in my scoreboard and scored at 4 1/8 inches from both sides - and folded the flaps in to meet in the middle. Super easy!
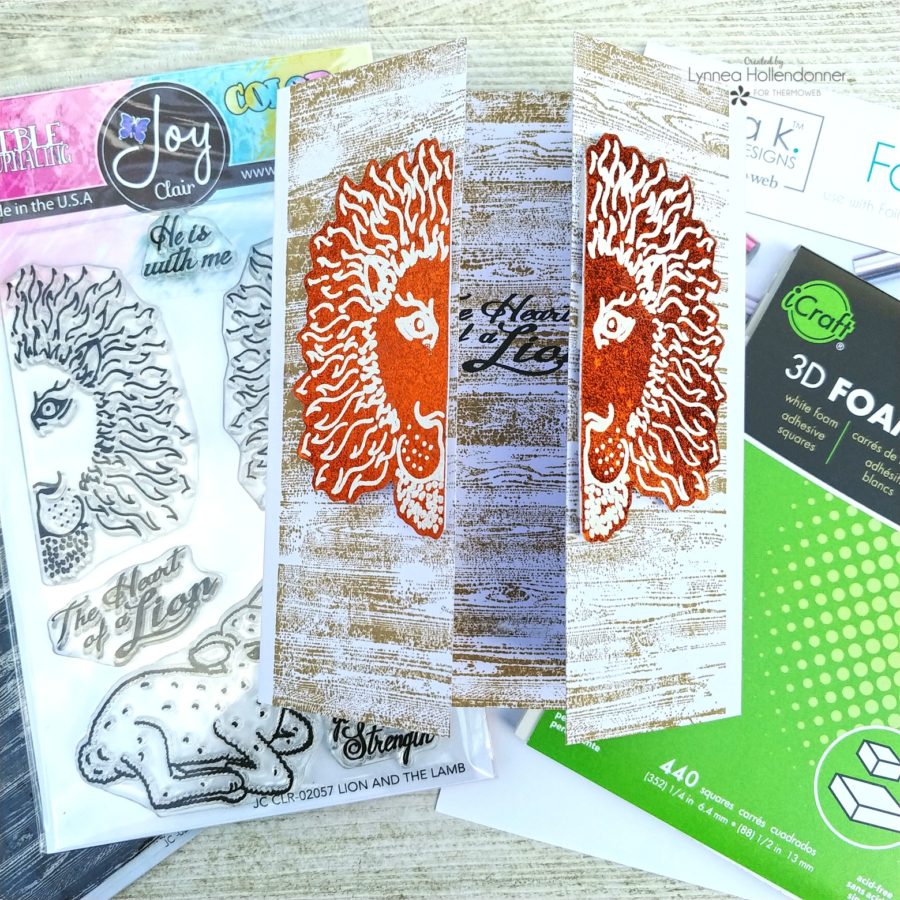
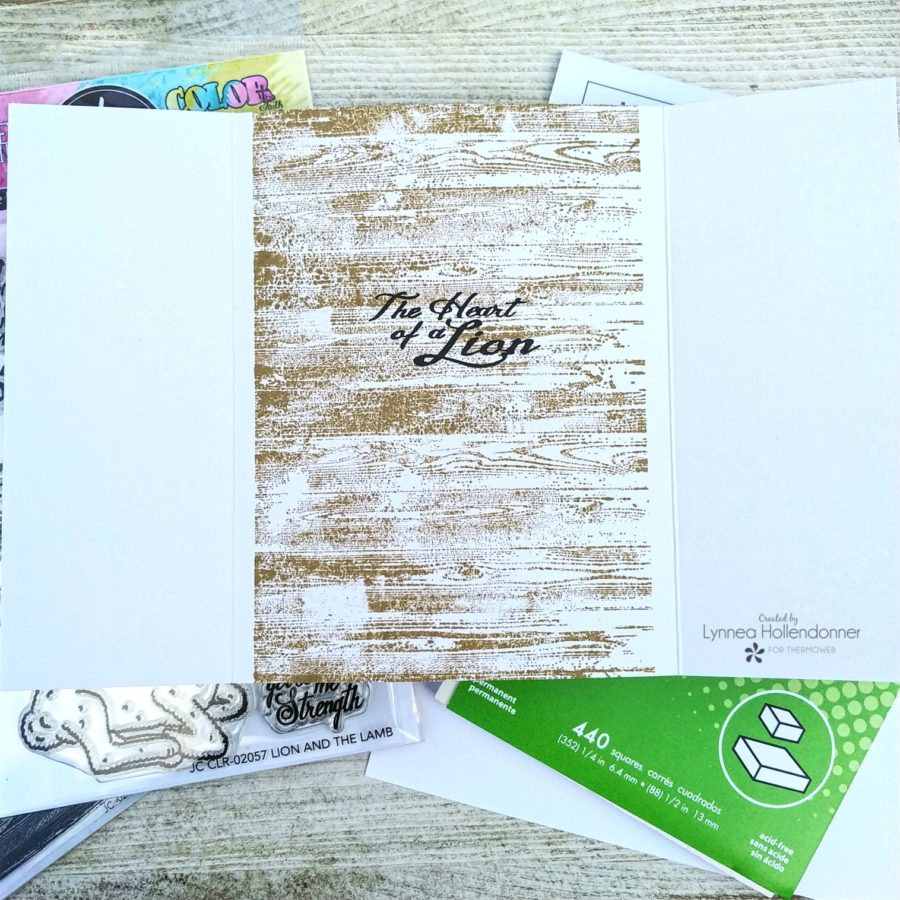 I stamped my sentiment with black ink on the inside of the card because I didn't want it to detract from the gorgeous foil on the front of the card. I used some iCraft 3D Foam Squares to add dimension to the back of both heat embossed images and some iCraft Ultra Bond Liquid Adhesive on top of the foam squares so that I could wiggle my images around and get them placed perfectly on the front of my card. That's all! This card was easy to make, but really packs a punch! I have a short step by step video tutorial for you below!
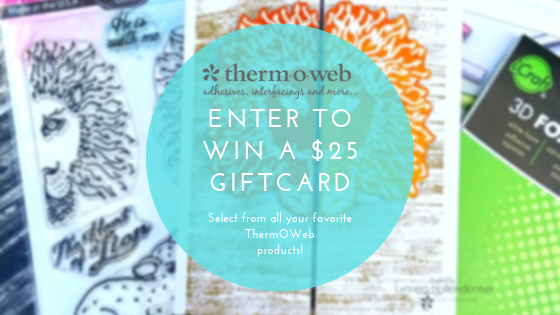 It's not a collaboration if we don't offer up a chance for you to win some of these same supplies are designers are using. So follow the Rafflecopter for a chance to get yourself entered to win. Then visit our friends at Joy Clair for more ideas and giveaways as well!
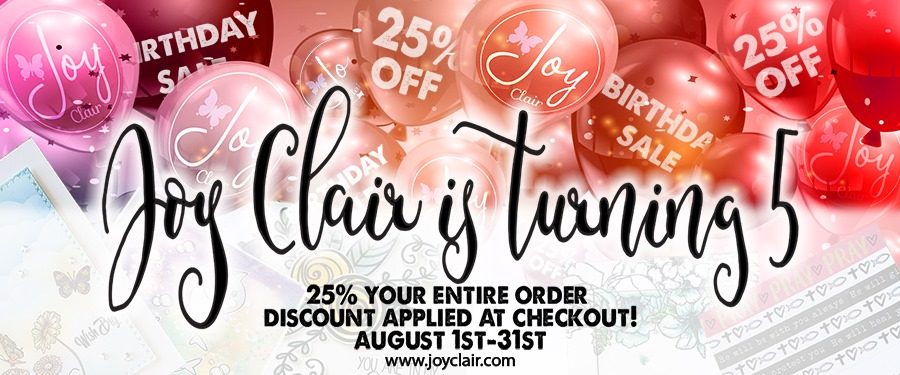
Don't miss the Birthday sale happening now at Joy Clair! Save 25% off your entire order!
It's not a collaboration if we don't offer up a chance for you to win some of these same supplies are designers are using. So follow the Rafflecopter for a chance to get yourself entered to win. Then visit our friends at Joy Clair for more ideas and giveaways as well!
Don't miss the Birthday sale happening now at Joy Clair! Save 25% off your entire order!
 a Rafflecopter giveaway