No Products in the Cart



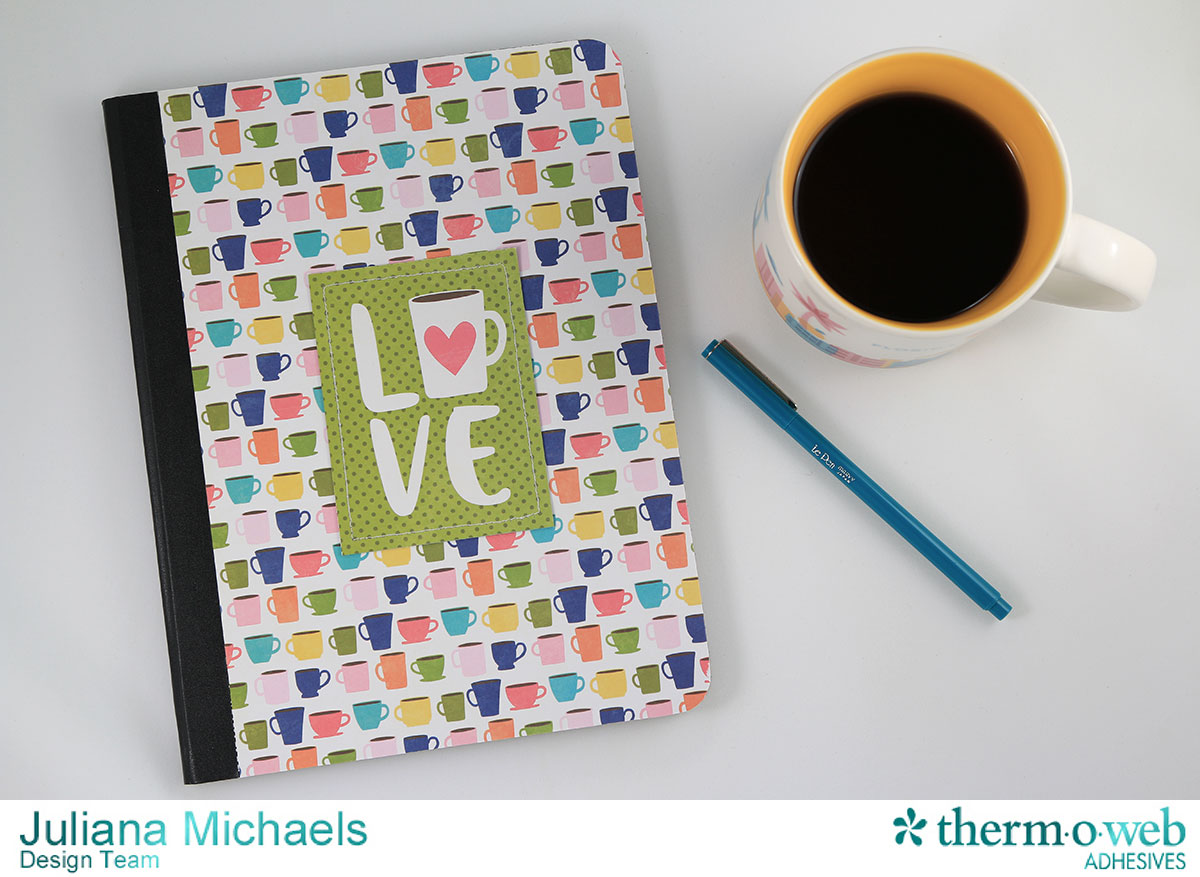 Customized Back to School Notebook with iCraft Adhesive
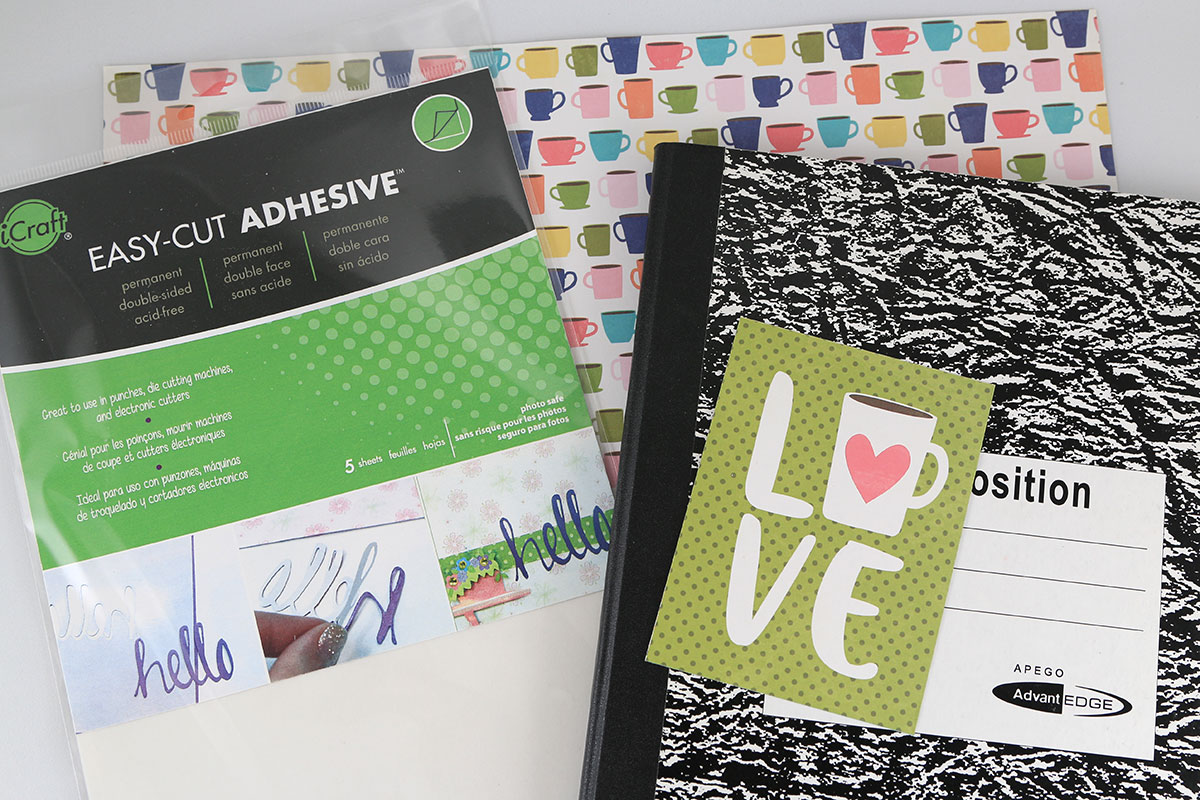
Gather your supplies:
Therm O Web iCraft™ Easy-Cut Adhesive Large - you will need two 6 x 12 sheets
Therm O Web iCraft™ Easy-Tear Tape 1/2"
patterned paper
notebook
scissors
Customized Back to School Notebook with iCraft Adhesive
Gather your supplies:
Therm O Web iCraft™ Easy-Cut Adhesive Large - you will need two 6 x 12 sheets
Therm O Web iCraft™ Easy-Tear Tape 1/2"
patterned paper
notebook
scissors
 Project Instructions:
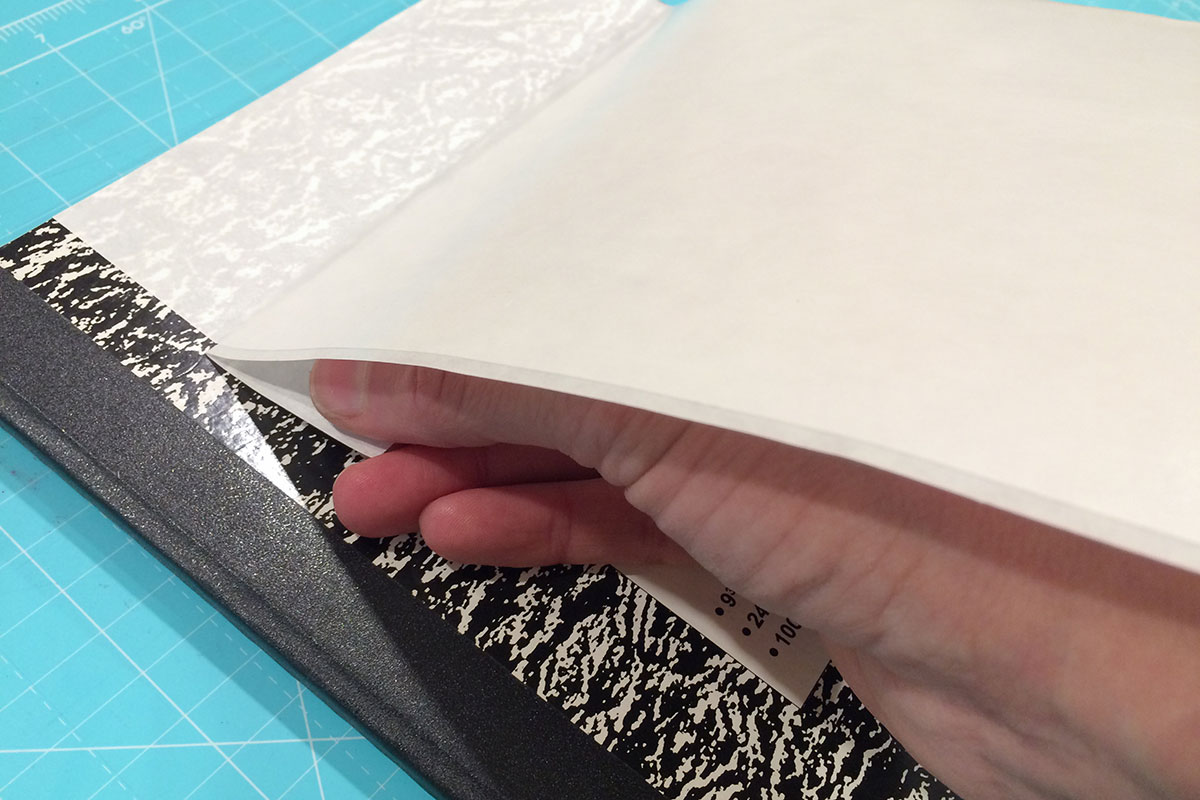
Trim the Easy-Cut Sheet (which comes in 6 x 12 inch sheets) to the height of your notebook cover. Put the scraps to the side. Pull back a small amount of the adhesive lining and then adhere the Easy Cut Adhesive sheet starting along the top edge and top right corner. Use your fingers to rub back and forth across the sheet to adhere the adhesive to the notebook cover and to help prevent wrinkles. Slowly pull the adhesive lining down as you continue to push the sheet onto the notebook. Take your time and work slowly to help keep the sheet straight.
Project Instructions:
Trim the Easy-Cut Sheet (which comes in 6 x 12 inch sheets) to the height of your notebook cover. Put the scraps to the side. Pull back a small amount of the adhesive lining and then adhere the Easy Cut Adhesive sheet starting along the top edge and top right corner. Use your fingers to rub back and forth across the sheet to adhere the adhesive to the notebook cover and to help prevent wrinkles. Slowly pull the adhesive lining down as you continue to push the sheet onto the notebook. Take your time and work slowly to help keep the sheet straight.
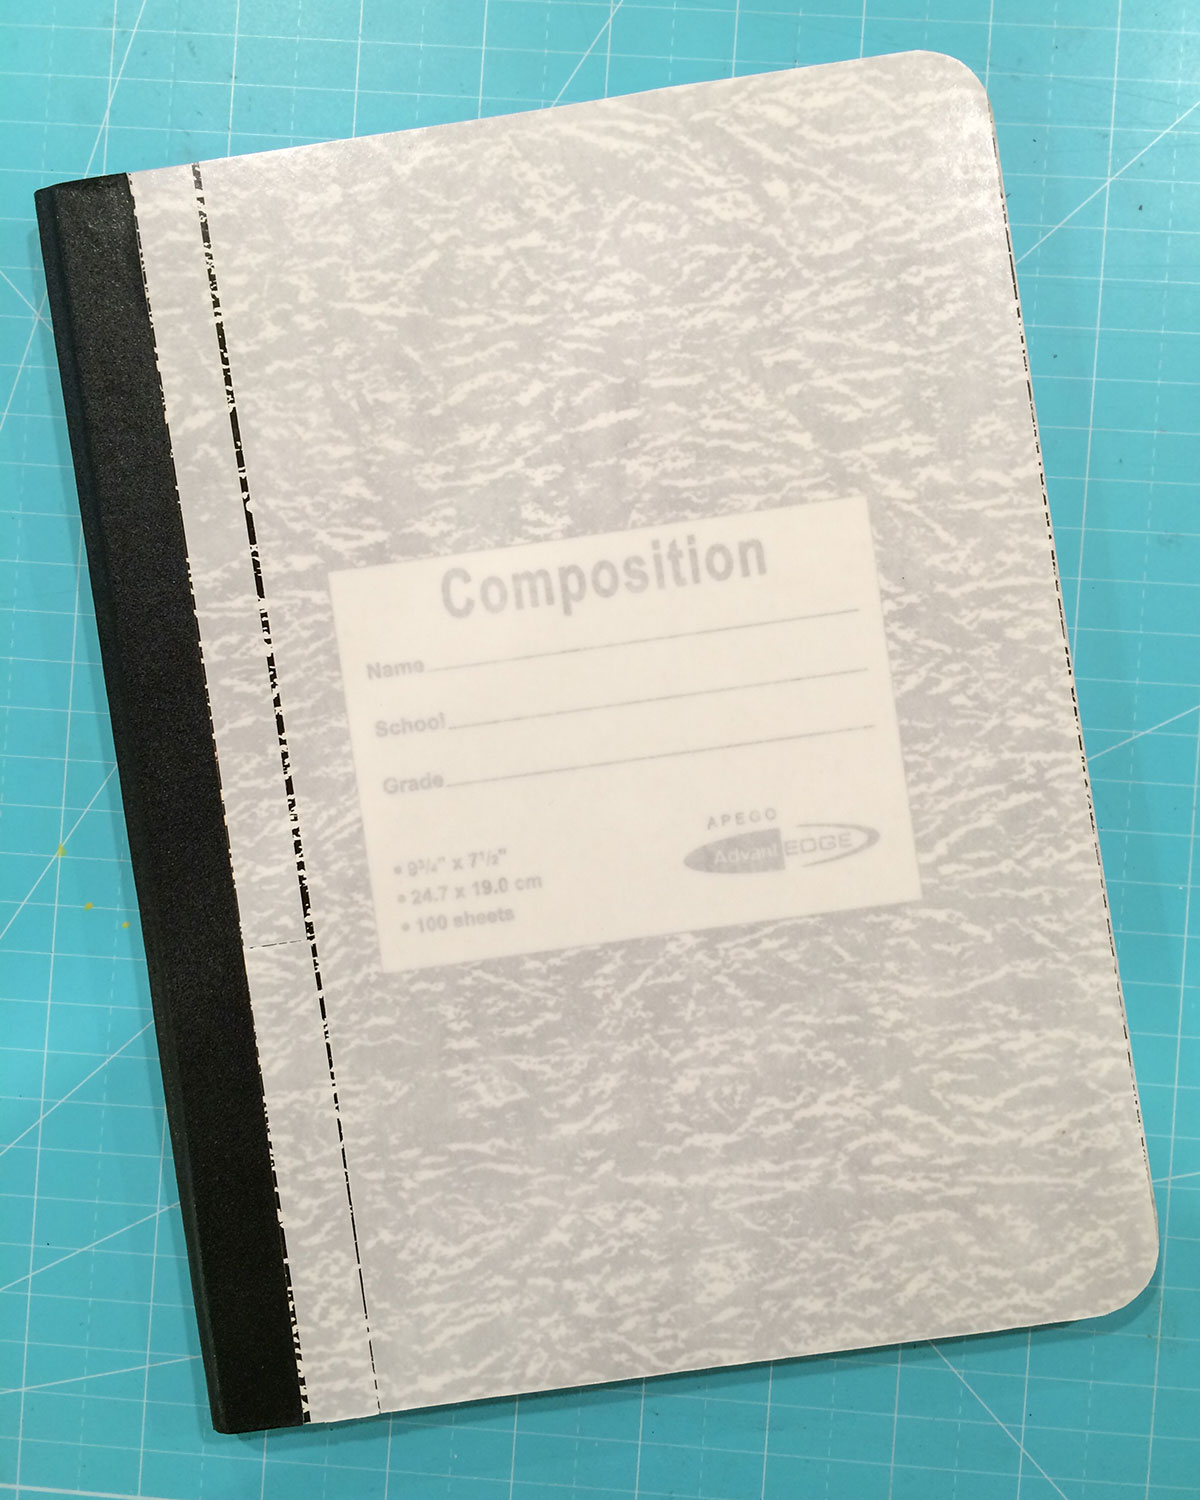
 Take the scraps and trim them to fit any extra space left on the front cover. Here you can see them on the left hand side of the photo. Use the same technique as above to adhere them to the notebook.
Use scissors to trim the corners and any excess adhesive hanging over the edges.
Take the scraps and trim them to fit any extra space left on the front cover. Here you can see them on the left hand side of the photo. Use the same technique as above to adhere them to the notebook.
Use scissors to trim the corners and any excess adhesive hanging over the edges.
 To adhere the patterned paper to the adhesive sheet you will use the same method you used to adhere the Easy-Cut Adhesive. Peel back the top edge of the adhesive lining and position your paper along the top edge and top right corner. Use your fingers to rub back and forth across the paper to adhere it to the adhesive sheet and to help prevent wrinkles. Slowly pull the adhesive lining down as you continue to push the paper onto the notebook. Take your time and work slowly to help keep the paper straight.
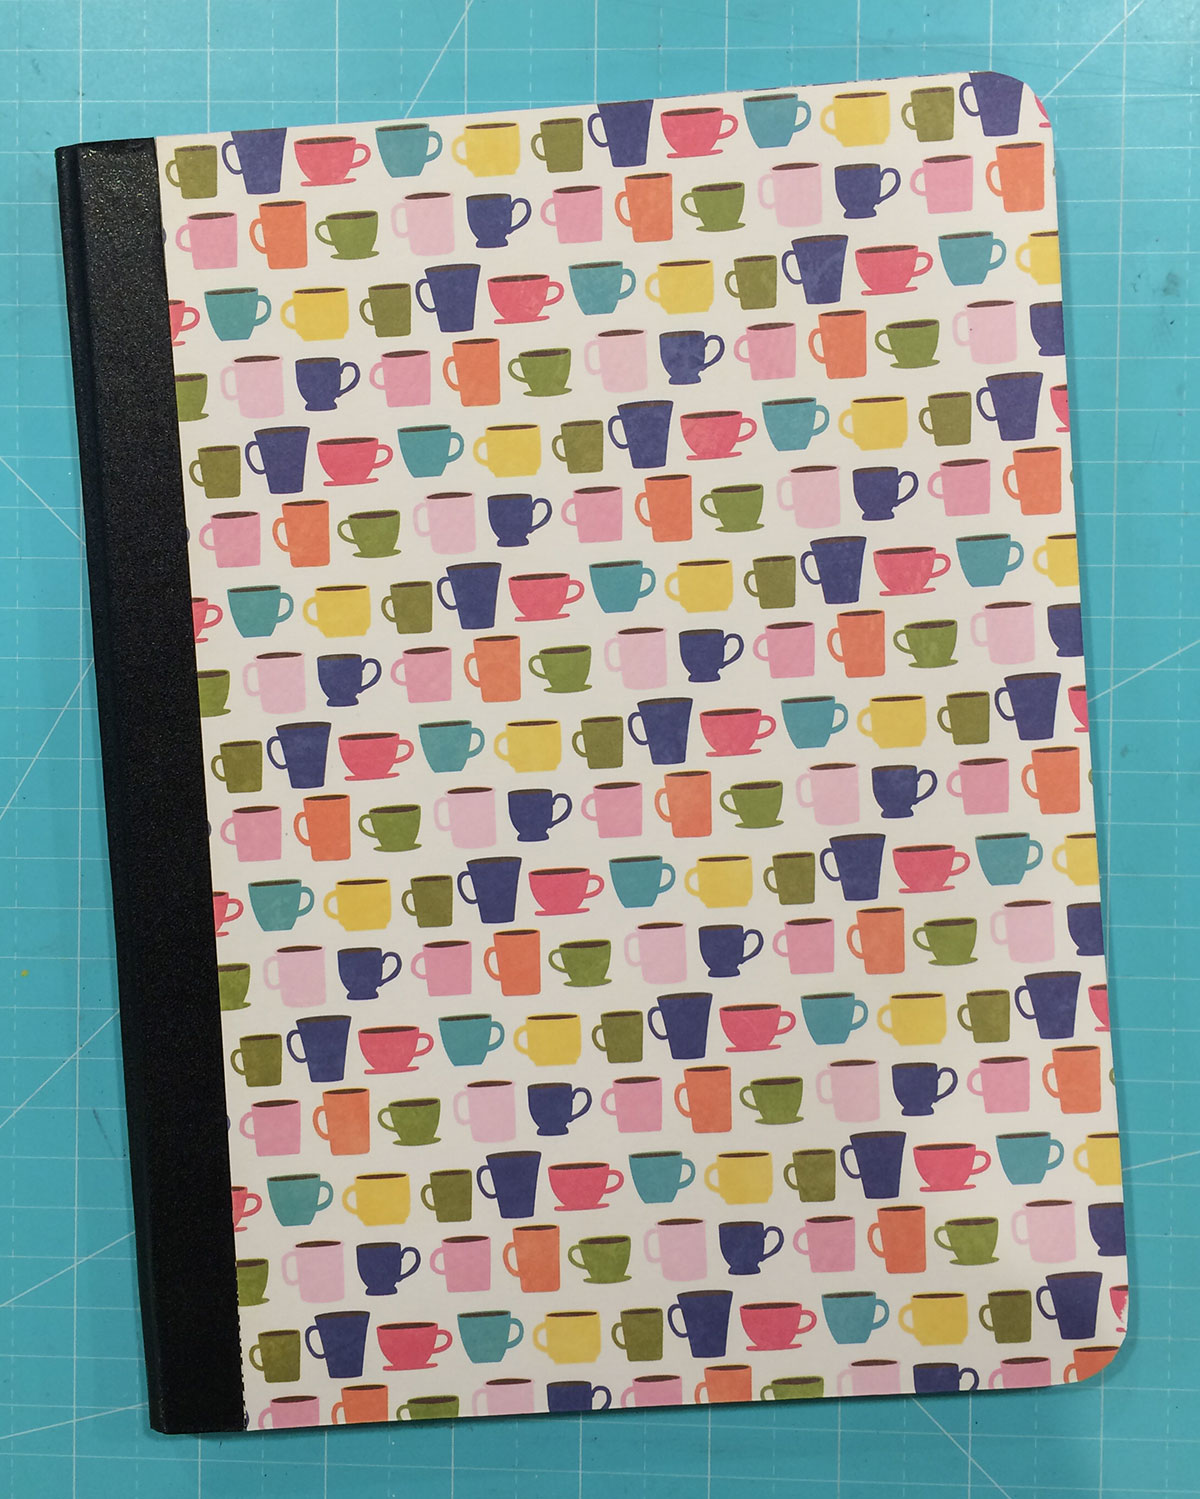 Use scissors to trim the corners and any excess adhesive hanging over the edges.
Repeat this entire process to cover the back side of the notebook.
To further personalize or decorate your notebook, adhere a coordinating piece of patterned paper or other paper embellishment to the front cover using iCraft Easy-Tear Tape.
Use scissors to trim the corners and any excess adhesive hanging over the edges.
Repeat this entire process to cover the back side of the notebook.
To further personalize or decorate your notebook, adhere a coordinating piece of patterned paper or other paper embellishment to the front cover using iCraft Easy-Tear Tape.
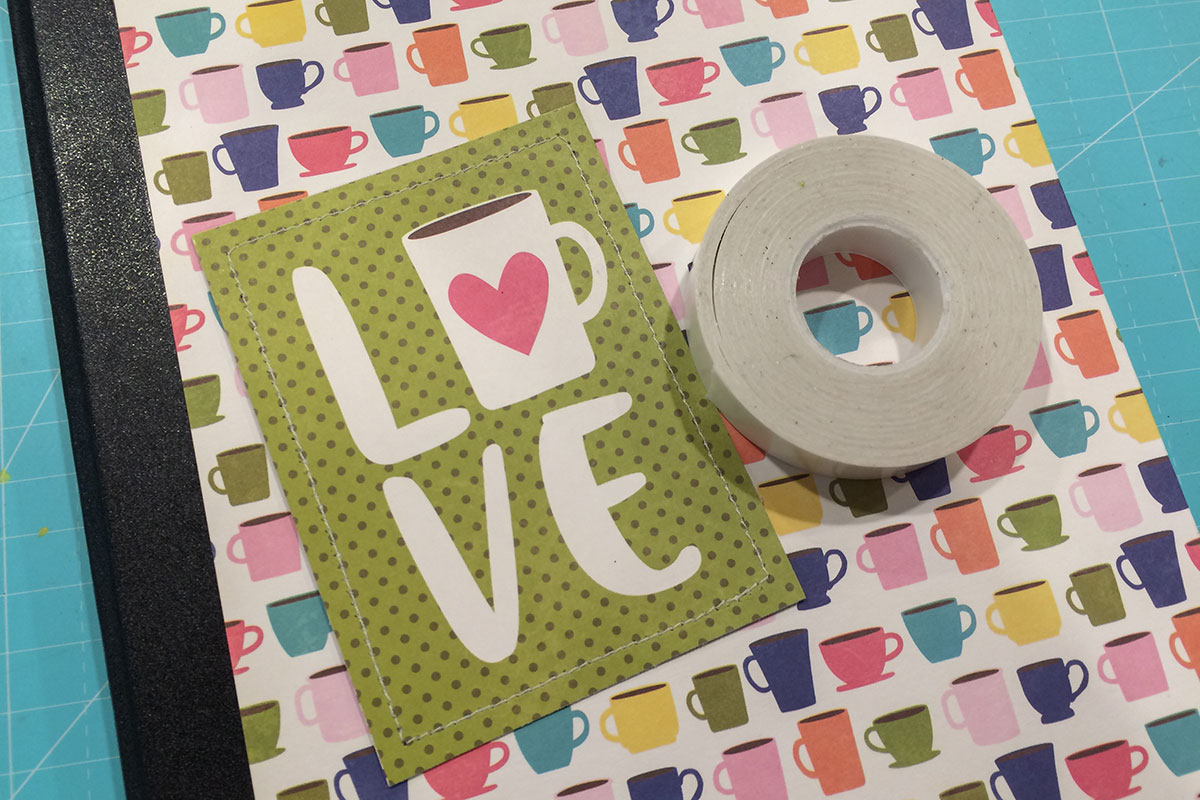 You're now ready to show up to school in style with your very own customized notebook!
HUGS!
Juliana
You're now ready to show up to school in style with your very own customized notebook!
HUGS!
Juliana
