No Products in the Cart
 Supplies + Materials Needed:
1-yard main fabric (This is used for the placemat fronts.)
1/2 yard each of 4 different accent fabrics (This will be for the applique and placemat backs.)
1 package Therm-O-Web HeatnBond Lite
5 1/2 yards Therm-O-Web HeatnBond Woven Fusible Soft Interfacing
Coordinating Aurifil thread for applique
Sewing machine with applique stitch and applique/open toe foot
Applique Pattern - Download Here
Supplies + Materials Needed:
1-yard main fabric (This is used for the placemat fronts.)
1/2 yard each of 4 different accent fabrics (This will be for the applique and placemat backs.)
1 package Therm-O-Web HeatnBond Lite
5 1/2 yards Therm-O-Web HeatnBond Woven Fusible Soft Interfacing
Coordinating Aurifil thread for applique
Sewing machine with applique stitch and applique/open toe foot
Applique Pattern - Download Here
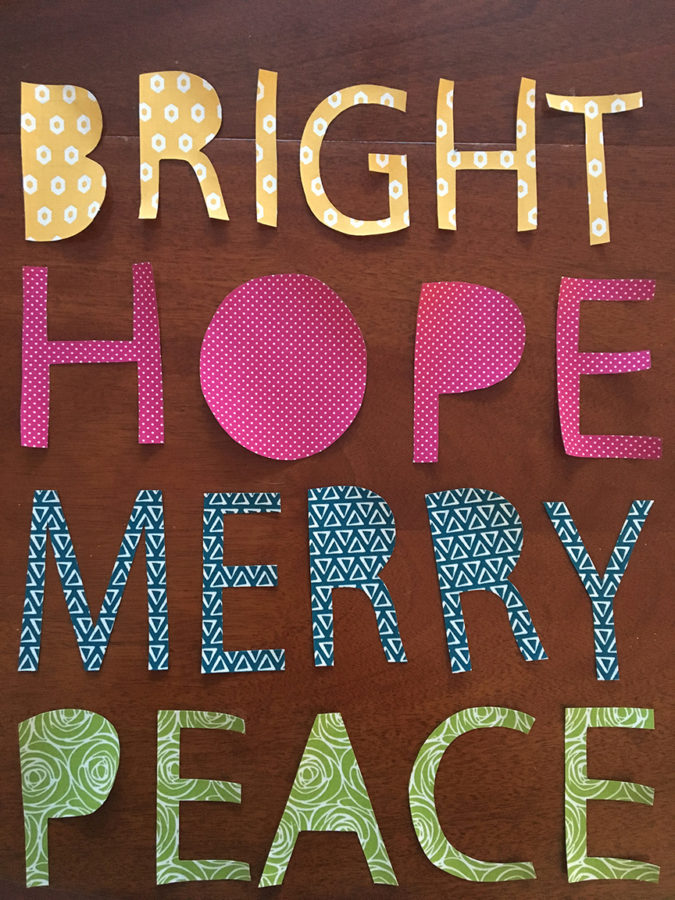 Note: I left the insides of the letters uncut because I liked the modern look, but feel free to cut those out if you'd like to!
Step 2: Make Placemat Fronts
Cut out the following:
4 15" x 21" rectangles from the main fabric
4 15" x 21" rectangles from the accent fabric (ONE from each accent fabric for four total)
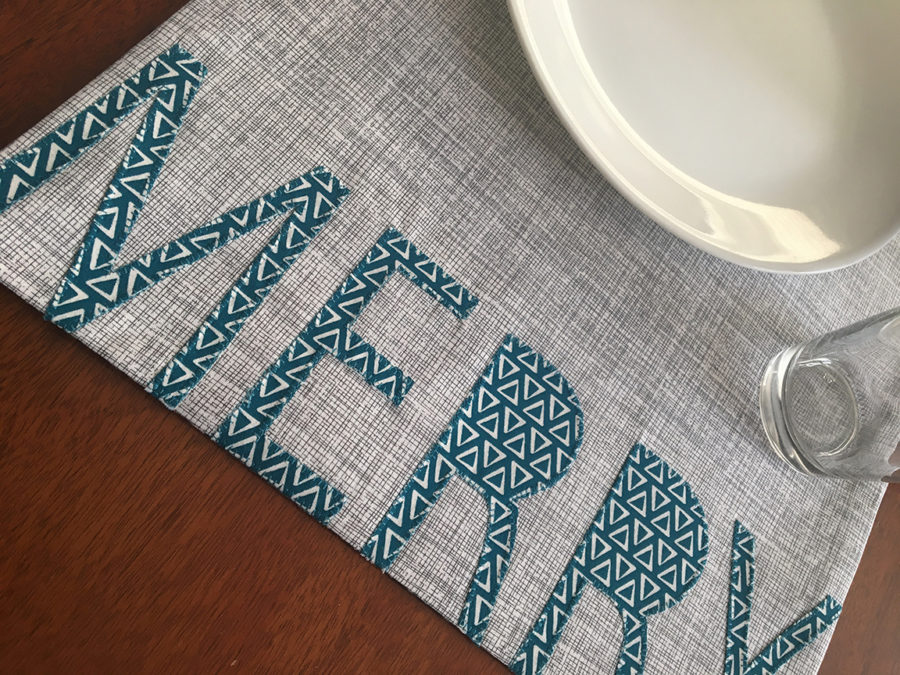
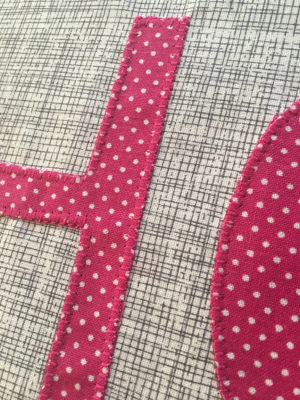
Iron each word onto the short side of each of the main fabric rectangles. Leave a 1/2" margin around the edge for stitching the seams.
Note: I left the insides of the letters uncut because I liked the modern look, but feel free to cut those out if you'd like to!
Step 2: Make Placemat Fronts
Cut out the following:
4 15" x 21" rectangles from the main fabric
4 15" x 21" rectangles from the accent fabric (ONE from each accent fabric for four total)
Iron each word onto the short side of each of the main fabric rectangles. Leave a 1/2" margin around the edge for stitching the seams.
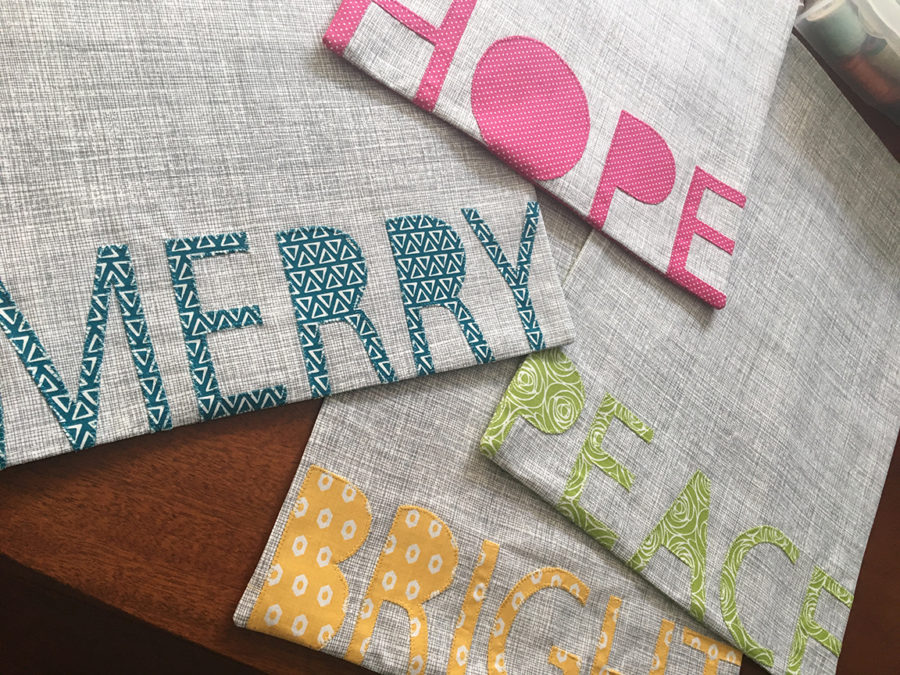
 Using coordinating thread and your applique foot on the sewing machine, stitch each letter onto the placemat.
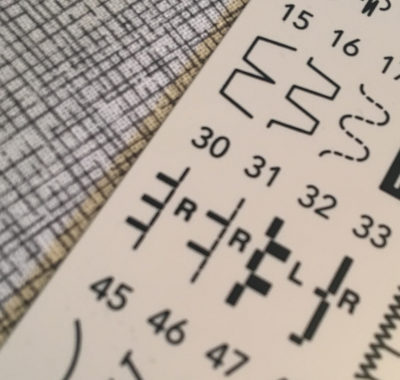
 The applique stitch on my Janome looks like stitch 30:
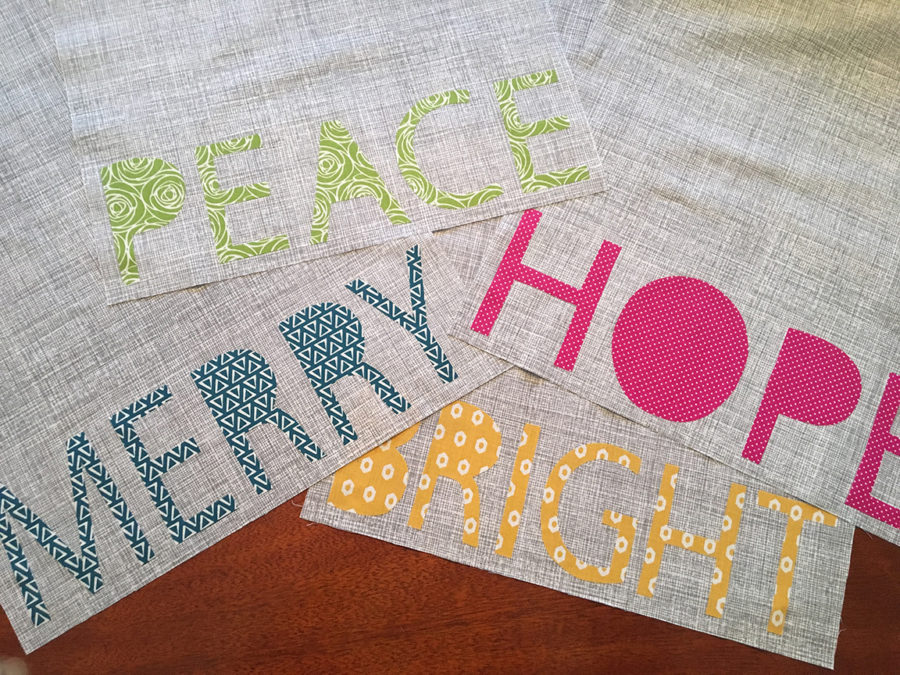
 Step 3: Finish Up
Iron one piece of woven interfacing to each front and back rectangle. Finish up the placemats by placing one front rectangle and one back rectangle right sides together.
Step 3: Finish Up
Iron one piece of woven interfacing to each front and back rectangle. Finish up the placemats by placing one front rectangle and one back rectangle right sides together.
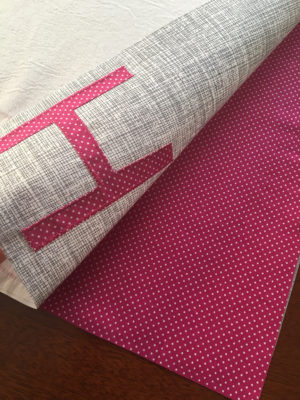 Pin and stitch around all 4 edges leaving an opening to turn right sides out. Stitch, then turn right sides out. Press well and edgestitch around the edge to close.