No Products in the Cart
 Gather some basic die cuts and patterned paper for your project. You will need two cardstock tag shapes, a sentiment die cut, die cut accessories for your tag, and a strip of patterned paper for the bottom of the tag.
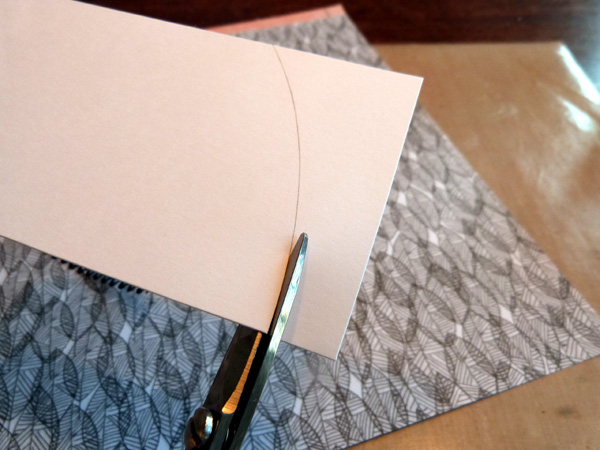 Trace a curved edge onto the bottom of one tag, and trim off the bottom portion along the curved line.
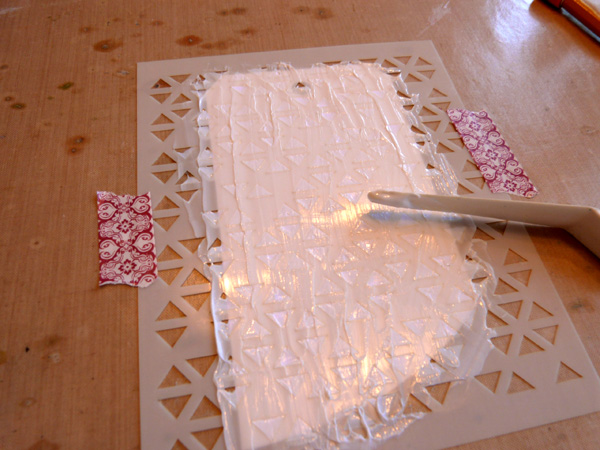 Apply a loop of washi tape to the back of the cut tag, and stick it down onto a non-stick craft mat. Place a stencil over the top of the tag, securing on the sides with more tape. Using a palette knife, spread iCraft Deco Foil™ Transfer Gel over the top of the stencil. Scrape the excess gel off with the knife and return it to the jar.
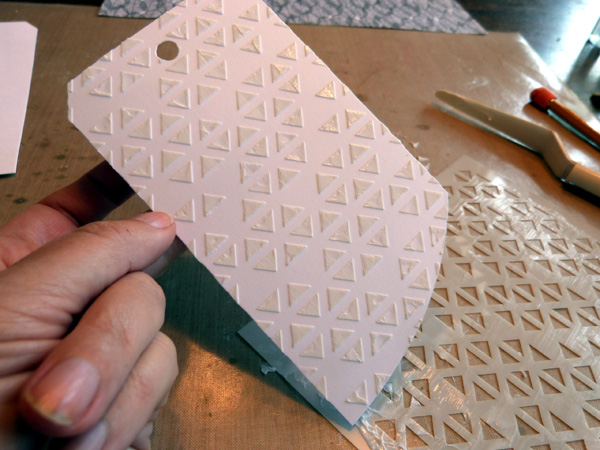 Remove the stencil immediately, and set the tag aside to dry for a good hour. Wash off the stencil, craft mat, and palette knife right away with soap and hot water.
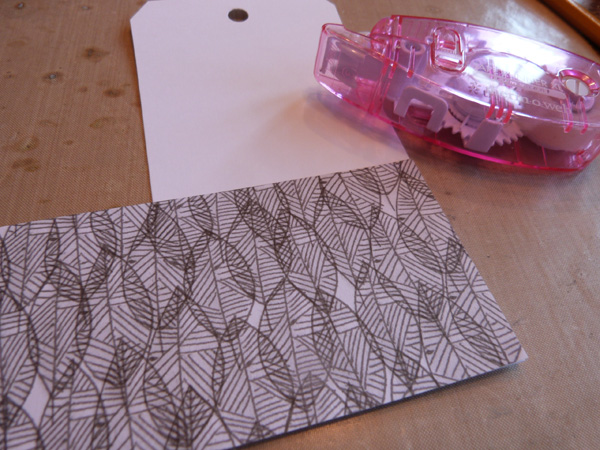 While the transfer gel is drying, adhere a piece of patterned paper to the bottom of the second tag. Trim off the excess from the side.
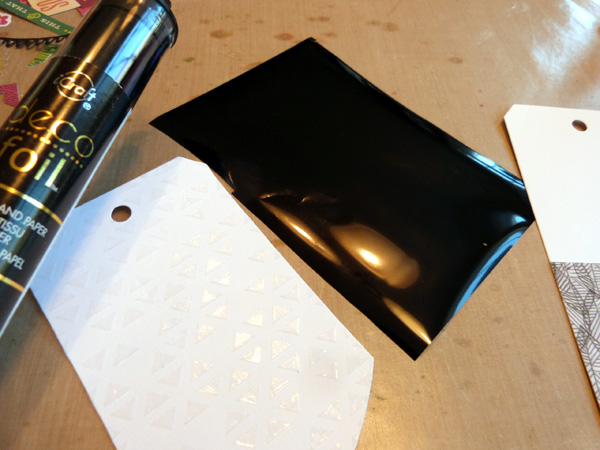 When the gel is dry, cut a piece of iCraft Deco Foil™ Transfer Sheet that is slightly larger than the tag surface.
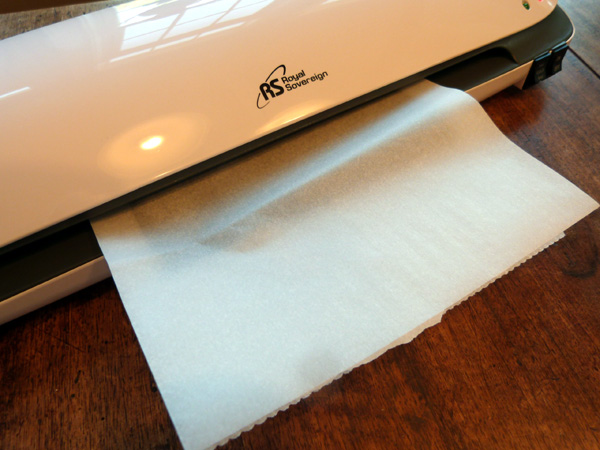 Heat the laminator on the 3mm setting until hot. Place the Deco Foil™ down onto the gel pattern, with the silver side down and the colored side up. Sandwich the tag and foil between sheets of parchment paper, and run the sandwich through the laminator machine.
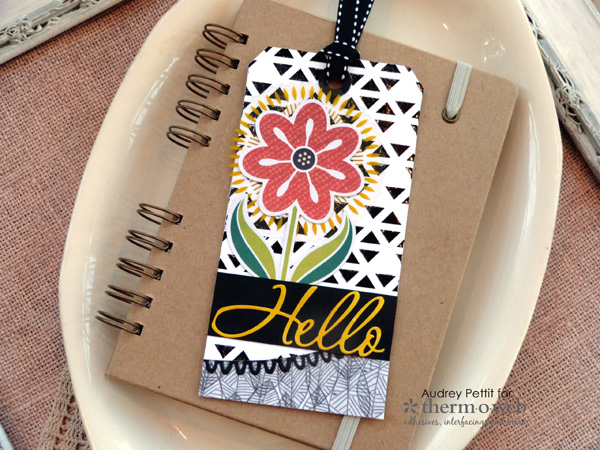
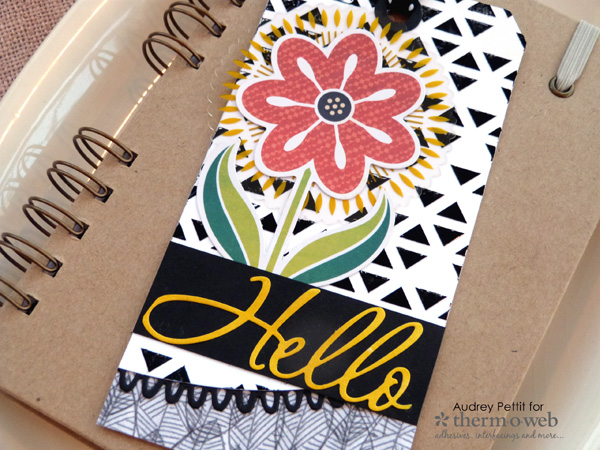
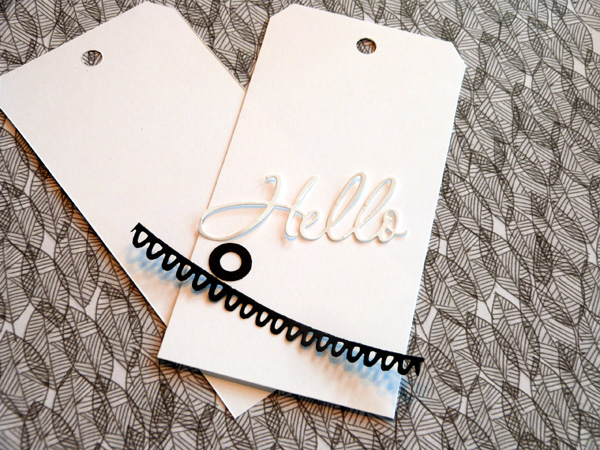
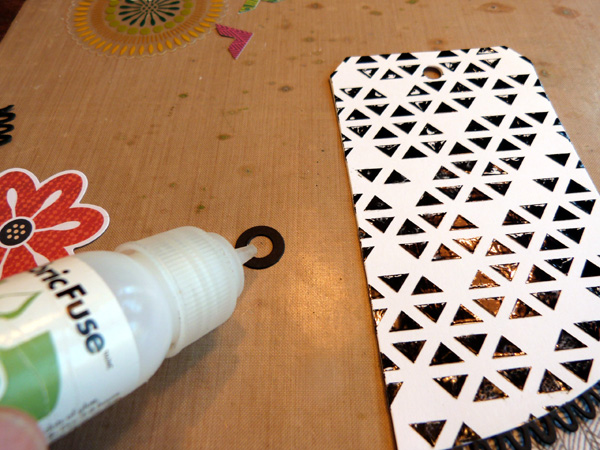 Peel off the transfer sheet, and check out your amazing stenciled foil surface! Then, add accents to your foiled tag like a scalloped border across the bottom and a hole-reinforcer at the top. Adhere the accents using Fabric Fuse™ Liquid Adhesive. Adhere the foiled tag on top of the second tag.
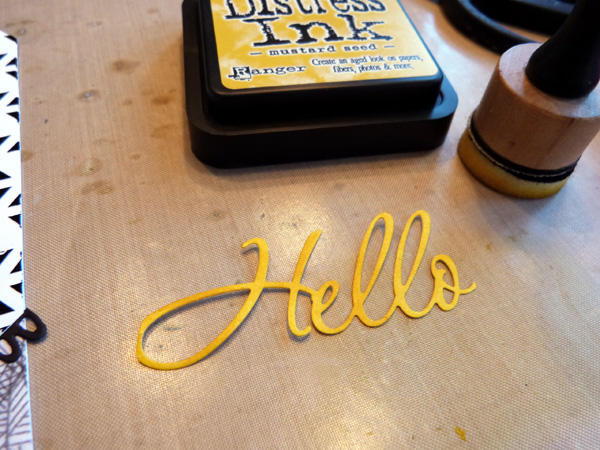 To help the sentiment stand out against the background, ink the die cut using an ink blending tool, and then layer the die cut onto a strip of black cardstock. Adhere the strip across the bottom of the tag, trimming off the excess from the sides.
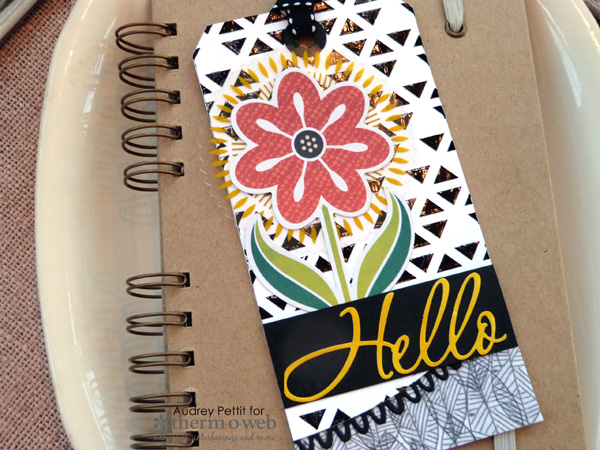 Tuck additional die cuts and/or transparency die cuts behind the sentiment strip. Add ribbon to the top of the tag.
Enjoy!
Tuck additional die cuts and/or transparency die cuts behind the sentiment strip. Add ribbon to the top of the tag.
Enjoy!