No Products in the Cart




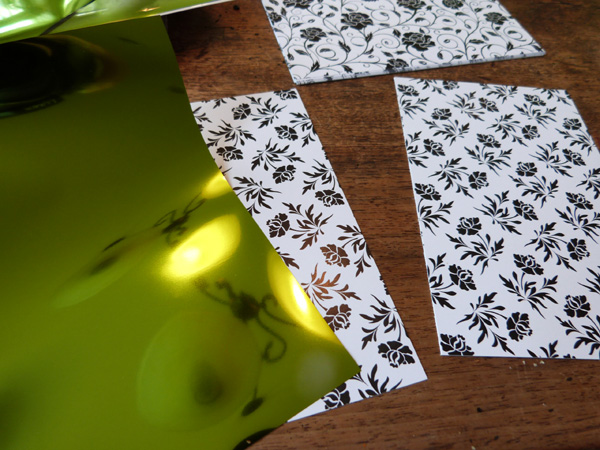 Turn on your laminator and let it heat up while you are working. Cut down some panels of background Foil-Mates. I used the smaller floral design from the Elegant Florals pack, and was able to get two panels from one sheet of Foil-Mates. Cut a piece of Fancy Foils transfer sheet that is slightly larger than the Foil-Mates paper.
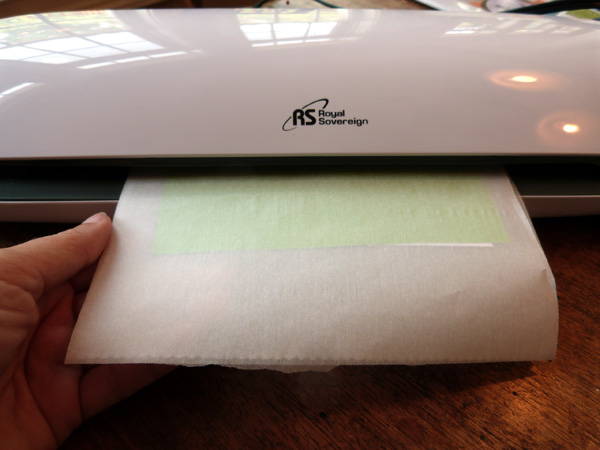 Place the foil transfer sheet down onto the Foil-Mates background, with the colored side of the foil up, and the silver side down. Place the foil sandwich between the sheets of a folded piece of parchment paper. Place a piece of scrap cardstock behind for extra stability, and run this sandwich through the laminator.
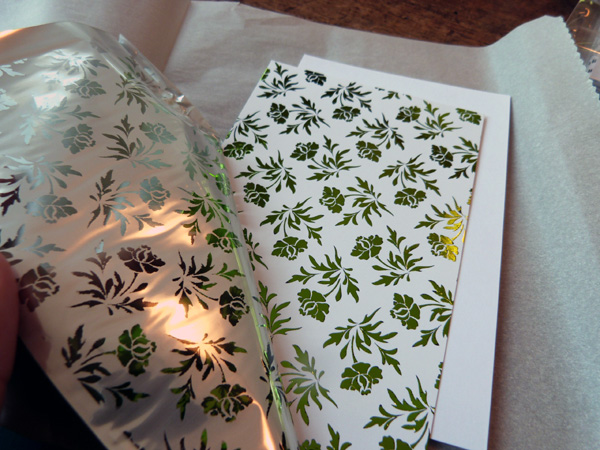 Peel up the foil transfer sheet to reveal the amazing foiled background you just created!
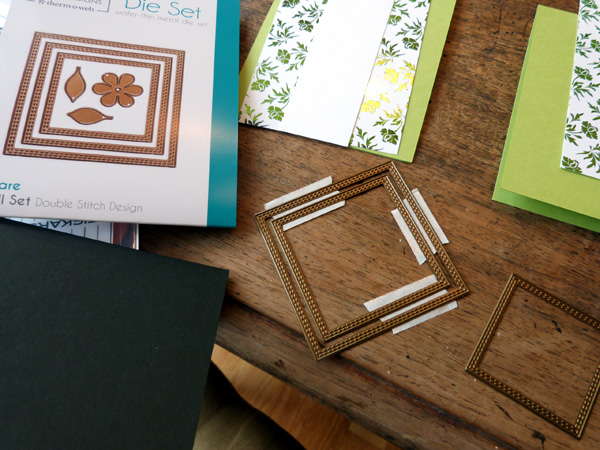 Nestle the two larger square dies from the Square Small Set die set, and secure them together with a bit of washi tape. Die cut the frame two times from black cardstock. Keep the inner square on one of the shapes, and remove it from the second.
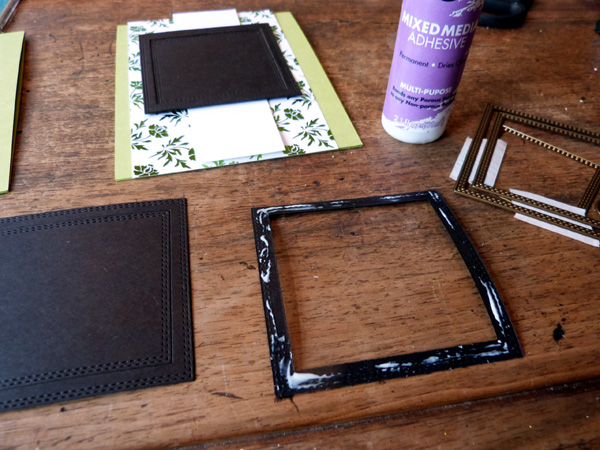 Adhere the frame to the die cut square panel using Mixed Media adhesive. This gives a bit of dimension to the frame, and creates the perfect base for adding the sentiment.
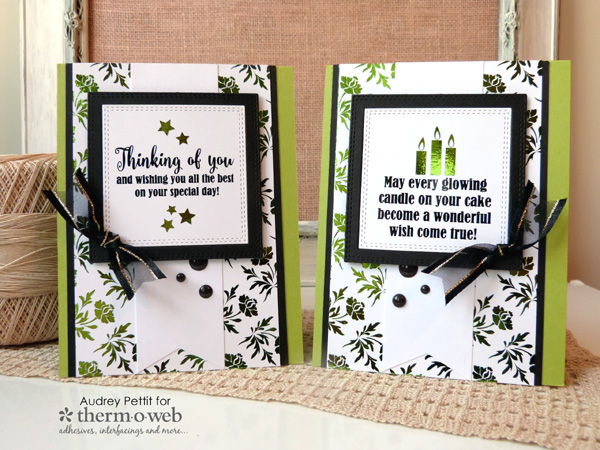
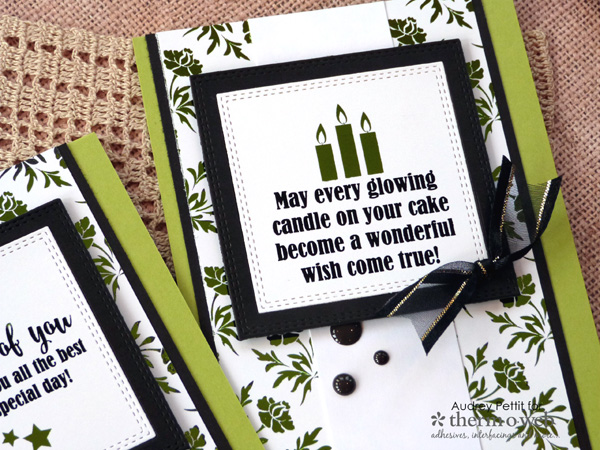
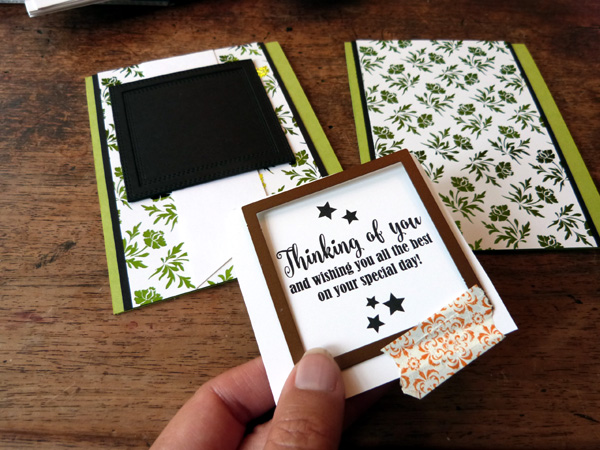 Now die cut the Foil-Mates sentiment of your choice using the smaller of the two square dies. Add Fancy Foils to the sentiment, and run it through the laminator using the same steps as outlined above. You can even use two or more different colors of foil, like I did on mine. Adhere the die cut into the black frame. Place iCraft Deco Foil Foam Adhesive sheet behind the frame, and adhere it to the card base.
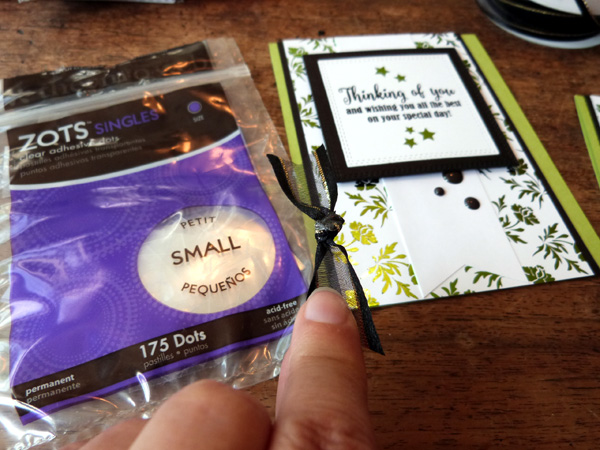 Cut a small piece of black ribbon, and tie it into a knot at the center. Trim the ends into a V-notch. Place a small Zots™ adhesive dot onto the back of the knot, and adhere the trim to your card base. Add enamel dots or other embellishments to finish.
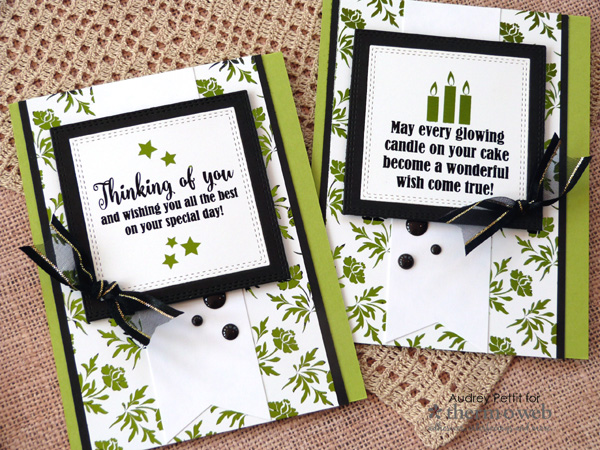 Enjoy!
Save
Enjoy!
Save
