Hey Thermoweb friends and fans,
Becki here. The holidays are just around the corner and that means more memories that need documented. I chose to document an early holiday memory with a variety of Decofoil Transfer Sheets, the DecoFoil Adhesive Pen, and a few different types of Thermoweb adhesives. This Christmas layout is simple and would be easy to duplicate.

Create Christmas Happiness {Layout} with DecoFoil
Thermoweb supplies:
Small Zots™
3D White Foam Squares
Black Photo Corners
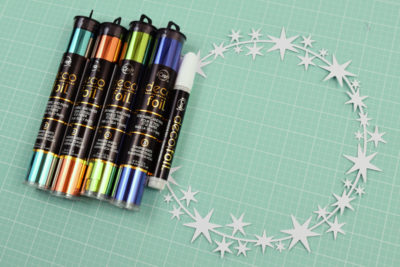
DecoFoil™ Adhesive Pen
Deep Blue Decofoil™
Aqua Decofoil™
Spring Green DecoFoil
Red DecoFoil™
Pink Melon DecoFoil™
Gold DecoFoil™
Other Supplies:
Electronic Die Cutting Machine
White Cardstock
Patterned paper
die cut embellishments
stapler
mini staples
Christmas Happiness Project Instructions:
Step 1:
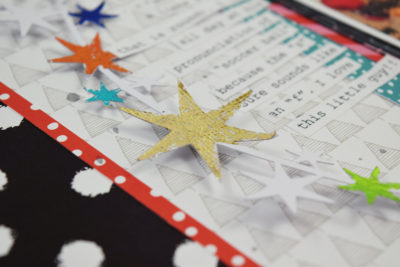
Cut the star wreath with electronic die cutting machine and white cardstock. (The cut file can be found
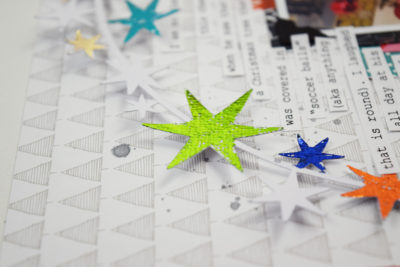
HERE.) Use the DecoFoil pen and DecoFoil to add color to a few of the stars.
When the stars have decofoil on them, add them to the layout with Thermoweb adhesive.
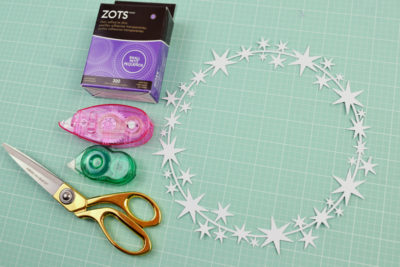
Use foam adhesive under the larger stars and small Zots™ under the smaller stars to adhere the wreath to the base of the layout. If there are any parts of the wreath that still need adhesive, use the sticky dot mini runner.
Use the sticky dot mini tape runner to adhere the journaling strips inside the wreath above the photo.
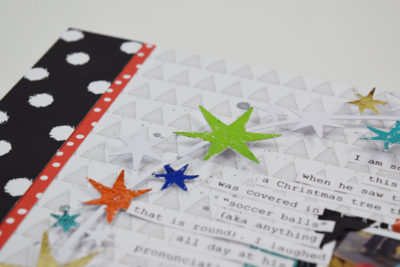
Use the Tape Runner XL to adhere the strips of patterned paper on the sides of the Christmas layout and to adhere the die cuts.
Thanks for stopping by the Thermoweb blog. Hope you enjoyed my Christmas Happiness layout with Deco foil! I'll see you again soon!