No Products in the Cart
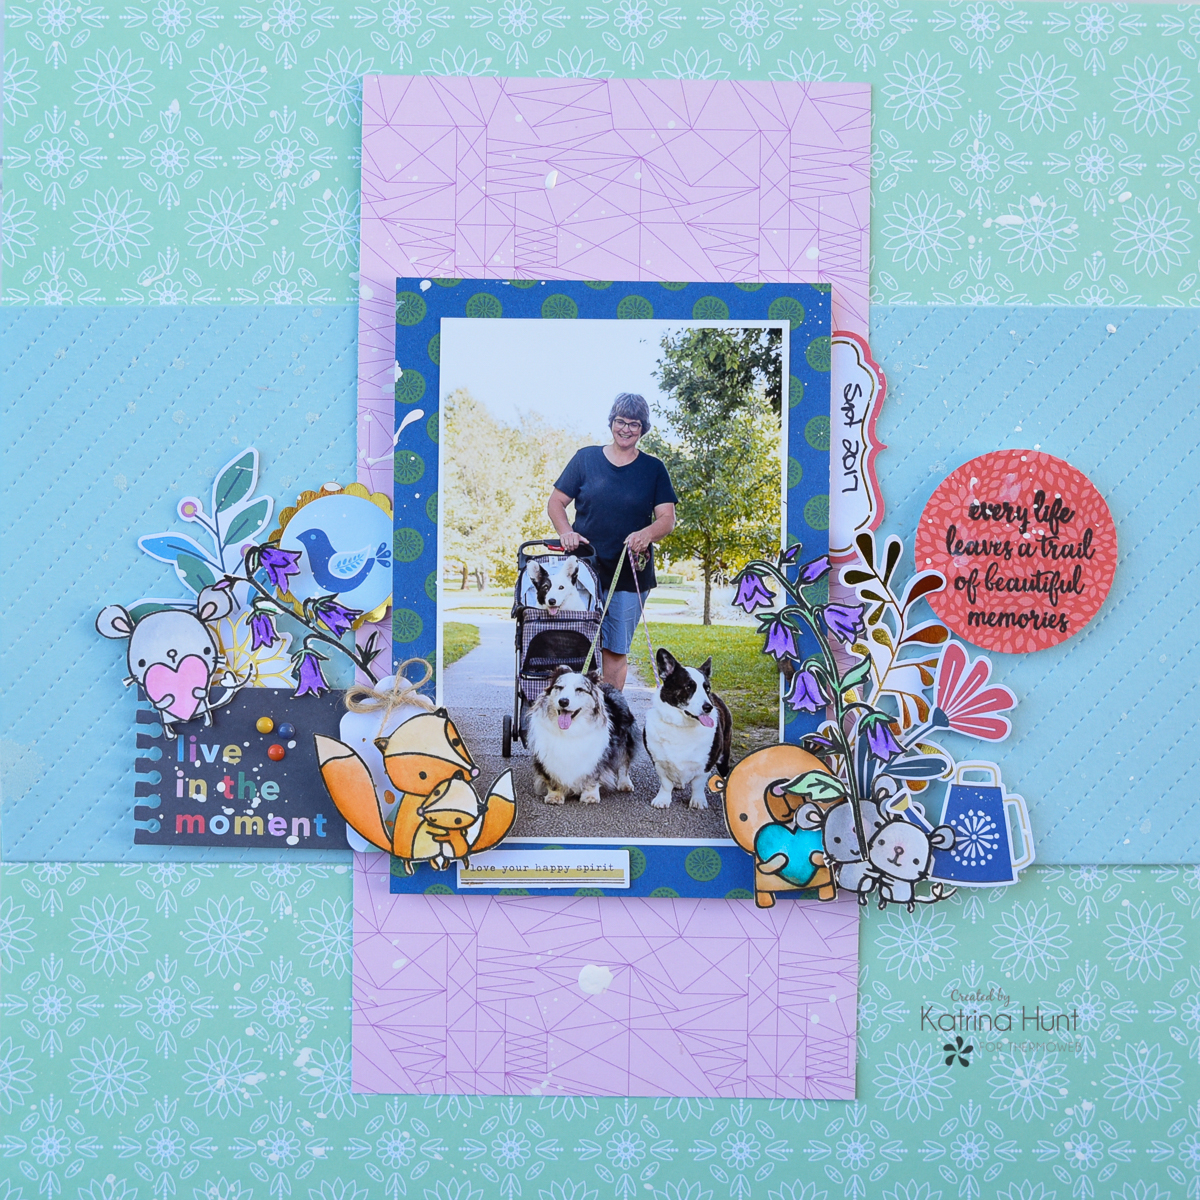
 One thing we know for certain is that adorable stamps are NOT just for cardmaking! The reason we know this is because Katrina always comes up with the most amazing ideas which prove us right! We love how she's combined several sets of stamps from Reverse Confetti to great this absolutely adorable layout. Adorable right?!
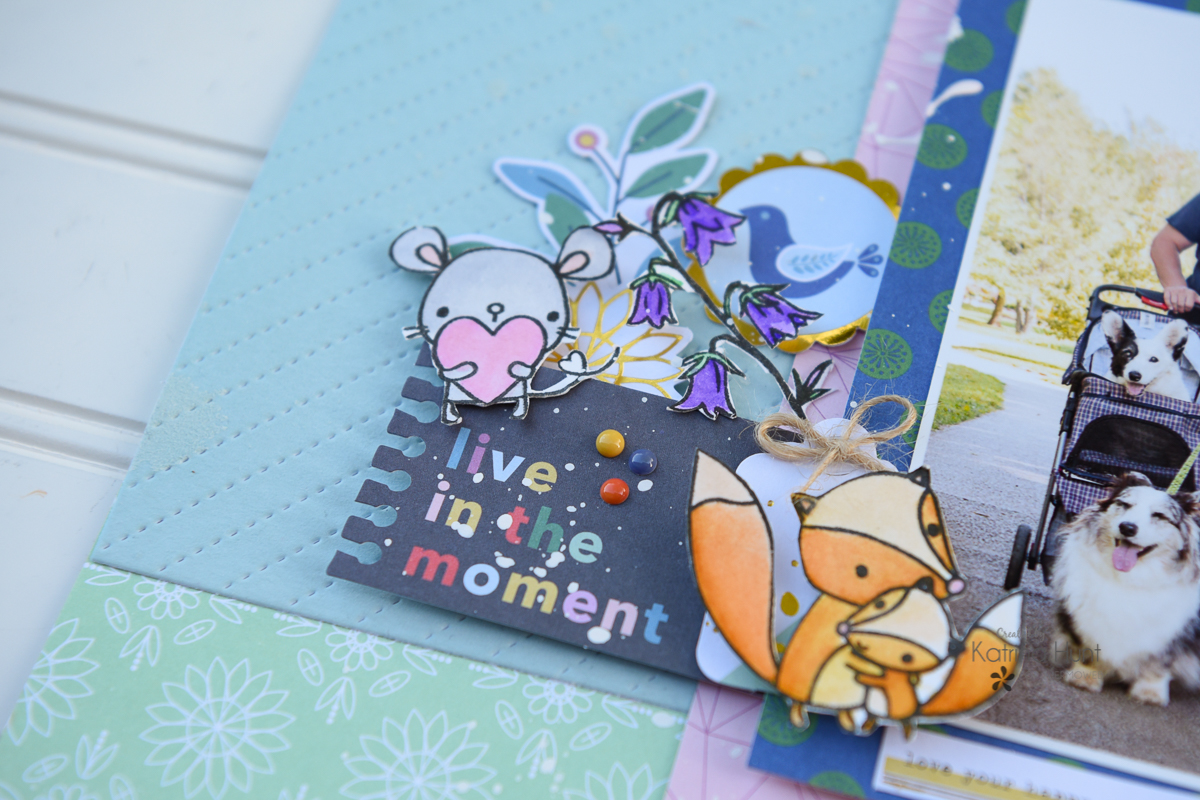
Hey Hey!! It's Katrina, from Paper, Scissors, Glue and Hybrid today to share an idea for an everyday layout. Not a special occasion, not a holiday, just an everyday moment. In reality, this picture was from a photoshoot, but we asked for it because this was the way walks were with Ella every day. In other words, it's a "fancy" pic of an everyday moment!
One thing we know for certain is that adorable stamps are NOT just for cardmaking! The reason we know this is because Katrina always comes up with the most amazing ideas which prove us right! We love how she's combined several sets of stamps from Reverse Confetti to great this absolutely adorable layout. Adorable right?!
Hey Hey!! It's Katrina, from Paper, Scissors, Glue and Hybrid today to share an idea for an everyday layout. Not a special occasion, not a holiday, just an everyday moment. In reality, this picture was from a photoshoot, but we asked for it because this was the way walks were with Ella every day. In other words, it's a "fancy" pic of an everyday moment!

 Begin the project by stamping images and sentiments using a stamping platform and Gina K Designs Amalgam Ink. The amalgam ink is great for all types of coloring, Copic, watercolor, and pencils. It's a go-to ink for me! I used Zig Clean Color Real Brush markers and water to color in my images. After coloring images, cut out by hand or use matching dies, depending on what you have available to use.
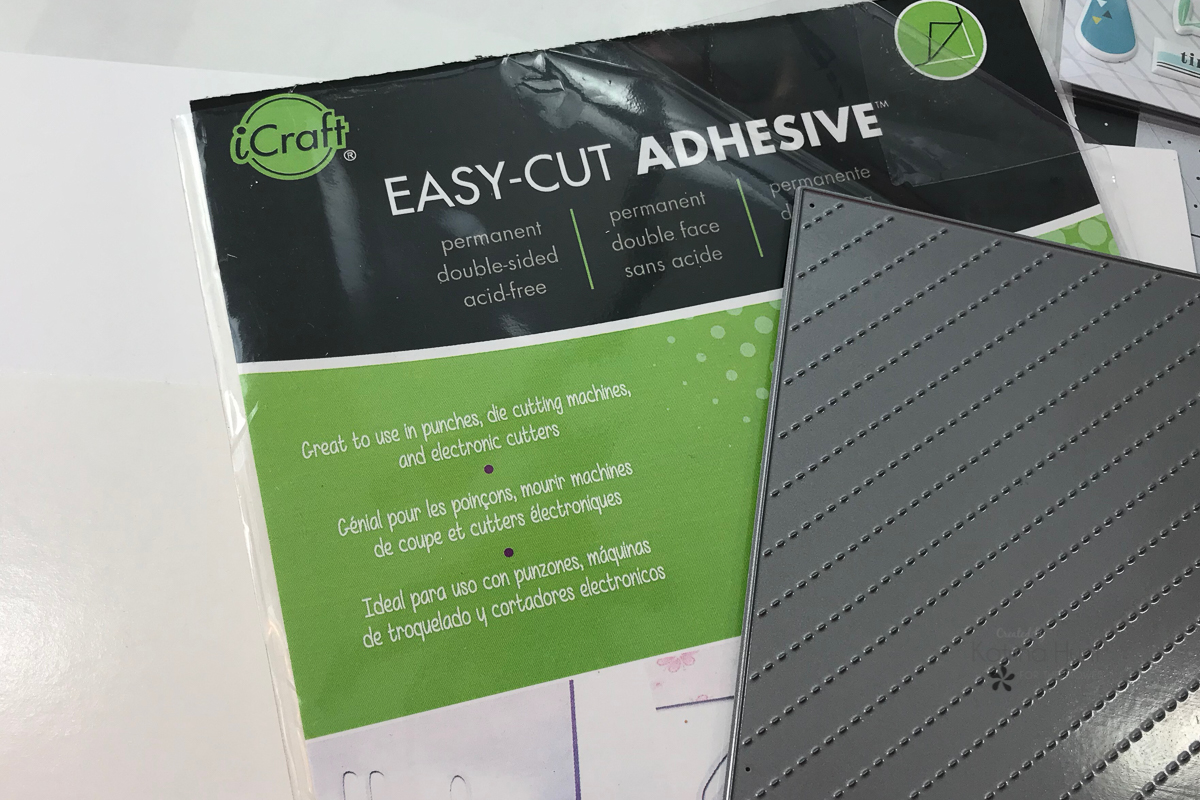
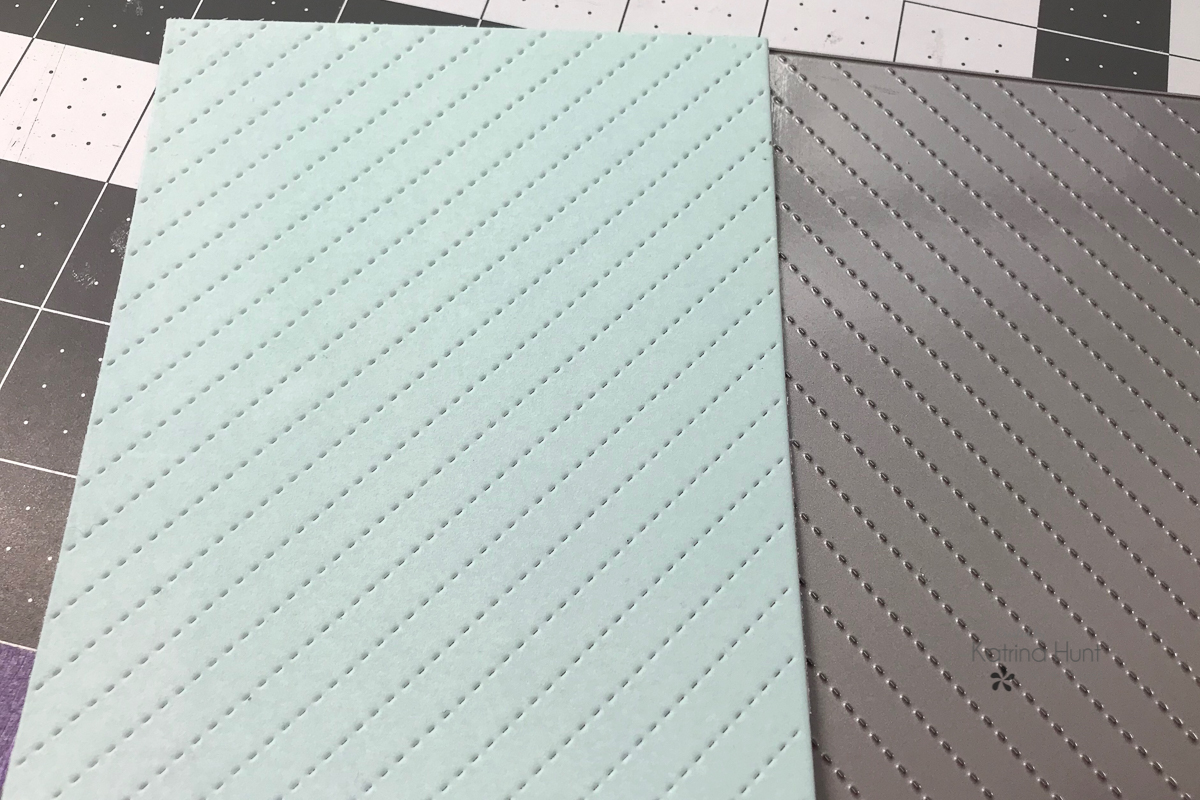
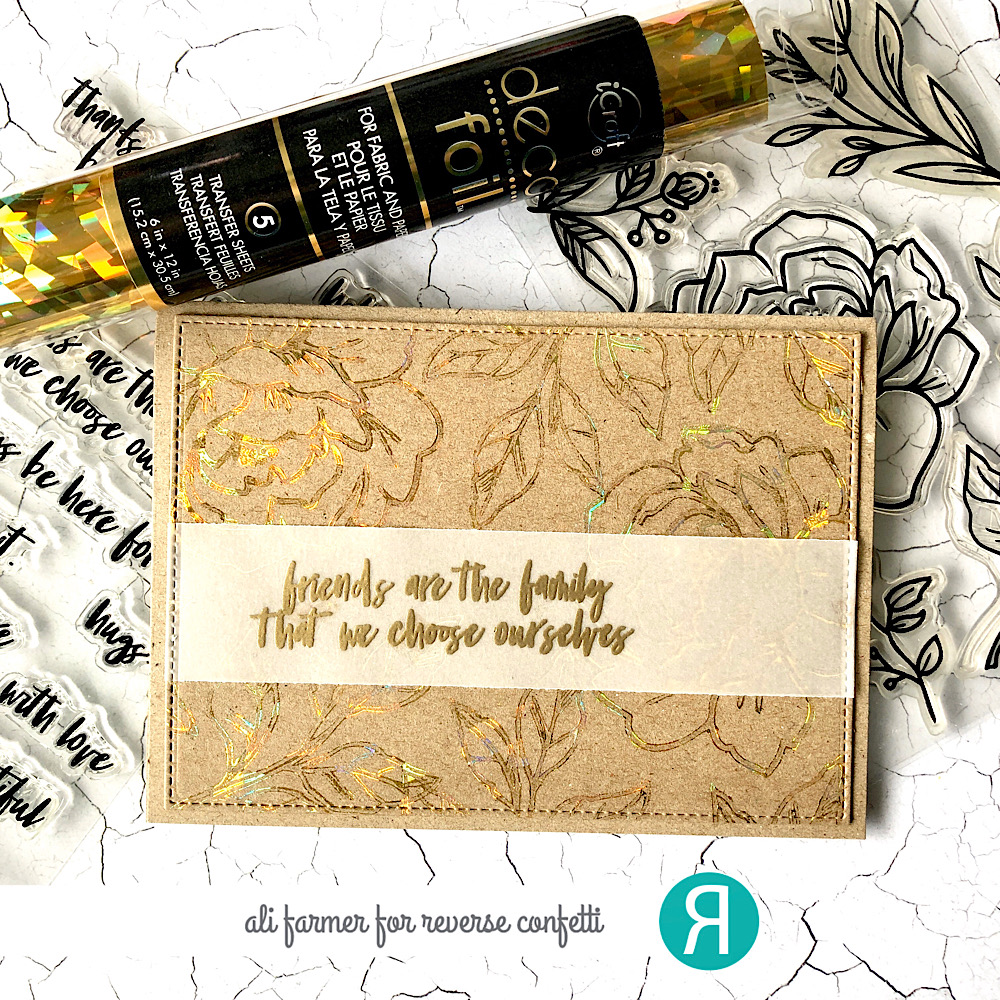
 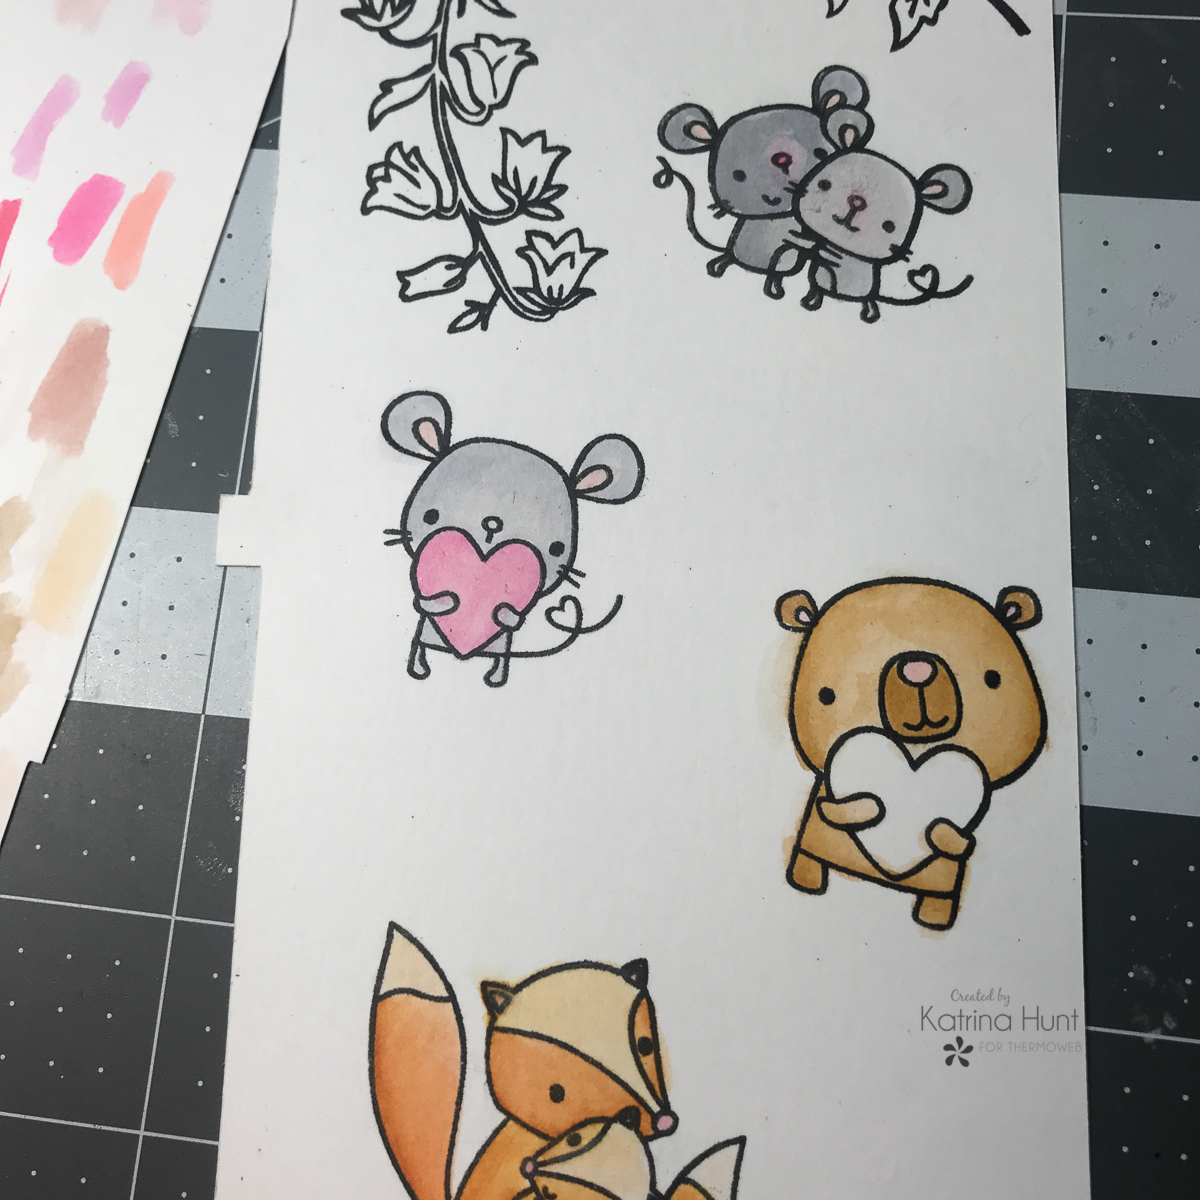 Next, apply a piece of the Easy Cut Adhesive onto a piece of Gina K Luxury Cardstock that will fit a cover panel die. Remove the second protective cover and then apply Deco Foil Flock in your color of choice by placing the flock on to the exposed adhesive and then running through a manual die cutting machine. Make sure to have your flock side of your cardstock facing the cutting side of the panel, as shown in the second picture below.
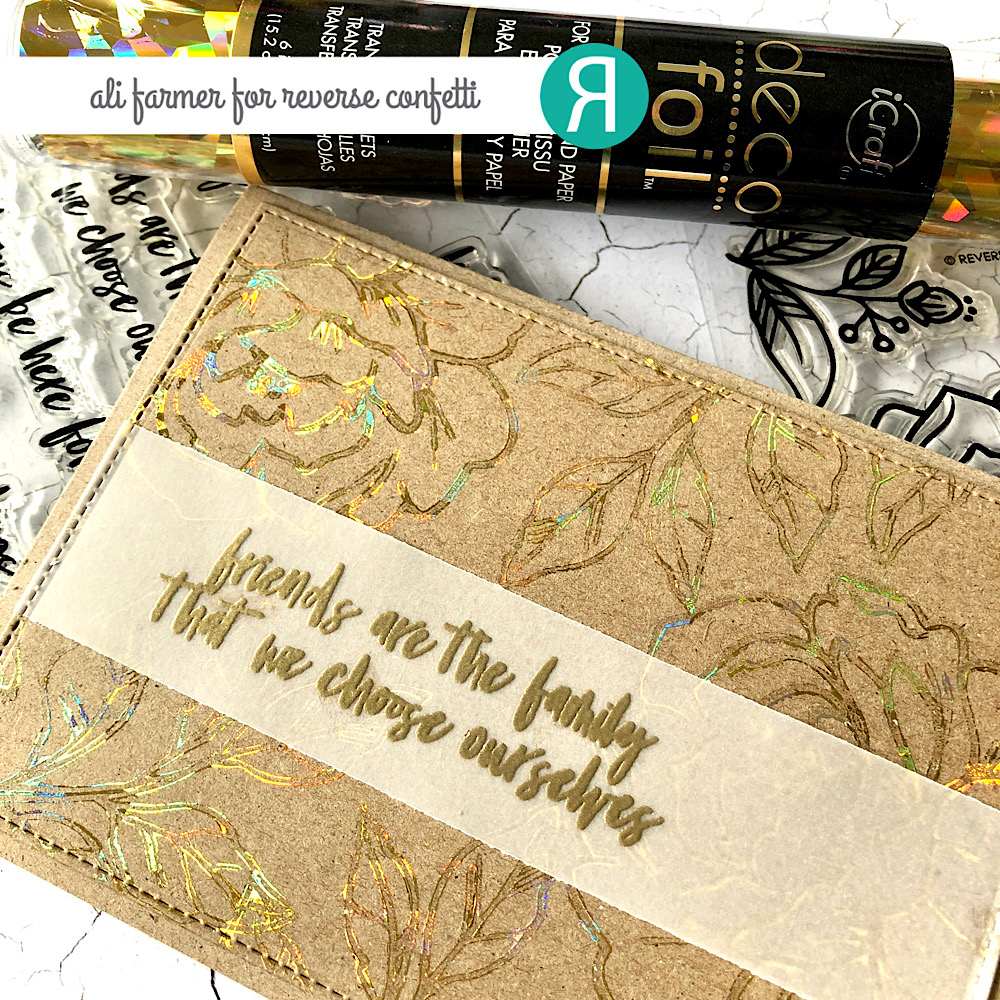
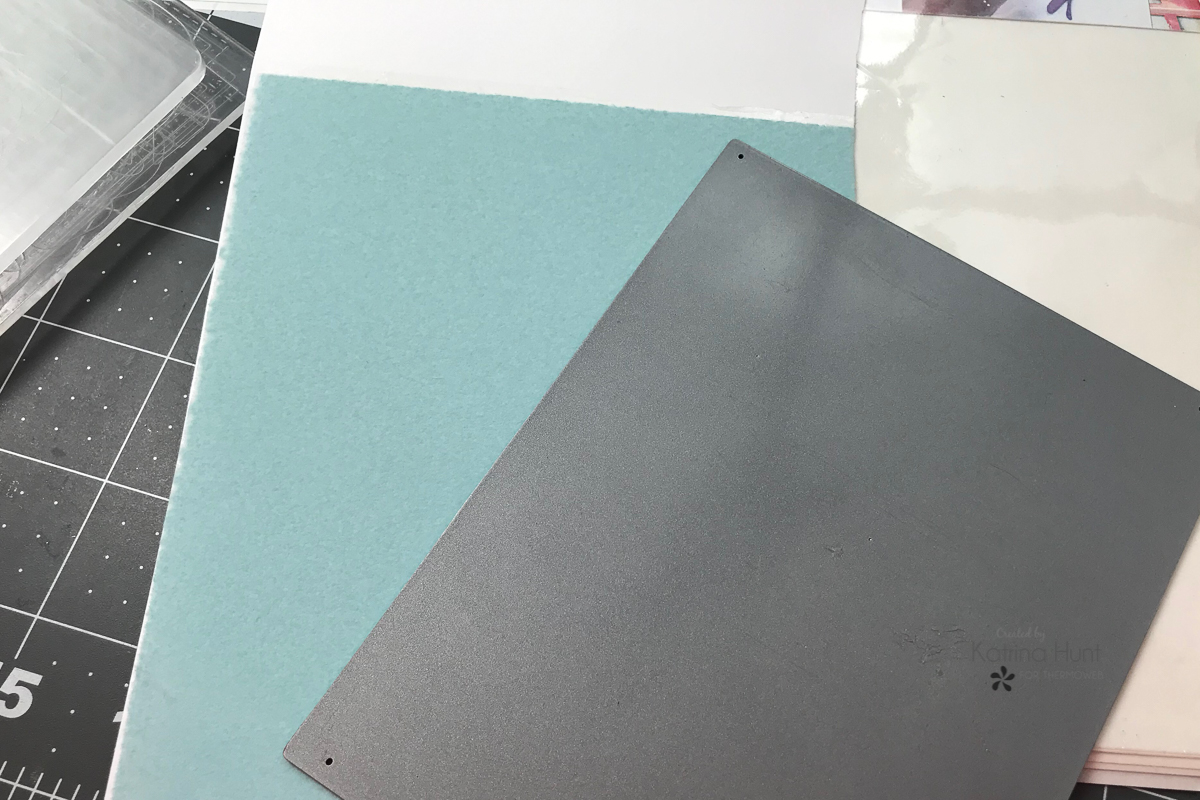 Now, carefully remove your die-cut flocked piece from your die using a paper piercer and gently punching through the tiny holes in the die. Once you have done one flocked panel, you will repeat the steps, so that in the end you will have two panels to use on the sides of your layout.
As a result, look at how pretty the flock looks once it's cut! Plus it's a great way to add some fun texture to your layouts.
Now, carefully remove your die-cut flocked piece from your die using a paper piercer and gently punching through the tiny holes in the die. Once you have done one flocked panel, you will repeat the steps, so that in the end you will have two panels to use on the sides of your layout.
As a result, look at how pretty the flock looks once it's cut! Plus it's a great way to add some fun texture to your layouts.
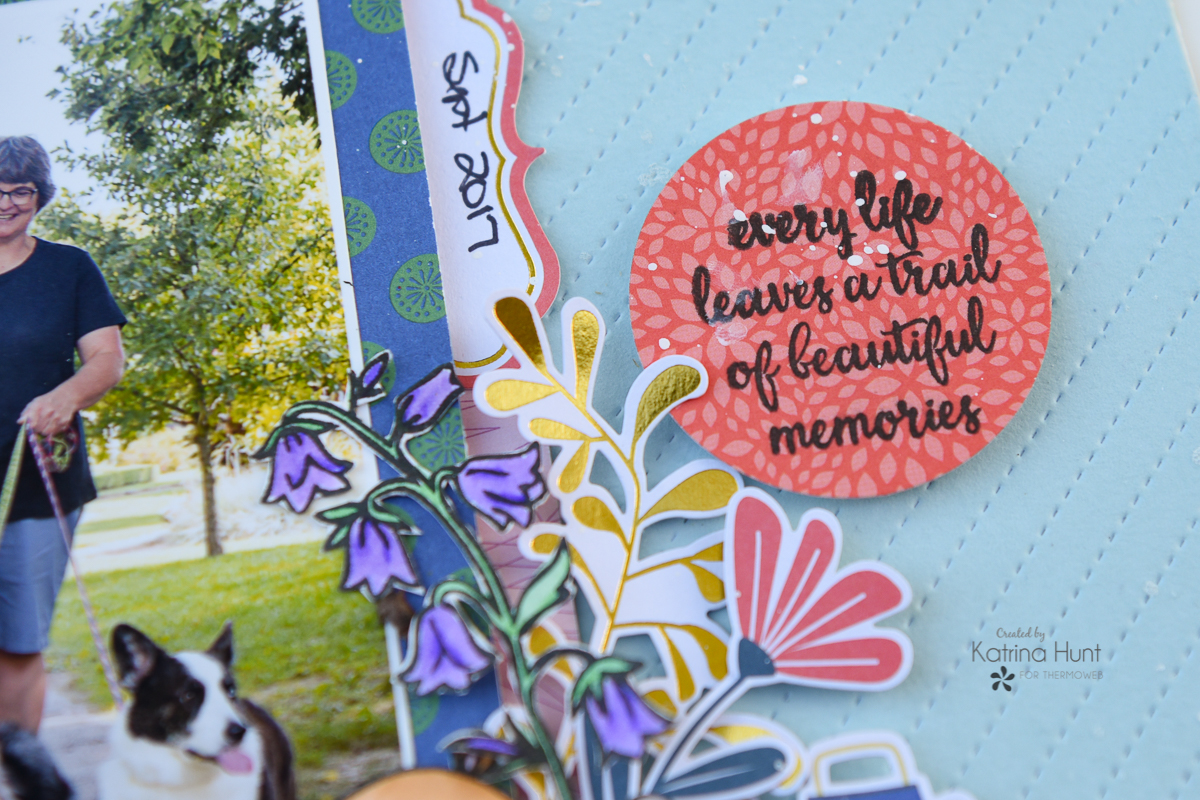
 Begin putting your layout together, with other pieces of pattern paper and embellishments. This will include your stamped images and sentiments that you made, along with any embellishments from the paper collection.
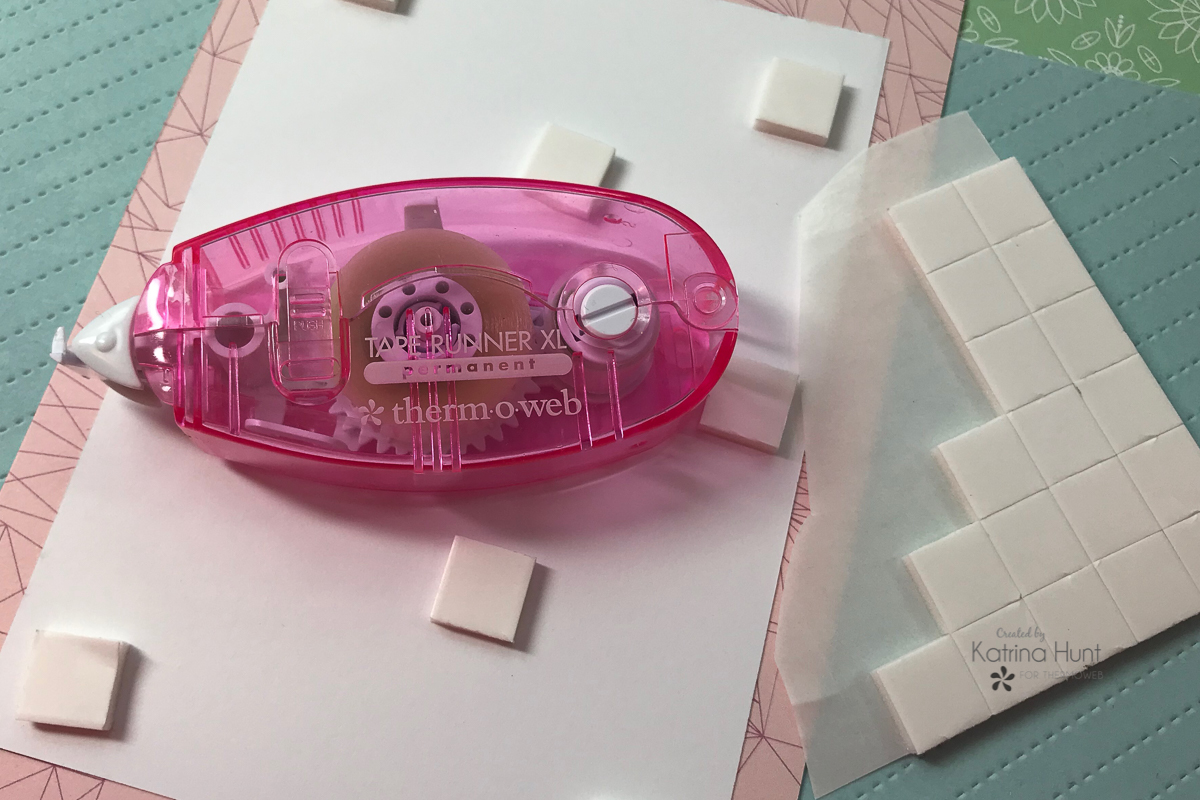
 As you piece your layout together, use the Memory Runner XL, along with different sizes of 3D Foam Squares.
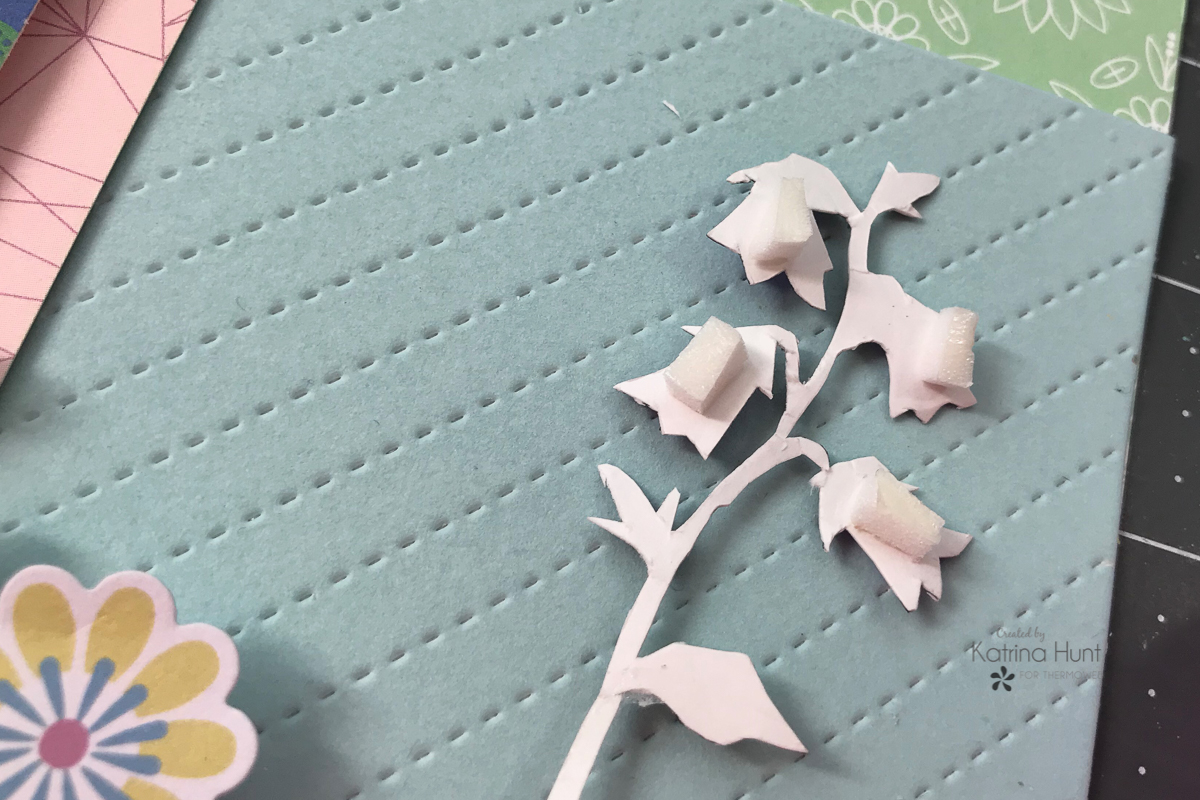
 In addition, I had areas that the small foam squares were too big for, in that case, you can trim the bigger ones down to the size that will work. As you can see below, I did this for the stamped flowering vines.
 In conclusion, after you have all your pieces in place, cover up your picture with a piece of scrap paper and using a paintbrush, flick white acrylic craft paint for a little something extra. Depending on your craft paint, you may need to water it down some. Let dry and you have a fun everyday layout to add to your memory keeping!
 That's all from me today! I hope I inspired you to get those everyday moments down for looking back on in the future! Thanks for stopping by today!
 Ali's Supply List: