No Products in the Cart
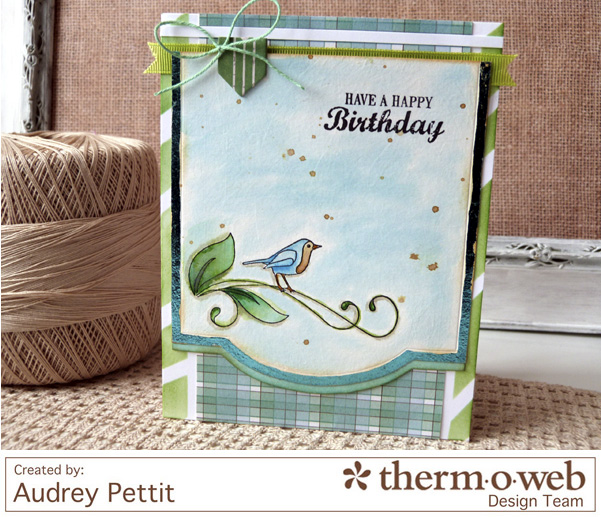
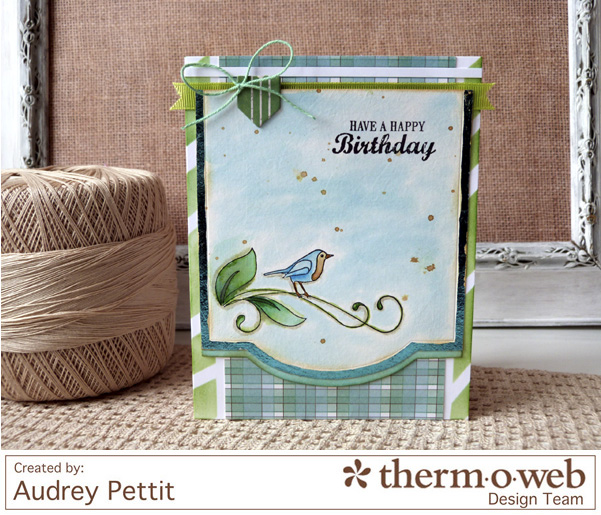 Have a Happy Birthday Card by Designer Audrey Pettit
Supplies:
Therm O Web iCraft Deco Foil™ Transfer Sheets- Aqua
Therm O Web iCraft Deco Foil™ Adhesive Pen
Therm O Web iCraft® Easy-Cut Adhesive 1/2"
Therm O Web Fabric Fuse™ Liquid Adhesive
Cardstock: Neenah Solar White 80 lb.
Patterned Paper: Webster's Pages
Watercolor Paper: Strathmore 120 lb. Cold Pressed
Ink: Ranger
Stamps: Sizzix
Die: Sizzix
Stencil: The Crafter's Workshop
Chipboard: BasicGrey
Trim: Stampin'Up, craft supply
Have a Happy Birthday Card by Designer Audrey Pettit
Supplies:
Therm O Web iCraft Deco Foil™ Transfer Sheets- Aqua
Therm O Web iCraft Deco Foil™ Adhesive Pen
Therm O Web iCraft® Easy-Cut Adhesive 1/2"
Therm O Web Fabric Fuse™ Liquid Adhesive
Cardstock: Neenah Solar White 80 lb.
Patterned Paper: Webster's Pages
Watercolor Paper: Strathmore 120 lb. Cold Pressed
Ink: Ranger
Stamps: Sizzix
Die: Sizzix
Stencil: The Crafter's Workshop
Chipboard: BasicGrey
Trim: Stampin'Up, craft supply
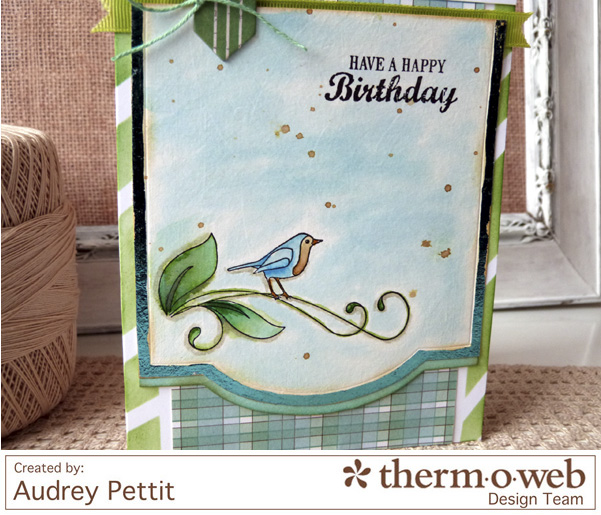 Watercolors are all the rage these days, on cards, mixed media projects, art journals, project life, and more. Today I have a sweet, spring time watercolor card to share with you, along with a quick tutorial for adding Therm O Web iCraft Deco Foil™ to your watercolor creations for a burst of extra color and eye catching detail. It's so easy with the new iCraft Deco Foil™ Adhesive Pen. Let's take a closer look.
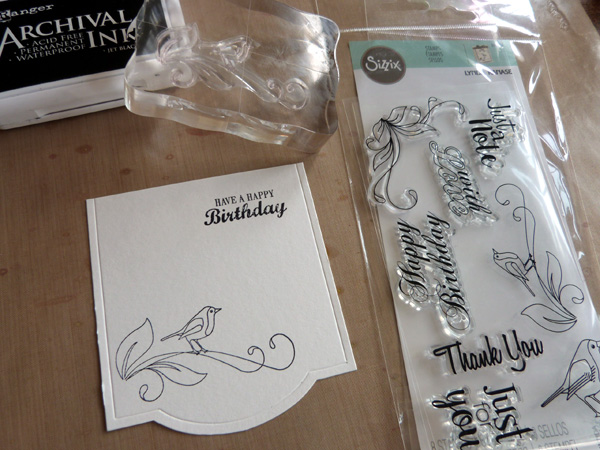 Start by stamping your images onto watercolor paper using a waterproof permanent ink, like Ranger's Archival ink in Jet Black. I stamped onto the bottom portion of a Cameo Frame die cut by Sizzix, after trimming off the top curved edge to the shape. Save that curved portion for later.
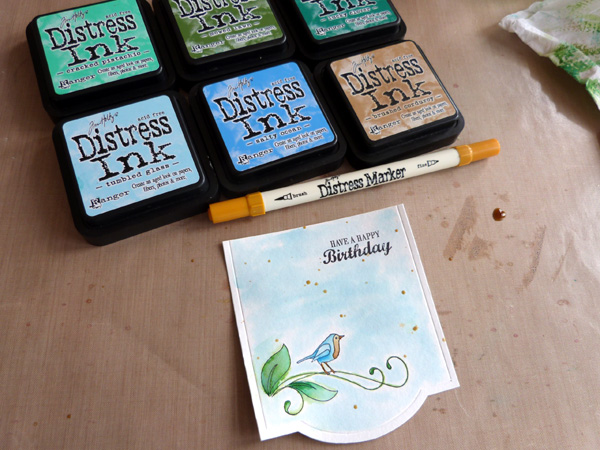 Watercolor the image and background using your favorite watercolor medium. I like to watercolor with my Distress inks and markers, by smooshing a bit of ink onto a non-stick craft mat, and picking up the color with a wet paintbrush. Once you are done with the coloring, flick a bit of brown ink onto the panel with your paintbrush. Allow the paper to dry completely.
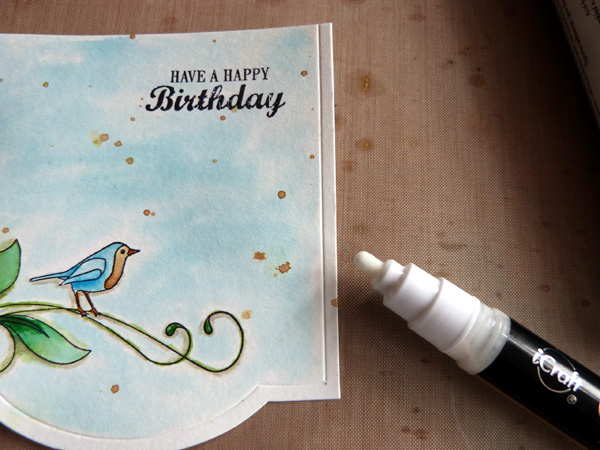 The cameo frame has a great beveled edge around the outside, which makes it super easy to apply the liquid foil adhesive. But even if your shape doesn't have such an edge, you can still add foil. Simply draw around the edge of the frame using the new iCraft® Deco Foil™ Pen. Draw all the way around both sides and the bottom. I left the top portion bare. Wait a few moments to allow the adhesive to become tacky to the touch.
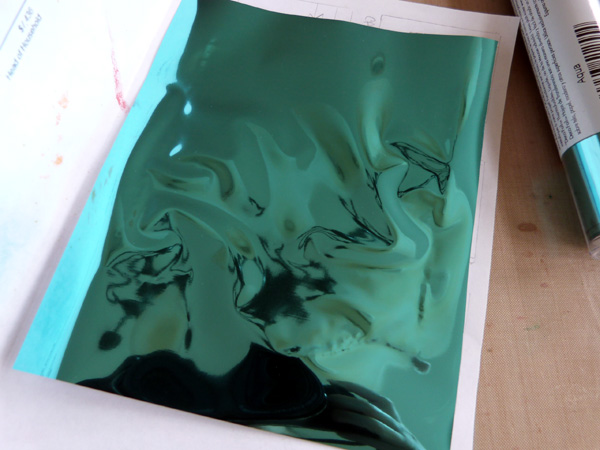 Cut a piece of iCraft® Deco Foil™ Transfer Sheet that is slightly larger than your die cut shape. Place the foil down onto the adhesive, with the colored side up and the silver side down. Slip the die cut into a piece of folded copy paper.
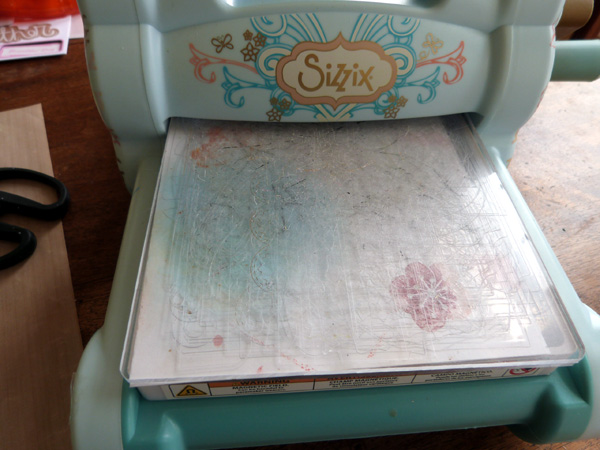 You can run the copy paper through your laminator, or place it between the cutting pads and run it through your die cutting machine.
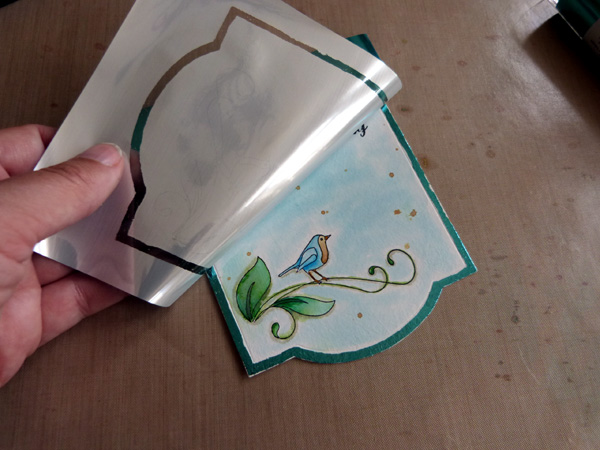 Peel up the foil transfer sheet, and see the beautiful edge you have created! So easy! And this is a great way to add foil to your projects for those of you who don't own a laminating machine.
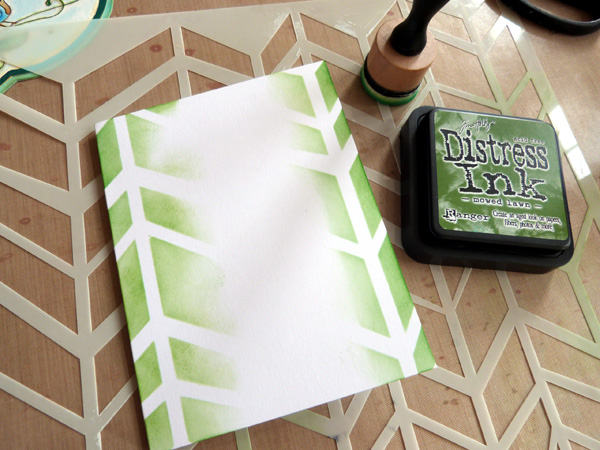 Now create a side-folding A2 card base from white cardstock. Using a stencil and an ink blending tool, apply ink to both the left and right sides of your card base. Adhere a strip of patterned paper down the center of the card.
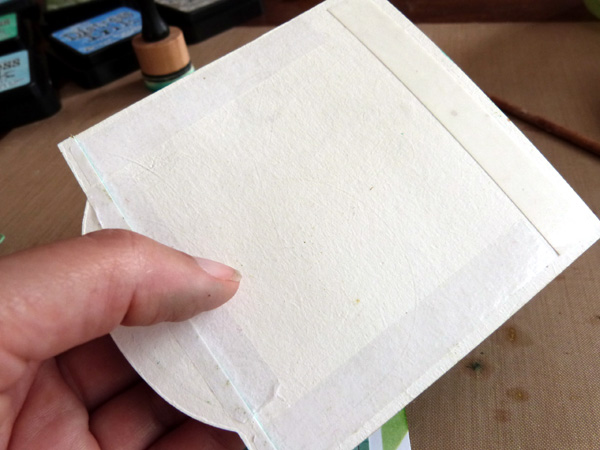 To adhere the watercolor panel, I recommend using Therm O Web iCraft® Easy Cut-Tear Adhesive. It's perfect for when you need a slightly stronger adhesive than your regular tape runner, and works wonders on this heavier watercolor paper. Especially if there's a bit of warping from the watercolors. There are several widths to choose from. I used the 1/2" tape here.
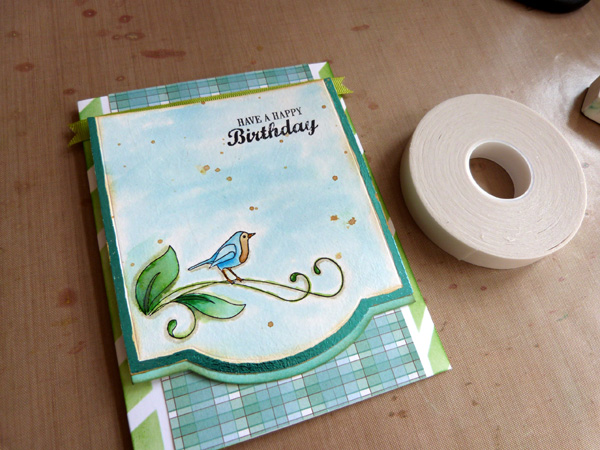 It's great for adhering ribbon, too. I added a strip of grosgrain to the top of my panel. And remember that top curved edge of the cameo frame we cut off? Ink that piece using your ink blending tool and your favorite color of Distress ink, and then adhere it to the bottom of the frame for another little extra detail. Add a bit of chipboard and a simple twine bow to the top corner, adhered with liquid Fabric Fuse™ Adhesive. And you are finished.
 Enjoy!
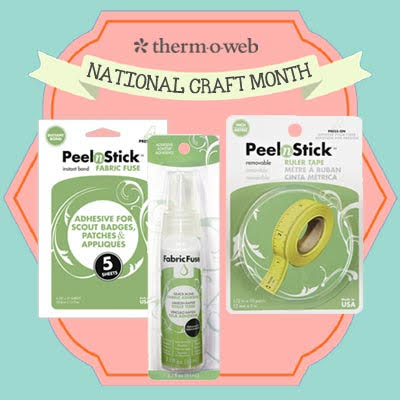
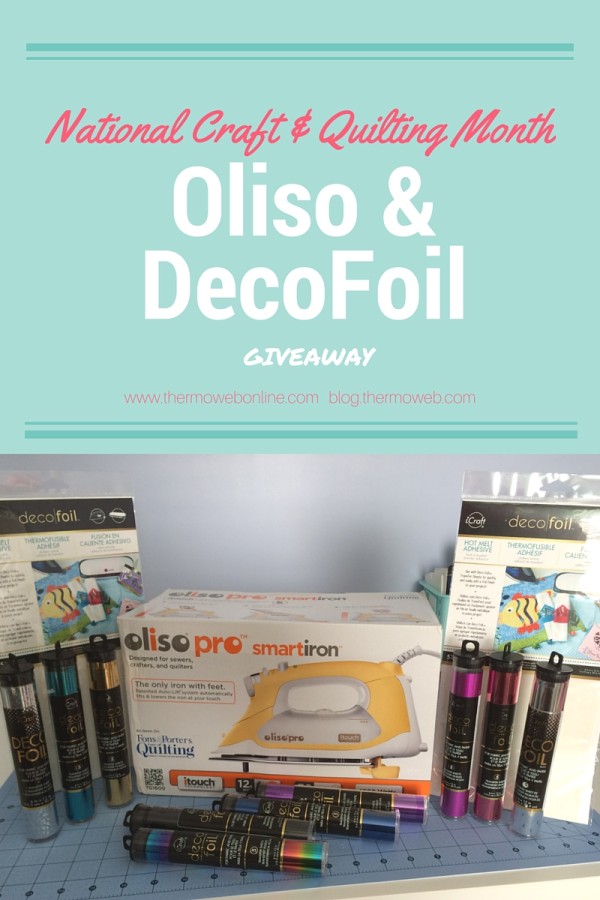
 All this month we've celebrated National Craft Month! with you! Along with National Quilting Month!
We're offering a special sale on all of our Fabric Fuse™ Liquid Adhesive and PeelnStick™ Fabric Fuse products to wrap up our celebration of both National Craft and Quilting Month! Save 25% off all your favorites! Plus you'll also receive FREE SHIPPING on all orders for $25 after coupon. Use code: FAB25 (in all caps) to save! Click here to shop!
All this month we've celebrated National Craft Month! with you! Along with National Quilting Month!
We're offering a special sale on all of our Fabric Fuse™ Liquid Adhesive and PeelnStick™ Fabric Fuse products to wrap up our celebration of both National Craft and Quilting Month! Save 25% off all your favorites! Plus you'll also receive FREE SHIPPING on all orders for $25 after coupon. Use code: FAB25 (in all caps) to save! Click here to shop!