No Products in the Cart
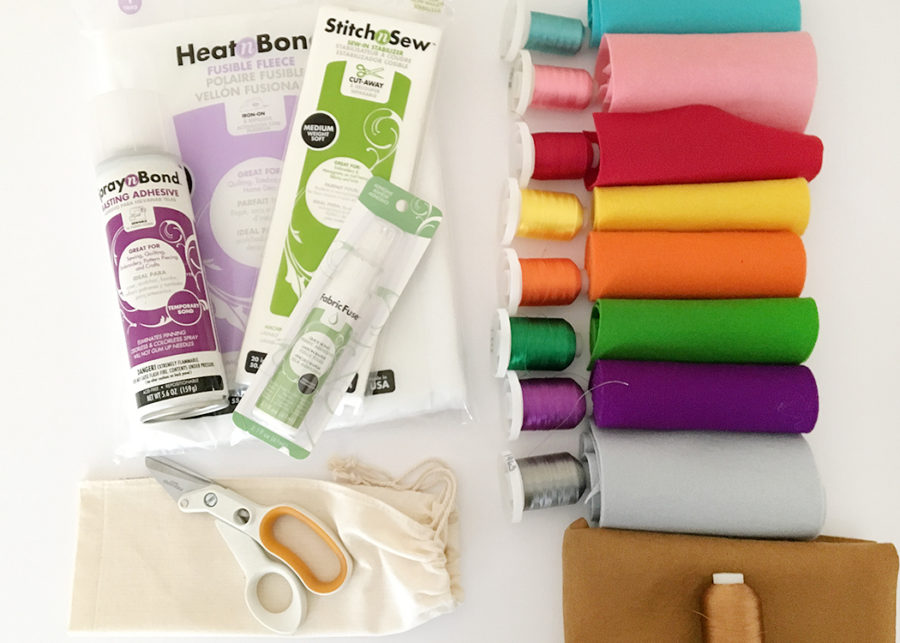
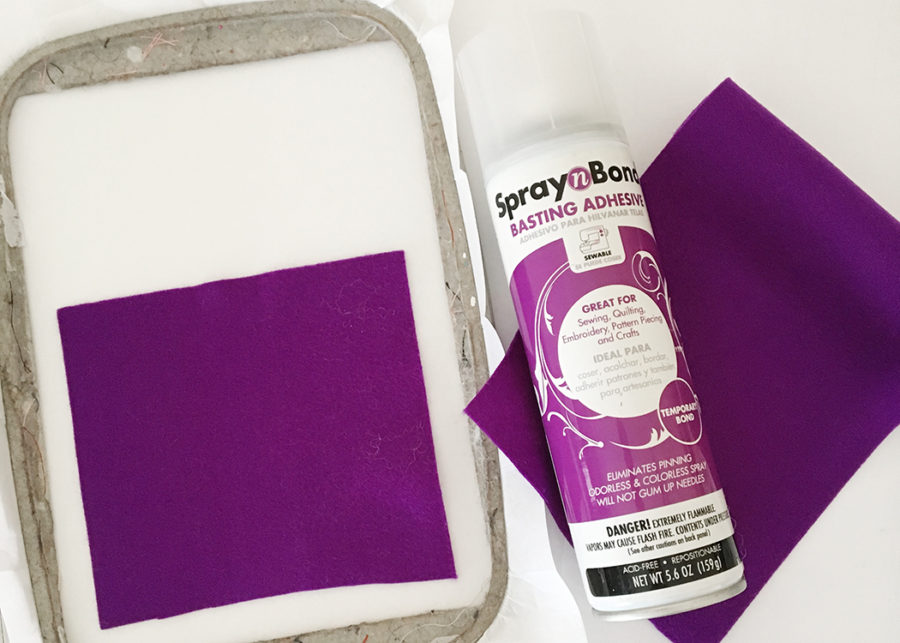 3). Set your felt pieces on top. Press to secure. (Please ignore my poor hoops that need to be cleaned!) Not shown, but I think adding some fleece under the felt layer would add some fun dimension! I didn't get to try it out before I thought of that idea, so If YOU try it, leave a comment and let me know!
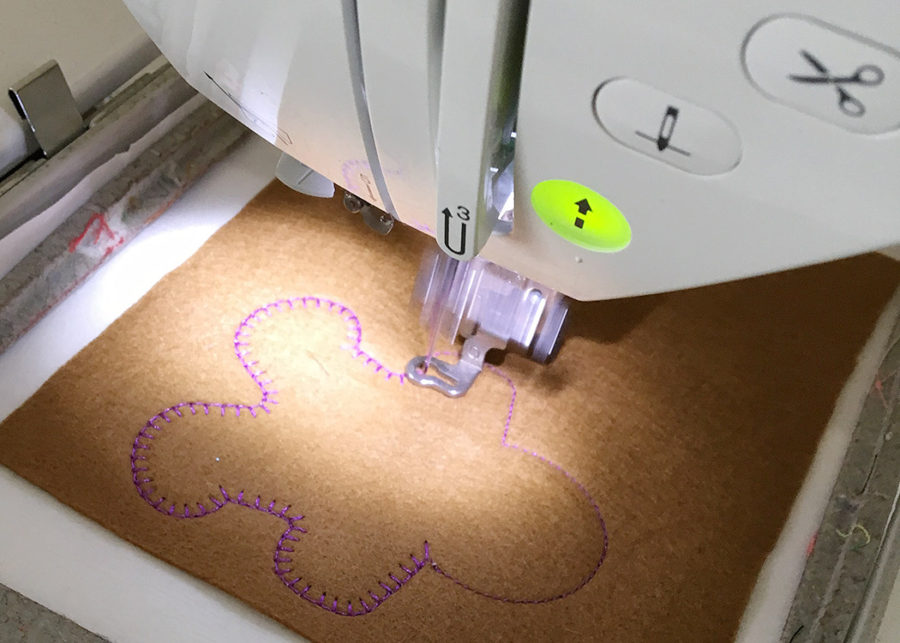 4). Start stitching! I rotated two hoops. One with the colored pieces and one for the gingerbread. I did this since I have a single needle machine (Brother PE770) and didn't want to change colors more than I had to. I would stitch one cookie, then take it off the machine and then stitch the solid felt matching piece. Example:
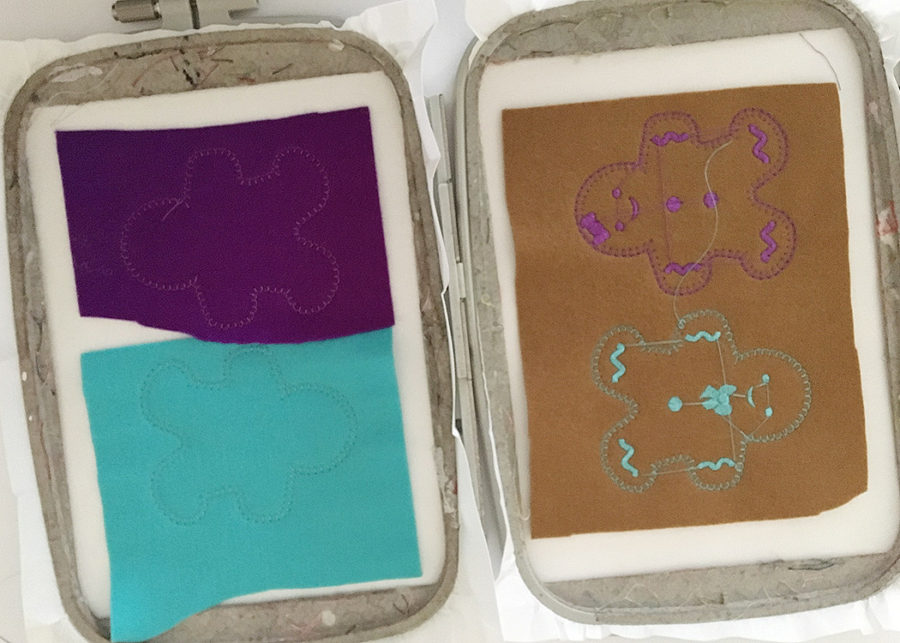 5). If you are using this particular file, I added stops between the two gingerbread cookie files so I could swap colors. You don't have to do this if you will be close to your machine as you can just manually stop it. I stitched out all but the last stop to make the cookie. For the solid color pieces, I used to stop 1 just to do the outline.
6). Once they are stitched, remove them from your hoops and cut around your pieces.
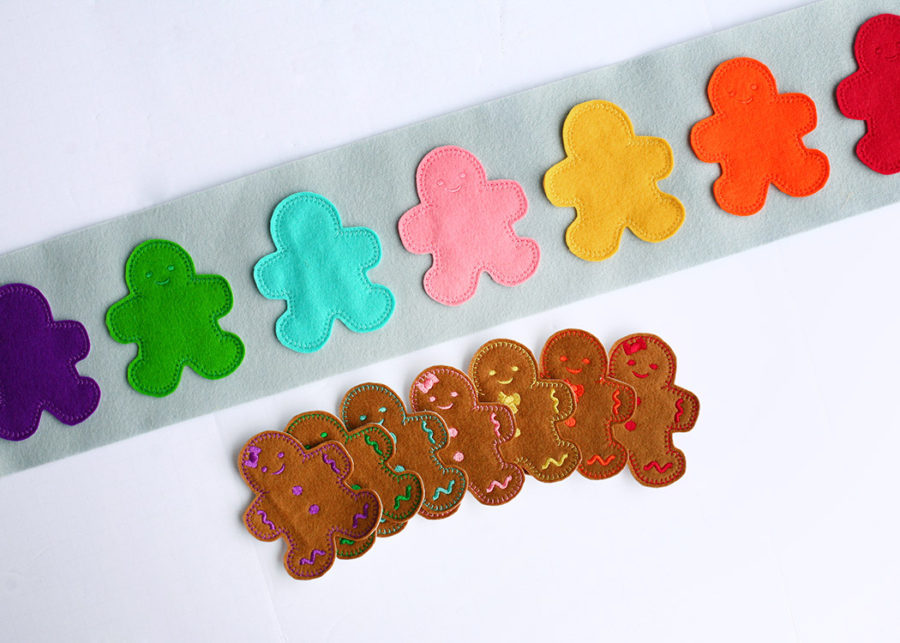
7). Once you have all pieces stitched, cut a strip of felt (I used grey) 5" wide and then however long you want it depending on how you set the cookies up. Or skip the 'cookie sheet' strip altogether and have your pieces lost!
5). If you are using this particular file, I added stops between the two gingerbread cookie files so I could swap colors. You don't have to do this if you will be close to your machine as you can just manually stop it. I stitched out all but the last stop to make the cookie. For the solid color pieces, I used to stop 1 just to do the outline.
6). Once they are stitched, remove them from your hoops and cut around your pieces.
7). Once you have all pieces stitched, cut a strip of felt (I used grey) 5" wide and then however long you want it depending on how you set the cookies up. Or skip the 'cookie sheet' strip altogether and have your pieces lost!
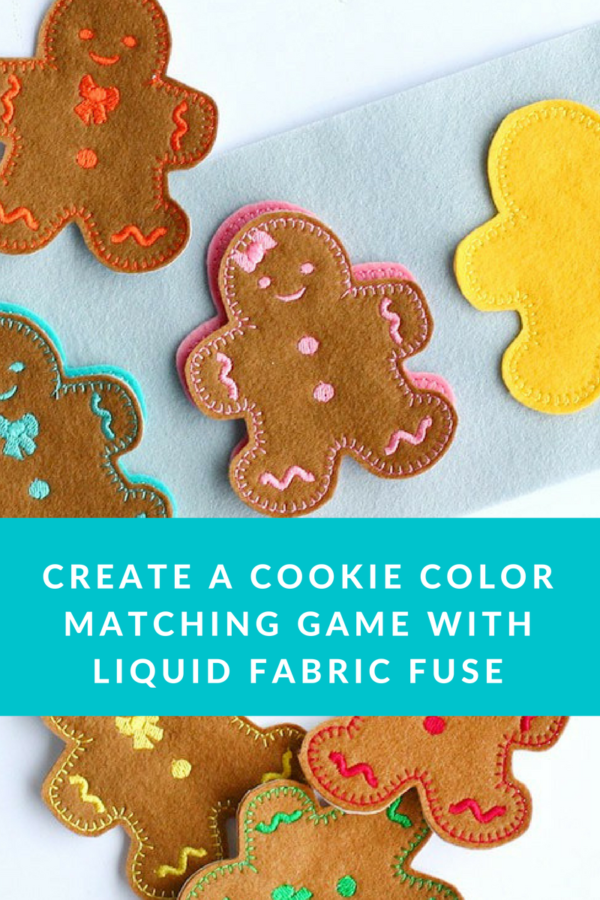
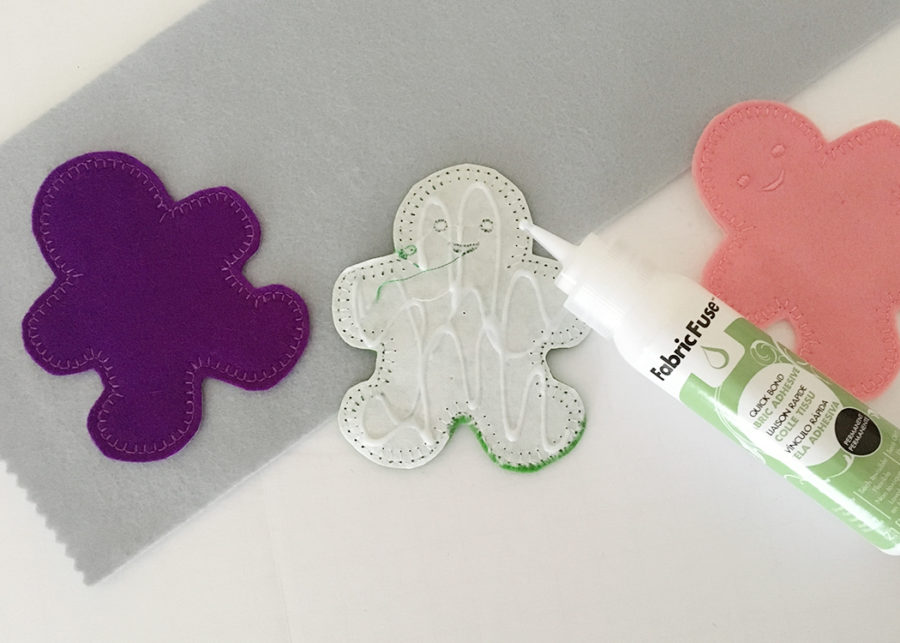 8). Using Therm o Web Fabric Fuse™, glue the solid felt pieces onto the felt cookie sheet. Fabric Fuse™ Liquid Adhesive glue works REALLY well with felt! I love it! Be sure to let it dry and cure for a few hours.
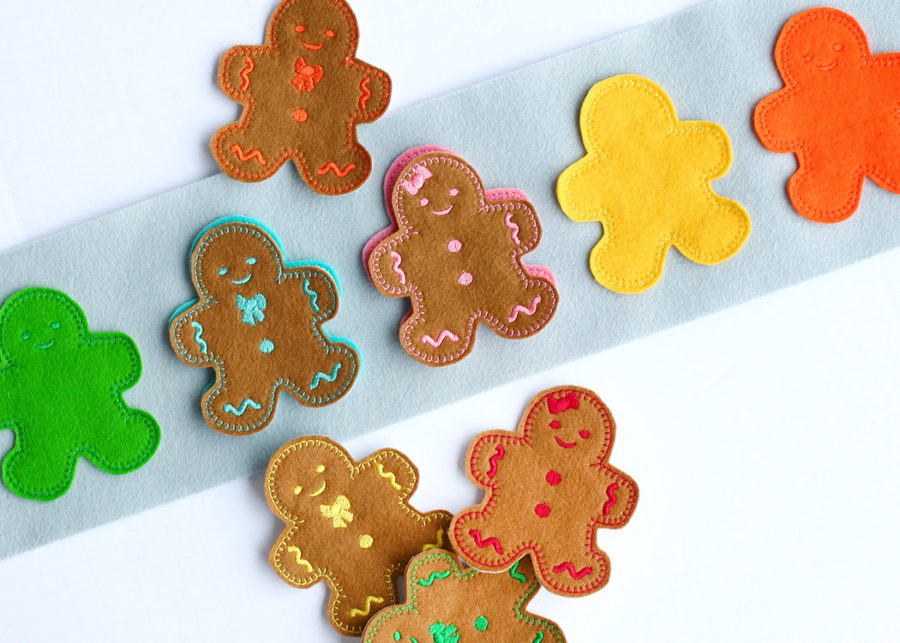
9). After all your pieces adhere, you have a really cute play set! My almost 3-year-old daughter LOVES it!
8). Using Therm o Web Fabric Fuse™, glue the solid felt pieces onto the felt cookie sheet. Fabric Fuse™ Liquid Adhesive glue works REALLY well with felt! I love it! Be sure to let it dry and cure for a few hours.
9). After all your pieces adhere, you have a really cute play set! My almost 3-year-old daughter LOVES it!
 [tooltip text="TooltipText"]TIP: No embroidery machine? You could hand-stitch with a blanket stitch around the sides. Add some craft buttons and other goodies for the eyes and buttons too! You could also use fabric paint to decorate them or hand-cut felt accents and adhere them with Fabric Fuse! Be creative and have fun![/tooltip]
Have a great day! See ya next time! -Tamara
[tooltip text="TooltipText"]TIP: No embroidery machine? You could hand-stitch with a blanket stitch around the sides. Add some craft buttons and other goodies for the eyes and buttons too! You could also use fabric paint to decorate them or hand-cut felt accents and adhere them with Fabric Fuse! Be creative and have fun![/tooltip]
Have a great day! See ya next time! -Tamara