I love quick and simple decor projects! Spend one afternoon and you'll have a super cute pumpkin banner! Make it Halloweenish by adding fun pumpkin faces or keep it simple to use through Thanksgiving time!
Colorful Fabric Fall Pumpkin Banner
Materials + Supplies
1 package StitchnSew Quilt Block Sheets
1 ½ yards StitchnSew Sew-In Fleece cut into TWENTY 8” squares
20 various orange fabric pieces (Each should be around 8” square.)
Coordinating orange thread (I used colors 2135 and 1133 from Aurifil.)
Sewing Machine
Walking foot for your sewing machine
Sharp fabric scissors
Brown felt cut into TEN 1” x 3” strips
3-4 yards cotton rope
Printable Pumpkin Pattern -
Download Here
Colorful Fabric Fall Pumpkin Banner Instructions:
Step 1
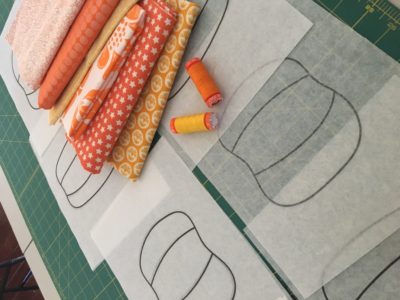
Print the pattern shapes onto the
StitchnSew Quilt Block Sheets. You’ll need to print a total of 10 sheets. There are 4 different pumpkin shapes so print the entire document twice, then print two more of your favorite shapes for a total of 10.
Step 2
Make each pumpkin shape by making a double-thick quilt sandwich. You’ll layer one orange fabric right side down, TWO pieces of
StitchnSew Fleece, and one more fabric square on top, facing up.

Then pin one of the quilt block sheet patterns on top of each sandwich.
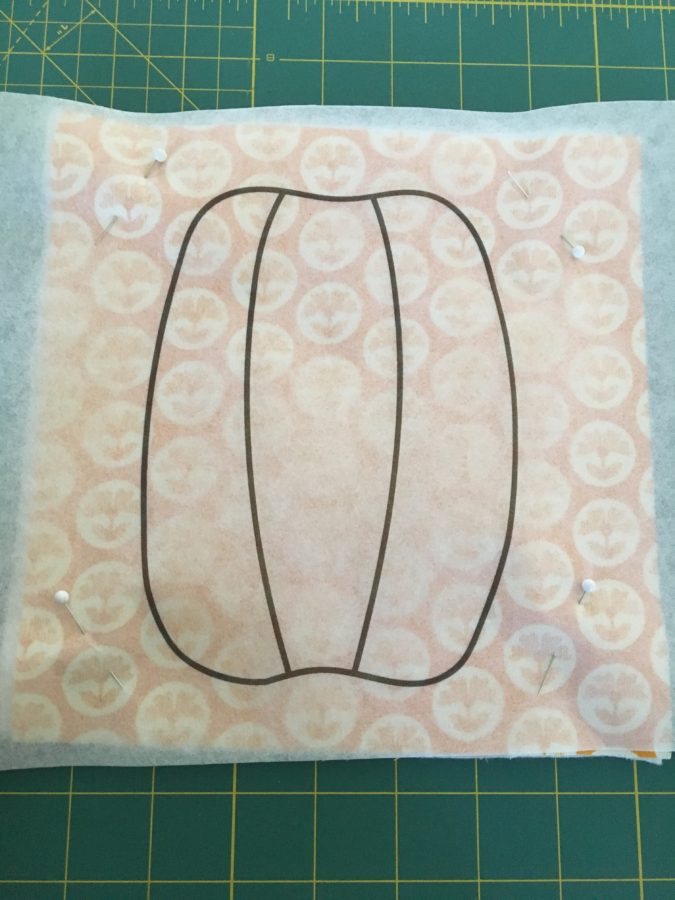
Stitch directly on all lines with the orange thread.
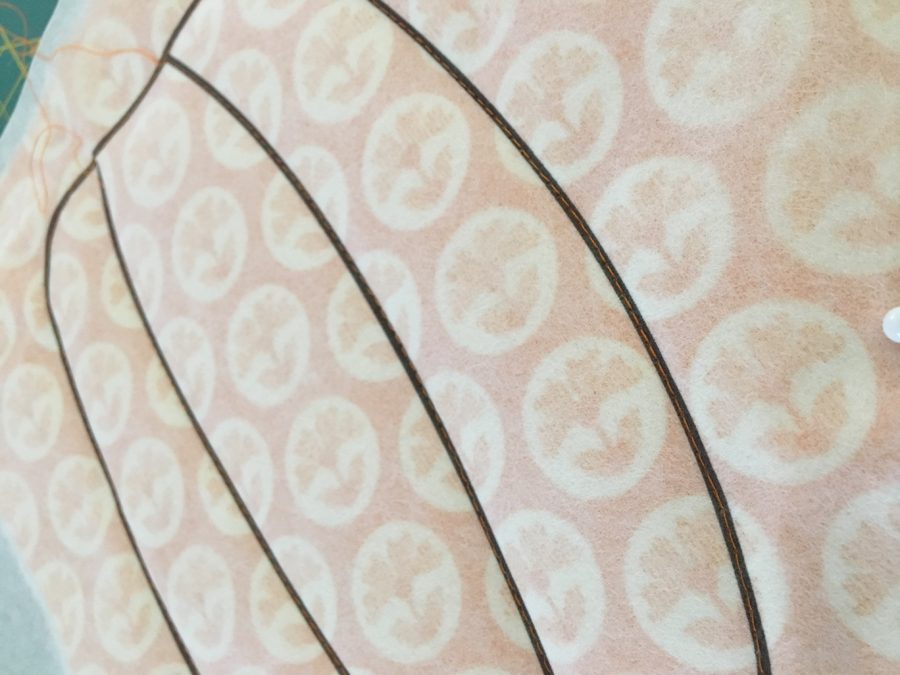
Once completed, carefully tear away the pattern sheet, leaving behind just the fabric and thread.
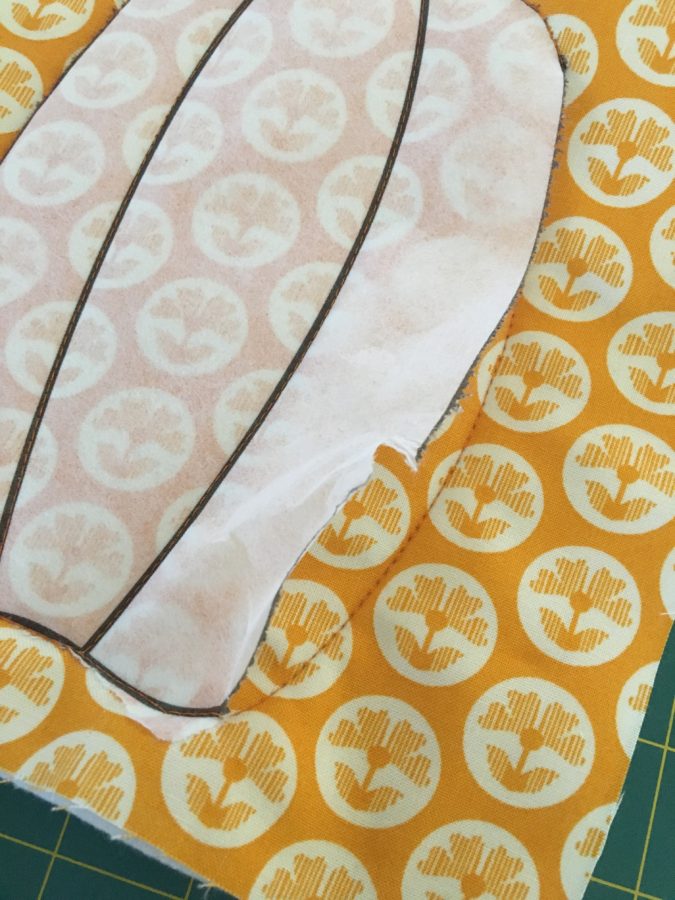
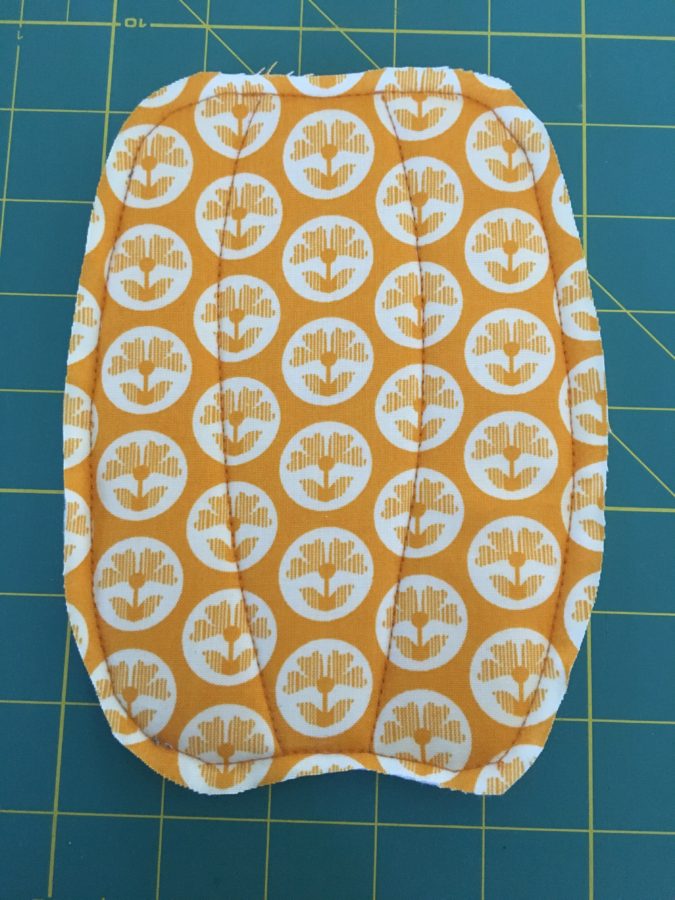
Now carefully cut about ¼” around the outside of each pumpkin shape.
 Step 3
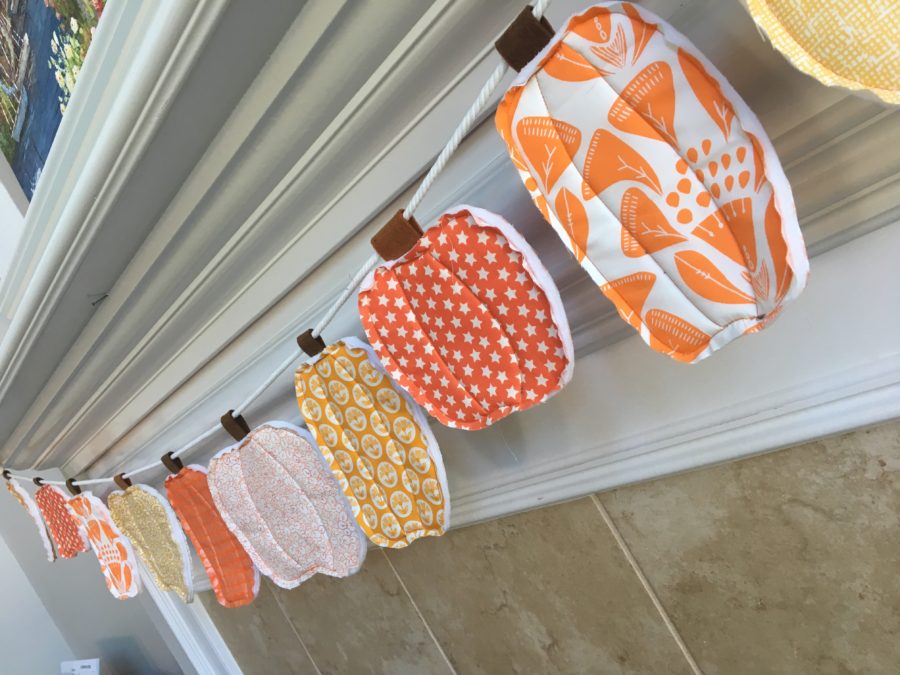
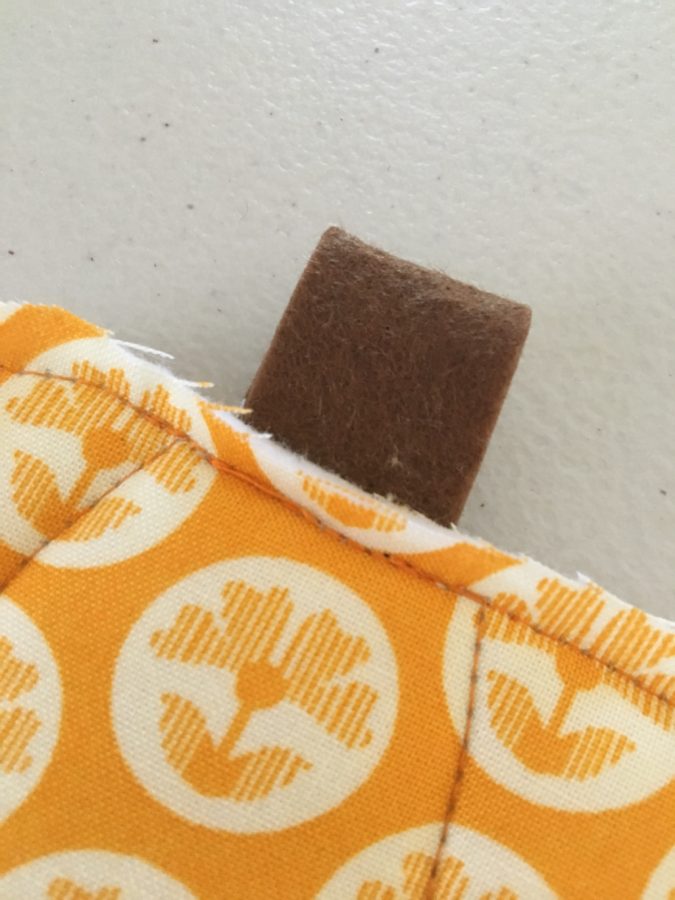
To add the pumpkin stems, fold each felt strip in half making a loop. Pin the unfolded edge to the back of the pumpkin at each top. Stitch a straight stitch to hold in place.
 Step 4
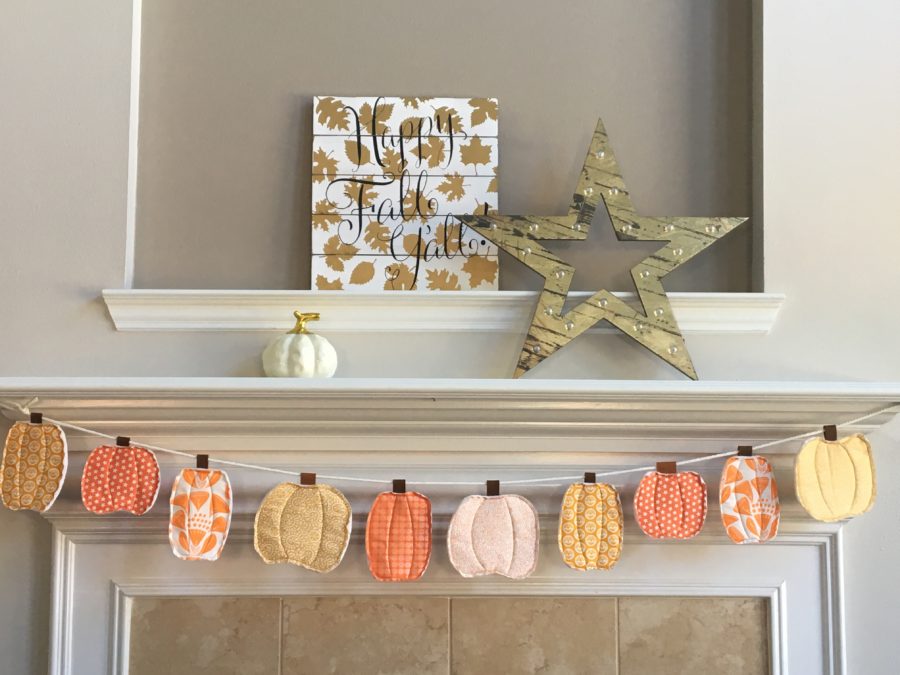
Layout all your pumpkins to determine your final layout. Now take the cotton rope. Make a loop in one end for hanging.
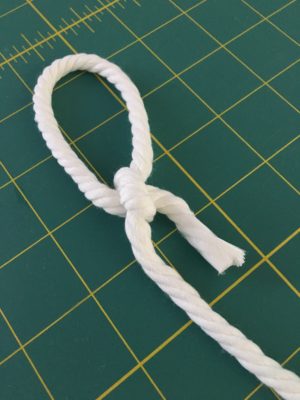
String each pumpkin onto the rope, tying a knot directly before and after each stem to hold pumpkin in place. String and knot all pumpkins in this manner leaving about 2"-3” spacing between each pumpkin. Tie a loop in the remaining end. Hang up and enjoy!