No Products in the Cart
 Do you ever get stuck on a layout, not knowing which direction to go? It's Katrina from Paper, Scissors, Glue and Hybrid Too to help you over that mojo block!
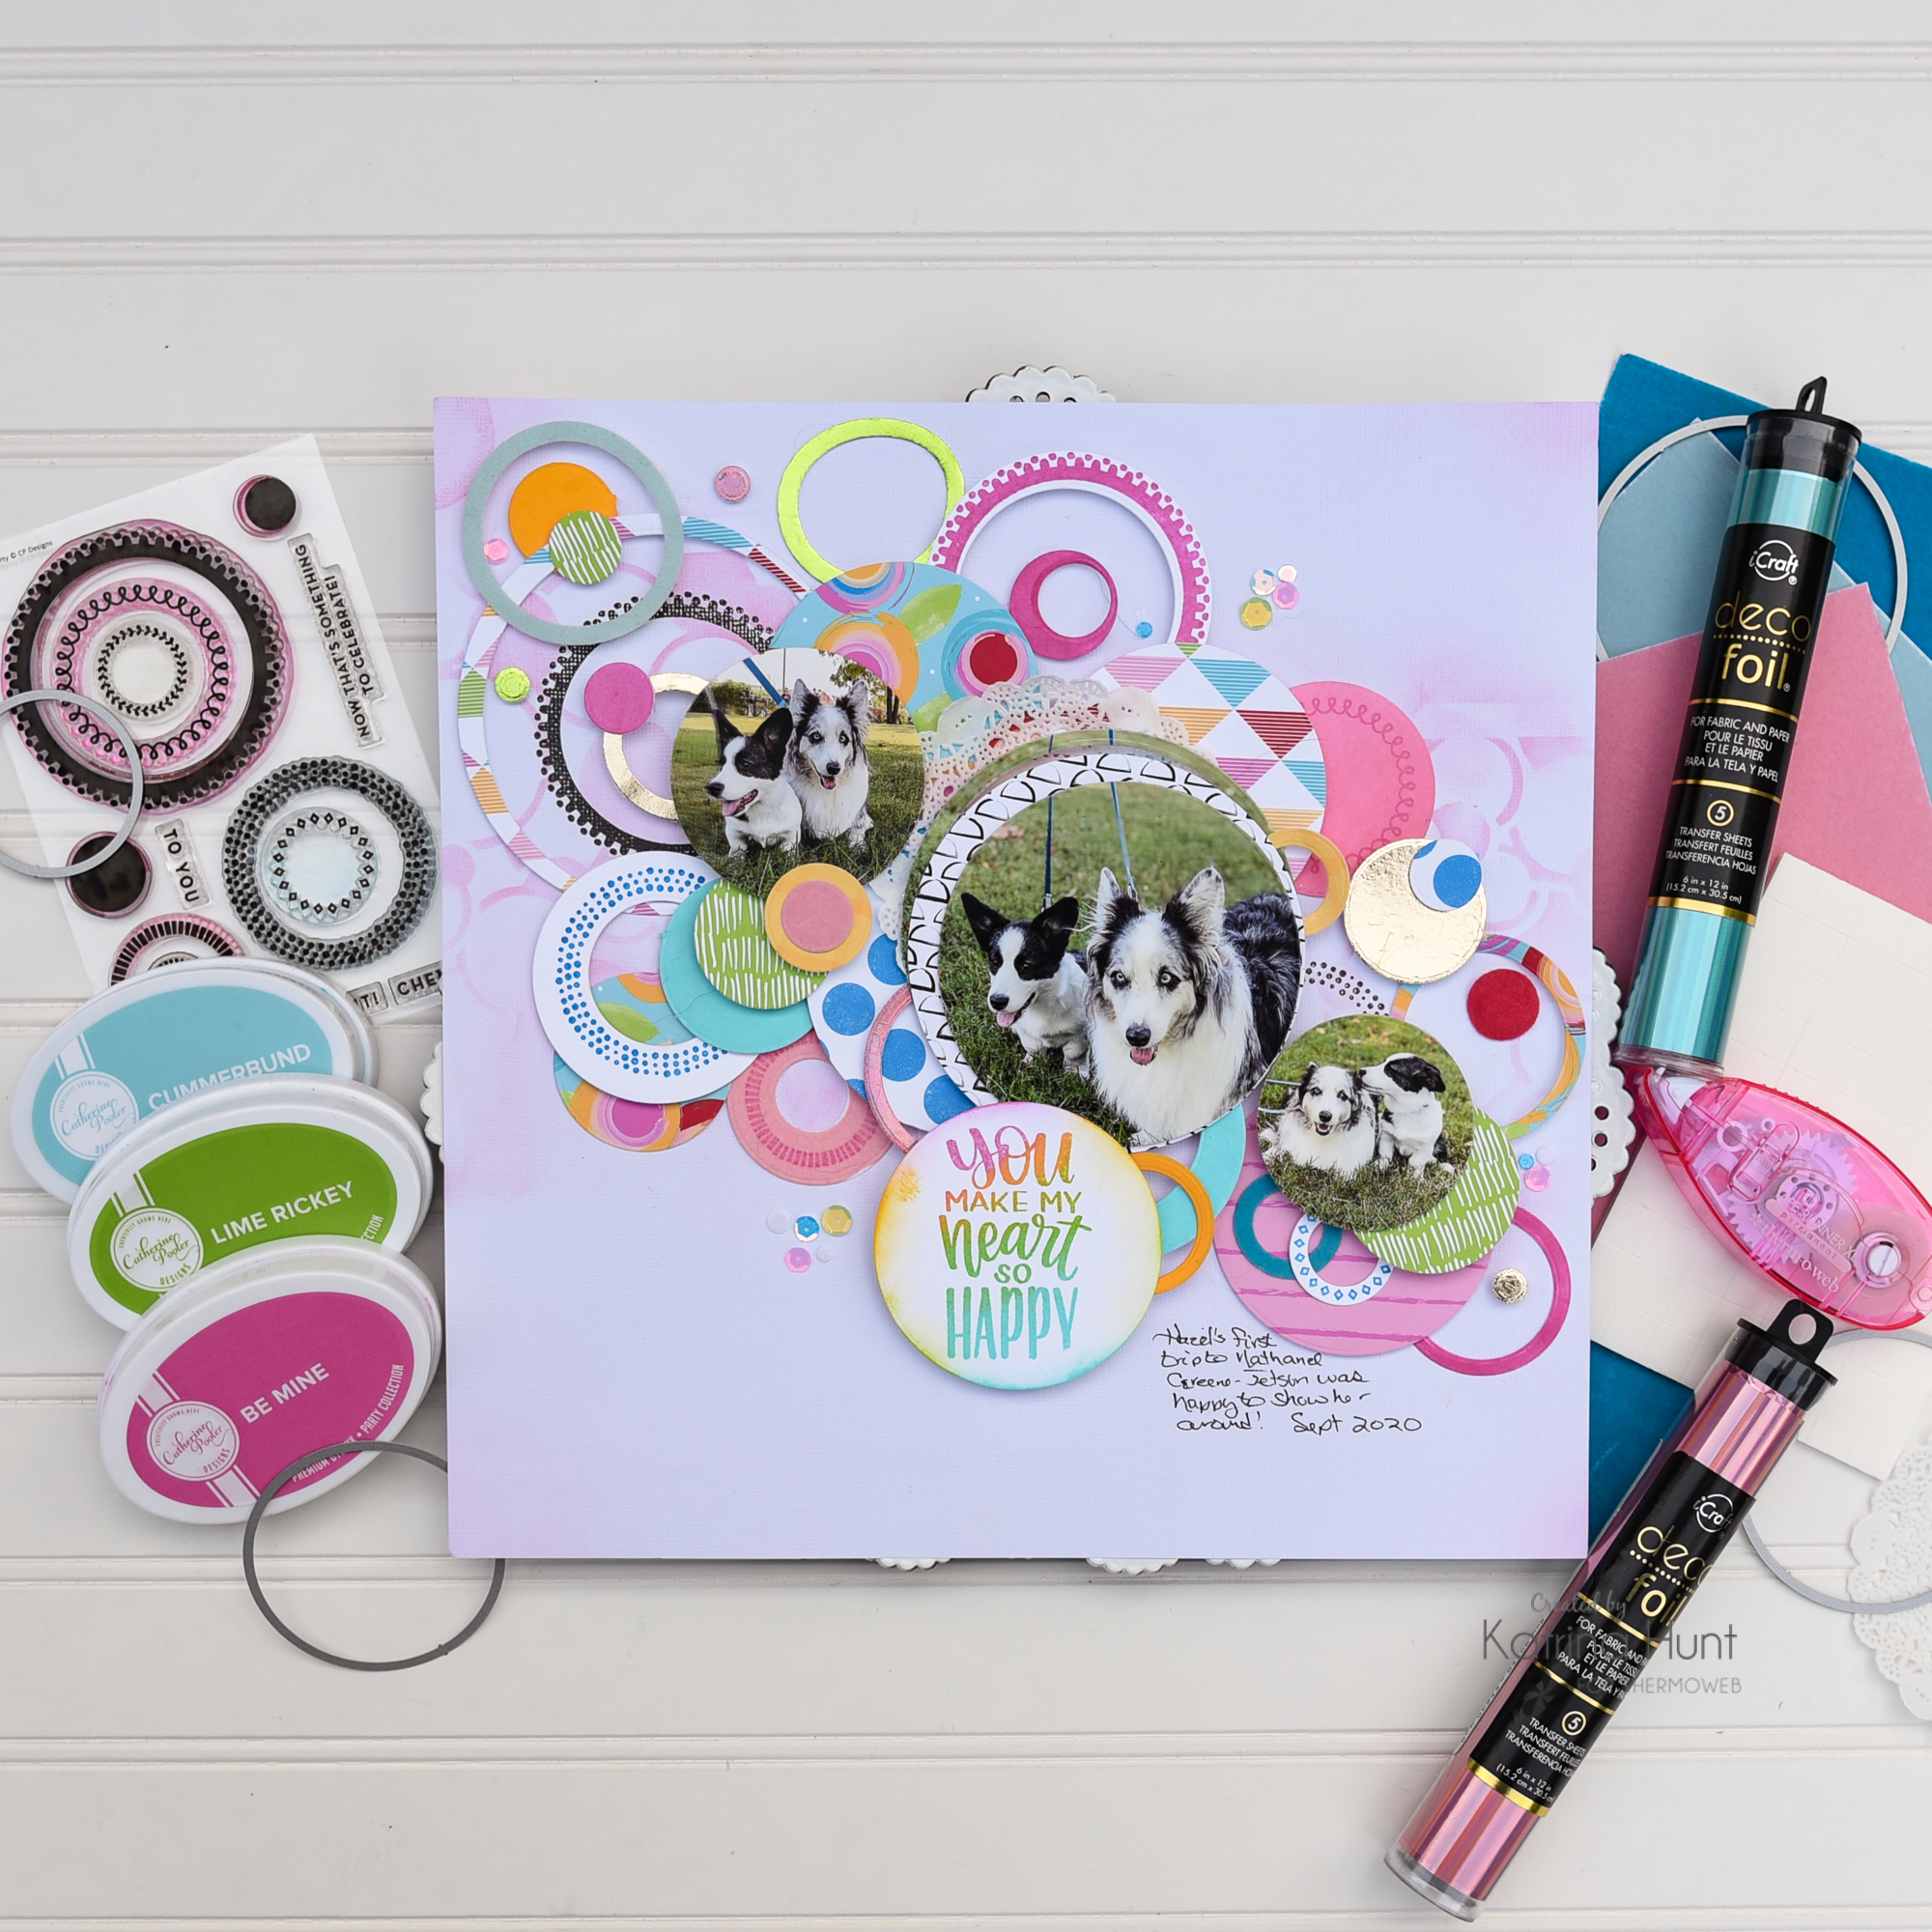
Take it back to basics, basic shapes! Repeat those shapes over and over! And I am here to show you that I did that with circles for our hoop it up week. (ie circles!)
Do you ever get stuck on a layout, not knowing which direction to go? It's Katrina from Paper, Scissors, Glue and Hybrid Too to help you over that mojo block!
Take it back to basics, basic shapes! Repeat those shapes over and over! And I am here to show you that I did that with circles for our hoop it up week. (ie circles!)
 Therm O Web Supplies Used
Memory Runner XL
Memory Runner XL Refill
3D Foam Squares – Combo Pack
NEW 3D FOAM SQUARES BOX
NEW 3D FOAM TAPE ROLL 1/16
Deco Foil Foam Adhesive Sheets 6×12–White
Deco Foil Transfer Sheets-Glass Slipper
Deco Foil Transfer Sheets-Enchanted Rose
Deco Foil Transfer Sheets-Champange
Deco Foil Transfer Sheets-Lime
Deco Foil Flock Transfer Sheets-Green Envy
DecoFoil Flock Transfer Sheets-Ruby Red
DecoFoil Flock Transfer Sheets-Pink Carnation
DecoFoil Flock Transfer Sheets-Blue Sky
DecoFoil Flock Transfer Sheets-Blue Diamond
iCraft Easy-Cut Adhesive
iCraft Pixie Spray
iCraft Purple Tape
Ultra Bond Liquid Adhesive
NEW ULTRA BOND LIQUID ADHESIVE PEN
Other Supplies Used
American Crafts White Cardstock
Catherine Pooler Inks
*It's A Girl
*Be Mine
*Cummberbund
*Fiesta Blue
*Lime Rickey
*Tiara
*Catching Rays
*Rockin' Red
Catherine Pooler Blender Brushes
*Small
*Large
Scranton Sequin Mix
Sketchbook 6x6 Paper Pad
Sketchbook Bundle
Circle Party Stamp Set
Circle Dies
Shine Bright Sentiment Stamps
Therm O Web Supplies Used
Memory Runner XL
Memory Runner XL Refill
3D Foam Squares – Combo Pack
NEW 3D FOAM SQUARES BOX
NEW 3D FOAM TAPE ROLL 1/16
Deco Foil Foam Adhesive Sheets 6×12–White
Deco Foil Transfer Sheets-Glass Slipper
Deco Foil Transfer Sheets-Enchanted Rose
Deco Foil Transfer Sheets-Champange
Deco Foil Transfer Sheets-Lime
Deco Foil Flock Transfer Sheets-Green Envy
DecoFoil Flock Transfer Sheets-Ruby Red
DecoFoil Flock Transfer Sheets-Pink Carnation
DecoFoil Flock Transfer Sheets-Blue Sky
DecoFoil Flock Transfer Sheets-Blue Diamond
iCraft Easy-Cut Adhesive
iCraft Pixie Spray
iCraft Purple Tape
Ultra Bond Liquid Adhesive
NEW ULTRA BOND LIQUID ADHESIVE PEN
Other Supplies Used
American Crafts White Cardstock
Catherine Pooler Inks
*It's A Girl
*Be Mine
*Cummberbund
*Fiesta Blue
*Lime Rickey
*Tiara
*Catching Rays
*Rockin' Red
Catherine Pooler Blender Brushes
*Small
*Large
Scranton Sequin Mix
Sketchbook 6x6 Paper Pad
Sketchbook Bundle
Circle Party Stamp Set
Circle Dies
Shine Bright Sentiment Stamps
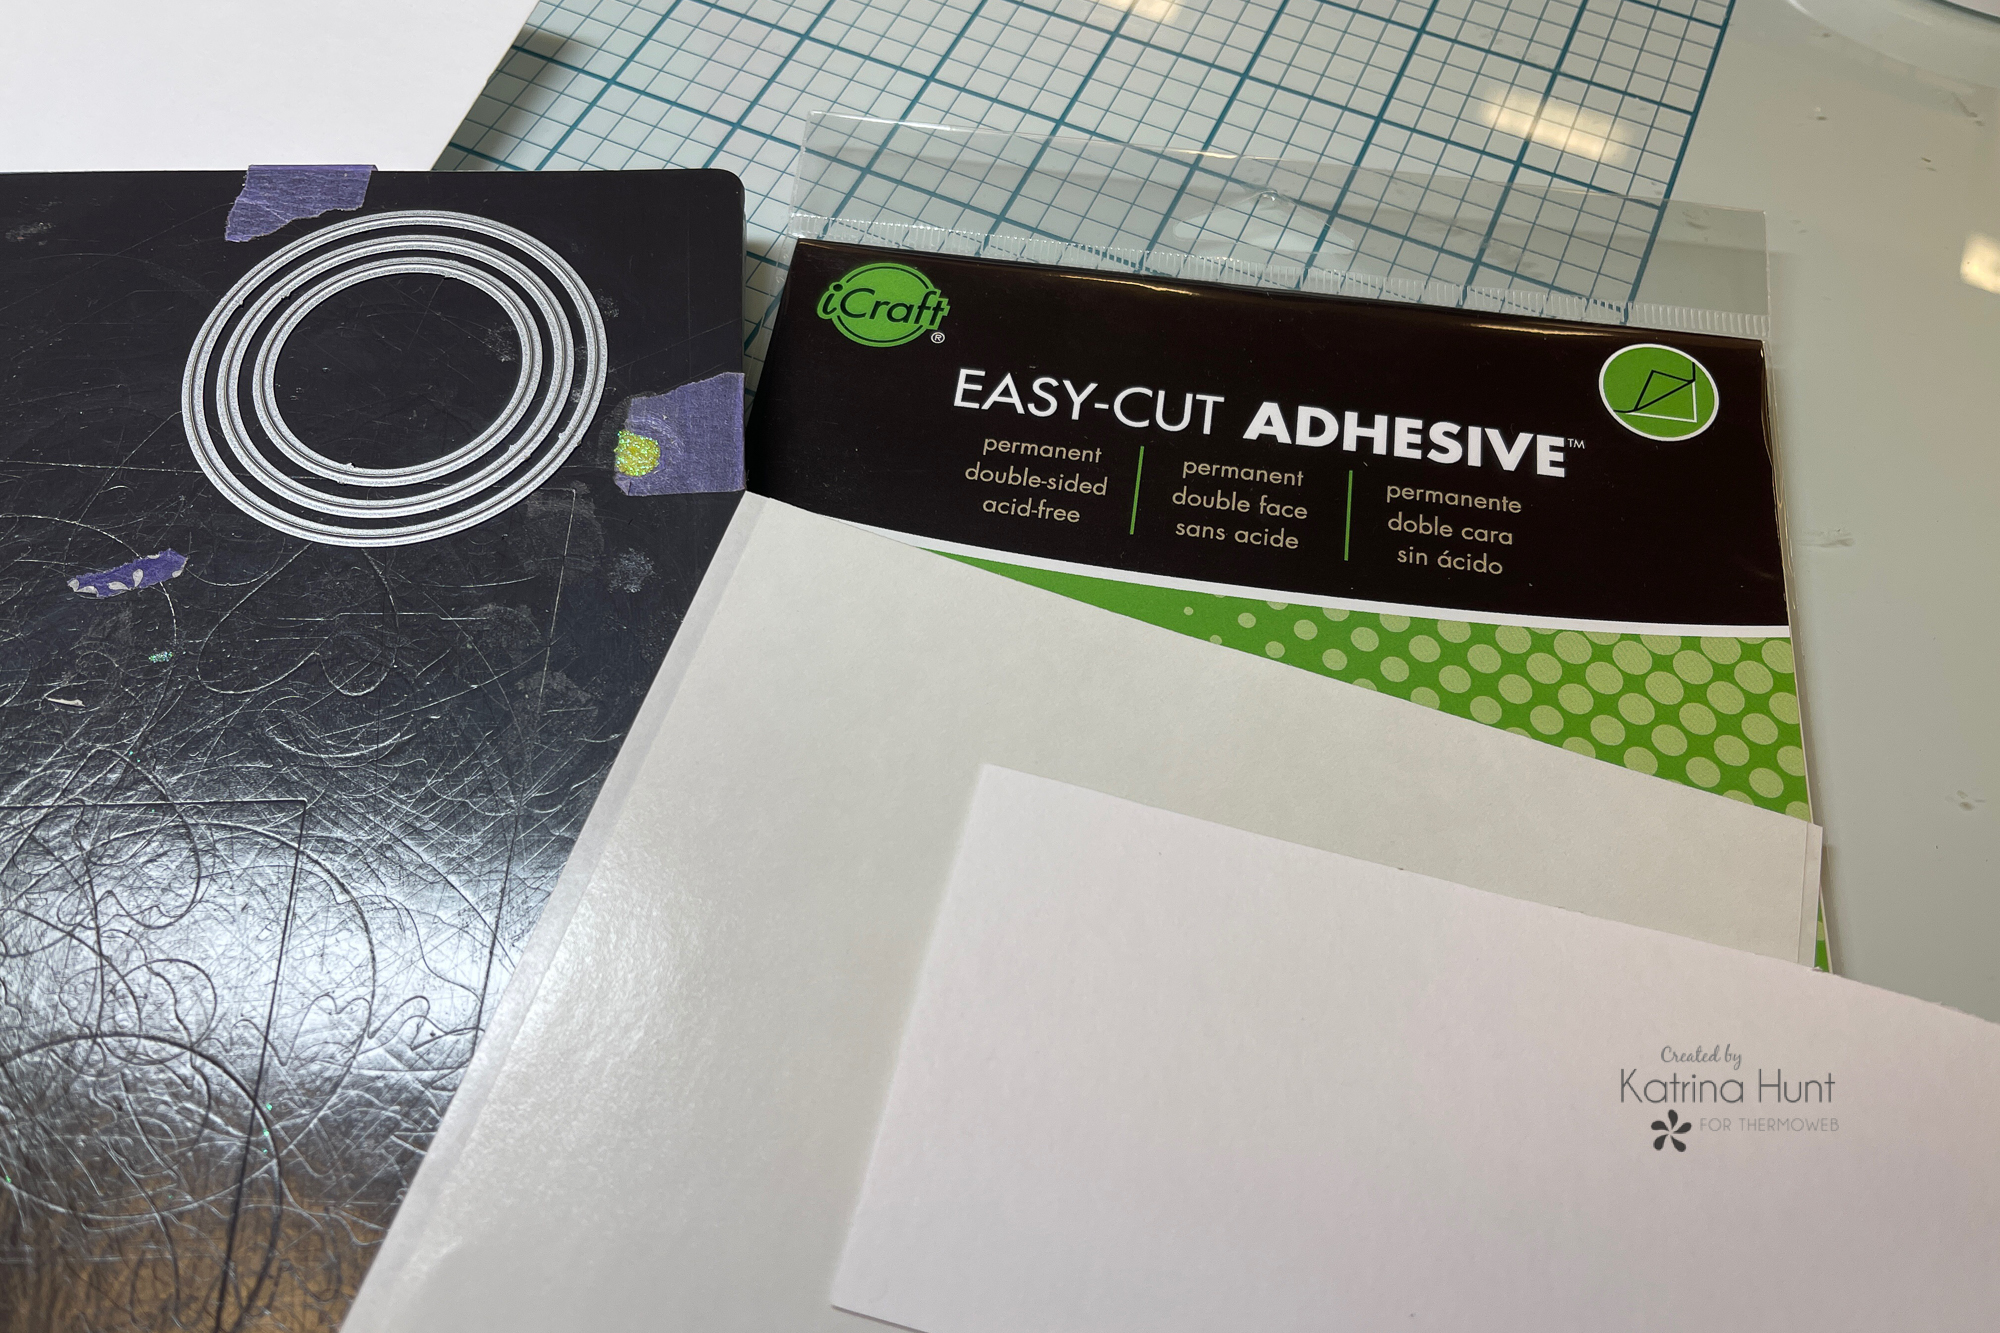
 To start a layout like this, you have to plan ahead when you are printing your pictures. This means picking pictures that will work with circles and also work with the size of circle dies you have! After you have that figured out, then you can start on your actual layout process.
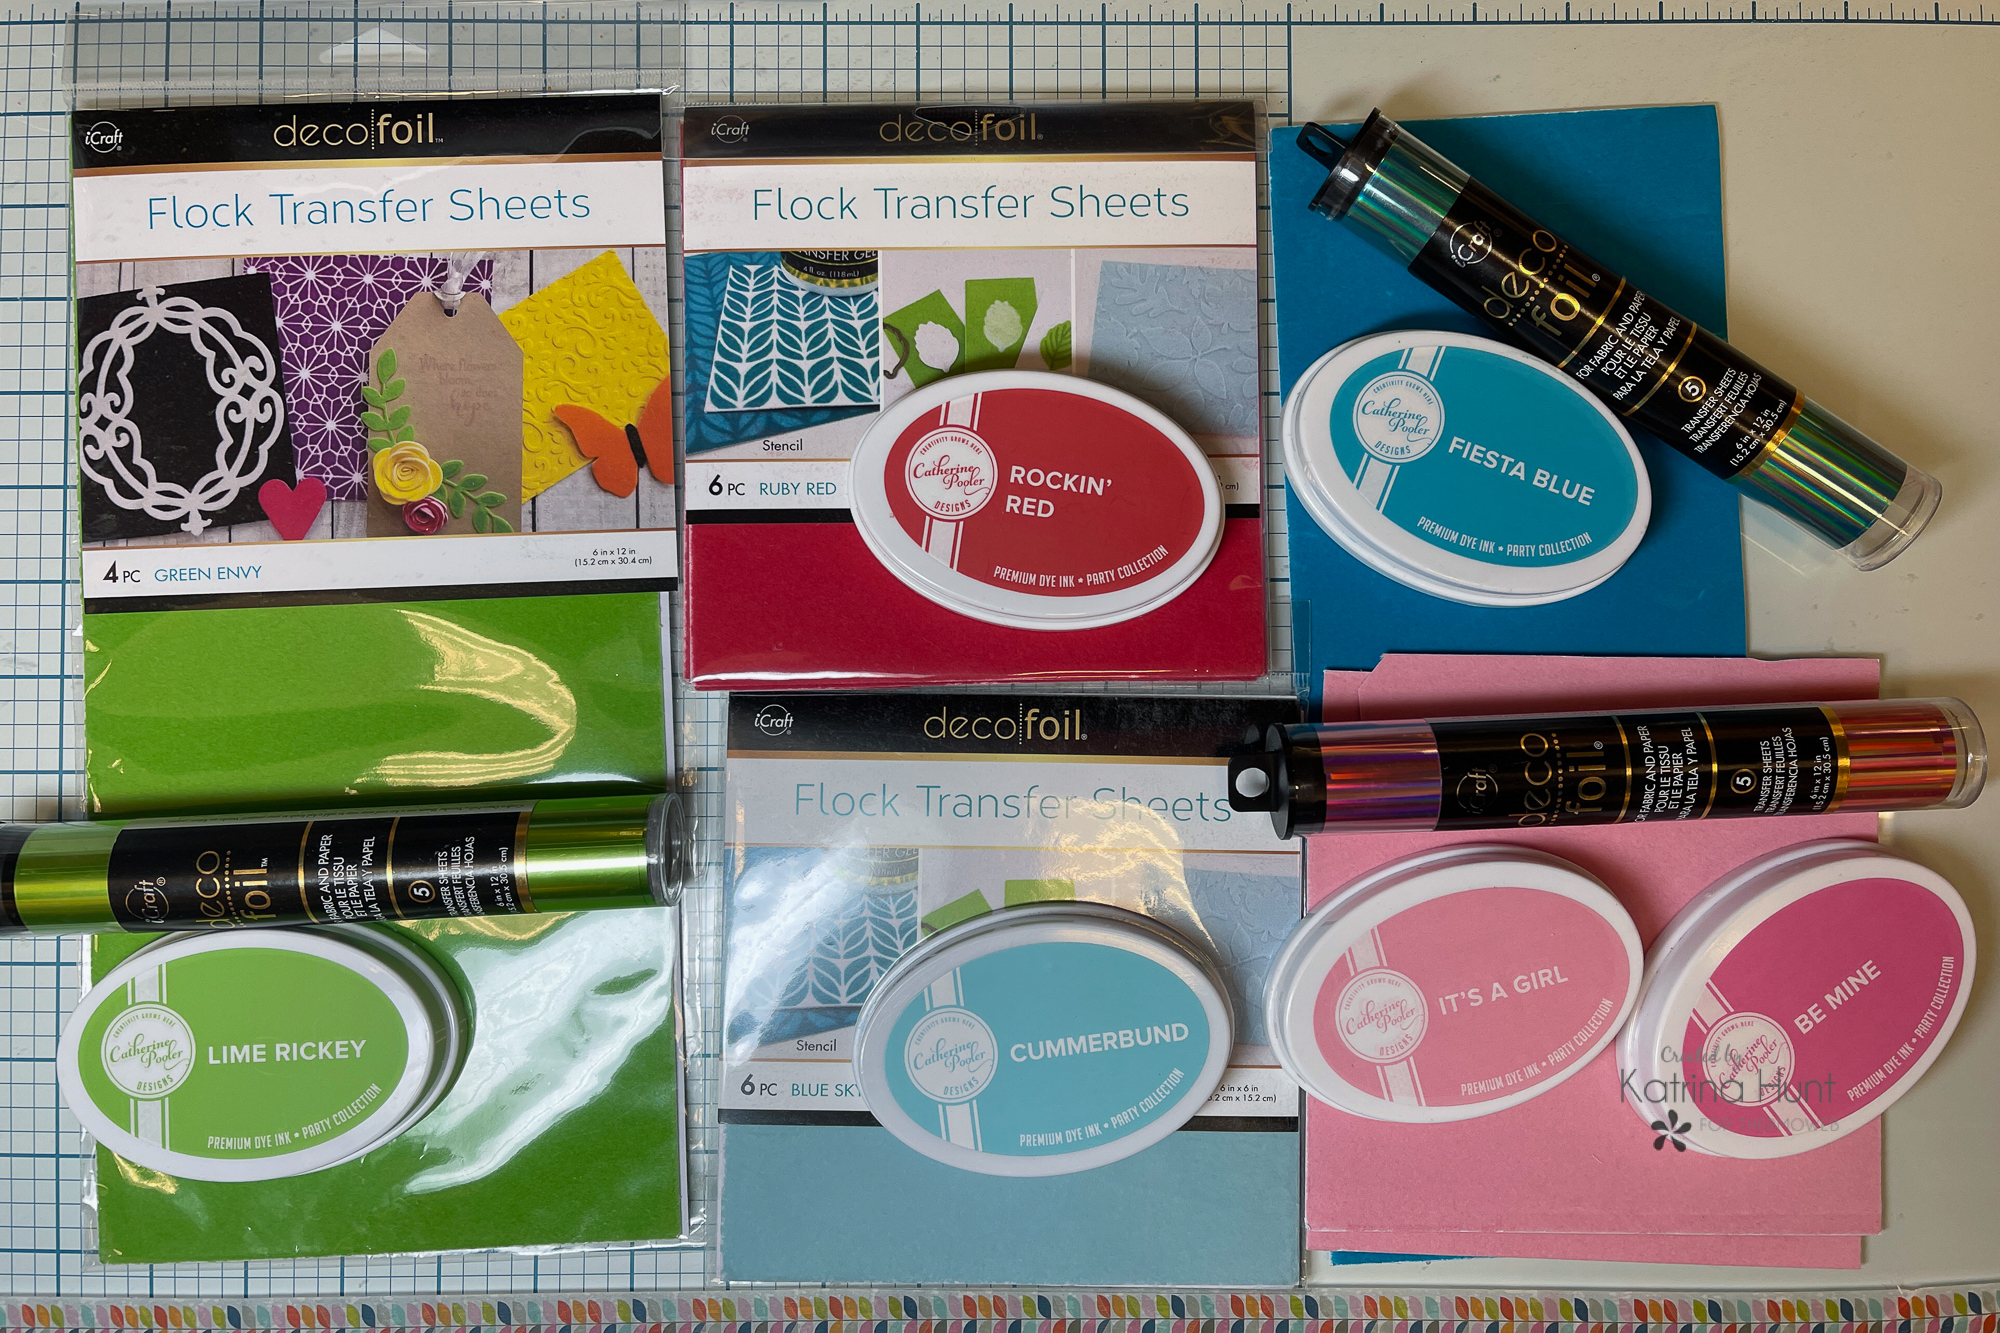 I picked Catherine Pooler Inks that went with the Sketchbook 6x6 paper pad and also worked with Deco Foil Flock and Deco Foil foil colors. This is also a great way to use up 6x6 paper pads!
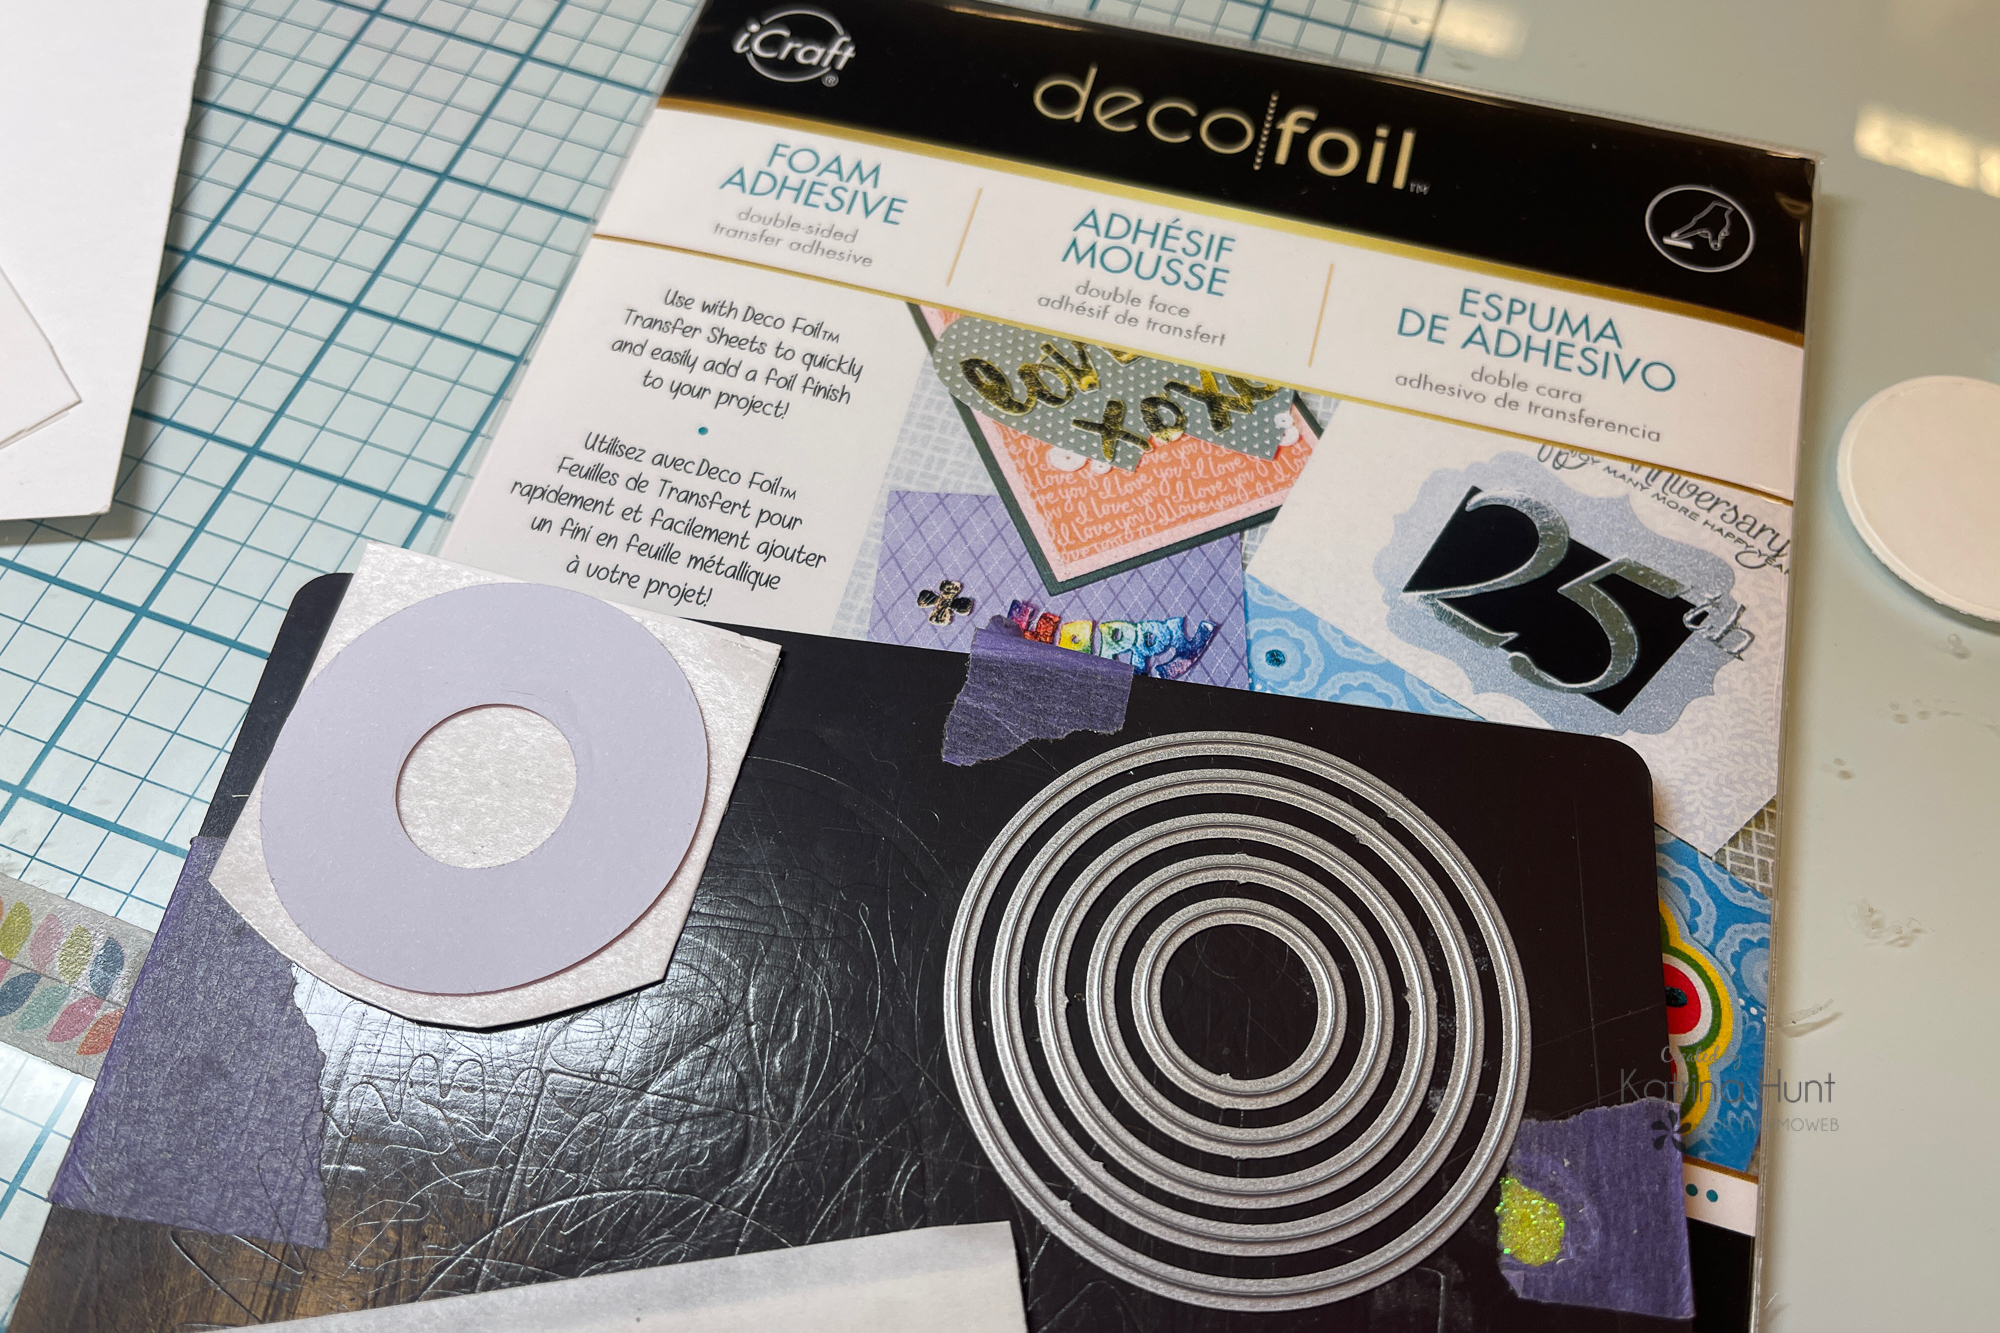
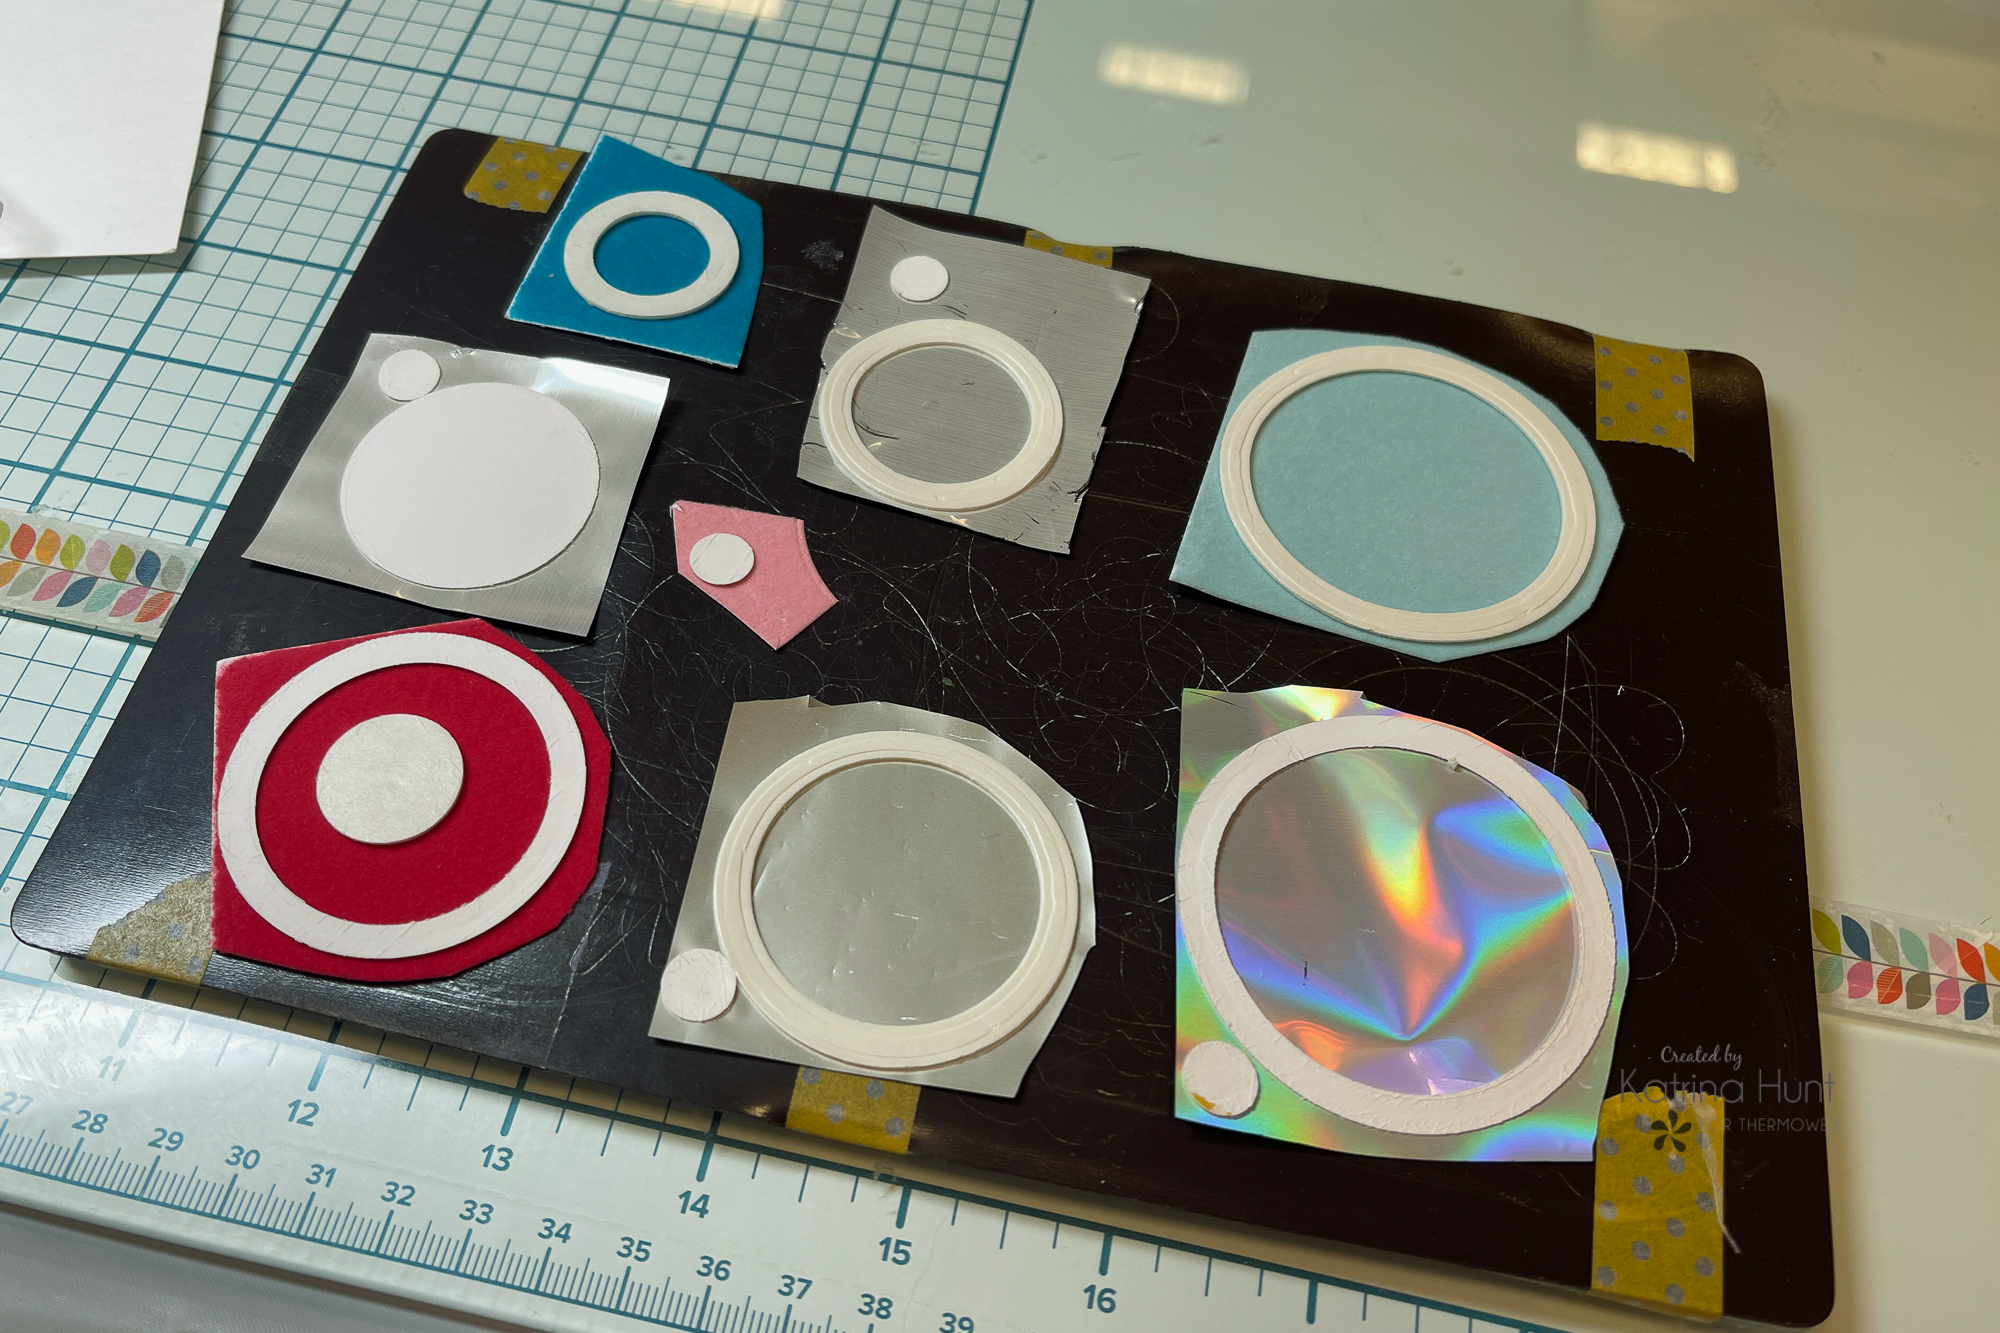 Once you have everything die-cut that you want to foil and flock, then you can do them in batches to make the process quicker. Once you have run them thru the die cutting machine, then carefully peel the transfer sheet back from the die cut to reveal your foiled and flocked pieces.
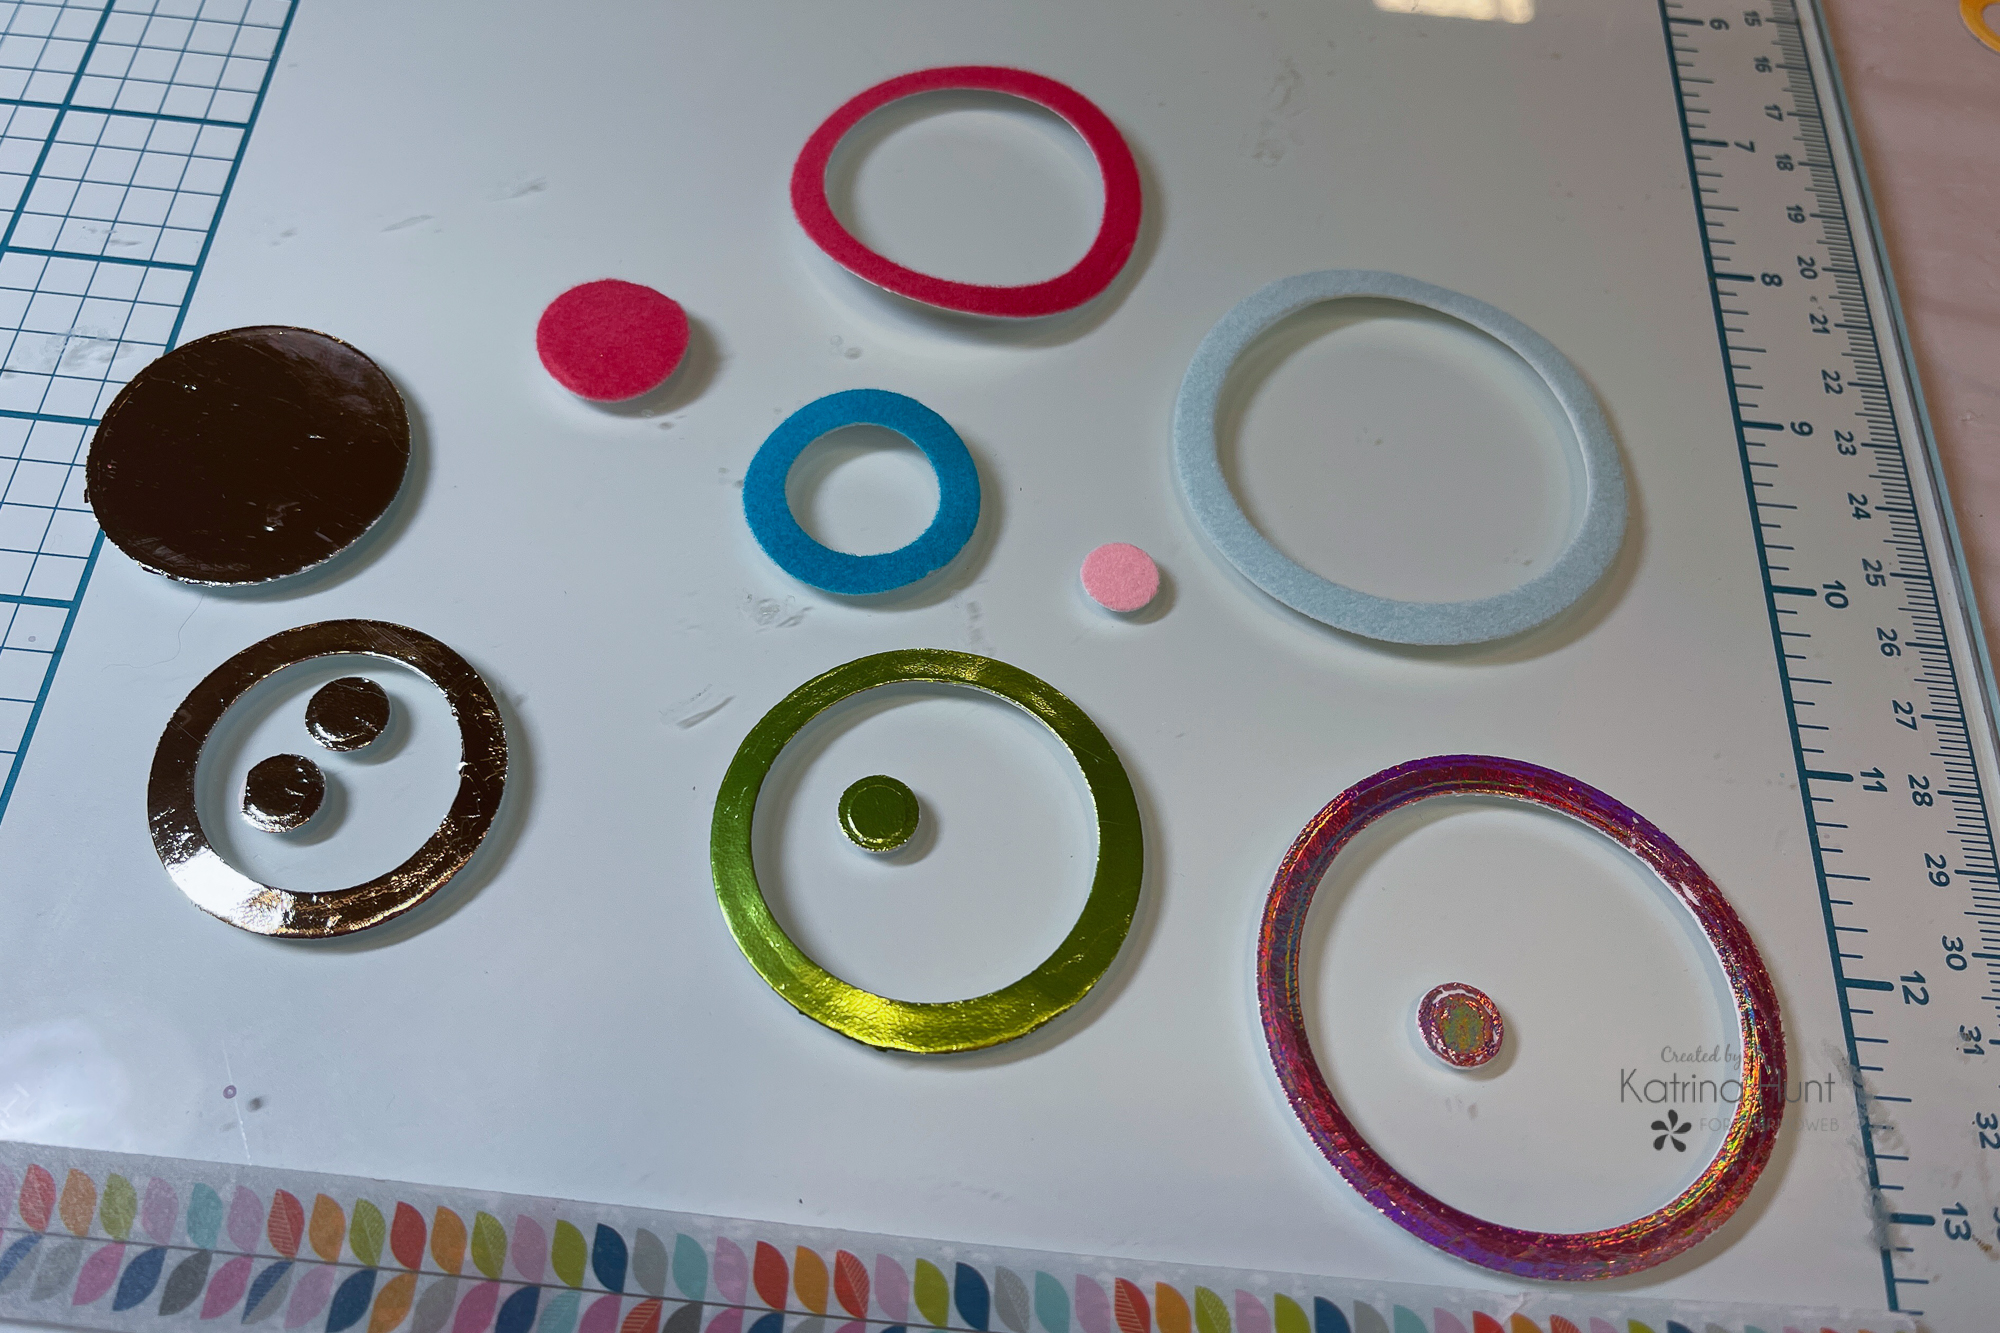 Here you can see my foiled and flocked pieces. I did end up adding some more in that aren't pictured. I was working on this at a crop and kept getting distracted and forgetting to take pictures!
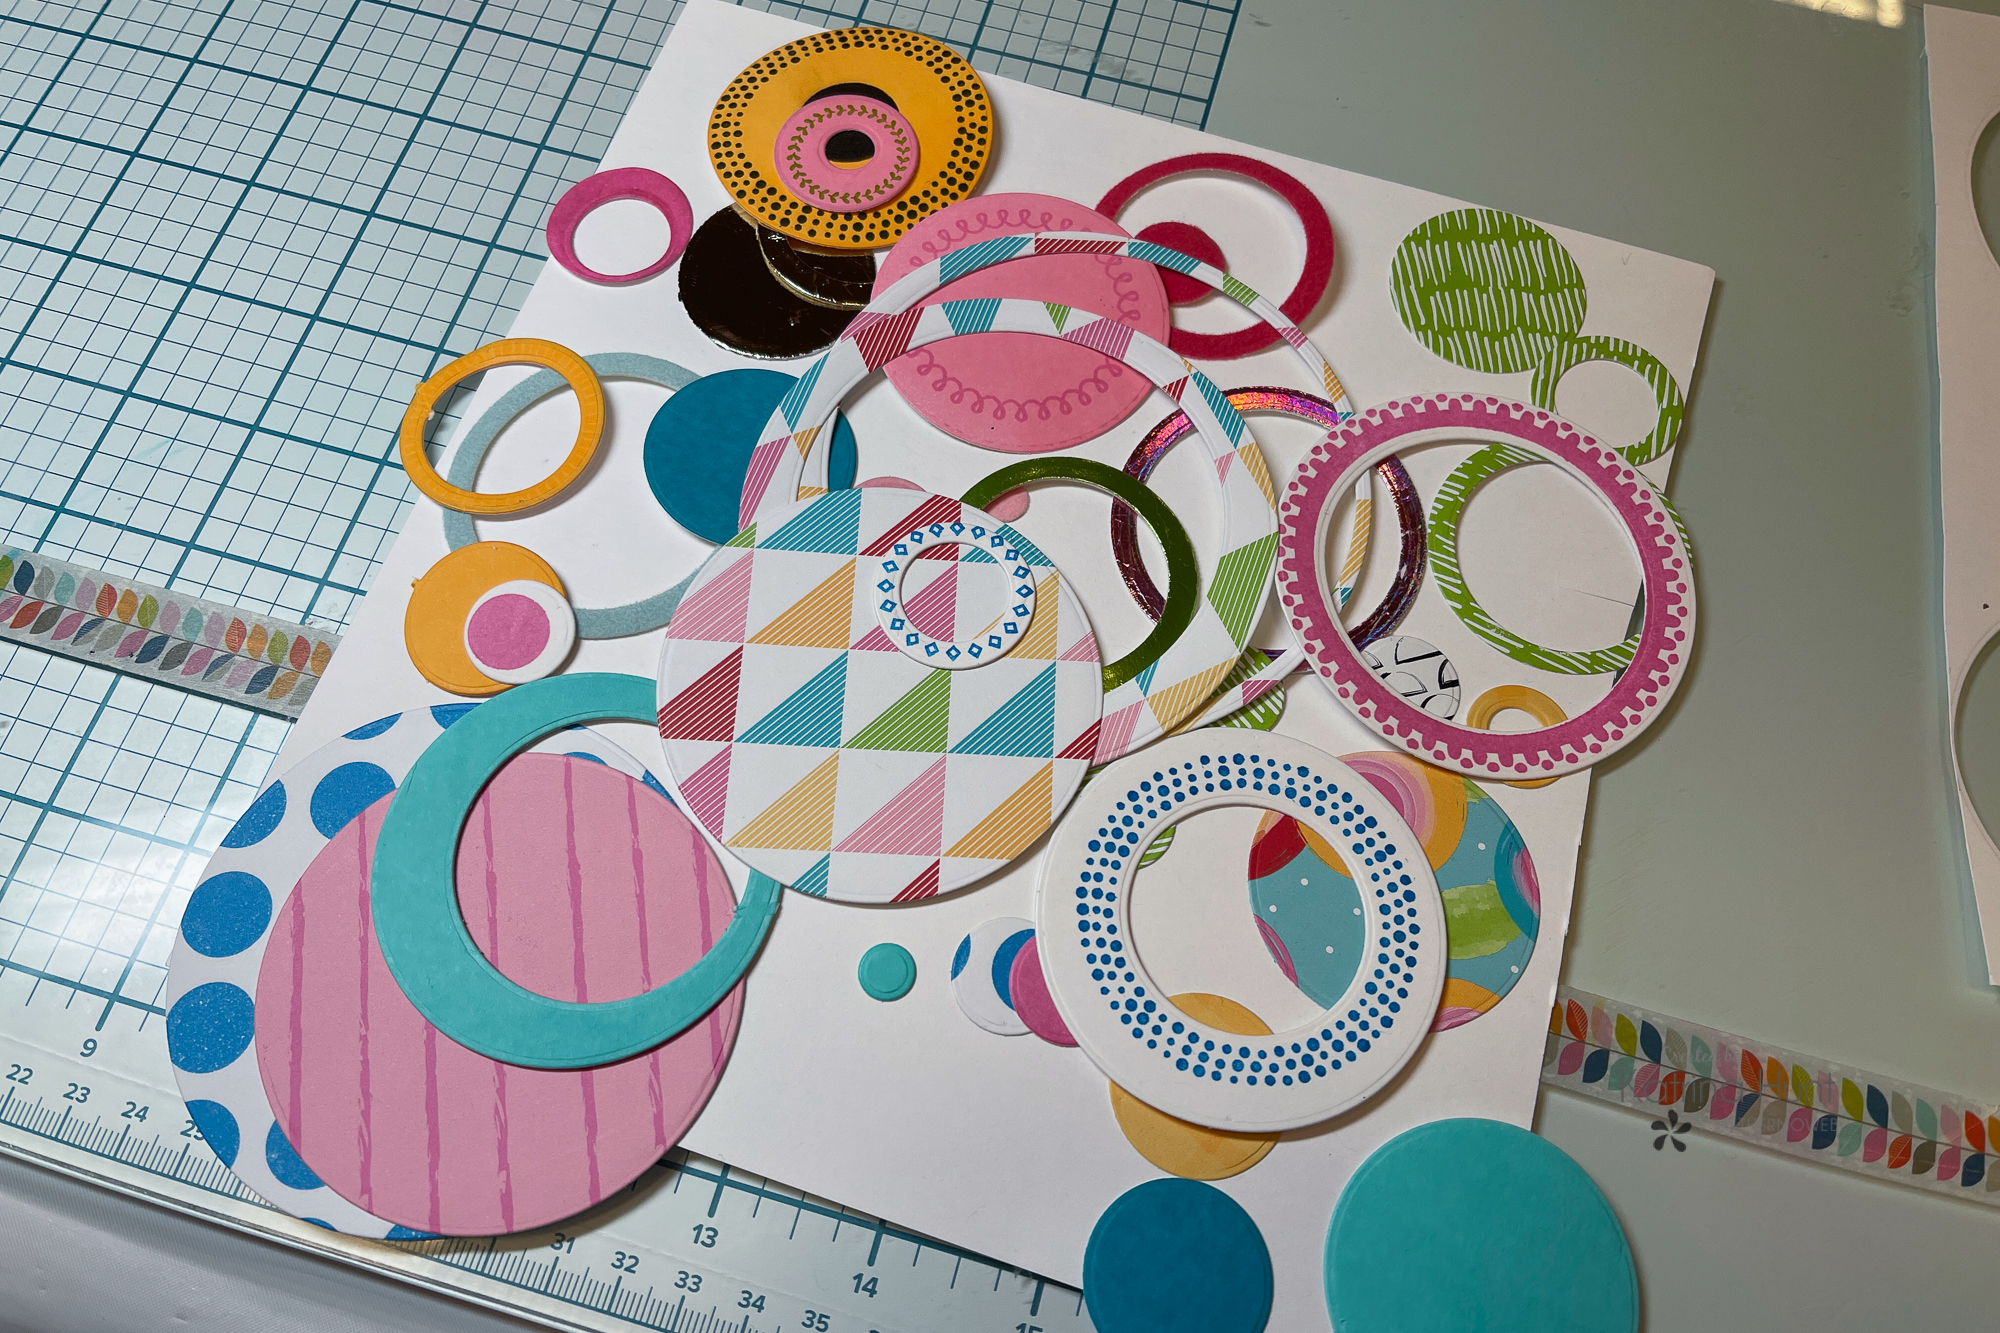 Next, I worked on cutting circles and hoops out of the pattern paper pack and also making my own matching colored cardstock with the direct ink to paper technique. You smear your inks on your white cardstock to make a solid color that matches your inks! I also used the Circle Party stamp set to create some stamped circles. These work with the Circles dies set. I did use the circle stamps on my background, but look closely they will be black circles!
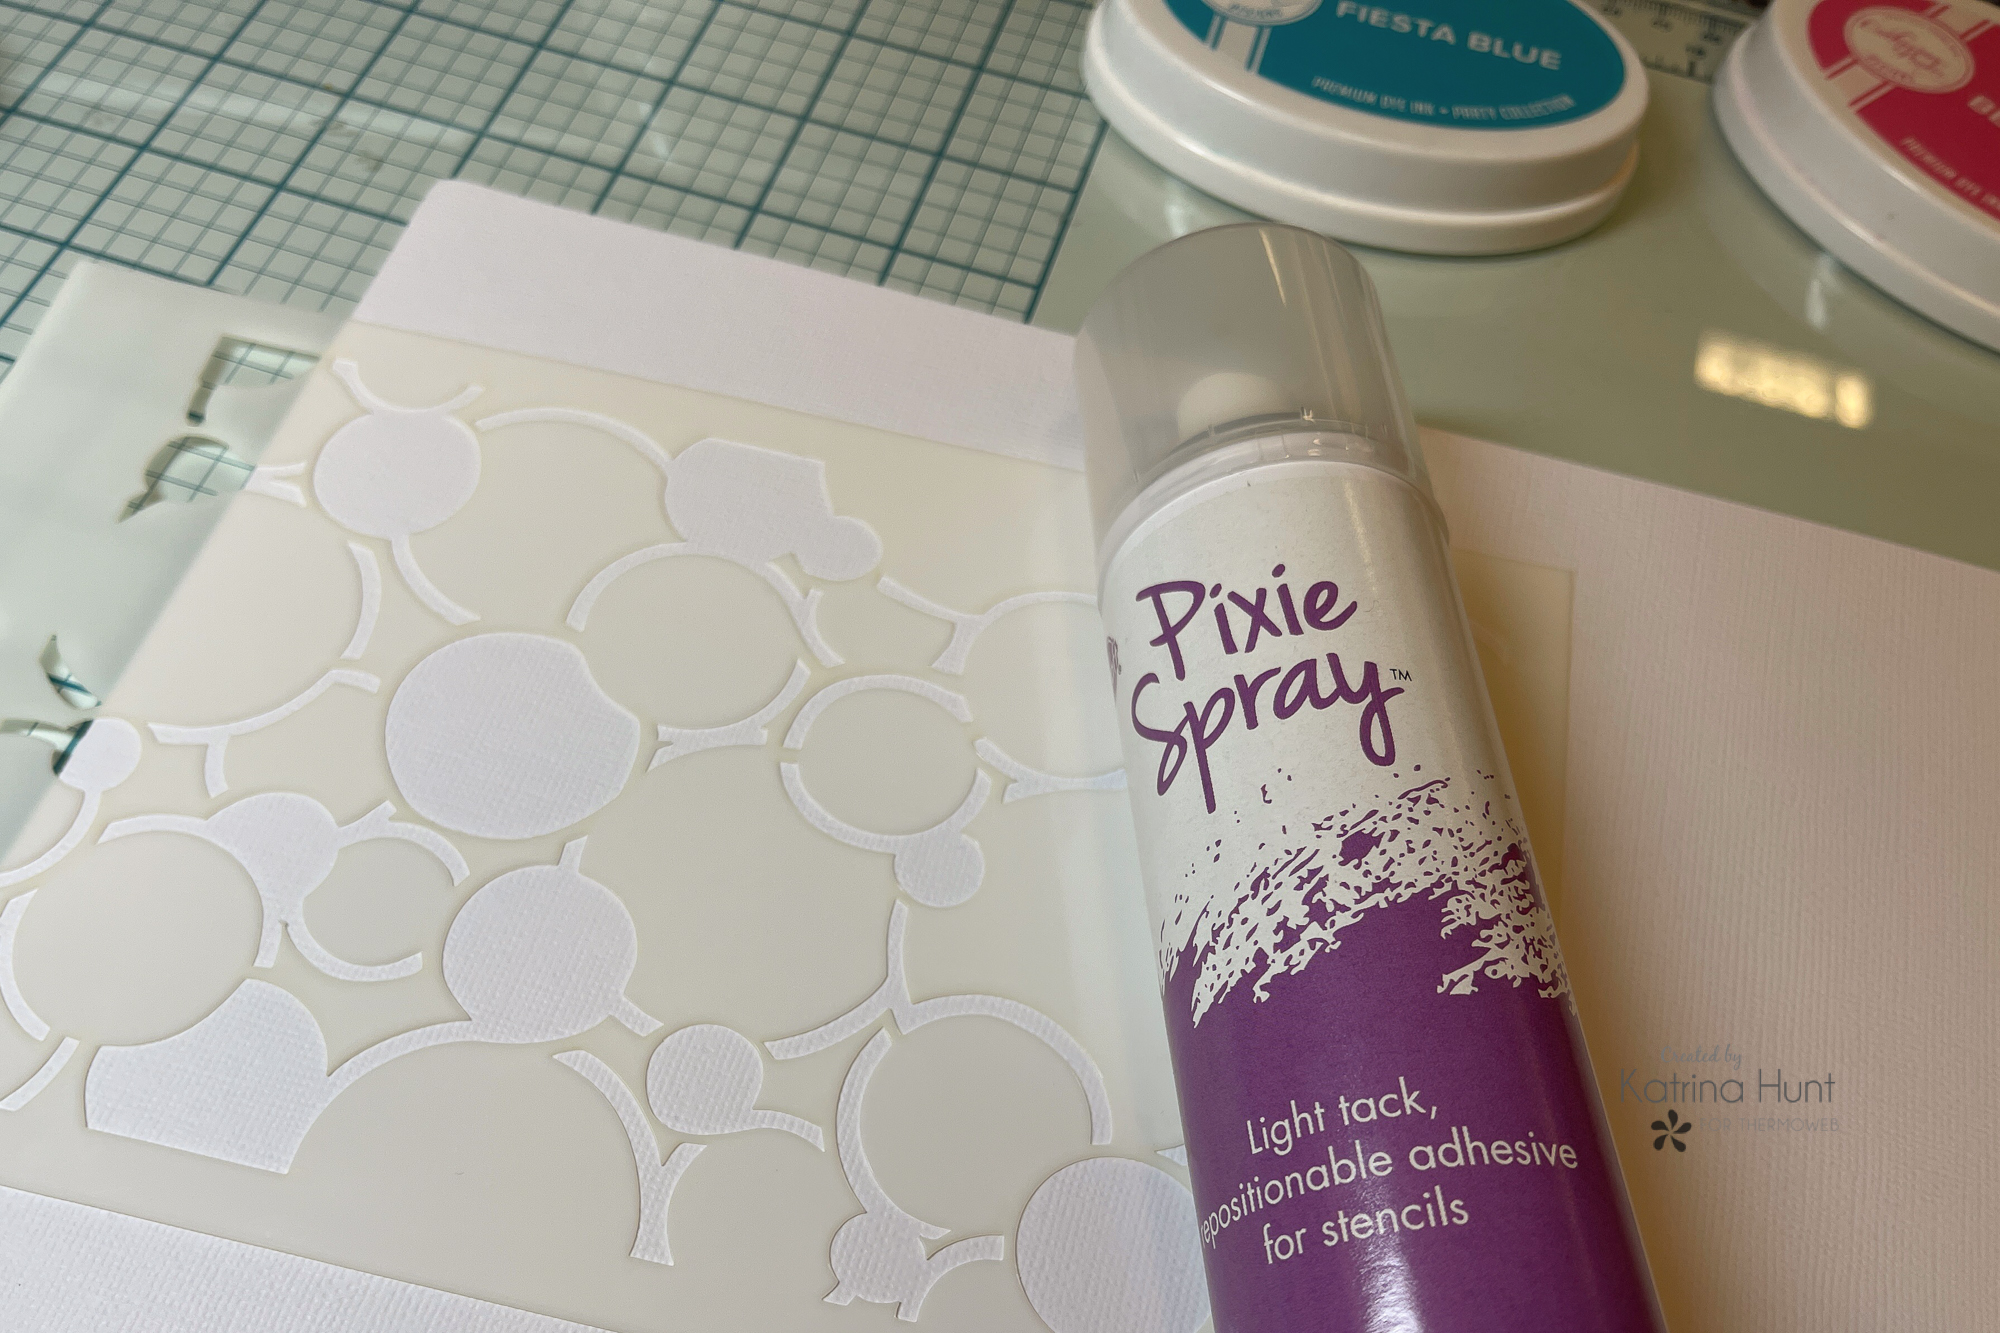
 I did use a circle stencil on my background before I started applying all my circles and layers. I used Pixie Spray to hold it in place and it worked more than a couple of times to restock down and move the stencil around.
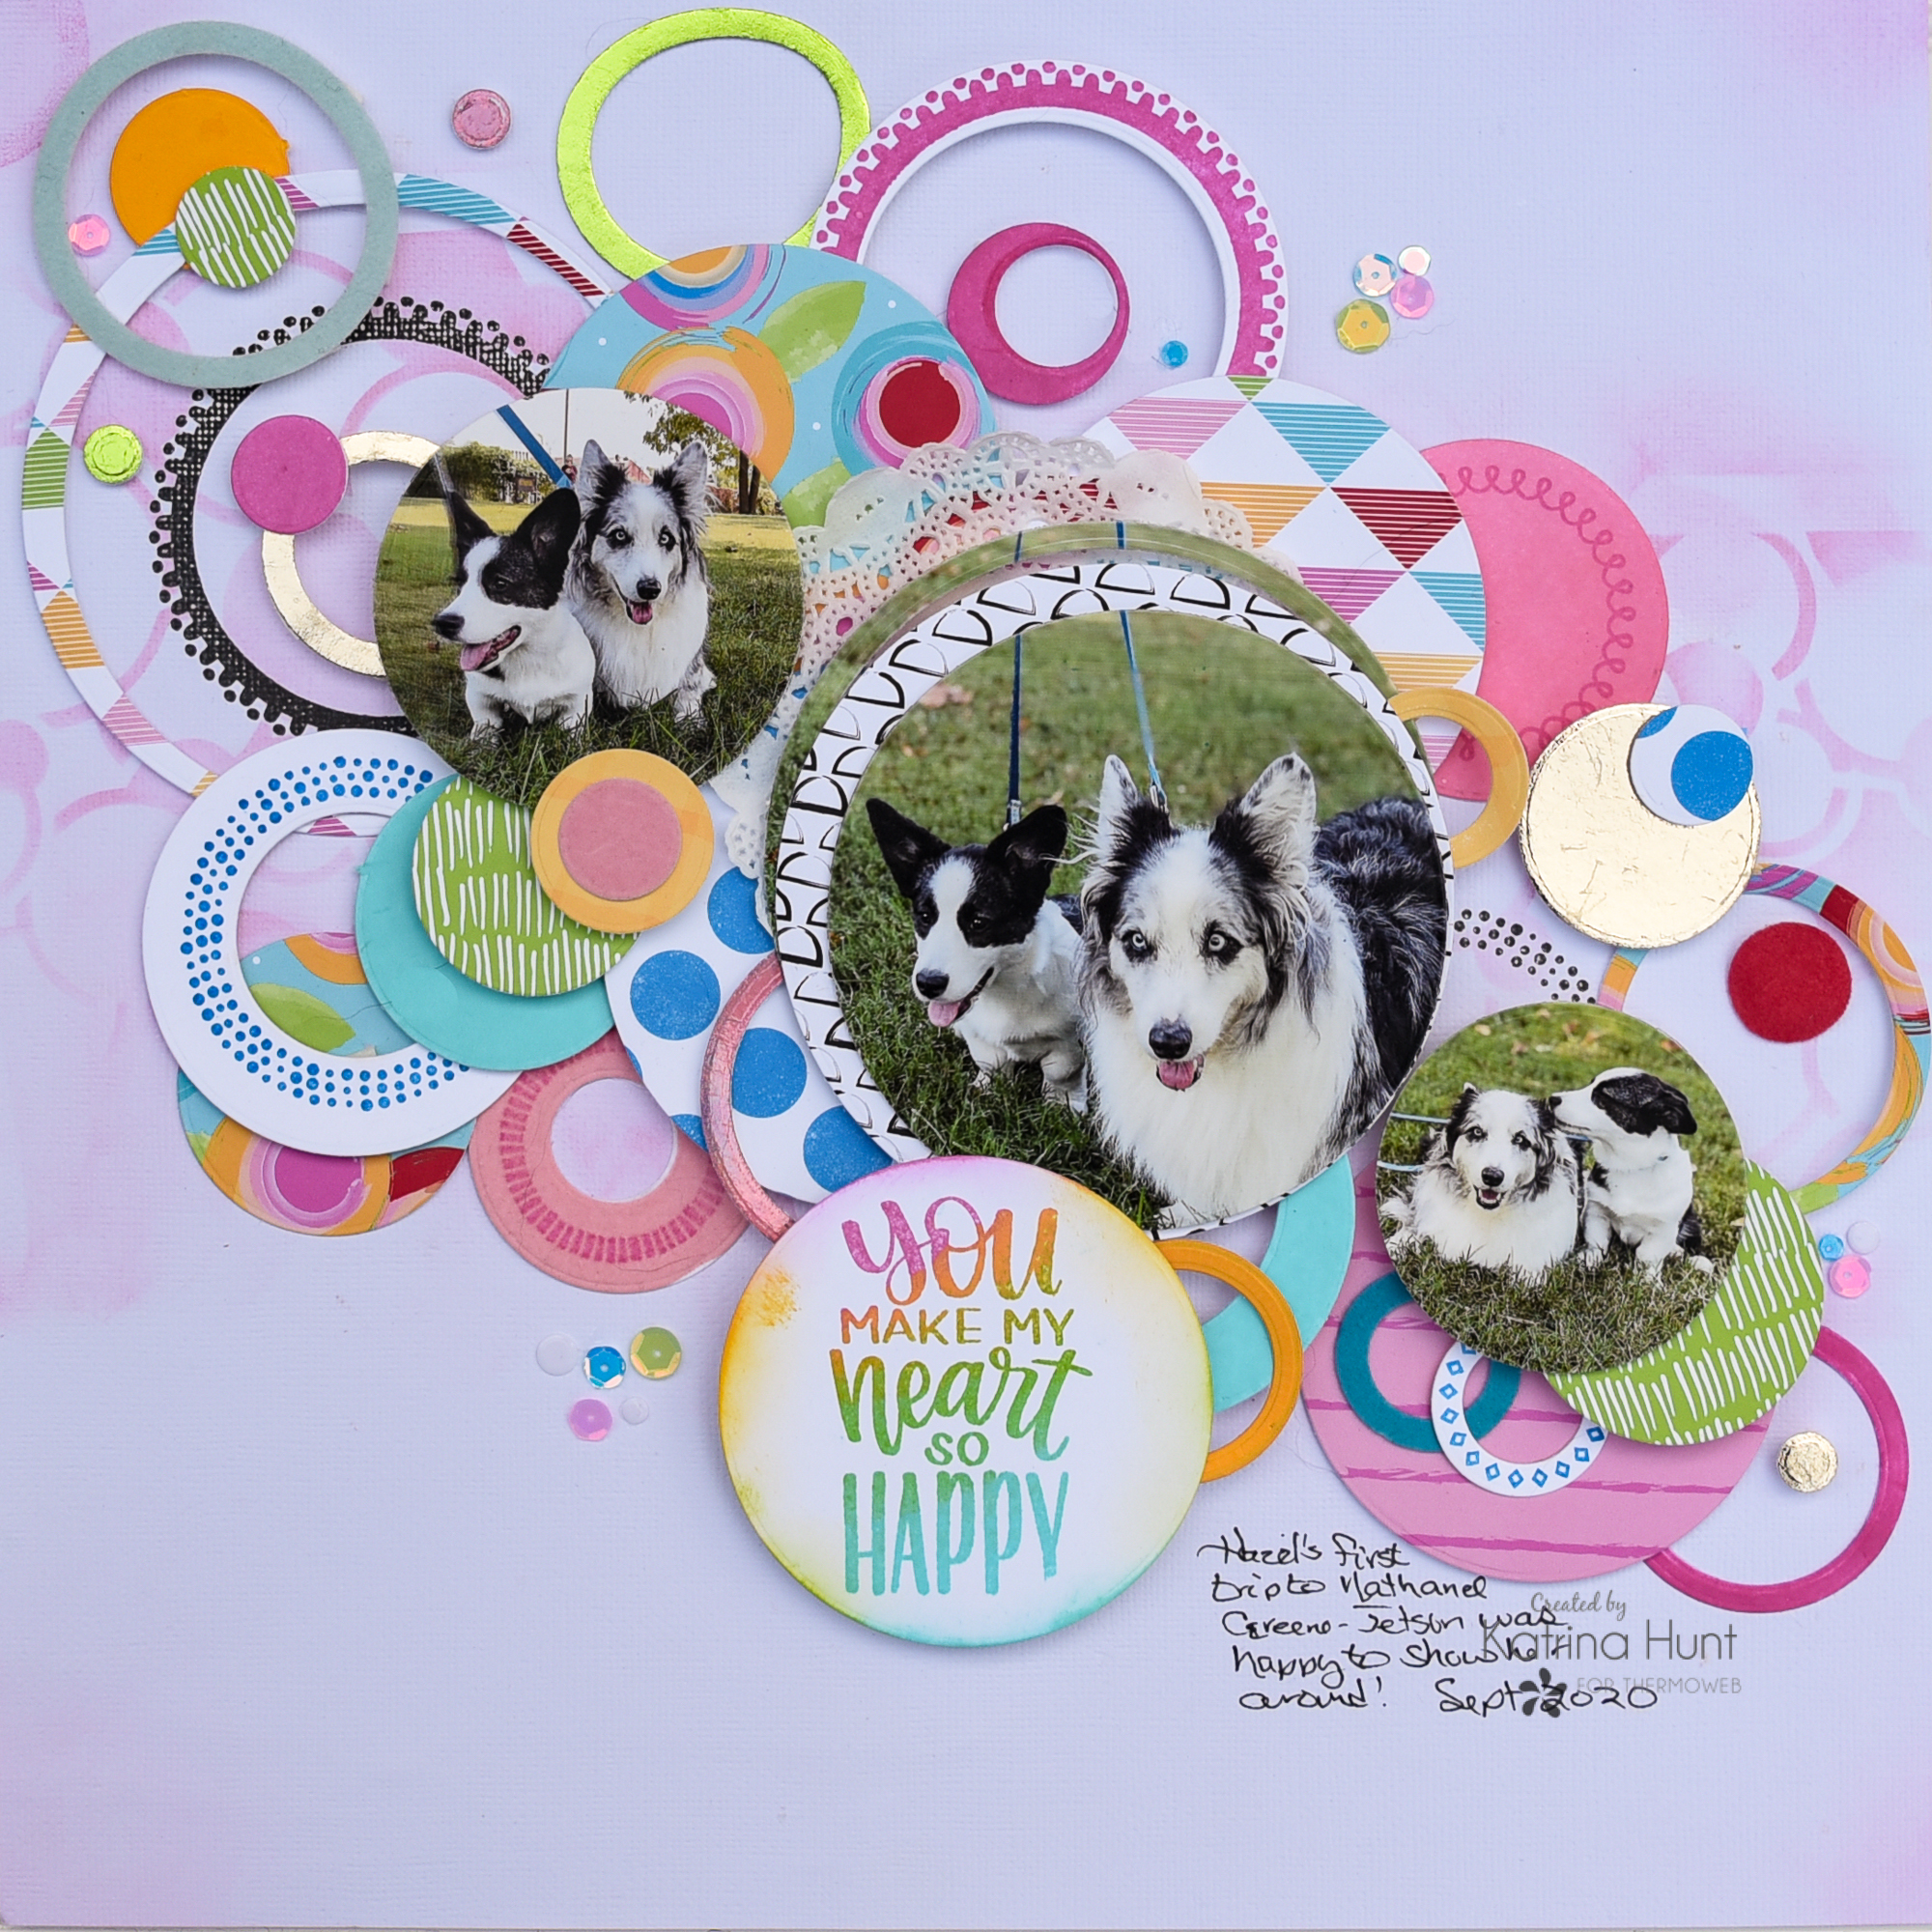
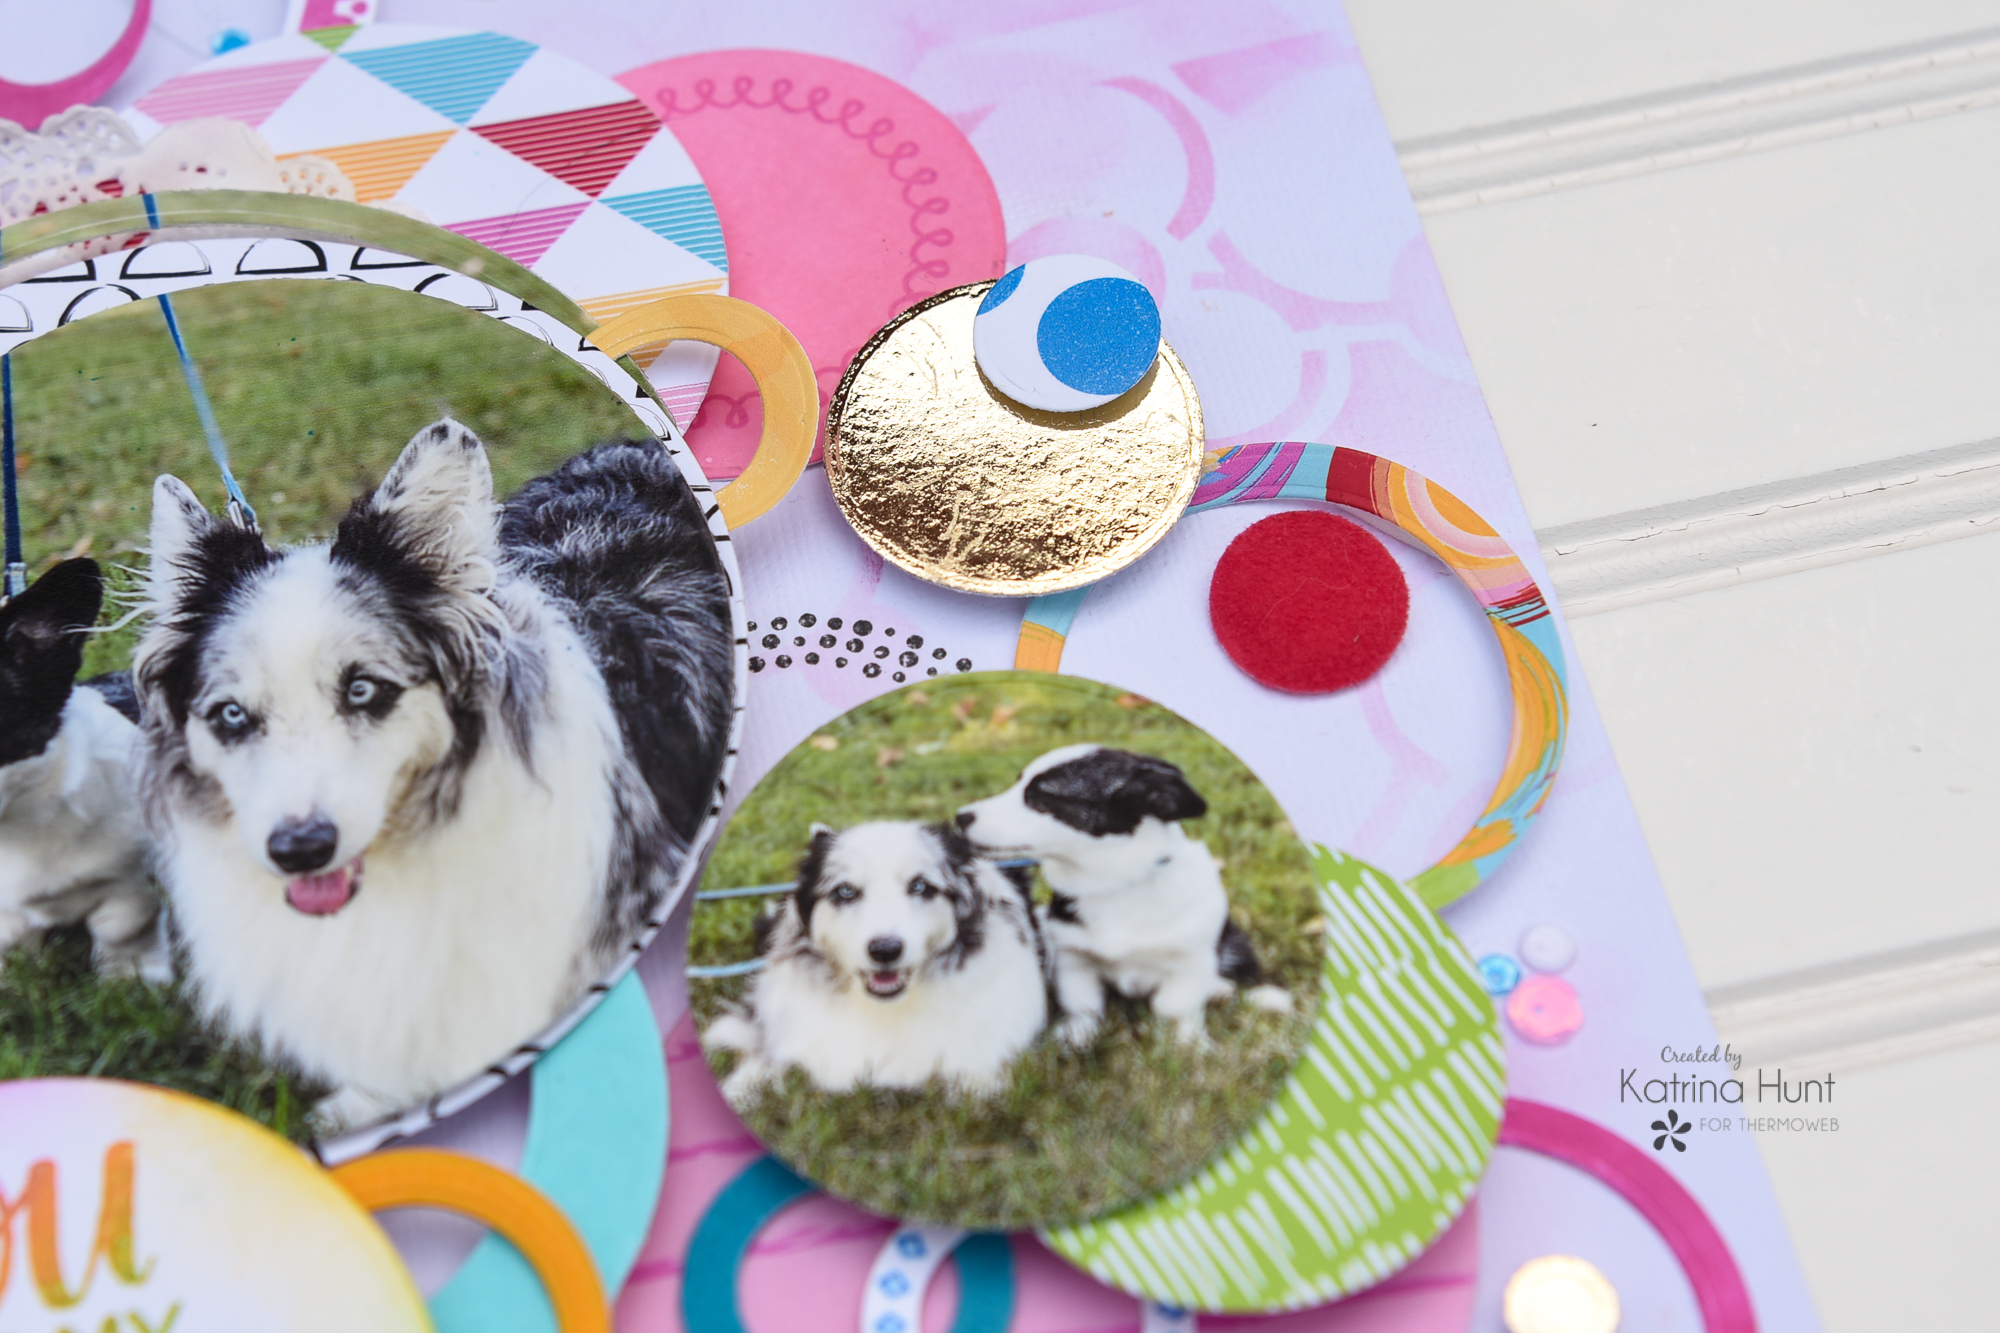
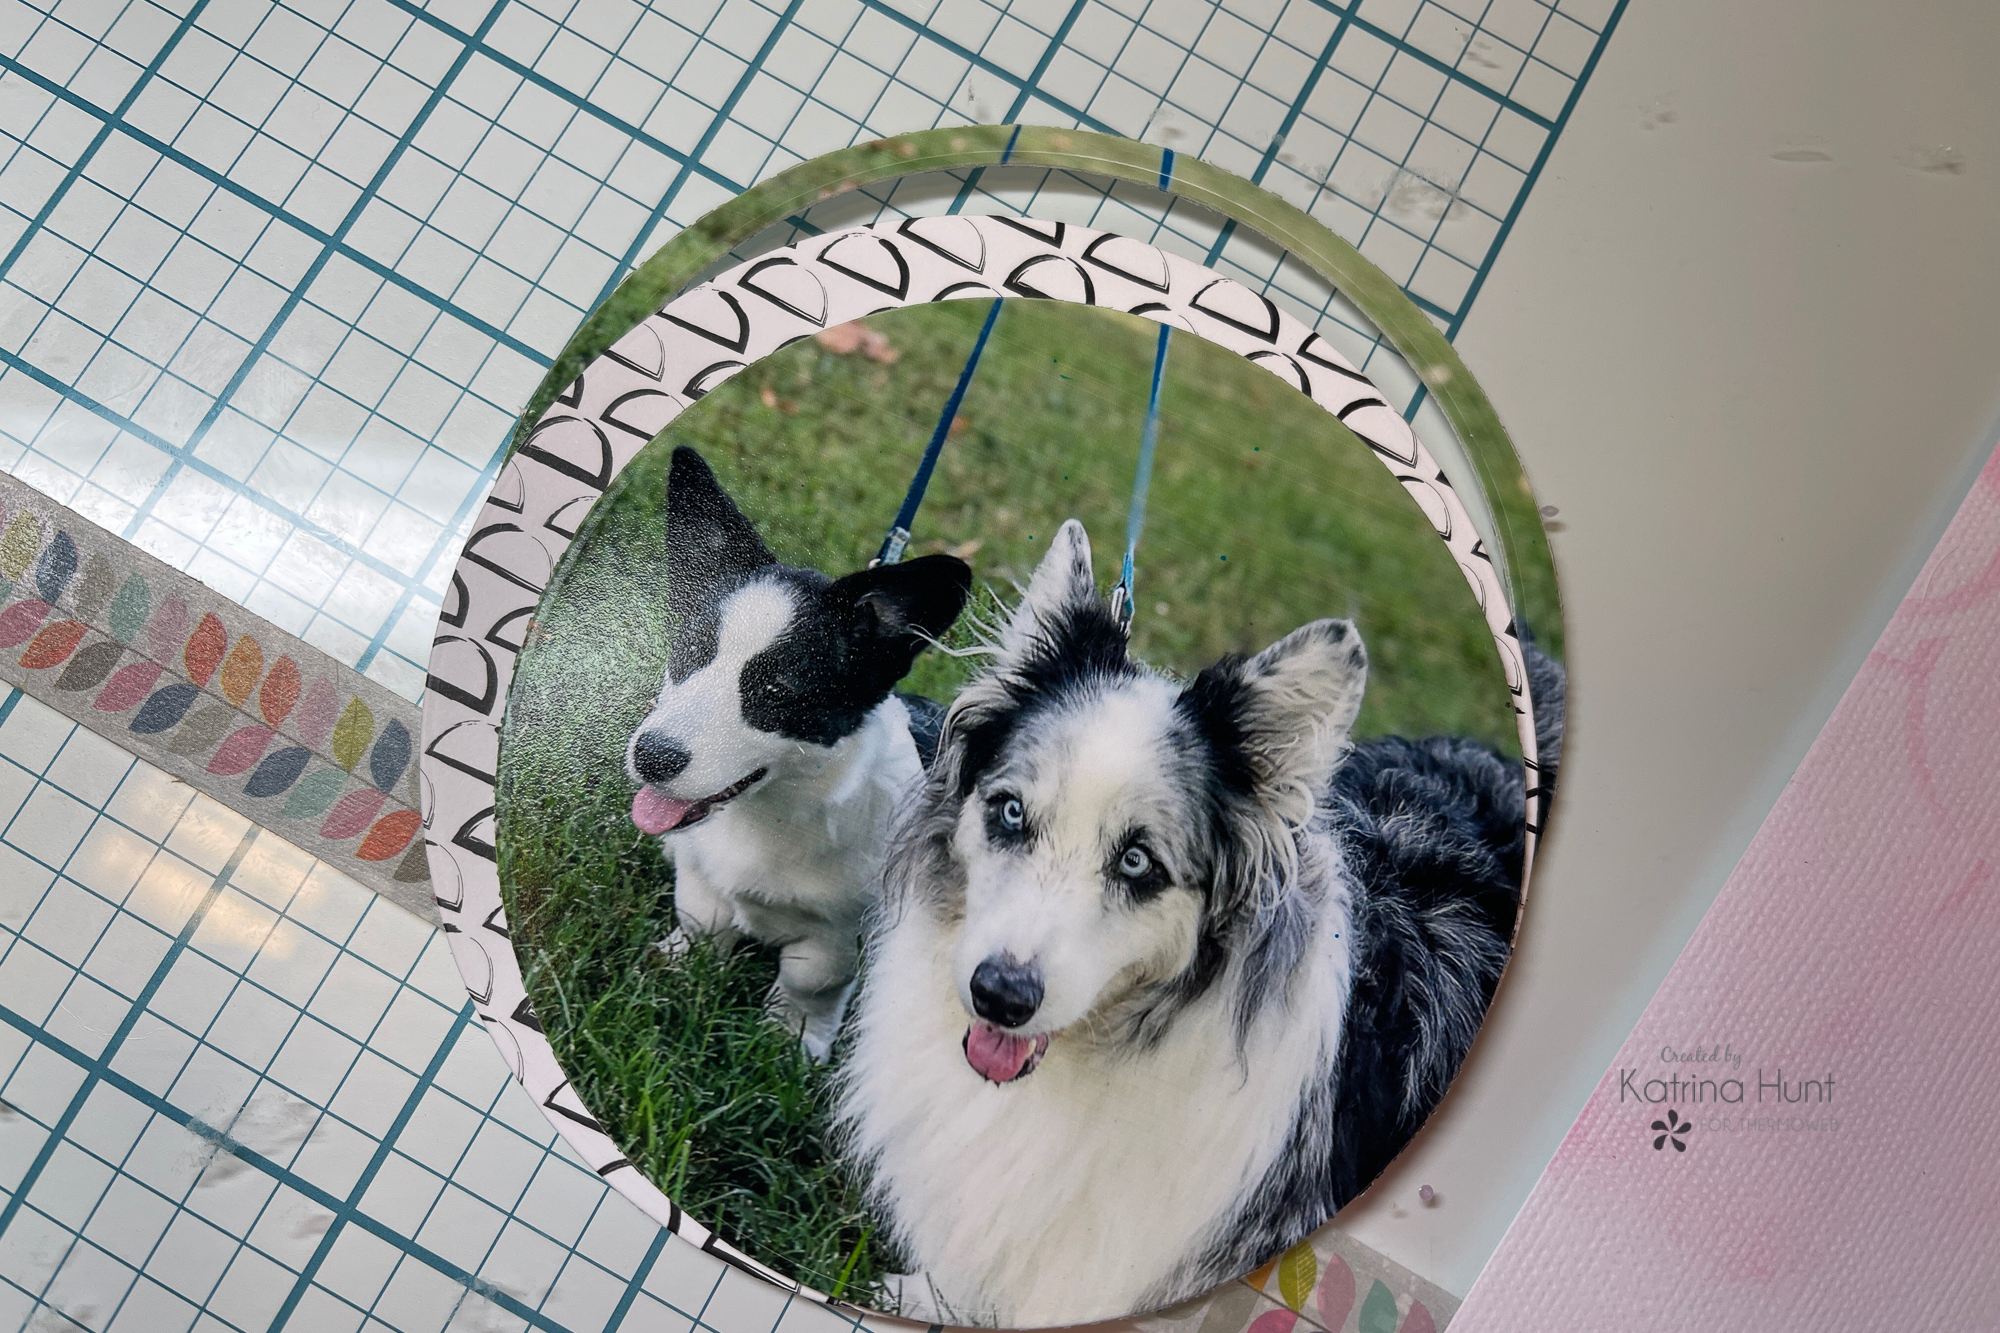
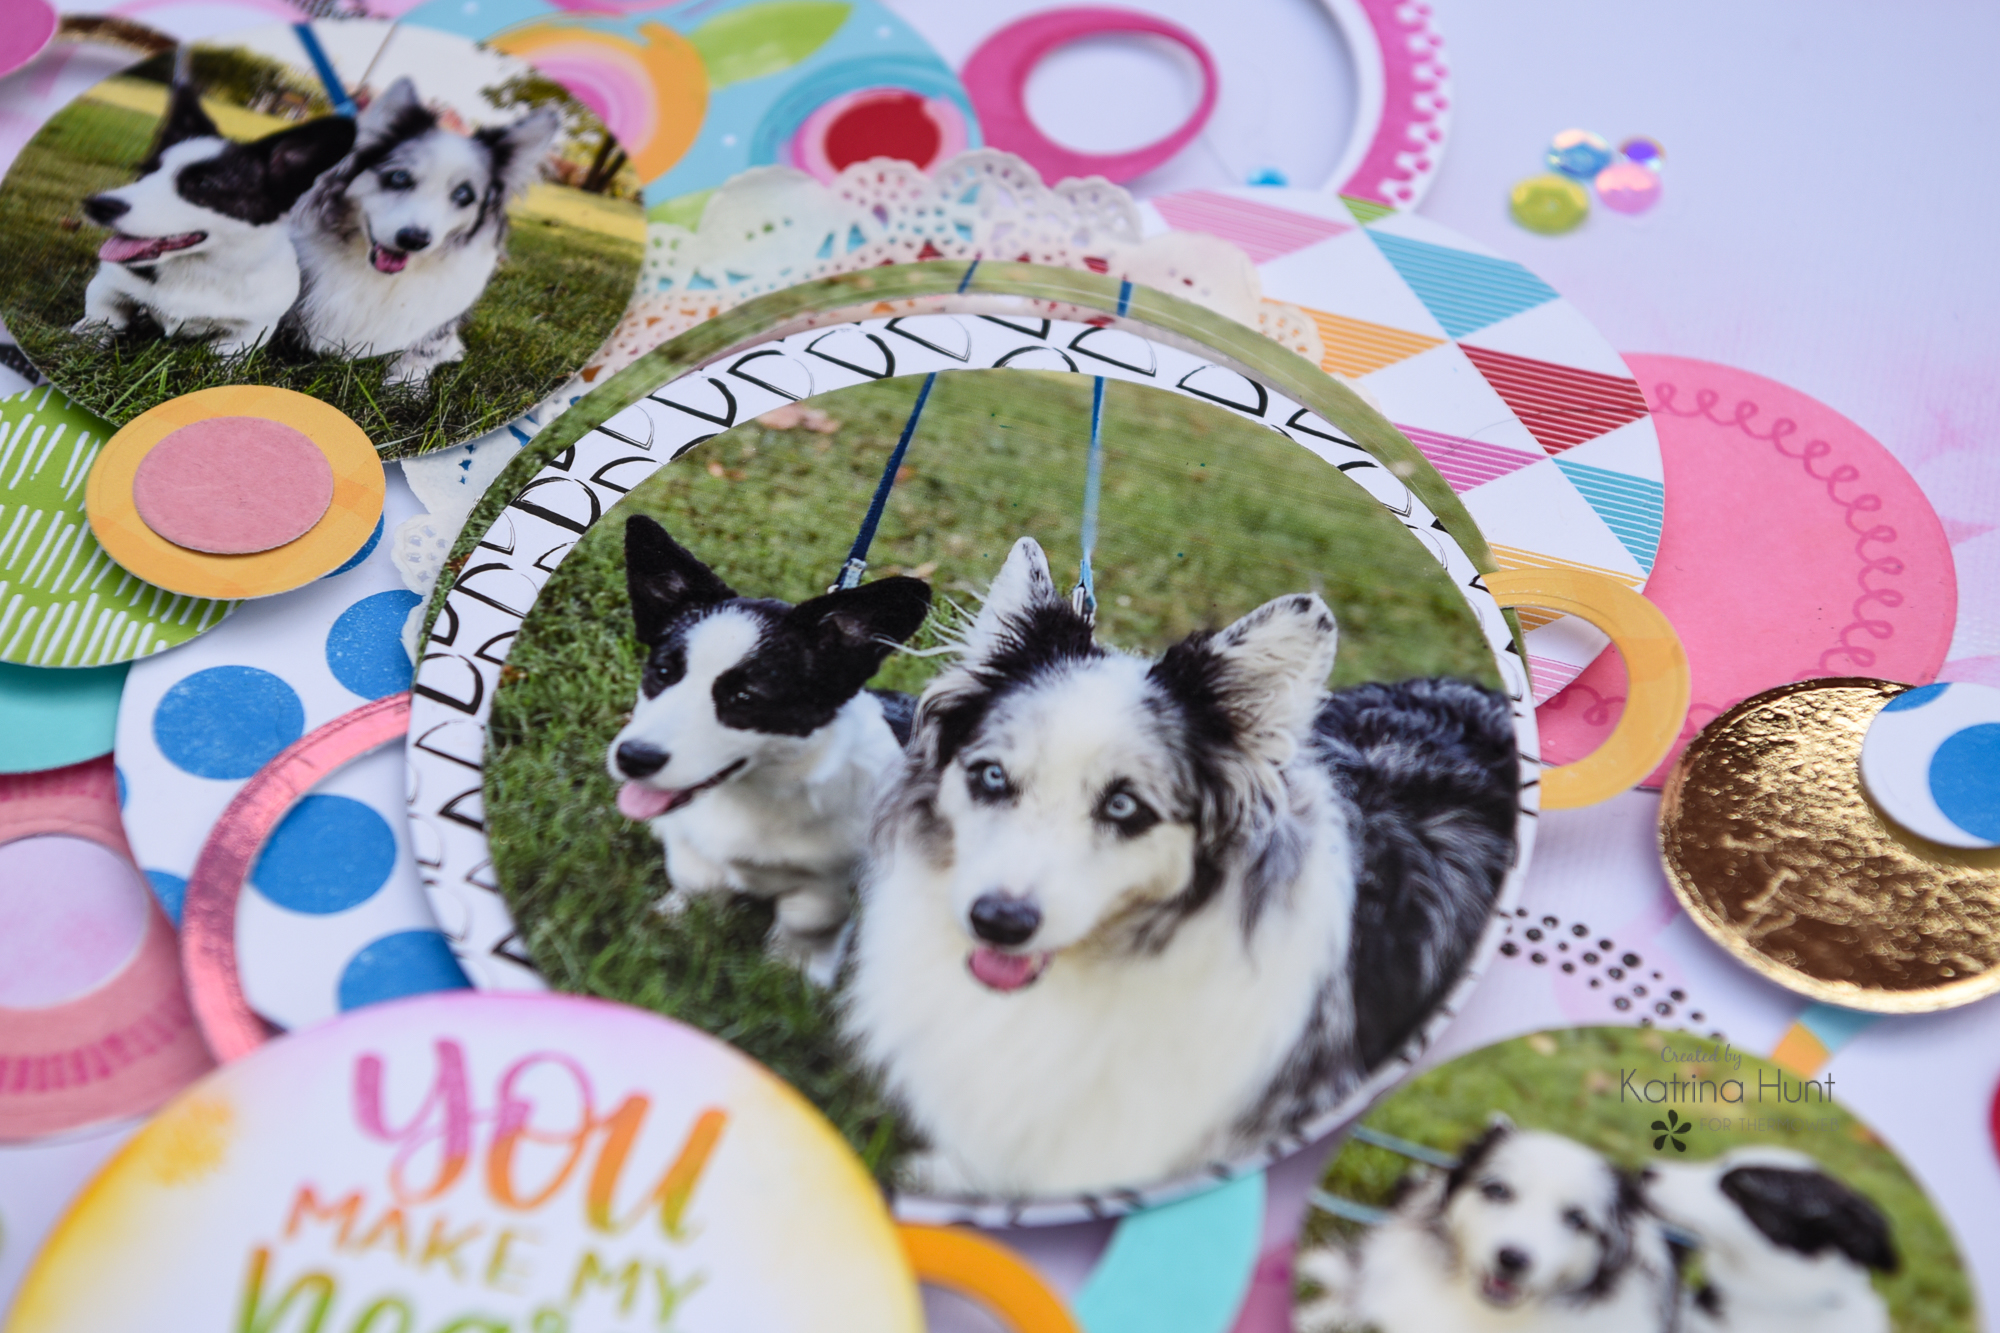
 Next, I wanted to try something fun with my largest picture. I cut it once and then cut it again in the next smaller size to create a hoop of the picture. I layered a paper circle between the two and love how it turned out. I just offset each slightly from each other.
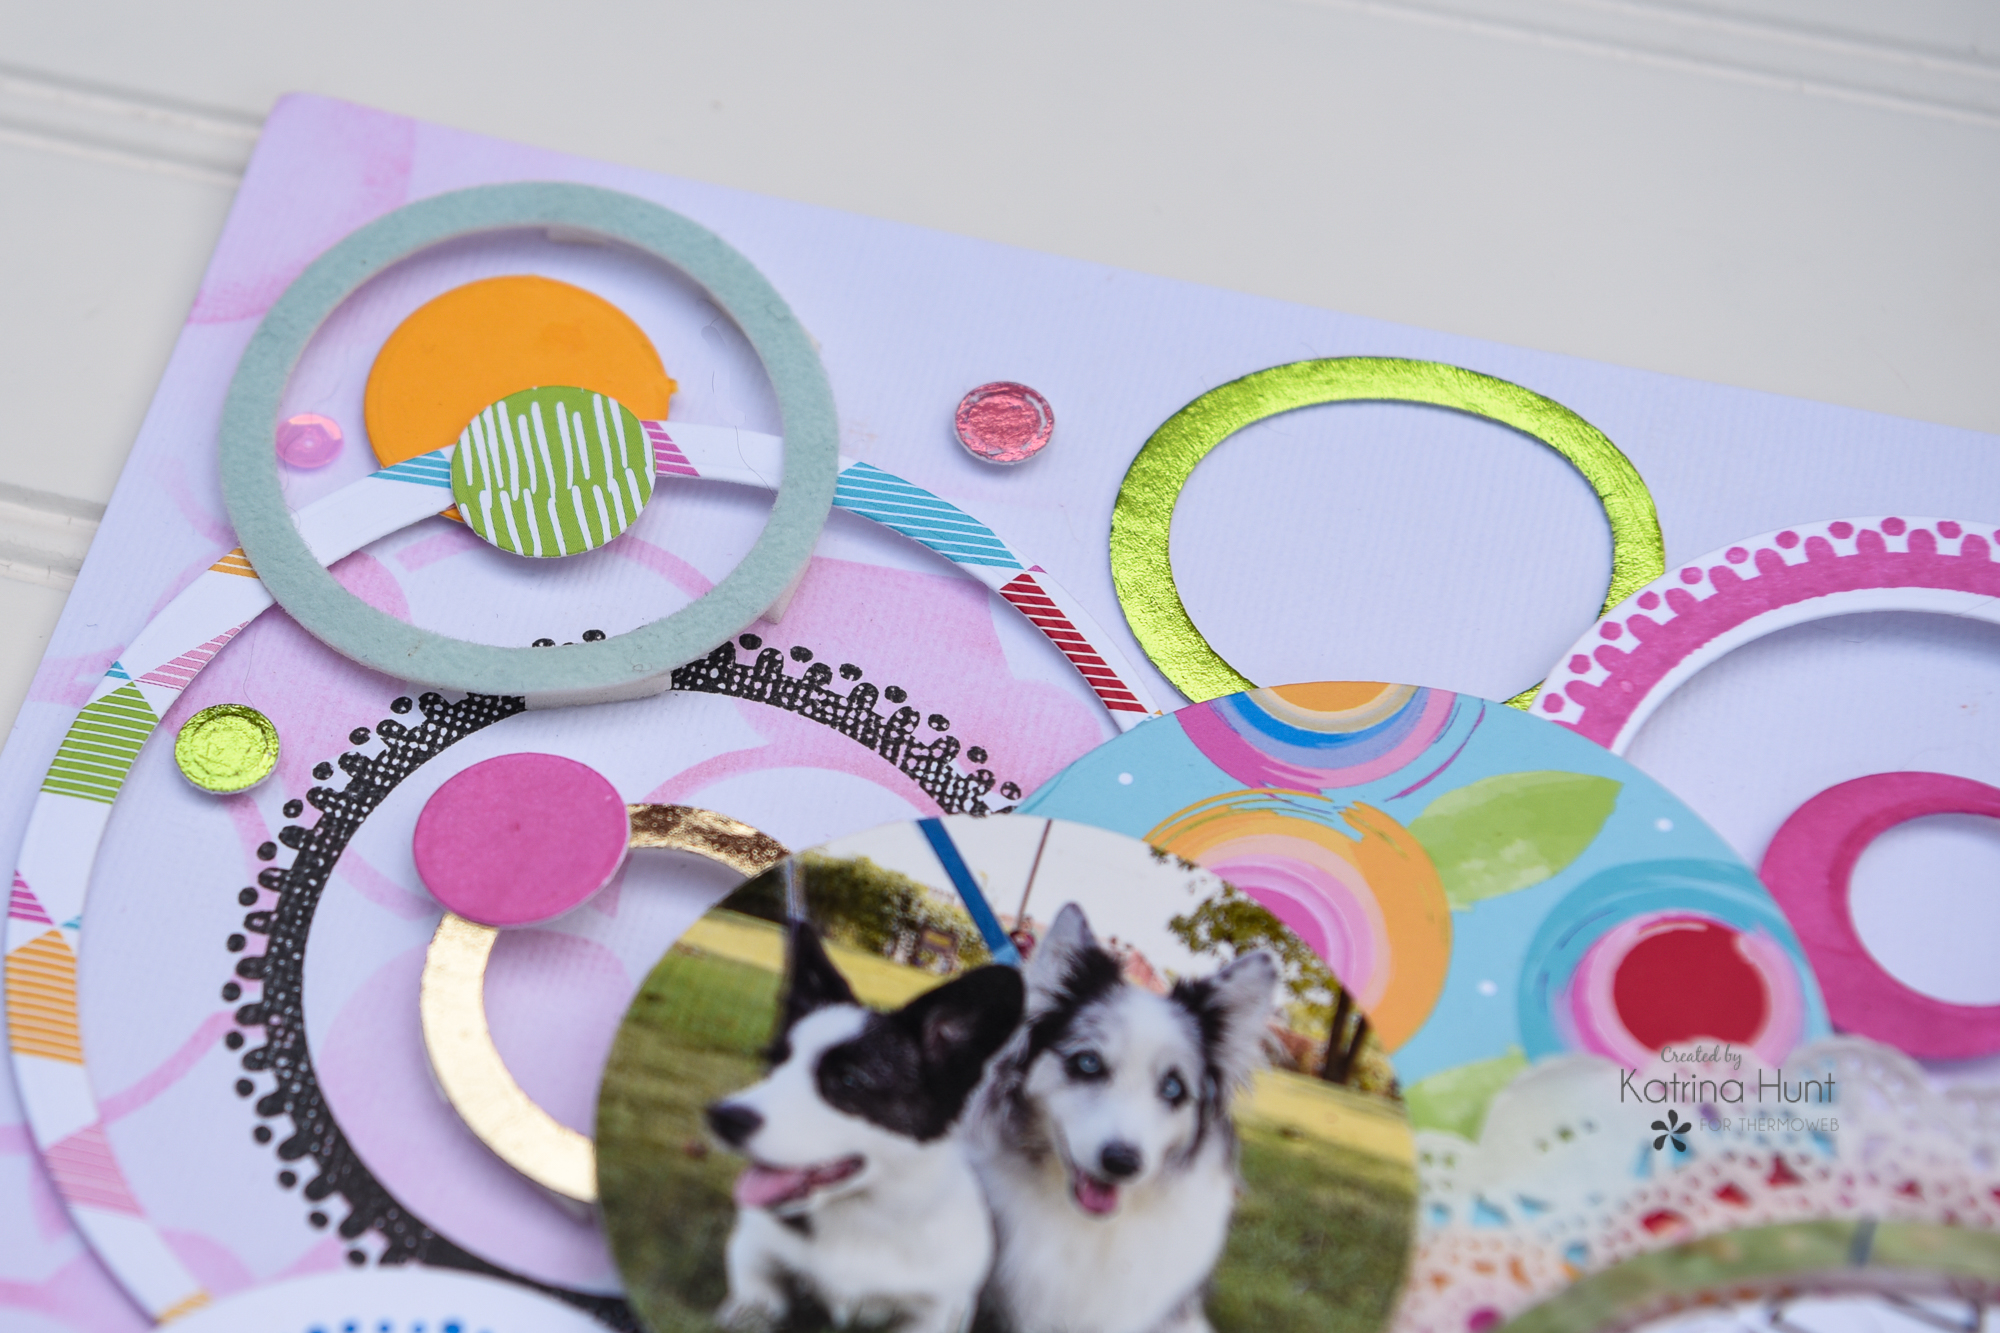
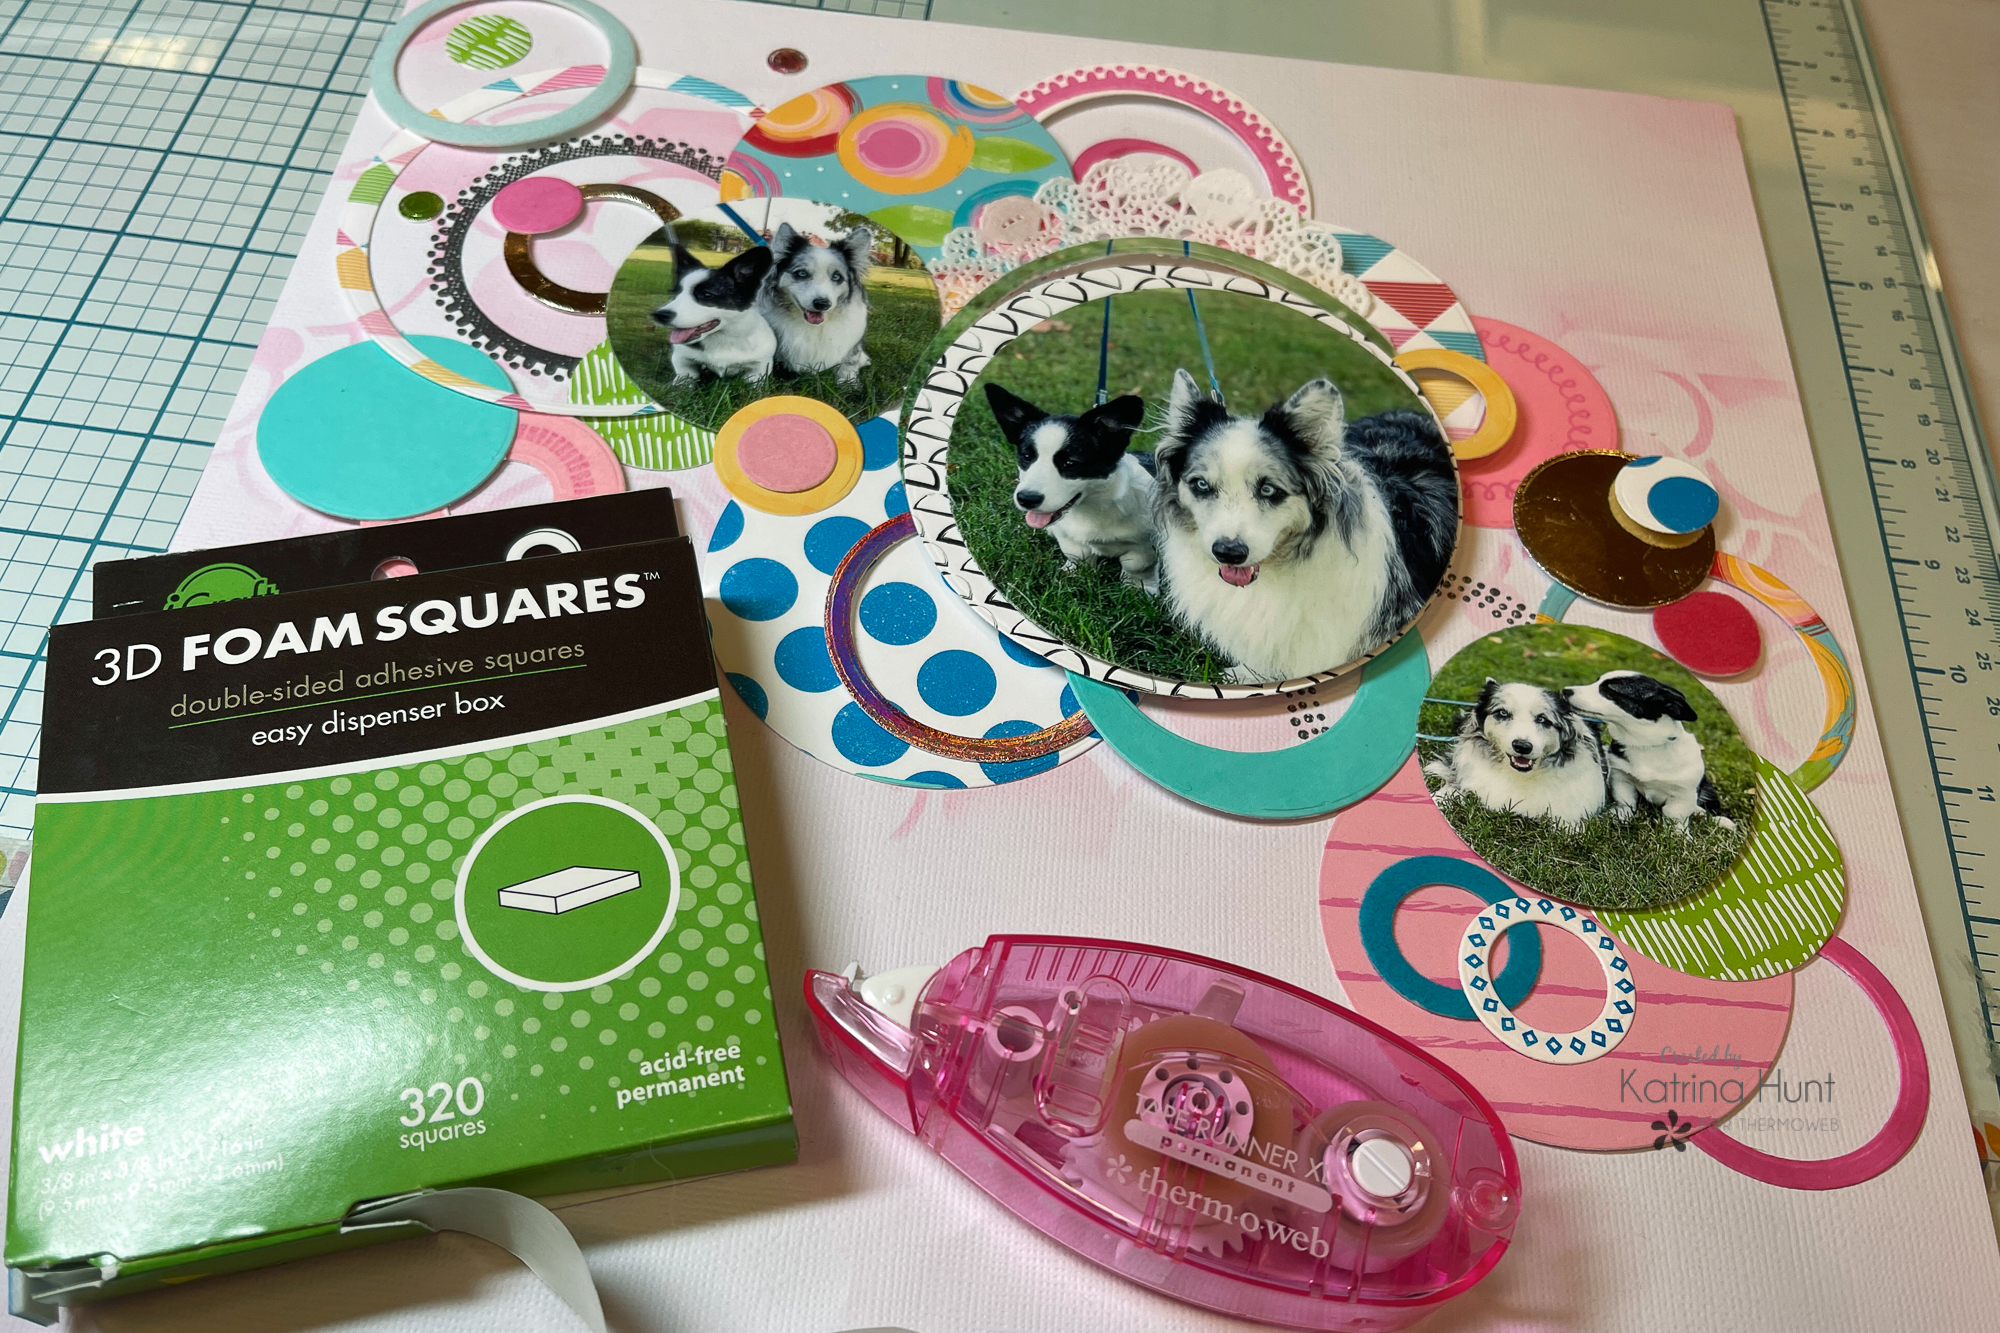 Once all those circles and hoops were in place with lots of 3D Foam squares and Memory Runner XL it was time to create my title for the page.
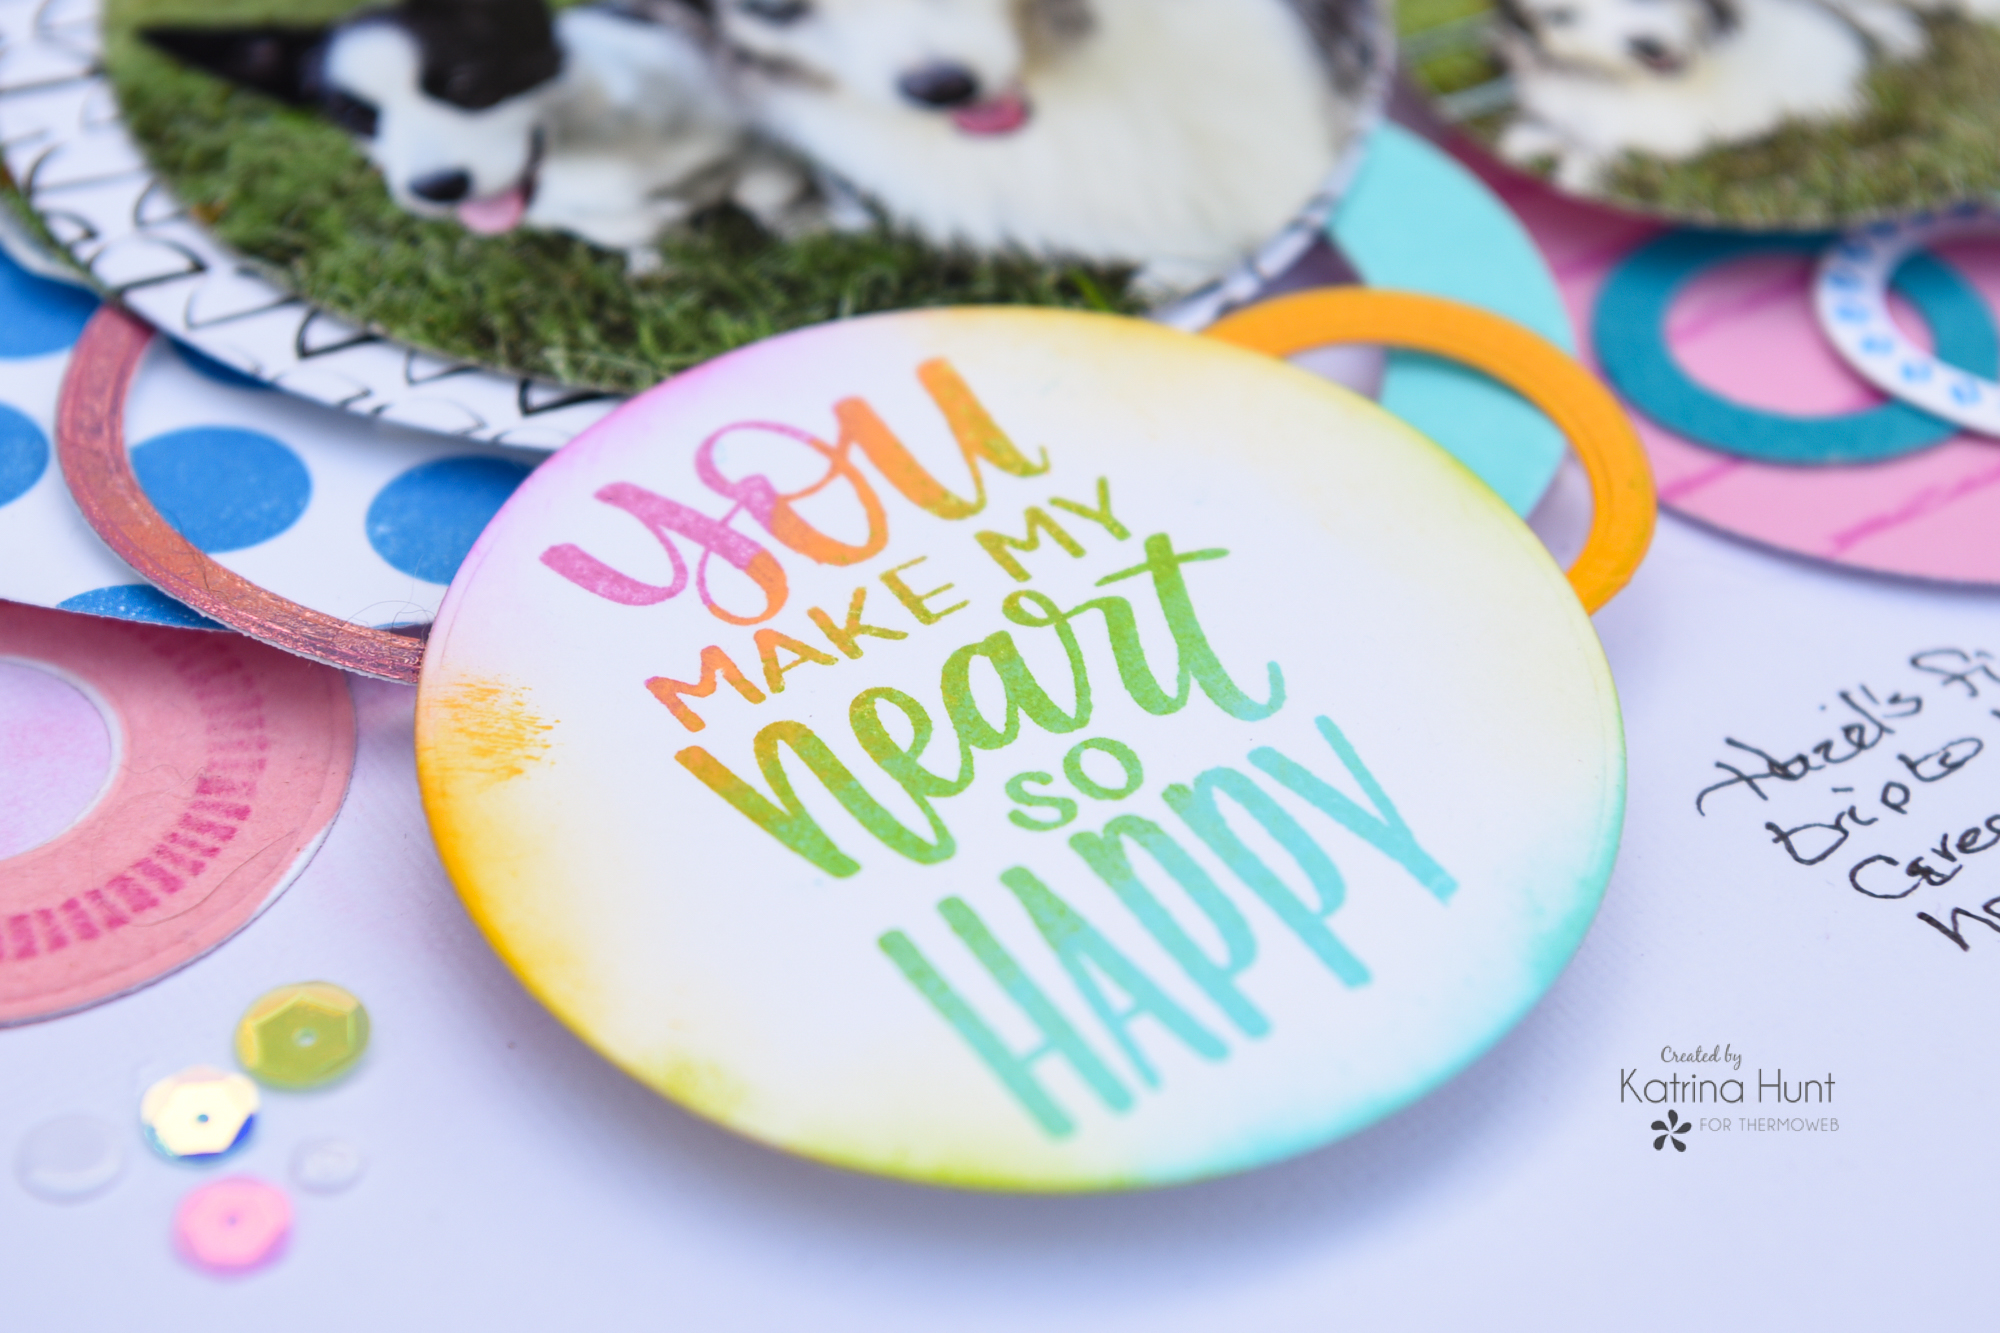
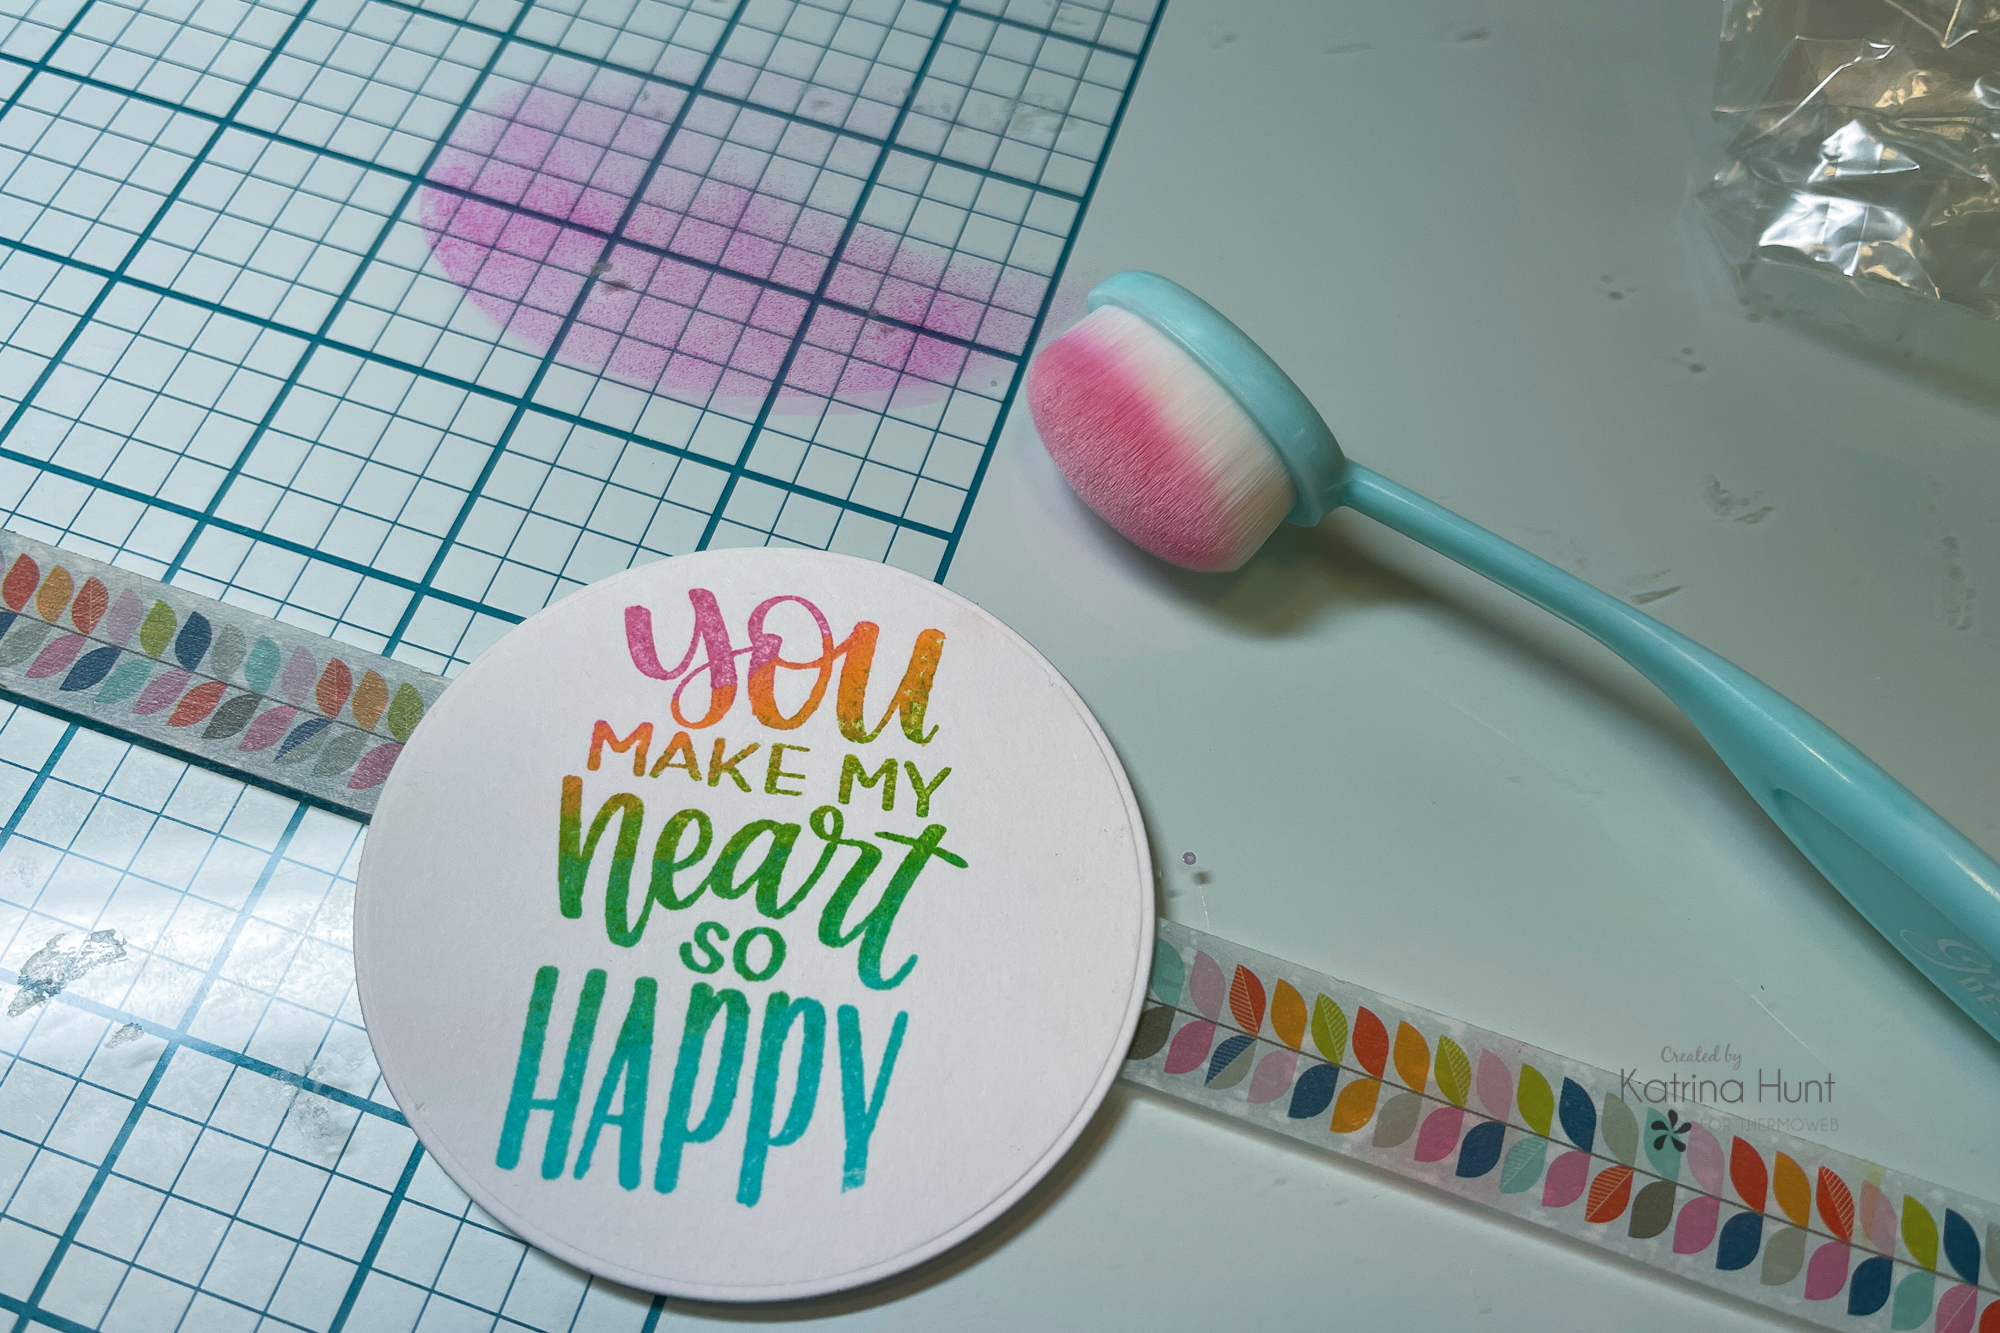 To finish up my layout, I used the Shine Bright Sentiment stamp set and inked it with a few different colors to create a rainbow effect. After I stamped I die cut the sentiment with a die that fits around my sentiment and then ink blended the circle edges in the same colors. I added some sequins that matched using the UltraBond Glue Pen and my layout was done!
 To sum it up, I am in love with this layout and I don't say that often! The idea of using the same shapes over is a great way to get your mojo flowing in the right direction! Thanks for stopping by the blog today!!!
This post contains affiliate links. For more information, see our disclosure HERE.
To sum it up, I am in love with this layout and I don't say that often! The idea of using the same shapes over is a great way to get your mojo flowing in the right direction! Thanks for stopping by the blog today!!!
This post contains affiliate links. For more information, see our disclosure HERE.