No Products in the Cart
 Therm O Web Supplies:
Memory Tape Runner XL™
iCraft® Adhesive Tape 1/2 Inch
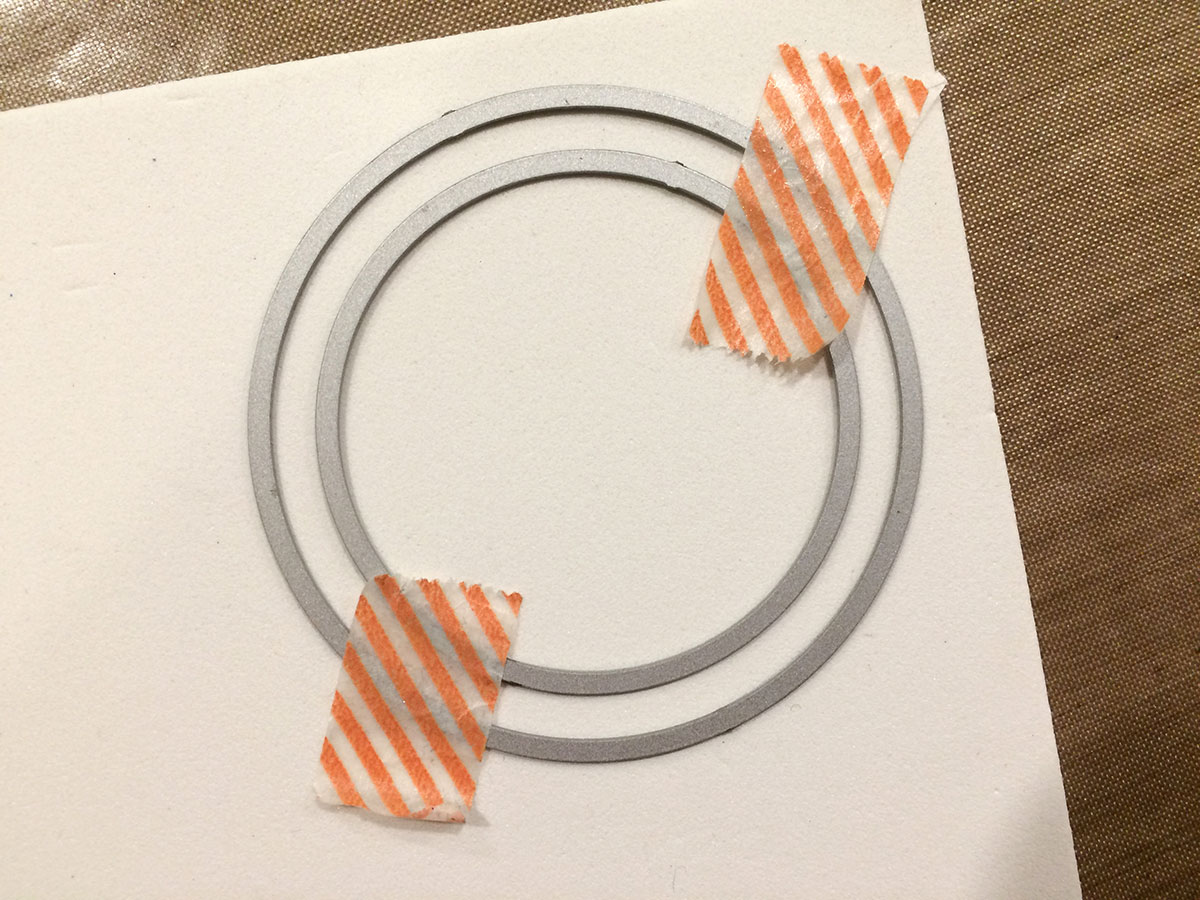
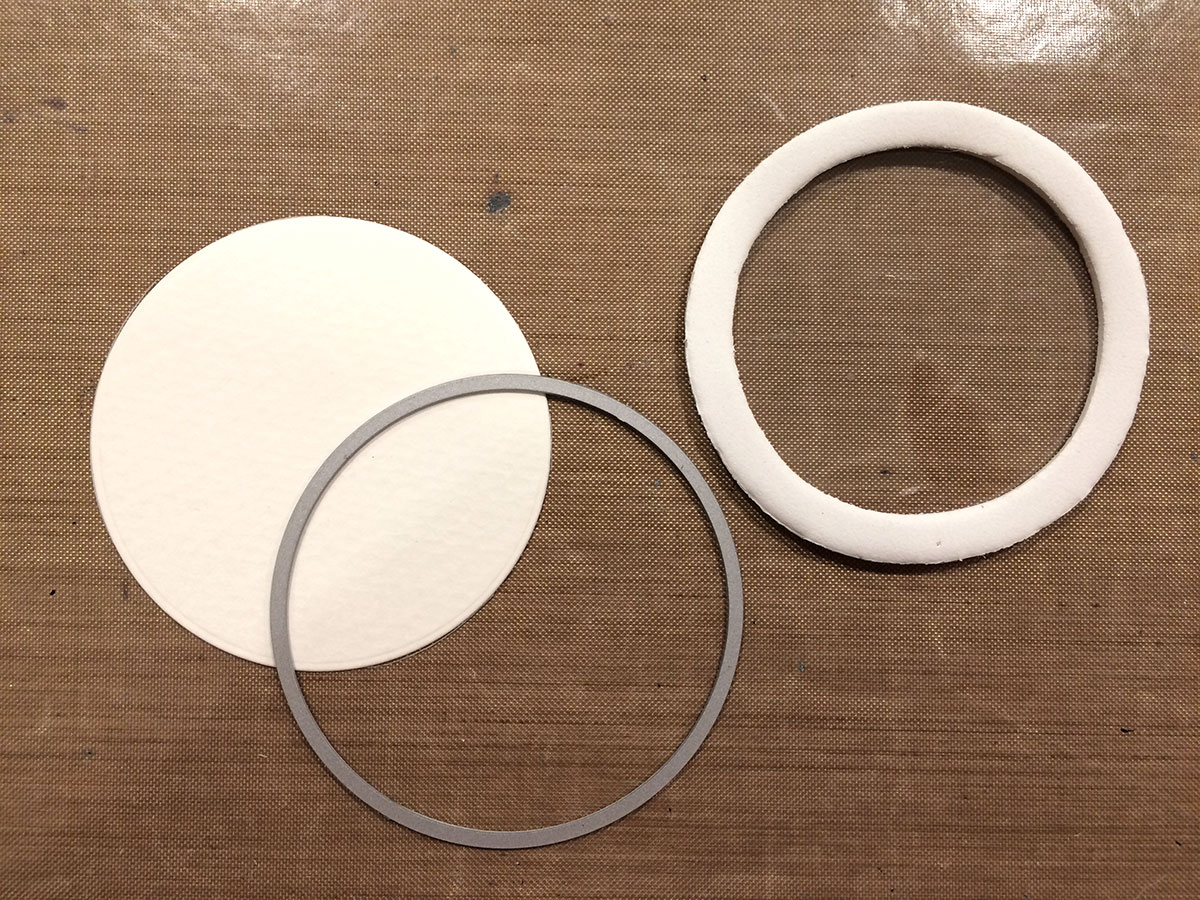
Begin by selecting 2 circle dies that are small enough to fit inside the shape of the wreath stamp/die.
Position the dies onto a piece of 3mm white fun foam and hold them in place with a piece of washi tape. Run this through your manual die cutting machine.
Therm O Web Supplies:
Memory Tape Runner XL™
iCraft® Adhesive Tape 1/2 Inch
Begin by selecting 2 circle dies that are small enough to fit inside the shape of the wreath stamp/die.
Position the dies onto a piece of 3mm white fun foam and hold them in place with a piece of washi tape. Run this through your manual die cutting machine.
 Use the largest circle die, from above, and die cut a piece of transparency film. Clear plastic packaging will also work.
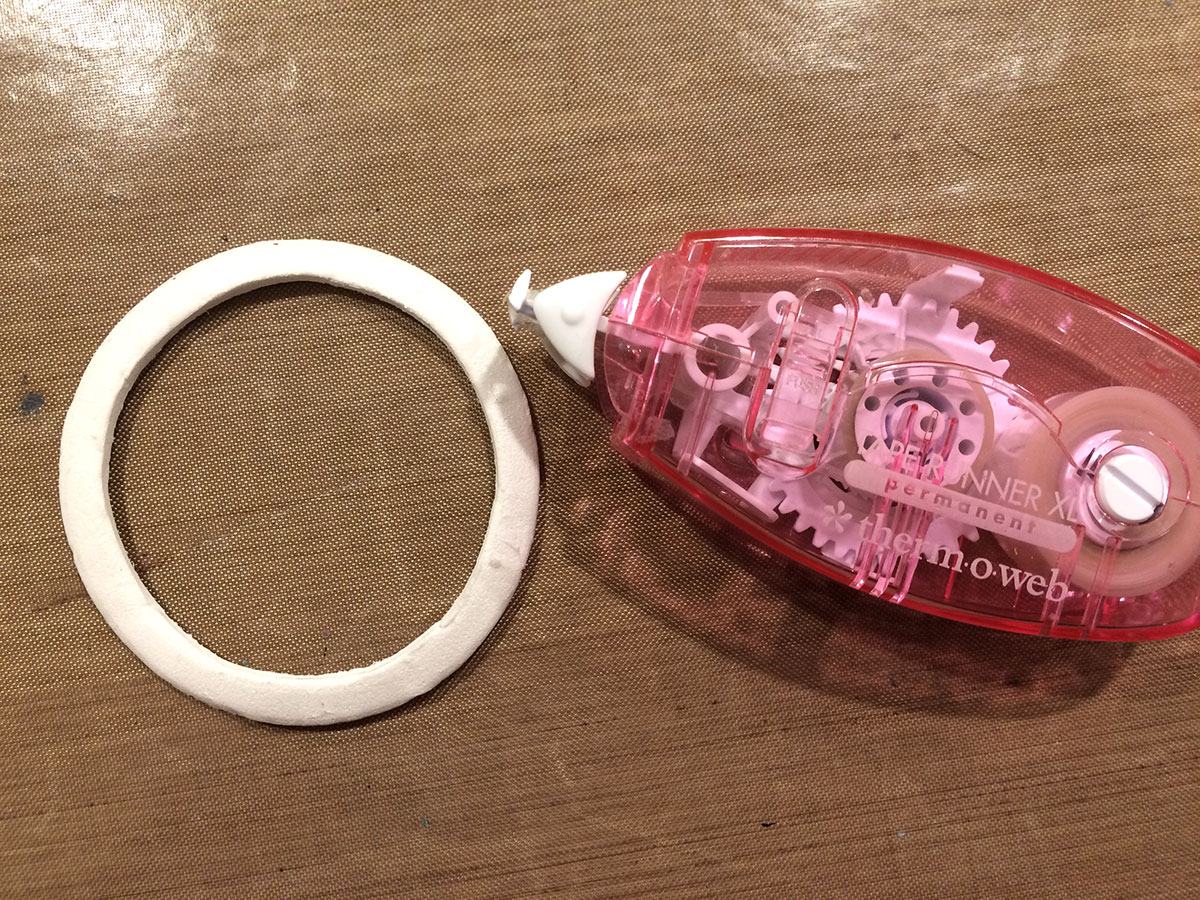
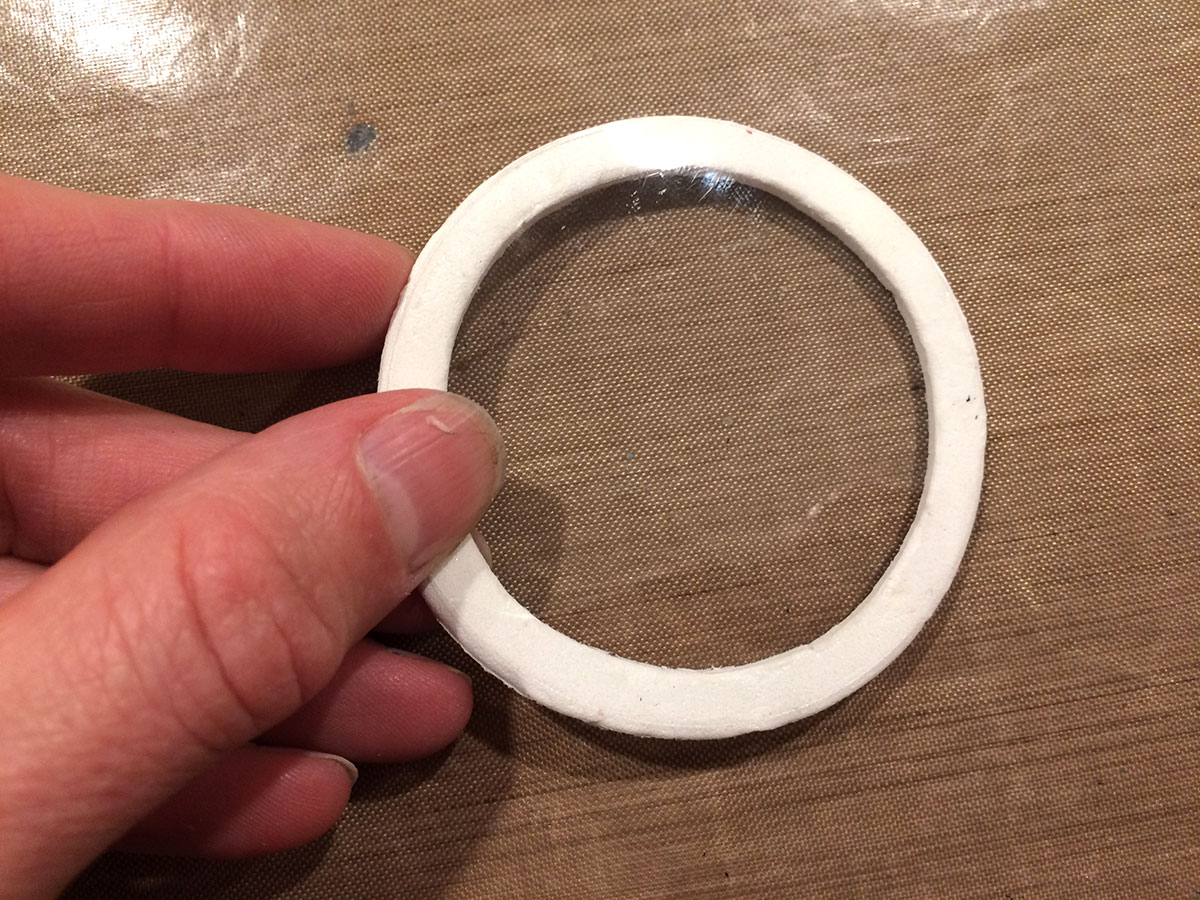
 Adhere the transparency to one side of the die cut foam using Therm O Web's Memory Tape Runner XL.
 Use the largest circle die to cut a piece of white cardstock. This will be the back of your shaker.
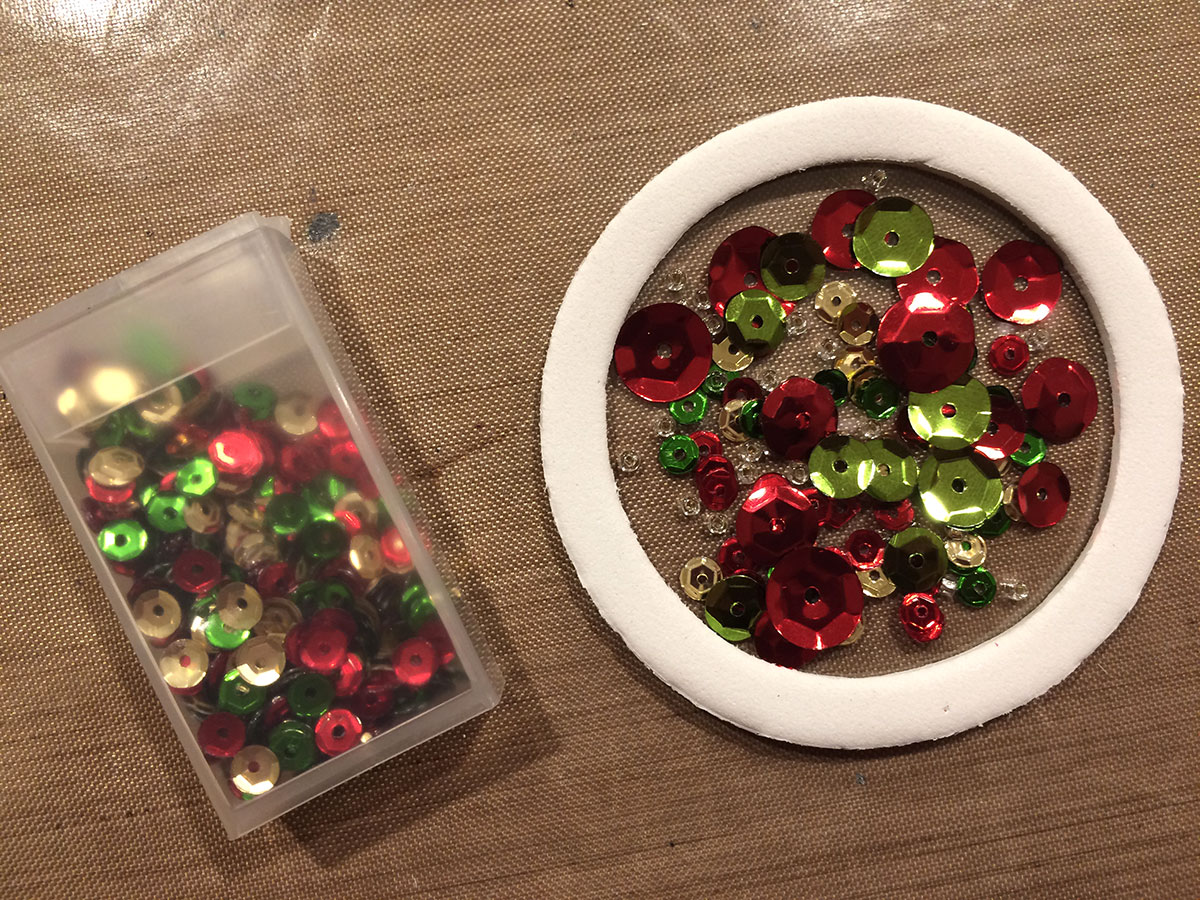
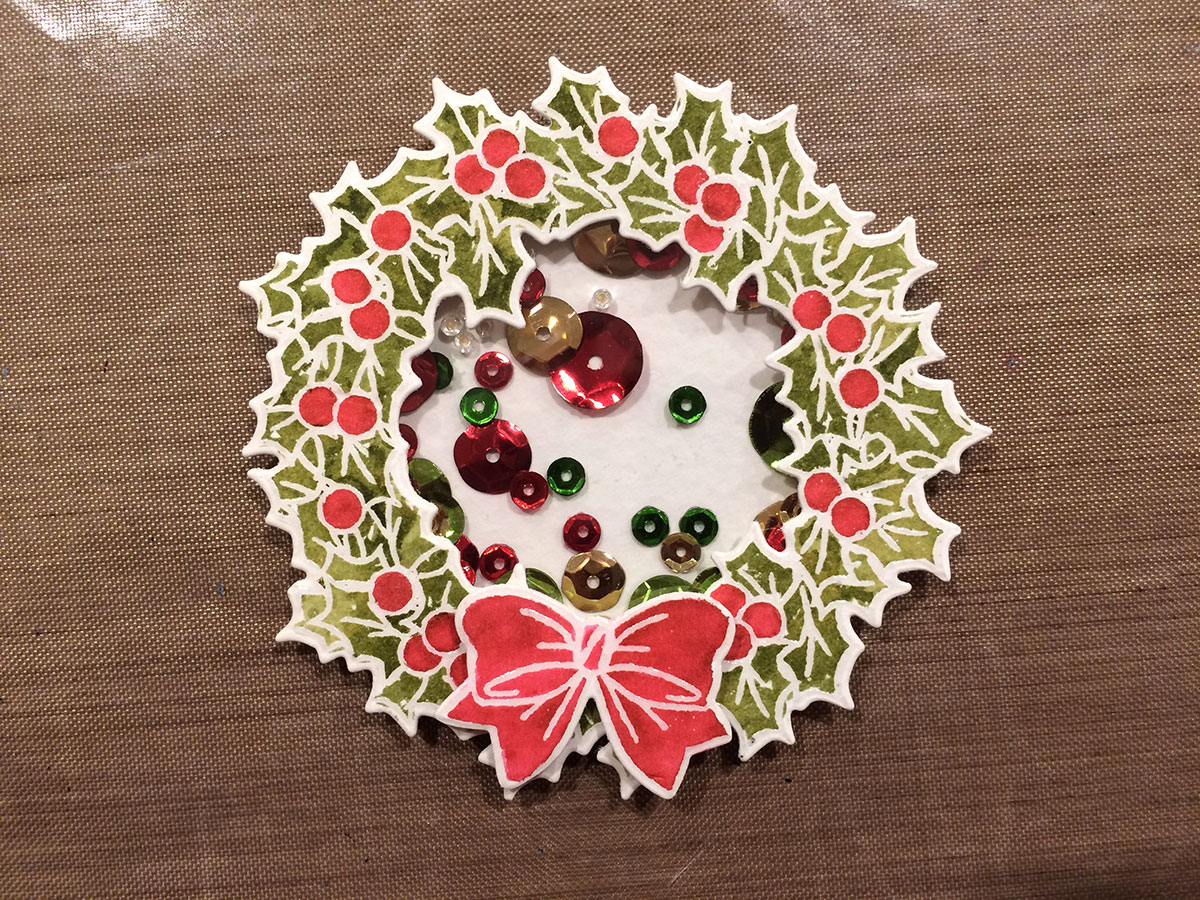
 Fill the shaker with your choice of sequins and beads.
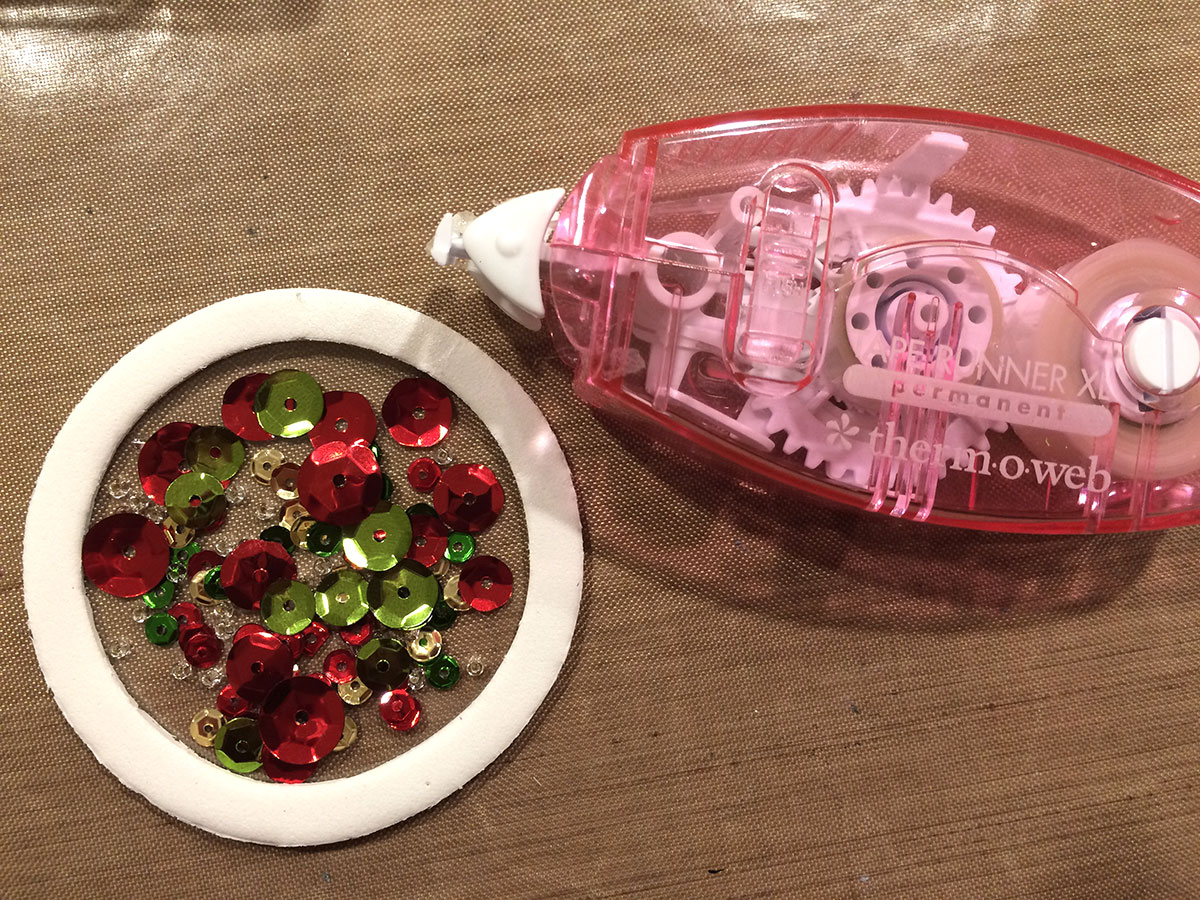
 Use Therm O Web's Memory Tape Runner XL to adhered the die cut circle to the back side of the shaker.
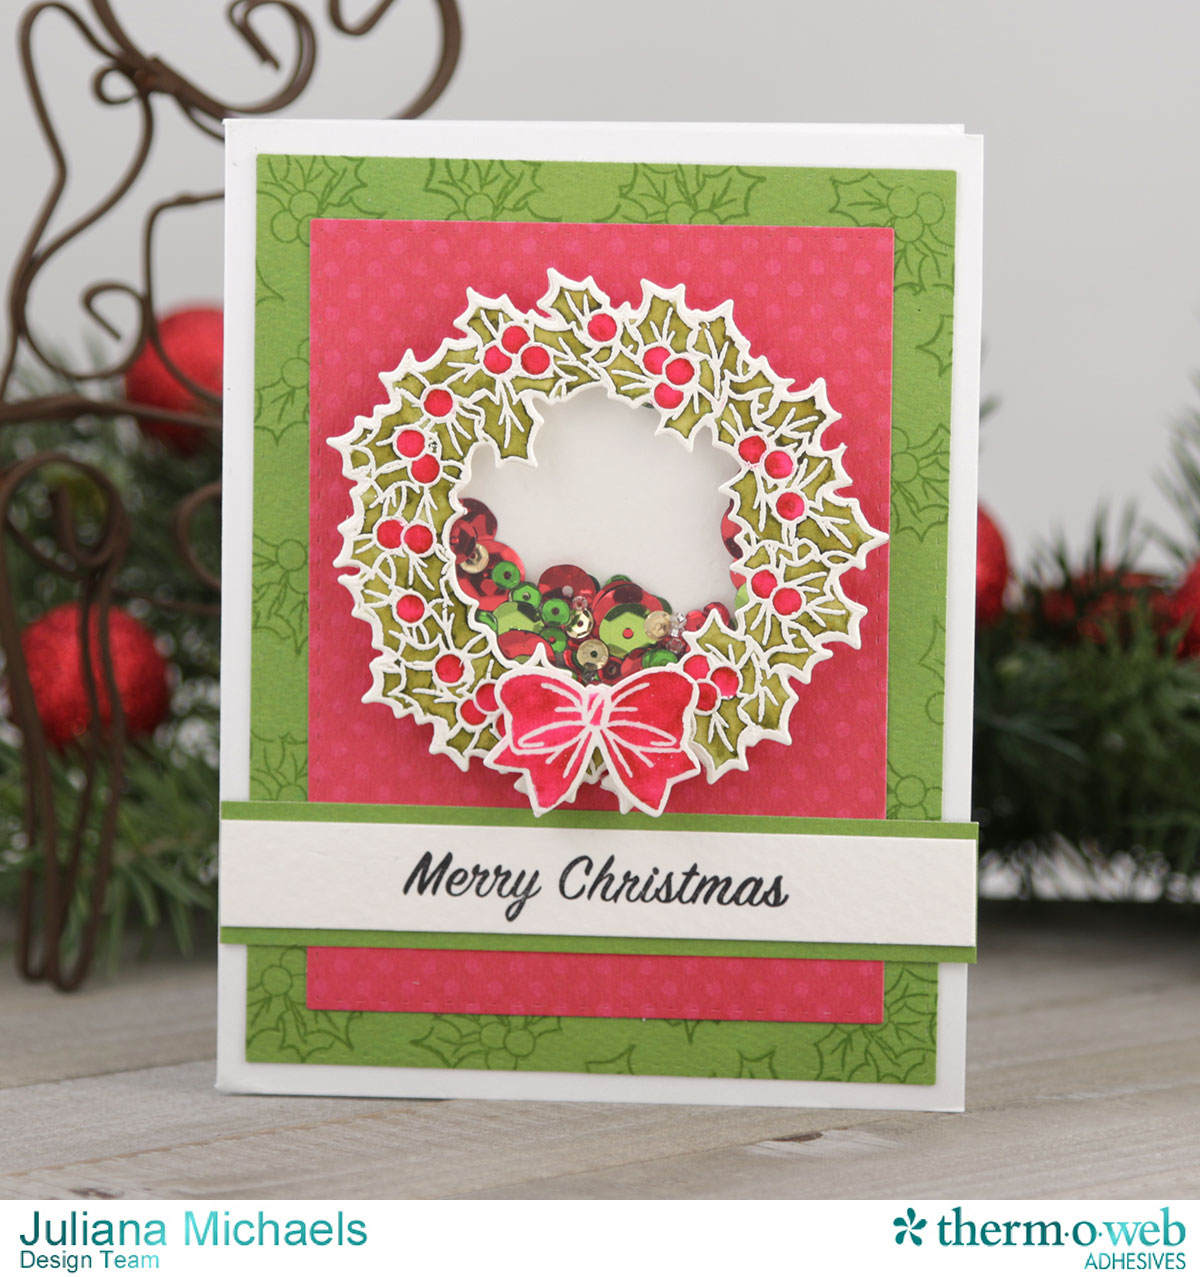
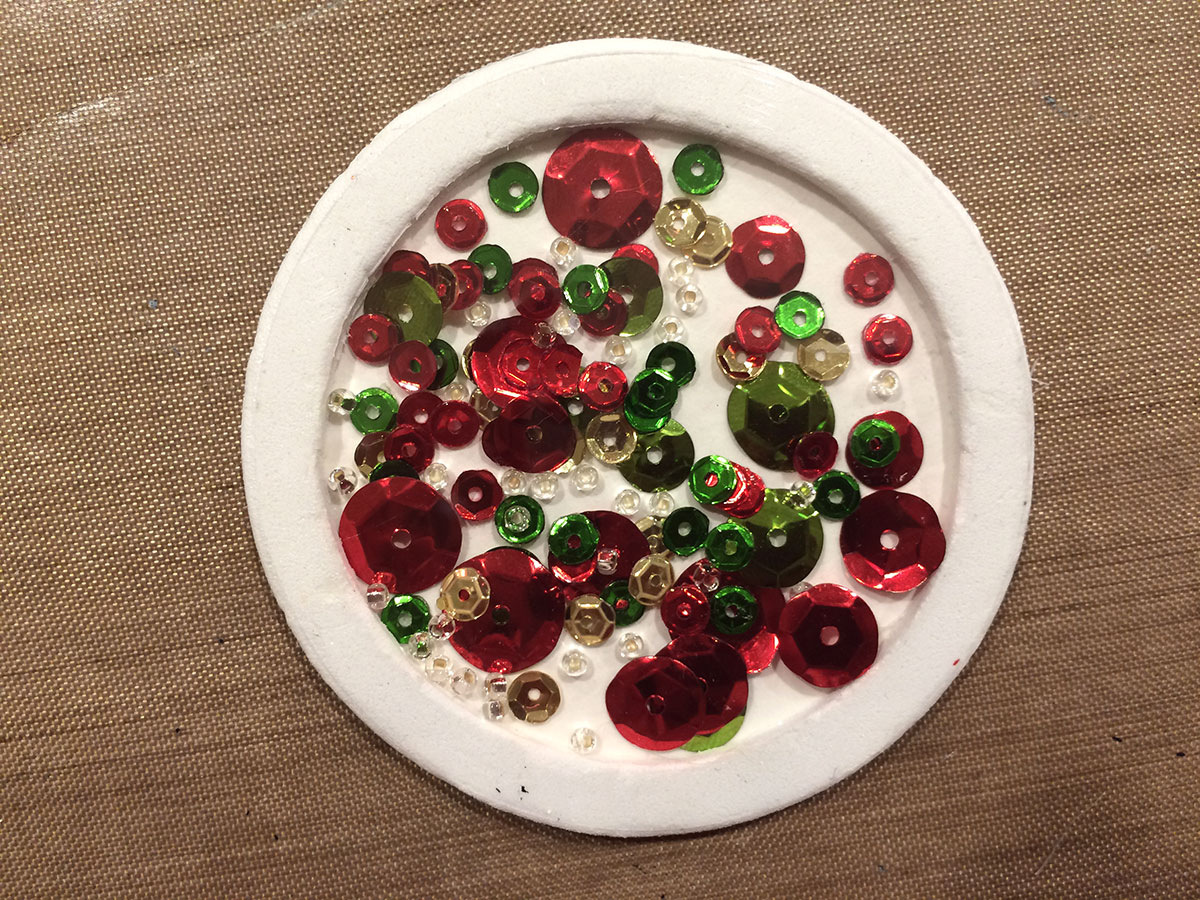 Adhere stamped and die cut wreath to the front of the shaker. Your shaker is now ready to attach to your card.
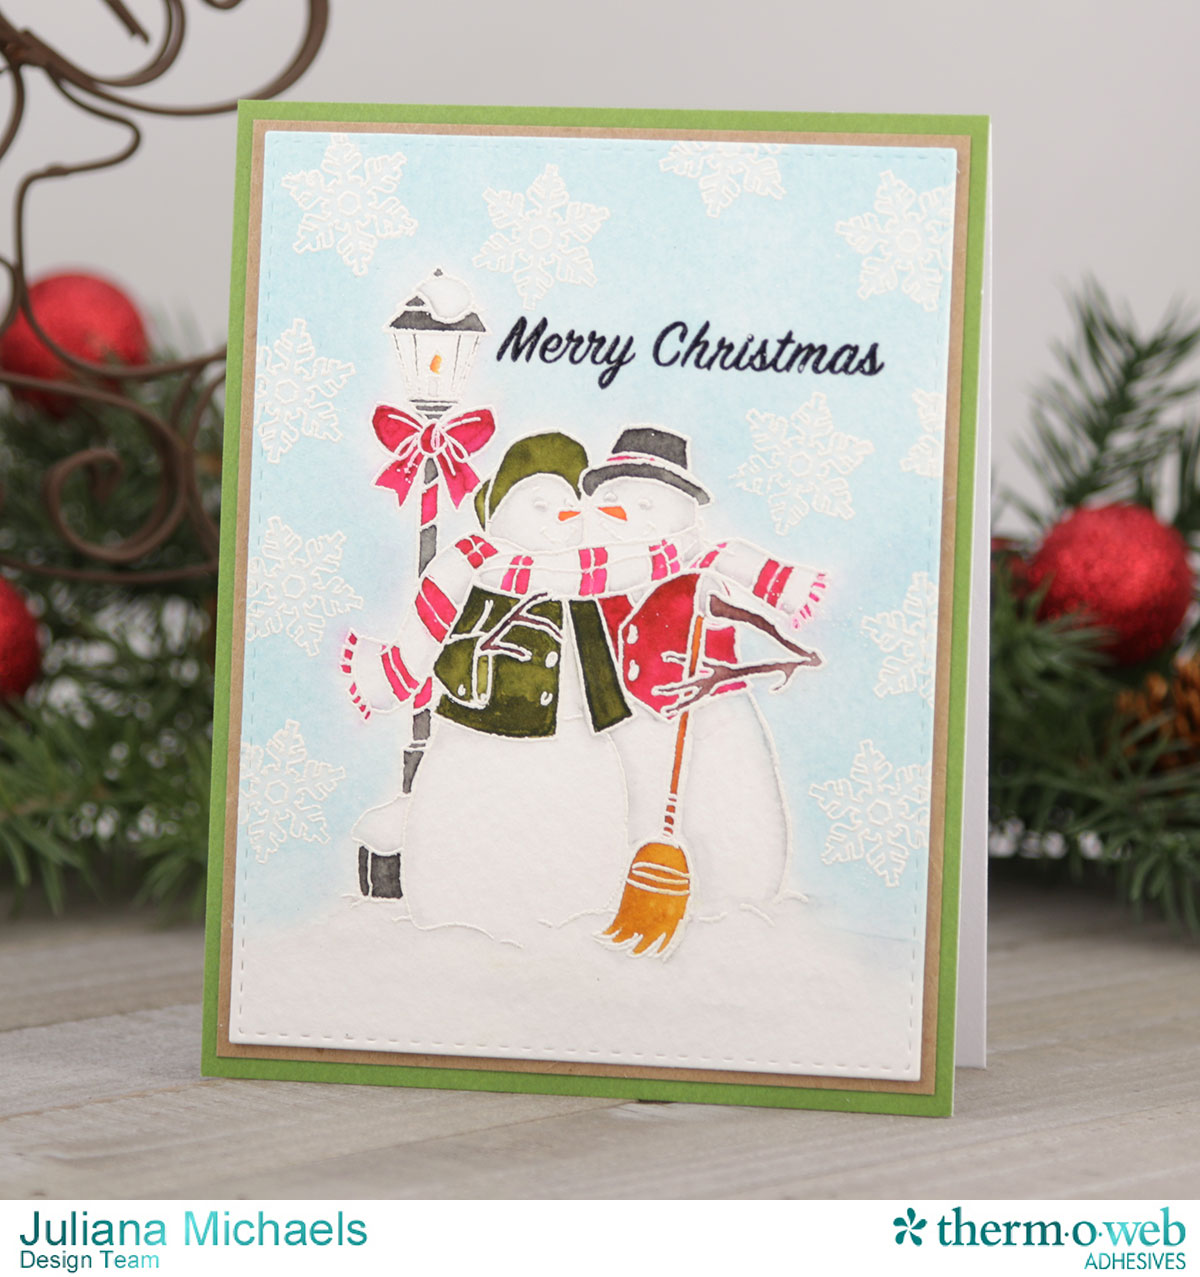 To create the snowflake background on the Snowman card, I applied Distress Ink over the stamped and embossed snowflakes with a foam blending tool. Next, I used a water brush to apply water inside the snowflakes and then dabbed away the color to achieve a fun bleached effect. This easy technique really makes the snowflakes pop against the background!
Thanks for your visit today, and I hope you enjoyed learning about how to create a shaker card using Therm O Web adhesives, along with some tips for heat embossing and watercoloring.
HUGS!
Juliana
To create the snowflake background on the Snowman card, I applied Distress Ink over the stamped and embossed snowflakes with a foam blending tool. Next, I used a water brush to apply water inside the snowflakes and then dabbed away the color to achieve a fun bleached effect. This easy technique really makes the snowflakes pop against the background!
Thanks for your visit today, and I hope you enjoyed learning about how to create a shaker card using Therm O Web adhesives, along with some tips for heat embossing and watercoloring.
HUGS!
Juliana
 Simply follow the Rafflecopter below to enter to win!
a Rafflecopter giveaway
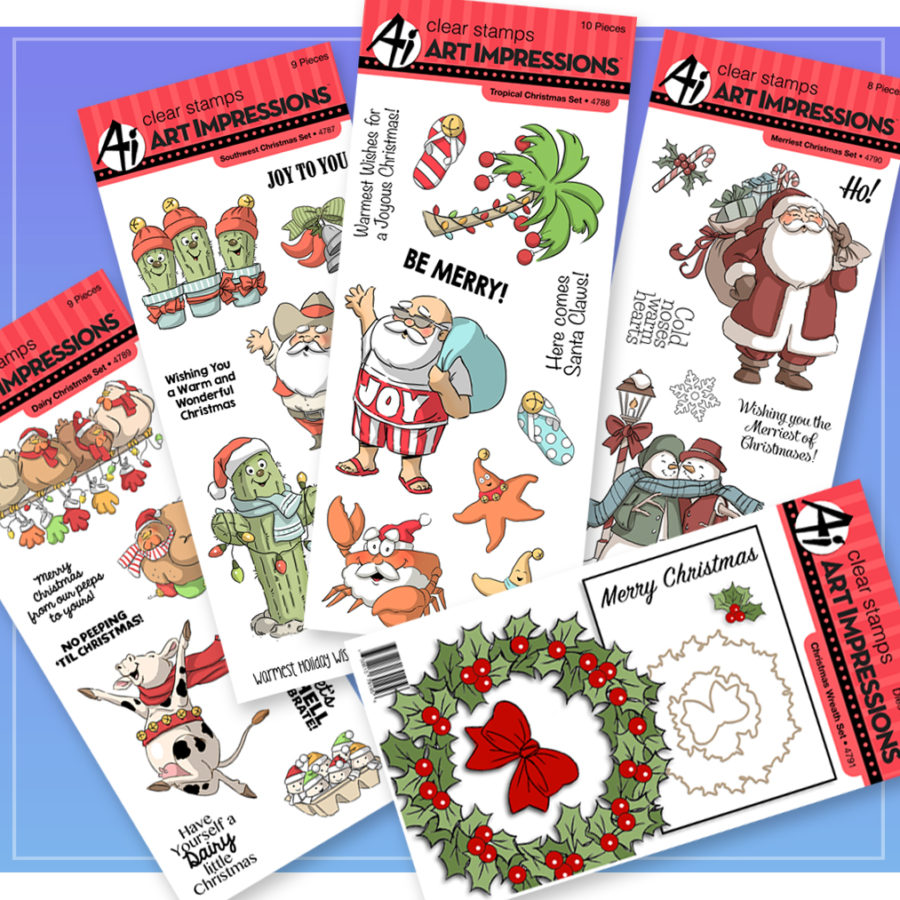
Be sure to visit our friends at Art Impressions as well to see what they're making with our products and for another chance to win!
Simply follow the Rafflecopter below to enter to win!
a Rafflecopter giveaway
Be sure to visit our friends at Art Impressions as well to see what they're making with our products and for another chance to win!