No Products in the Cart
 Print out a copy of the Christmas Cracker template with no scaling or cropping.
Trace the shapes onto the paper side of the HeatnBond Lite and roughly cut out each shape. You will need two cracker shapes and two of each of the end pieces.
Print out a copy of the Christmas Cracker template with no scaling or cropping.
Trace the shapes onto the paper side of the HeatnBond Lite and roughly cut out each shape. You will need two cracker shapes and two of each of the end pieces.
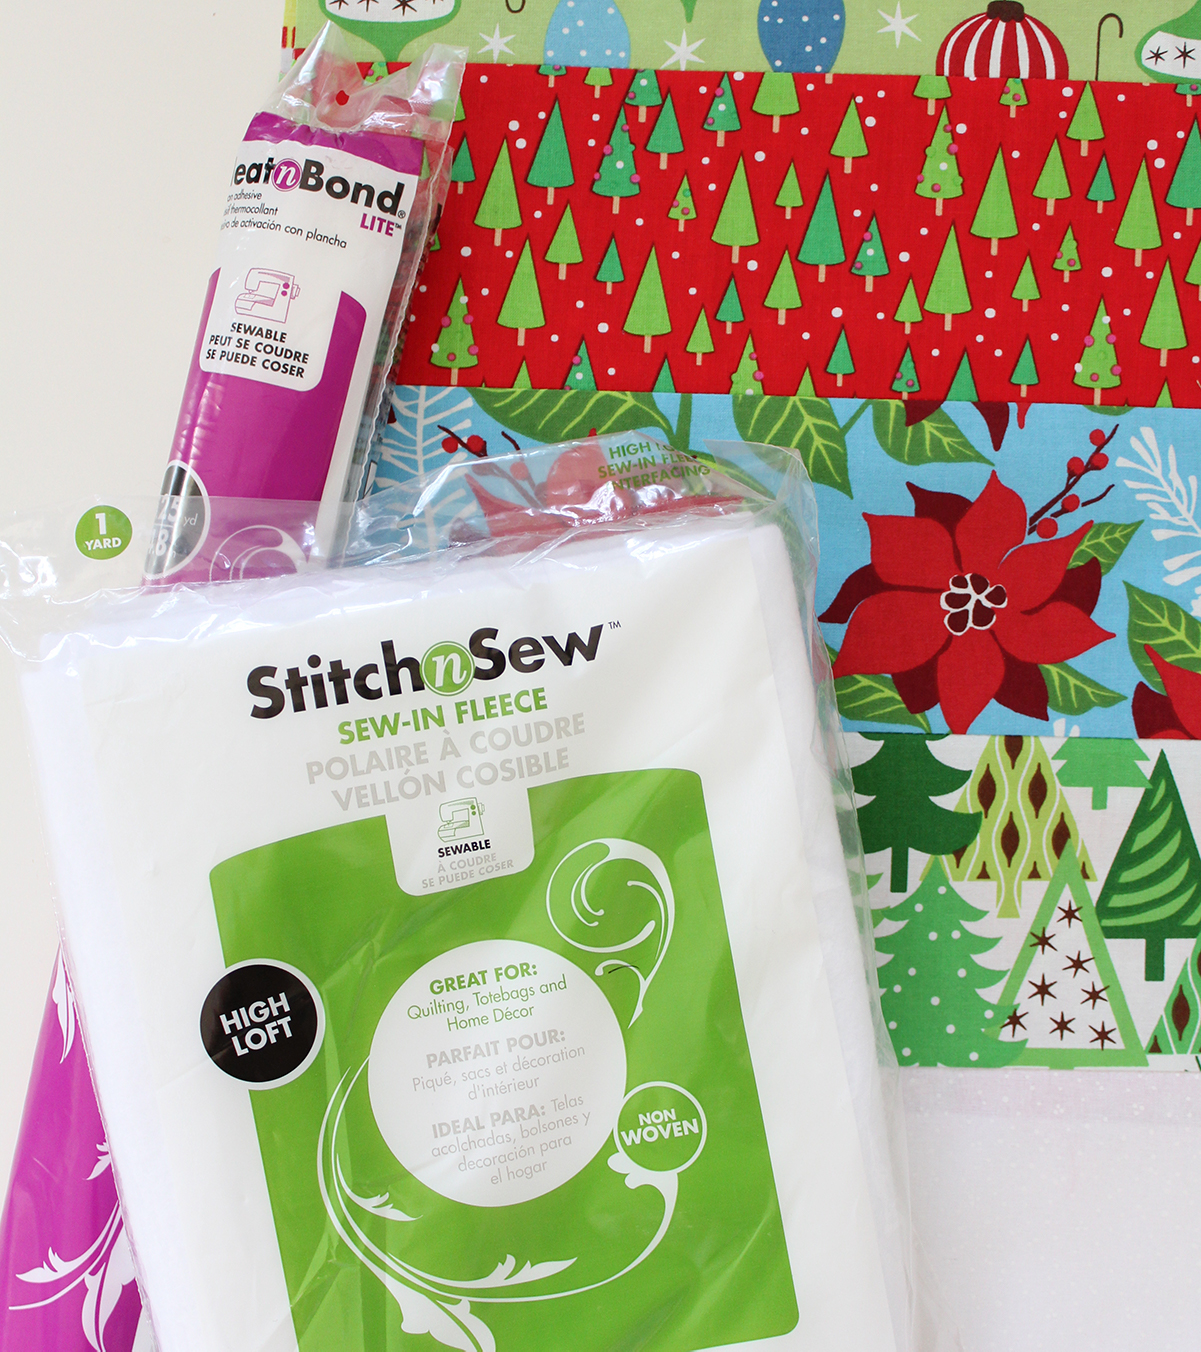
 Following the instructions on the pack, iron the fusible HeatnBond lite onto the wrong side of your fabric scraps for the crackers. Cut out the shapes on the line.
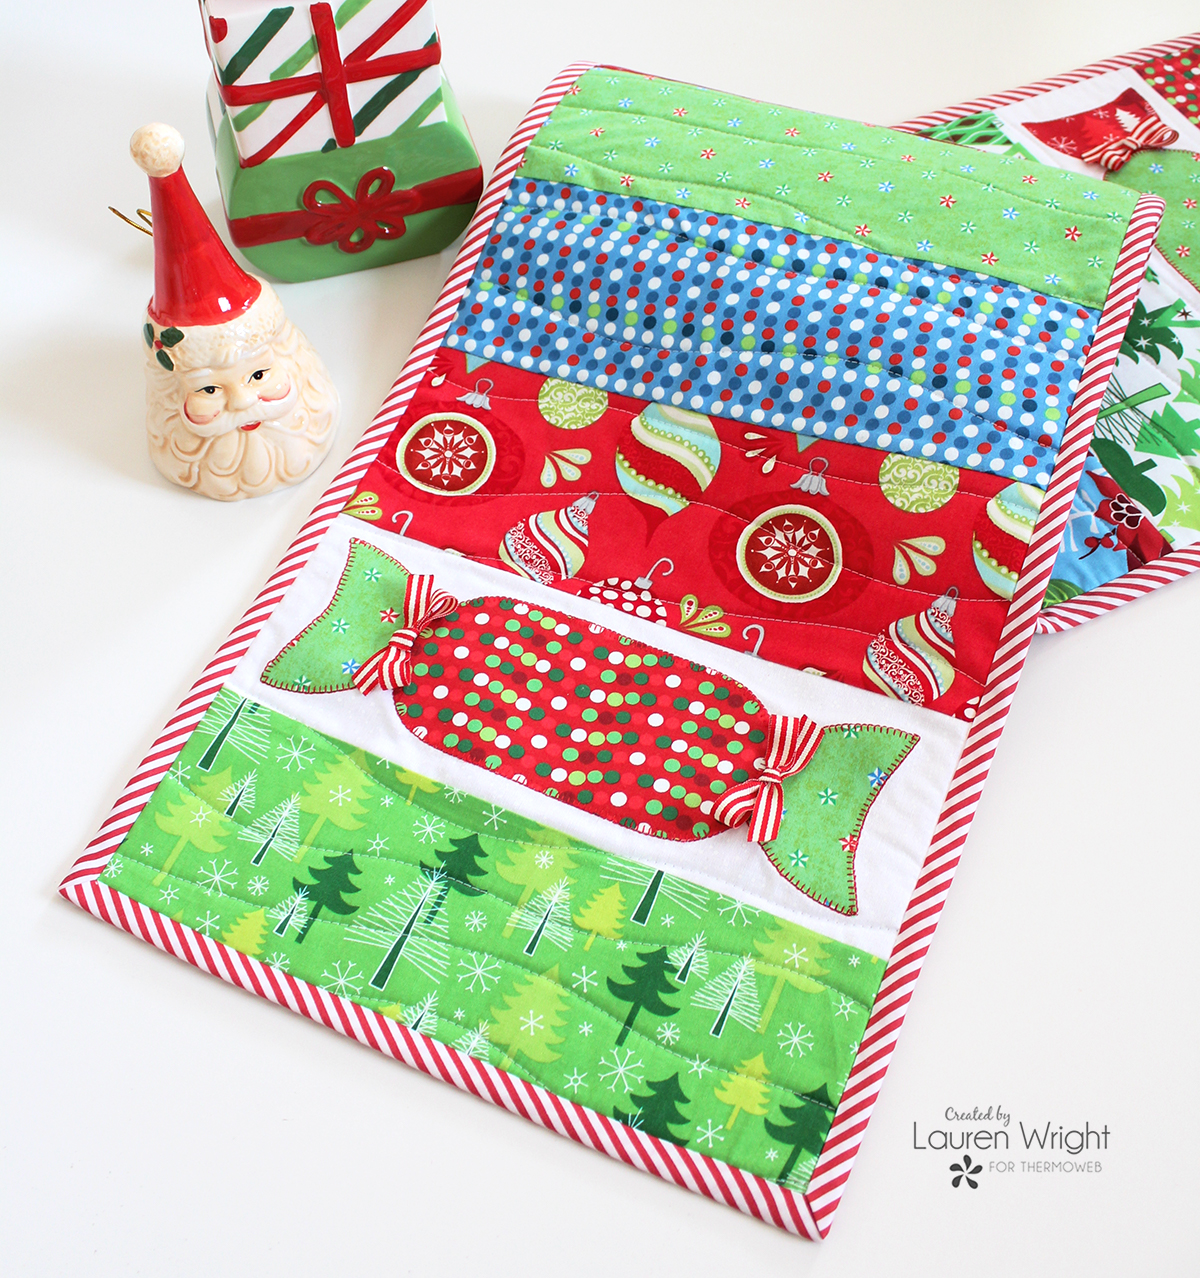
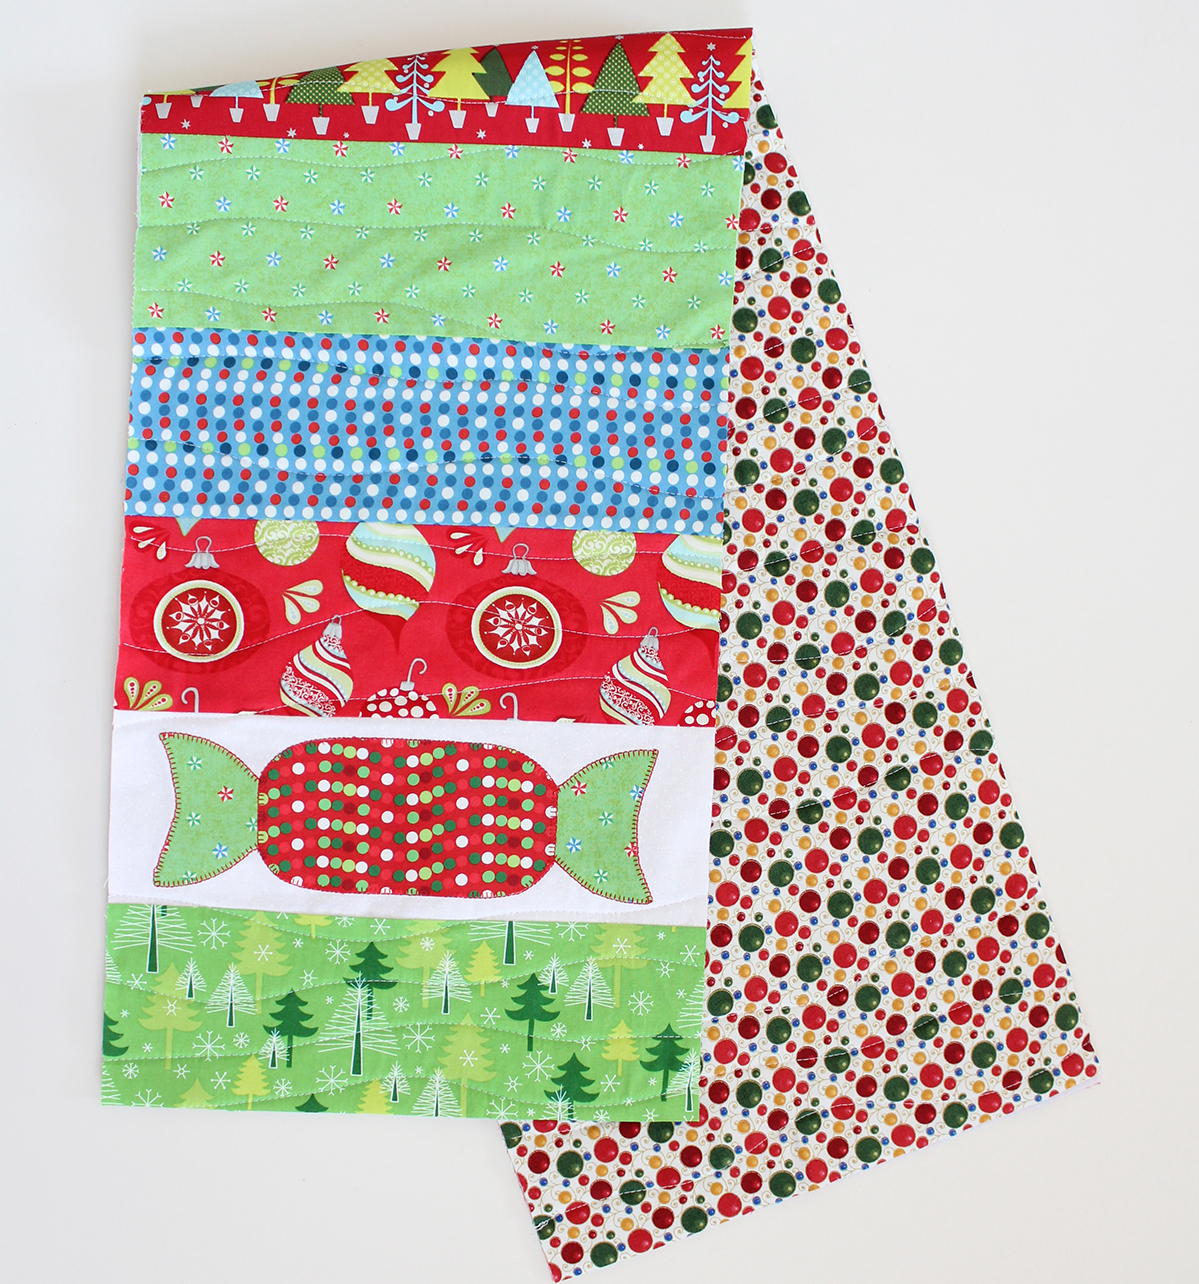
 Peel off the backing paper and position a cracker shape and two end pieces (to make a full cracker) on each of the white fabric pieces in your strip. Ensure they are centered and that the cracker shapes overlap the narrow part of the cracker ends. Iron in place.
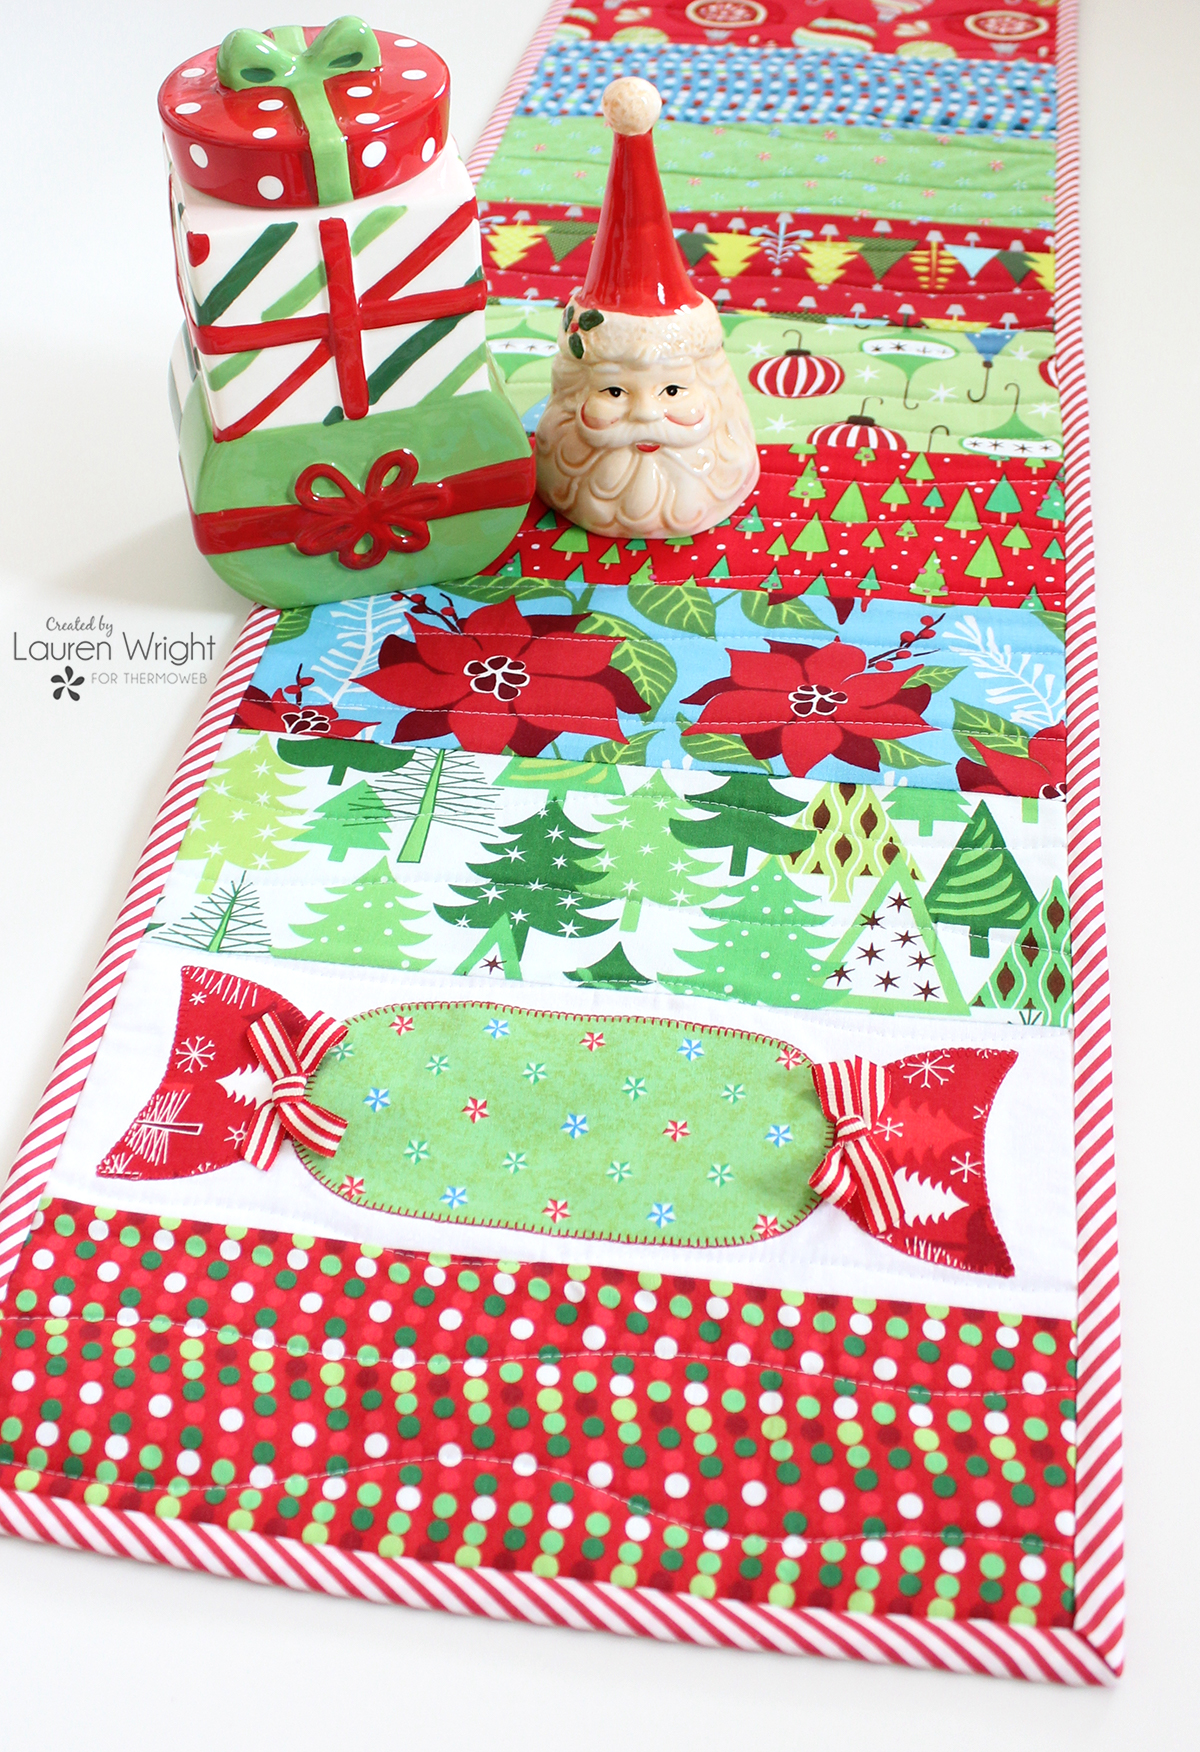
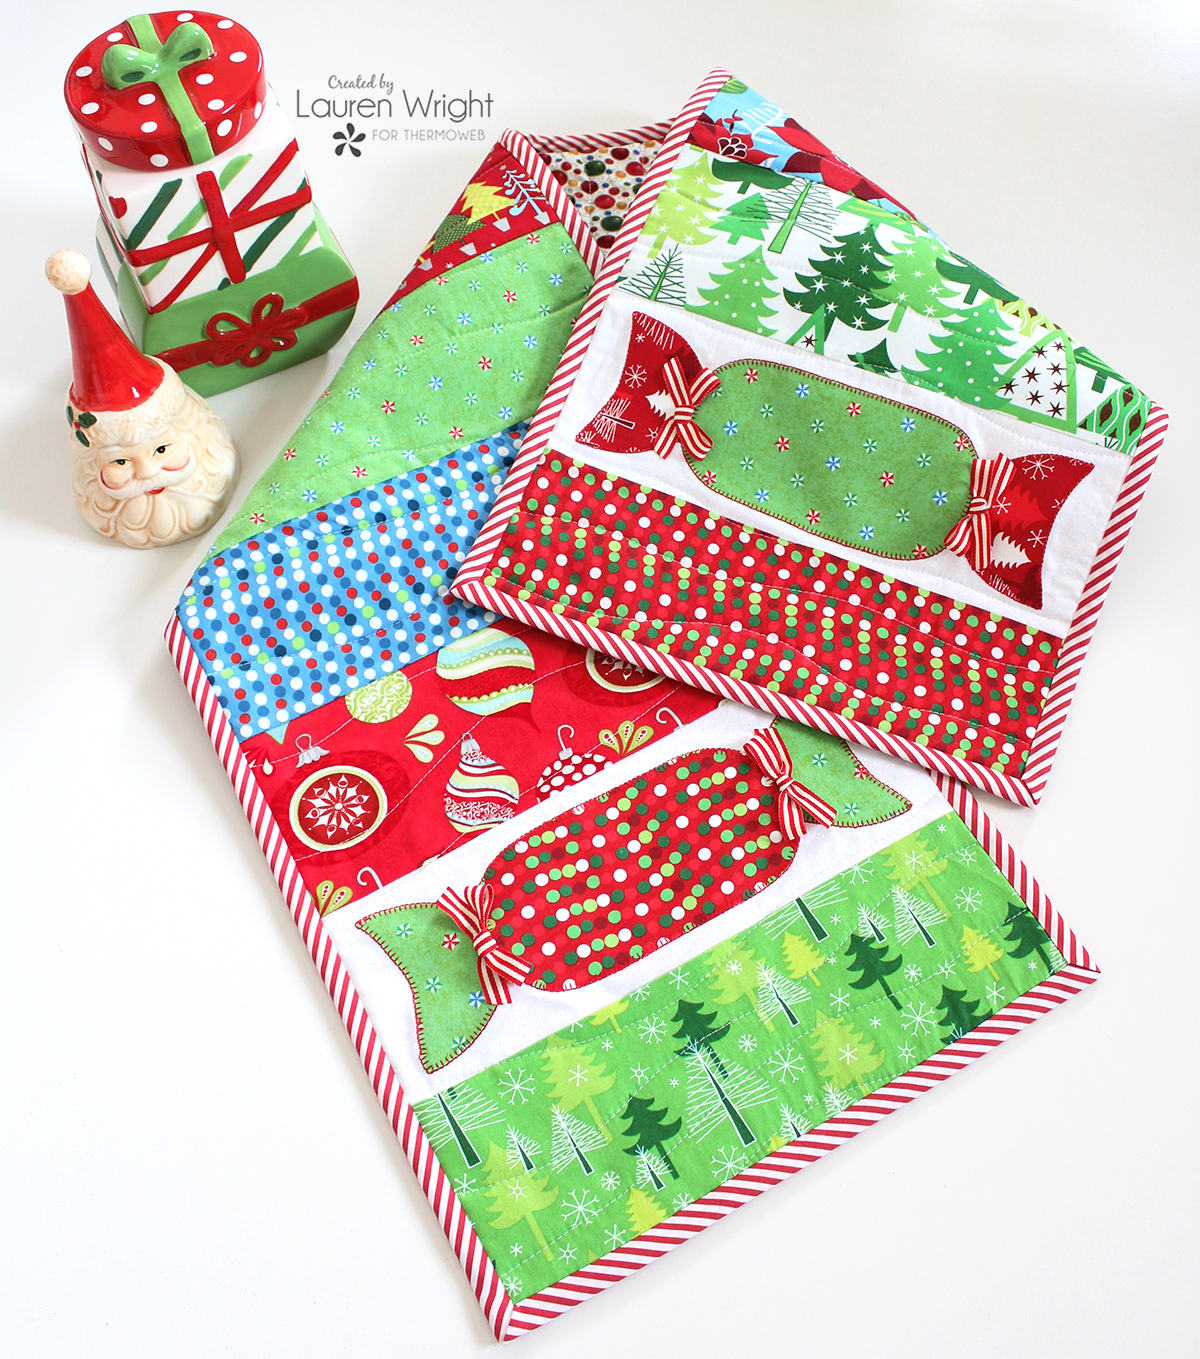
Use your favorite technique to appliqué the shapes in place in contrasting or coordinating colors. I used a small blanket stitch function on my sewing machine. The top of the runner is now complete.
Peel off the backing paper and position a cracker shape and two end pieces (to make a full cracker) on each of the white fabric pieces in your strip. Ensure they are centered and that the cracker shapes overlap the narrow part of the cracker ends. Iron in place.
Use your favorite technique to appliqué the shapes in place in contrasting or coordinating colors. I used a small blanket stitch function on my sewing machine. The top of the runner is now complete.
 Press the runner top and backing fabric.
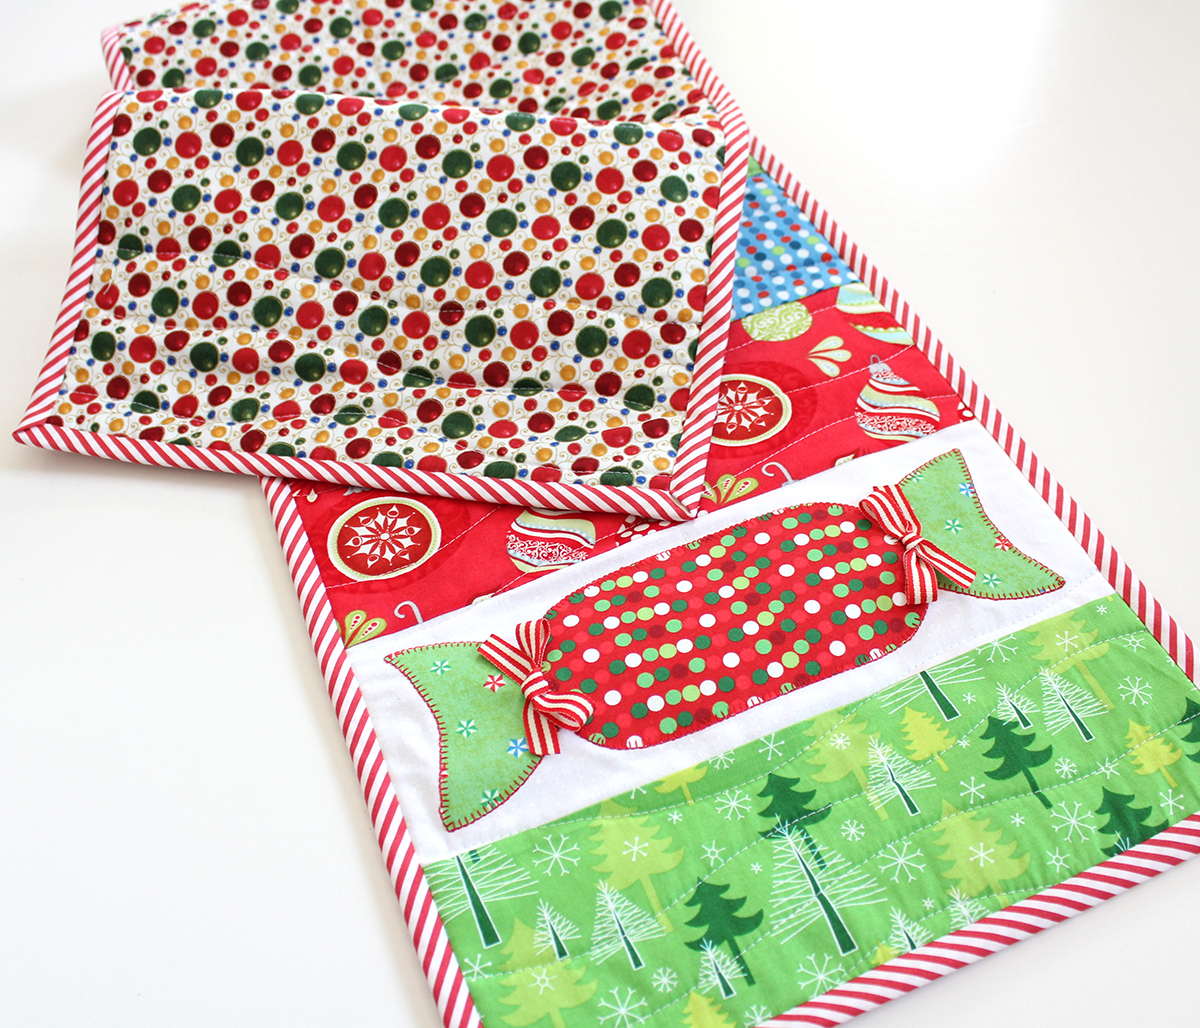
Assemble the table runner into a quilt sandwich. Use the Basting Adhesive Spray to secure the Stitch’n’Sew Sew-In Fleece to the wrong side of the Christmas fabric backing.
TIP: To use up your scraps of fleece, join them together with a large wide zig-zag stitch to make up the required length.
Use the basting spray on the wrong side of the runner top and center this over the other side of the fleece to make a quilt sandwich. The fleece and backing fabric will be wider than the runner to leave room for quilting.
Quilt your quilt sandwich using your favorite method. I used widely spaced, wavy line quilting. If using this method be sure not to quilt over the Christmas crackers!
Trim the completed quilt sandwich to remove the excess backing and fleece and to even up the edges and sides. My trimmed panel measured 48" x 12".
Press the runner top and backing fabric.
Assemble the table runner into a quilt sandwich. Use the Basting Adhesive Spray to secure the Stitch’n’Sew Sew-In Fleece to the wrong side of the Christmas fabric backing.
TIP: To use up your scraps of fleece, join them together with a large wide zig-zag stitch to make up the required length.
Use the basting spray on the wrong side of the runner top and center this over the other side of the fleece to make a quilt sandwich. The fleece and backing fabric will be wider than the runner to leave room for quilting.
Quilt your quilt sandwich using your favorite method. I used widely spaced, wavy line quilting. If using this method be sure not to quilt over the Christmas crackers!
Trim the completed quilt sandwich to remove the excess backing and fleece and to even up the edges and sides. My trimmed panel measured 48" x 12".
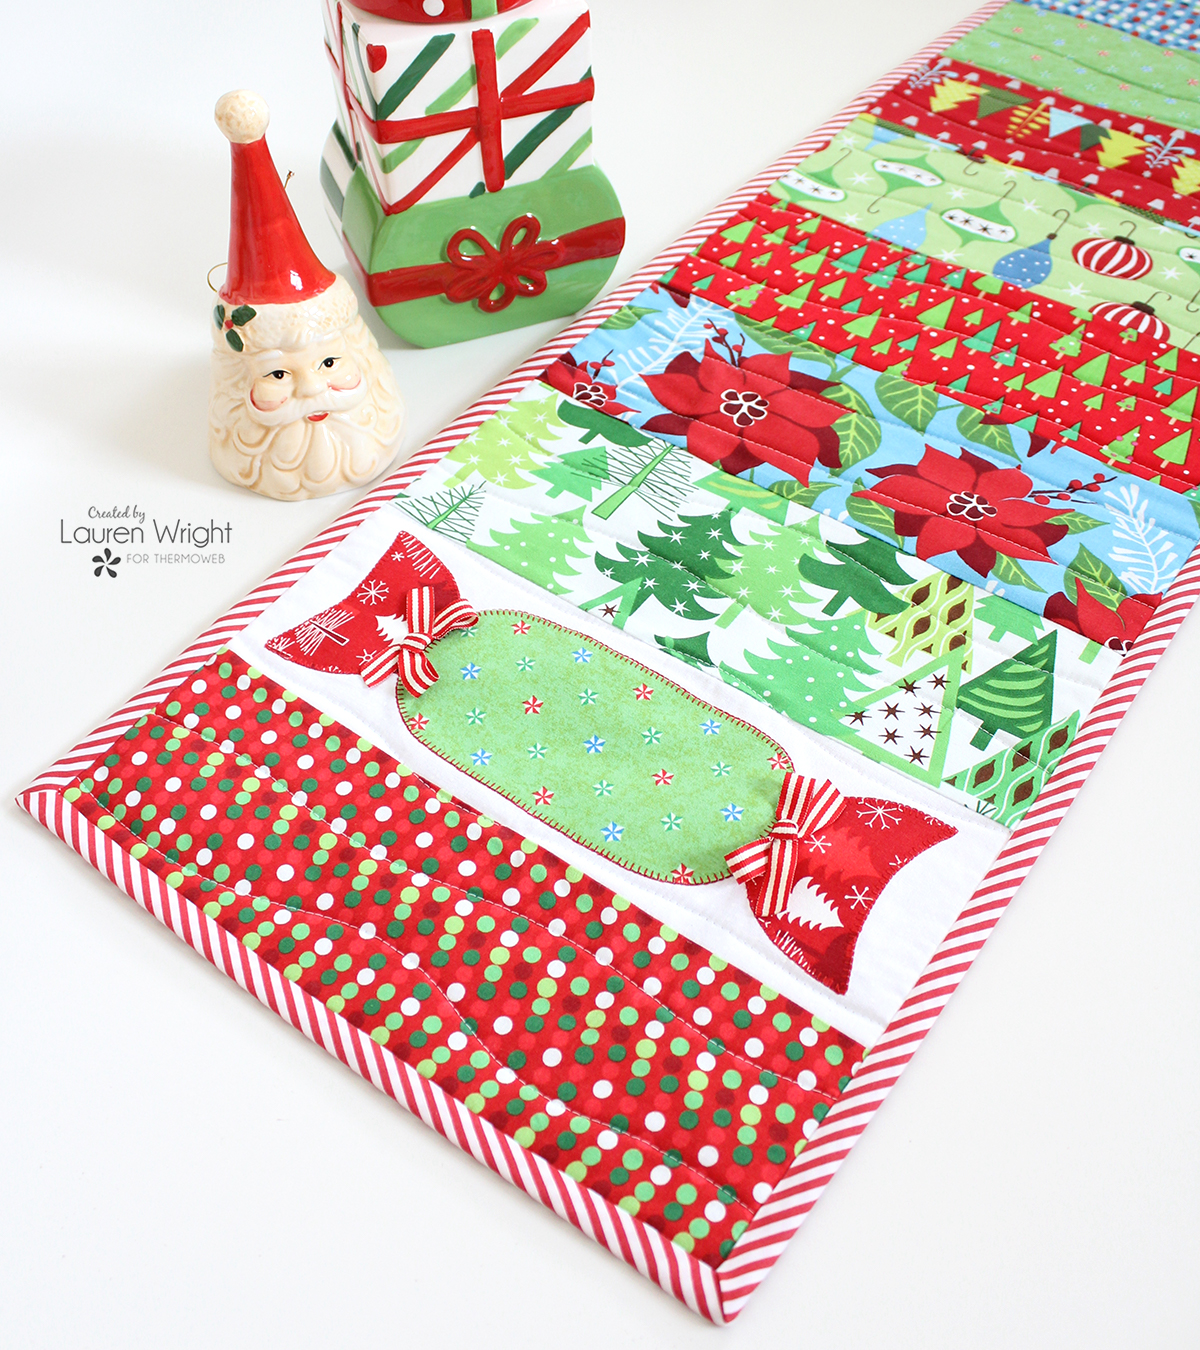
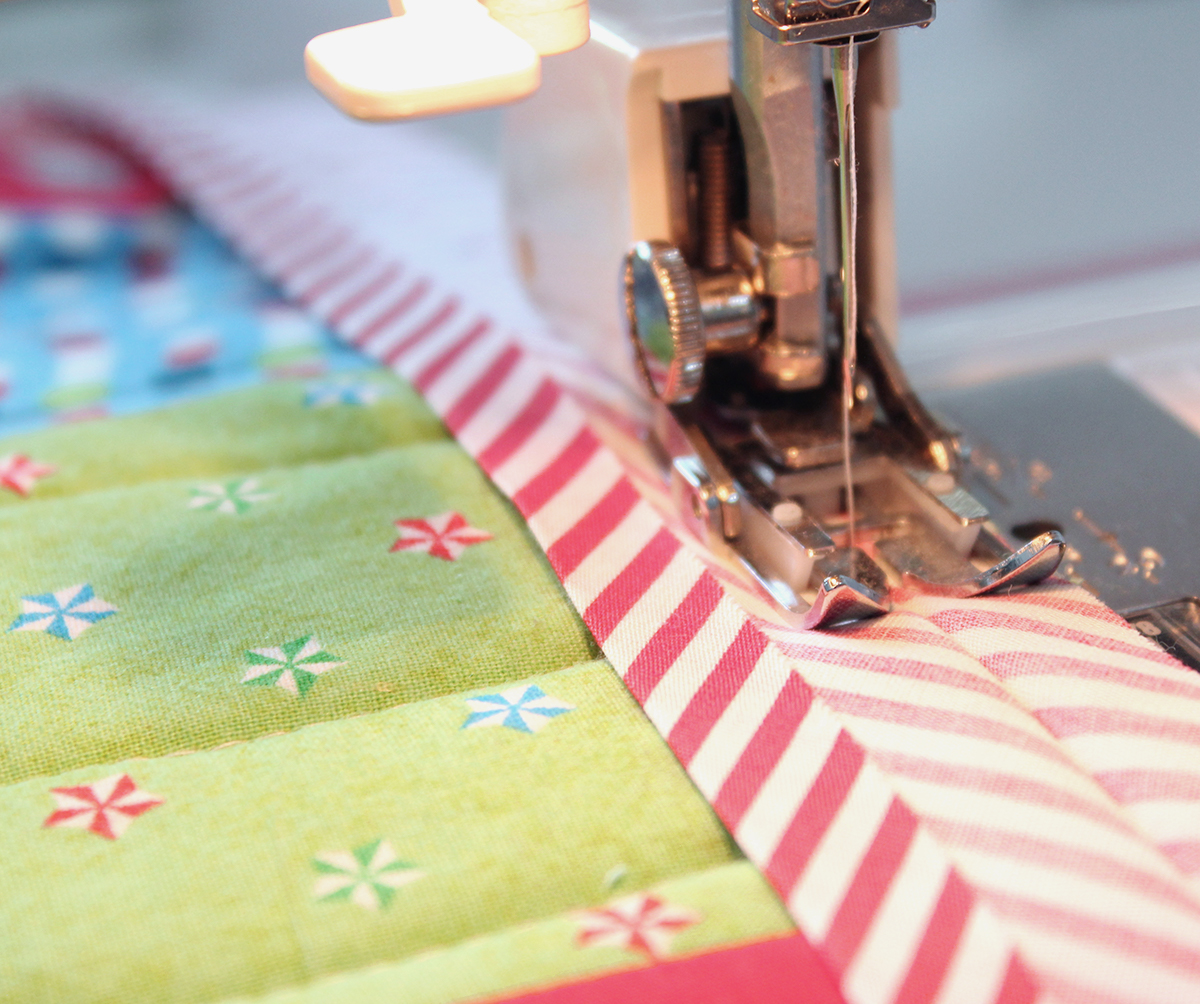
 Bind the edges of the table runner with 130" of binding, using your preferred method. You can make your own binding by joining 2" strips of the width of the fabric. Alternatively, use pre-made bias binding like I did (I love the candy cane stripe effect which was perfect for this Christmas themed project).
Align the raw edges of the binding on the top of the table runner and stitch in place, being careful to mitre the corners and join the binding carefully at the end. Hand stitch the binding in place on the back of the runner.
Bind the edges of the table runner with 130" of binding, using your preferred method. You can make your own binding by joining 2" strips of the width of the fabric. Alternatively, use pre-made bias binding like I did (I love the candy cane stripe effect which was perfect for this Christmas themed project).
Align the raw edges of the binding on the top of the table runner and stitch in place, being careful to mitre the corners and join the binding carefully at the end. Hand stitch the binding in place on the back of the runner.
 From the ribbon, tie and cut four similarly sized bows. Heat seal the ends to prevent fraying.
With a needle and thread, hand stitch a bow to the end of each cracker shape, being careful to keep the stitches invisible and hidden on the front of the table runner.
From the ribbon, tie and cut four similarly sized bows. Heat seal the ends to prevent fraying.
With a needle and thread, hand stitch a bow to the end of each cracker shape, being careful to keep the stitches invisible and hidden on the front of the table runner.
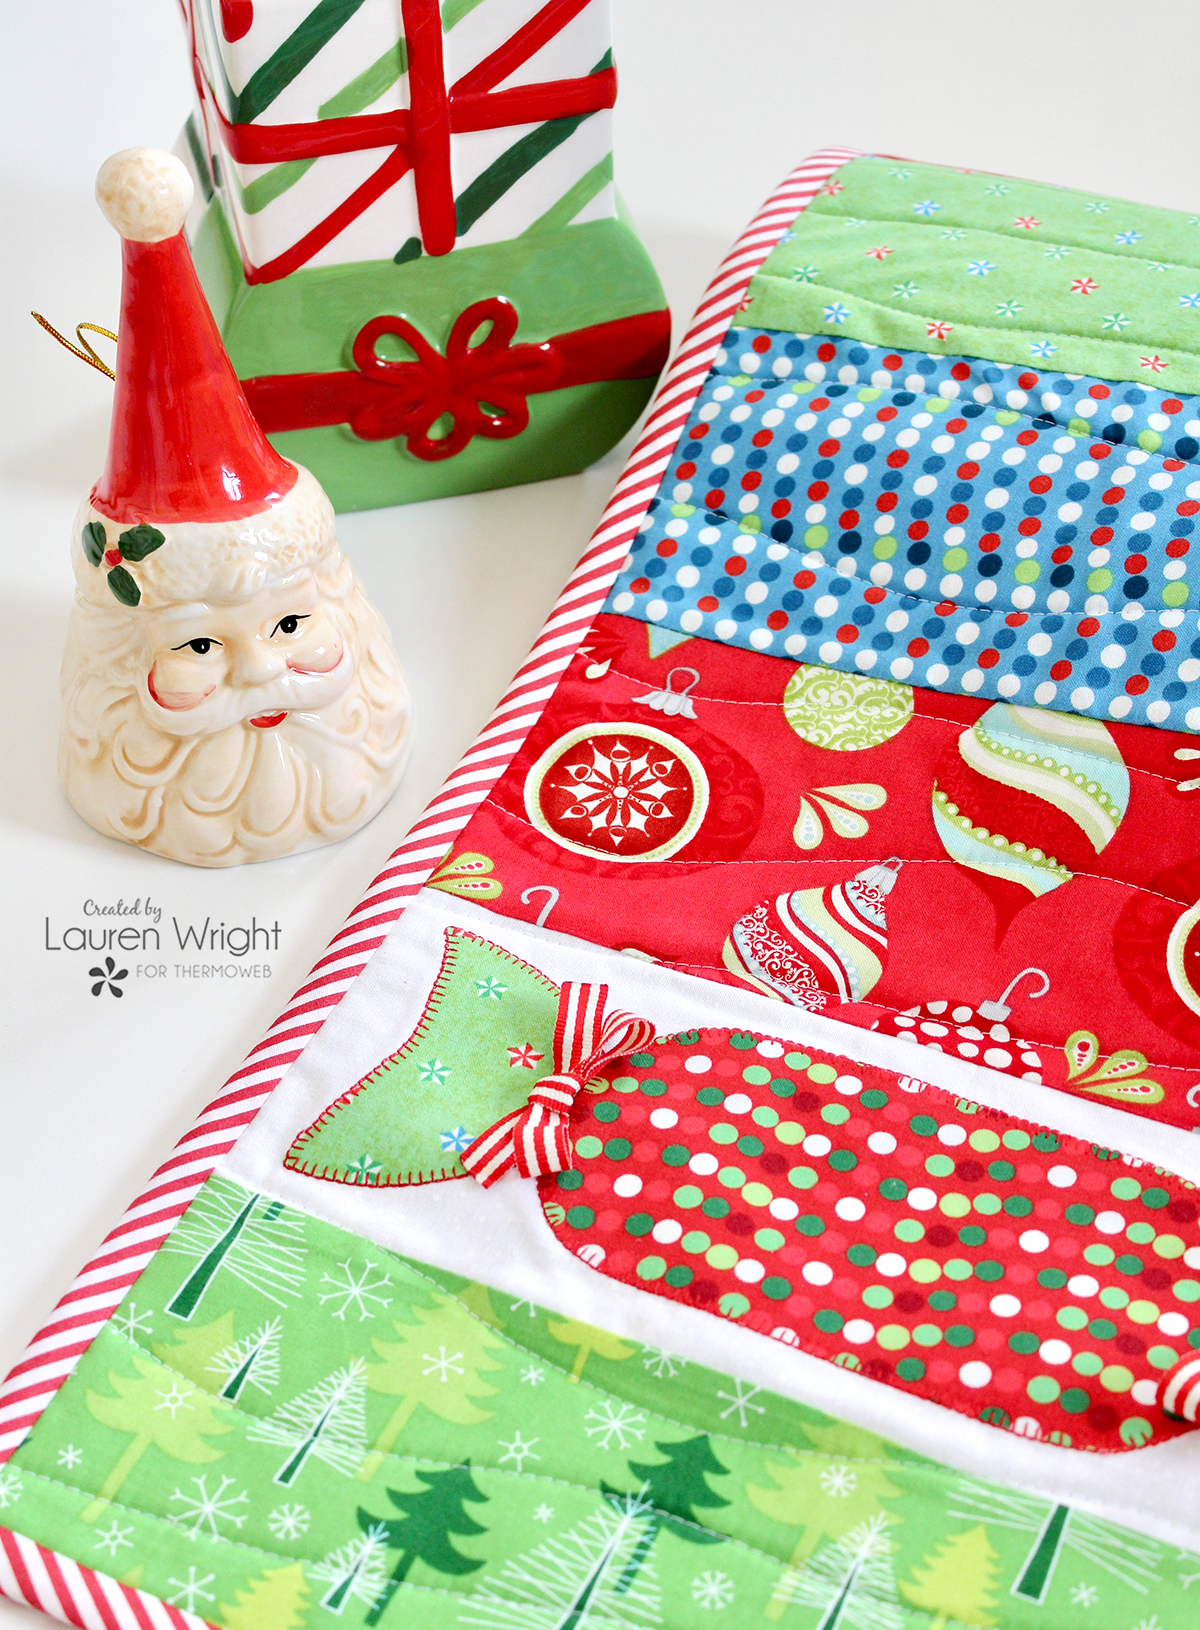 Your table runner is now complete and ready to adorn your festive table!