Hello and welcome!
It’s Julia from Inflorescence Designs! I’m so joyful you are visiting today. For today's tutorial, I am going to share with you how to make my interpretation of the Carpenter Star Quilt.
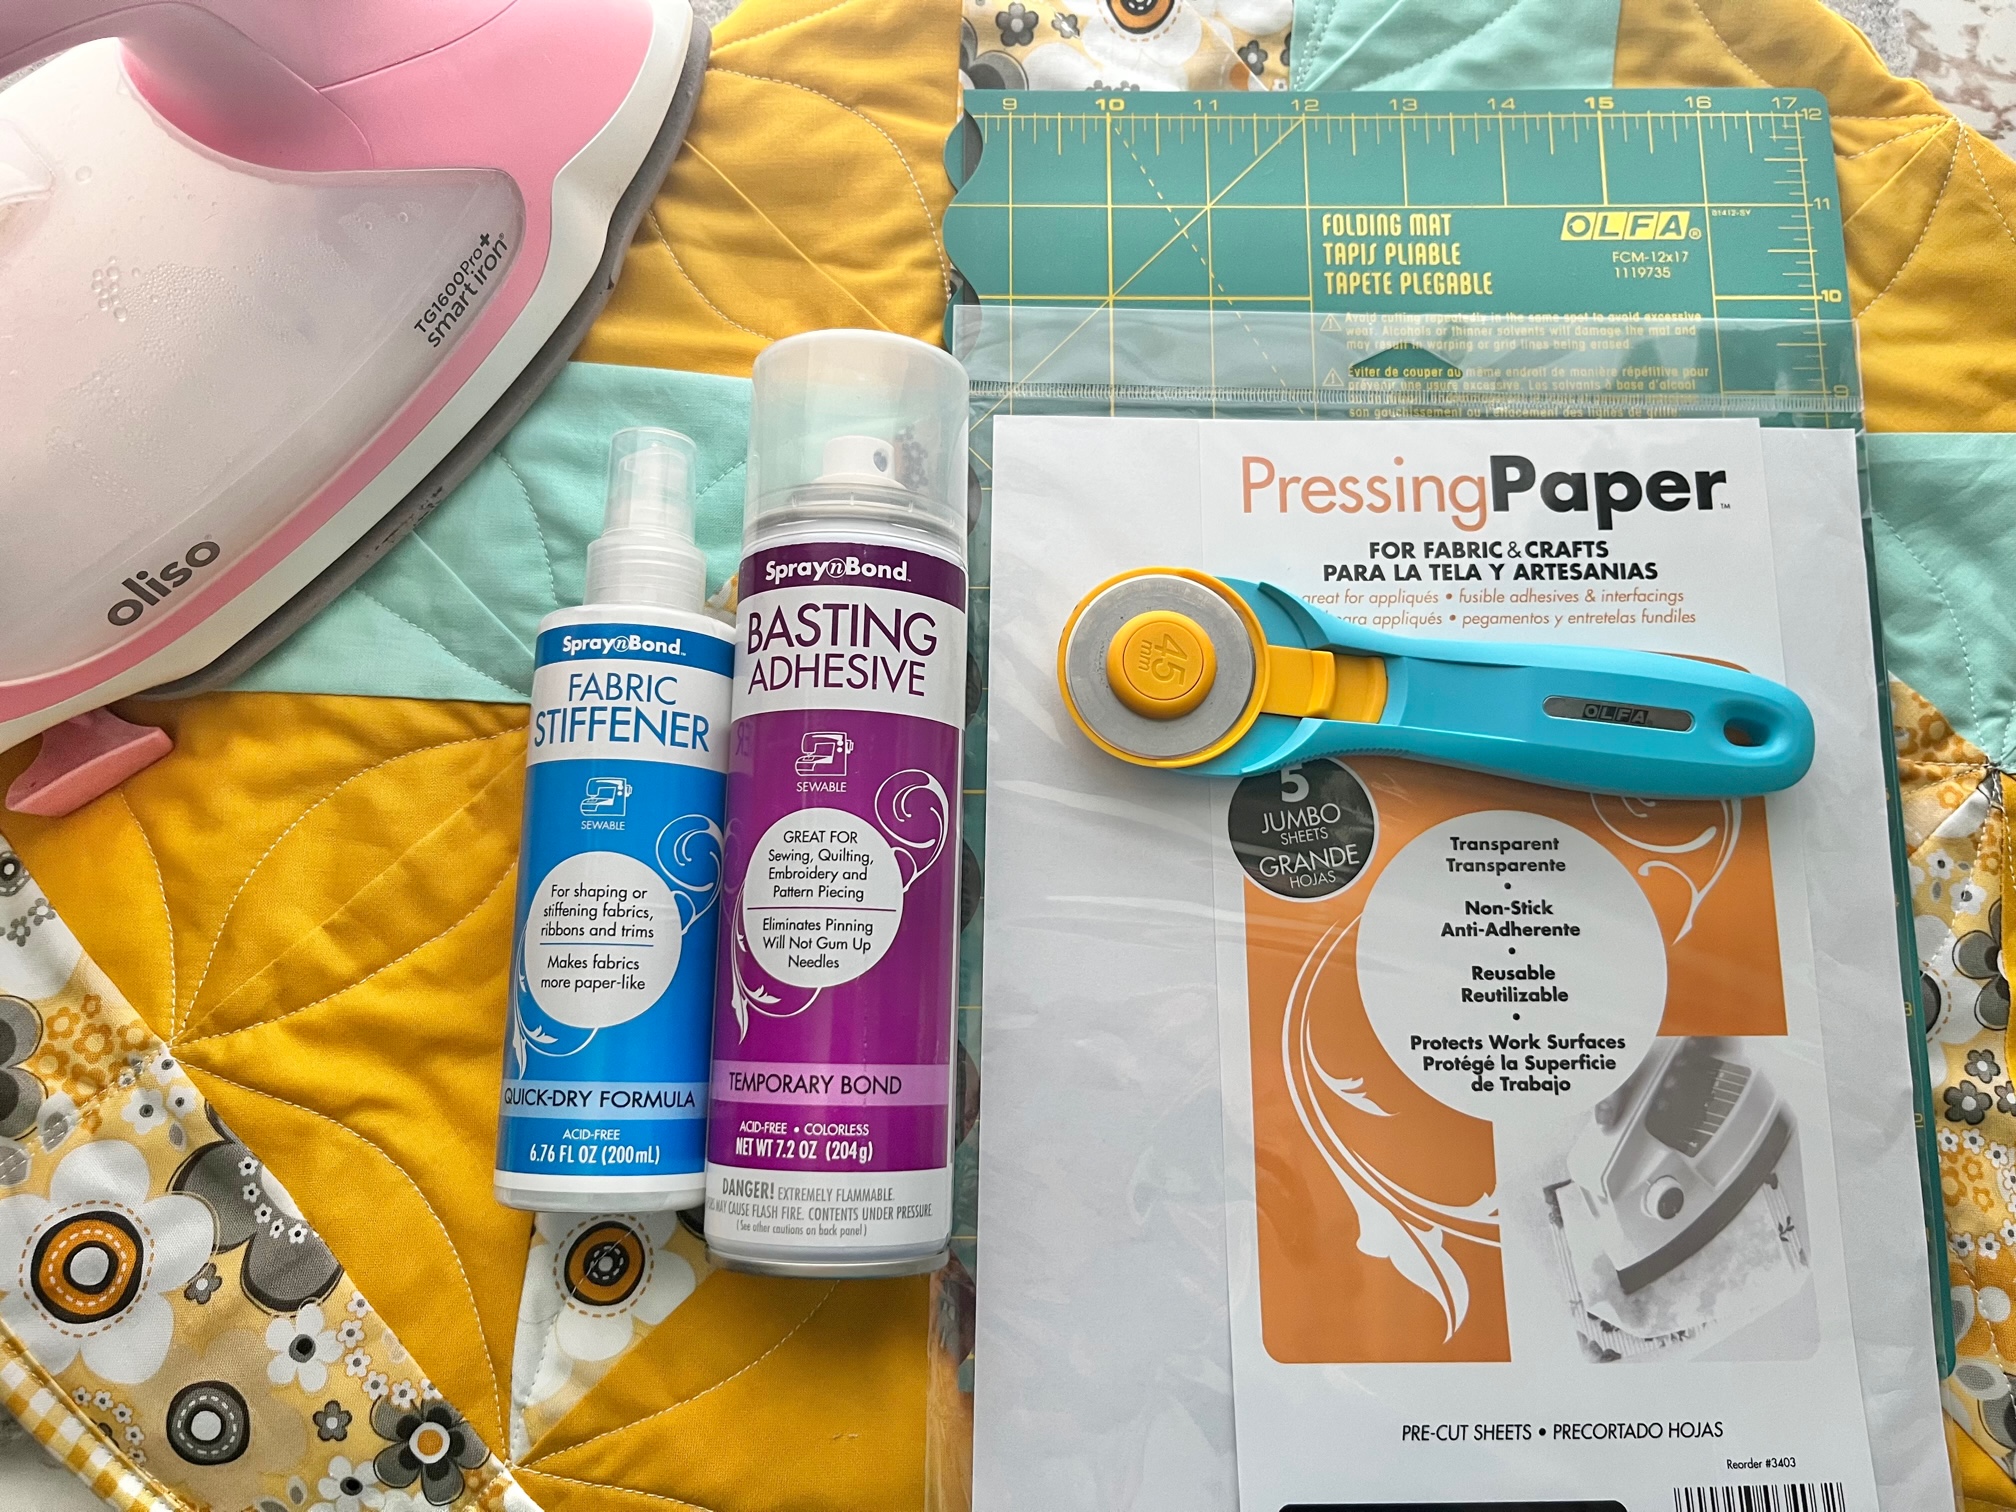
This quilt is full of half square triangles (HST) and sewing each of them individually can be cumbersome. To make things easier, I made 4 and 8 HST at a time! I also used Thermoweb's SpraynBond Fabric Stiffener. Using the spray made my fabric nice and crisp, which allowed me to easily piece the entire quilt together in ONE DAY!
SpraynBond Fabric Stiffener is a must-have for any fabric crafter! It makes fabrics more paper-like and fray-free for easy cutting, pressing and stitching.
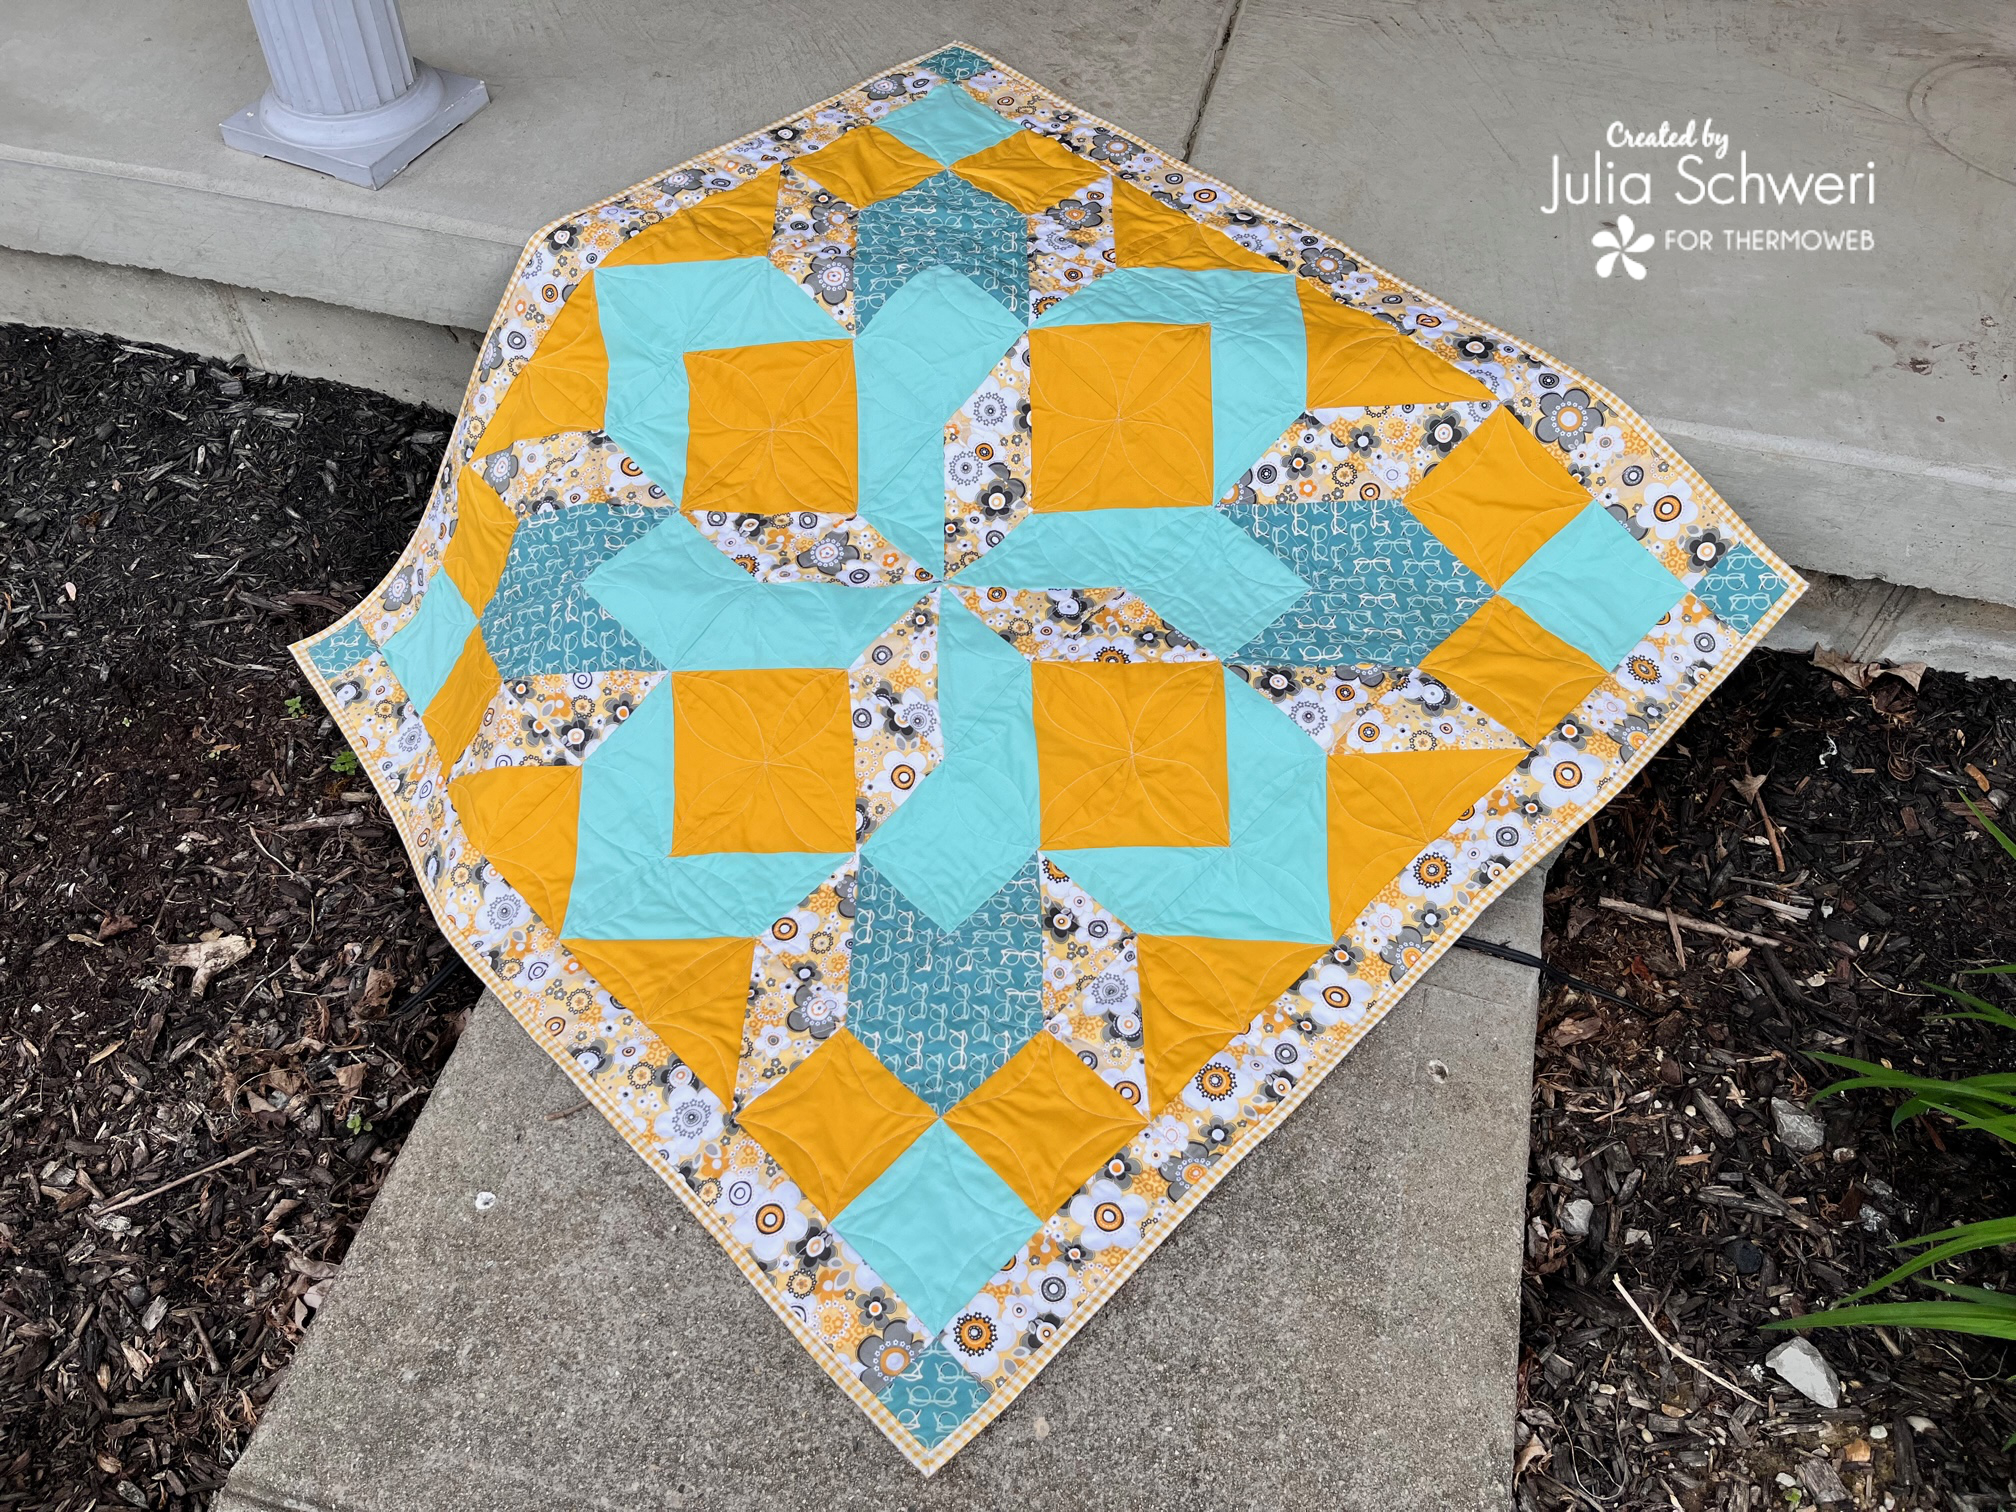
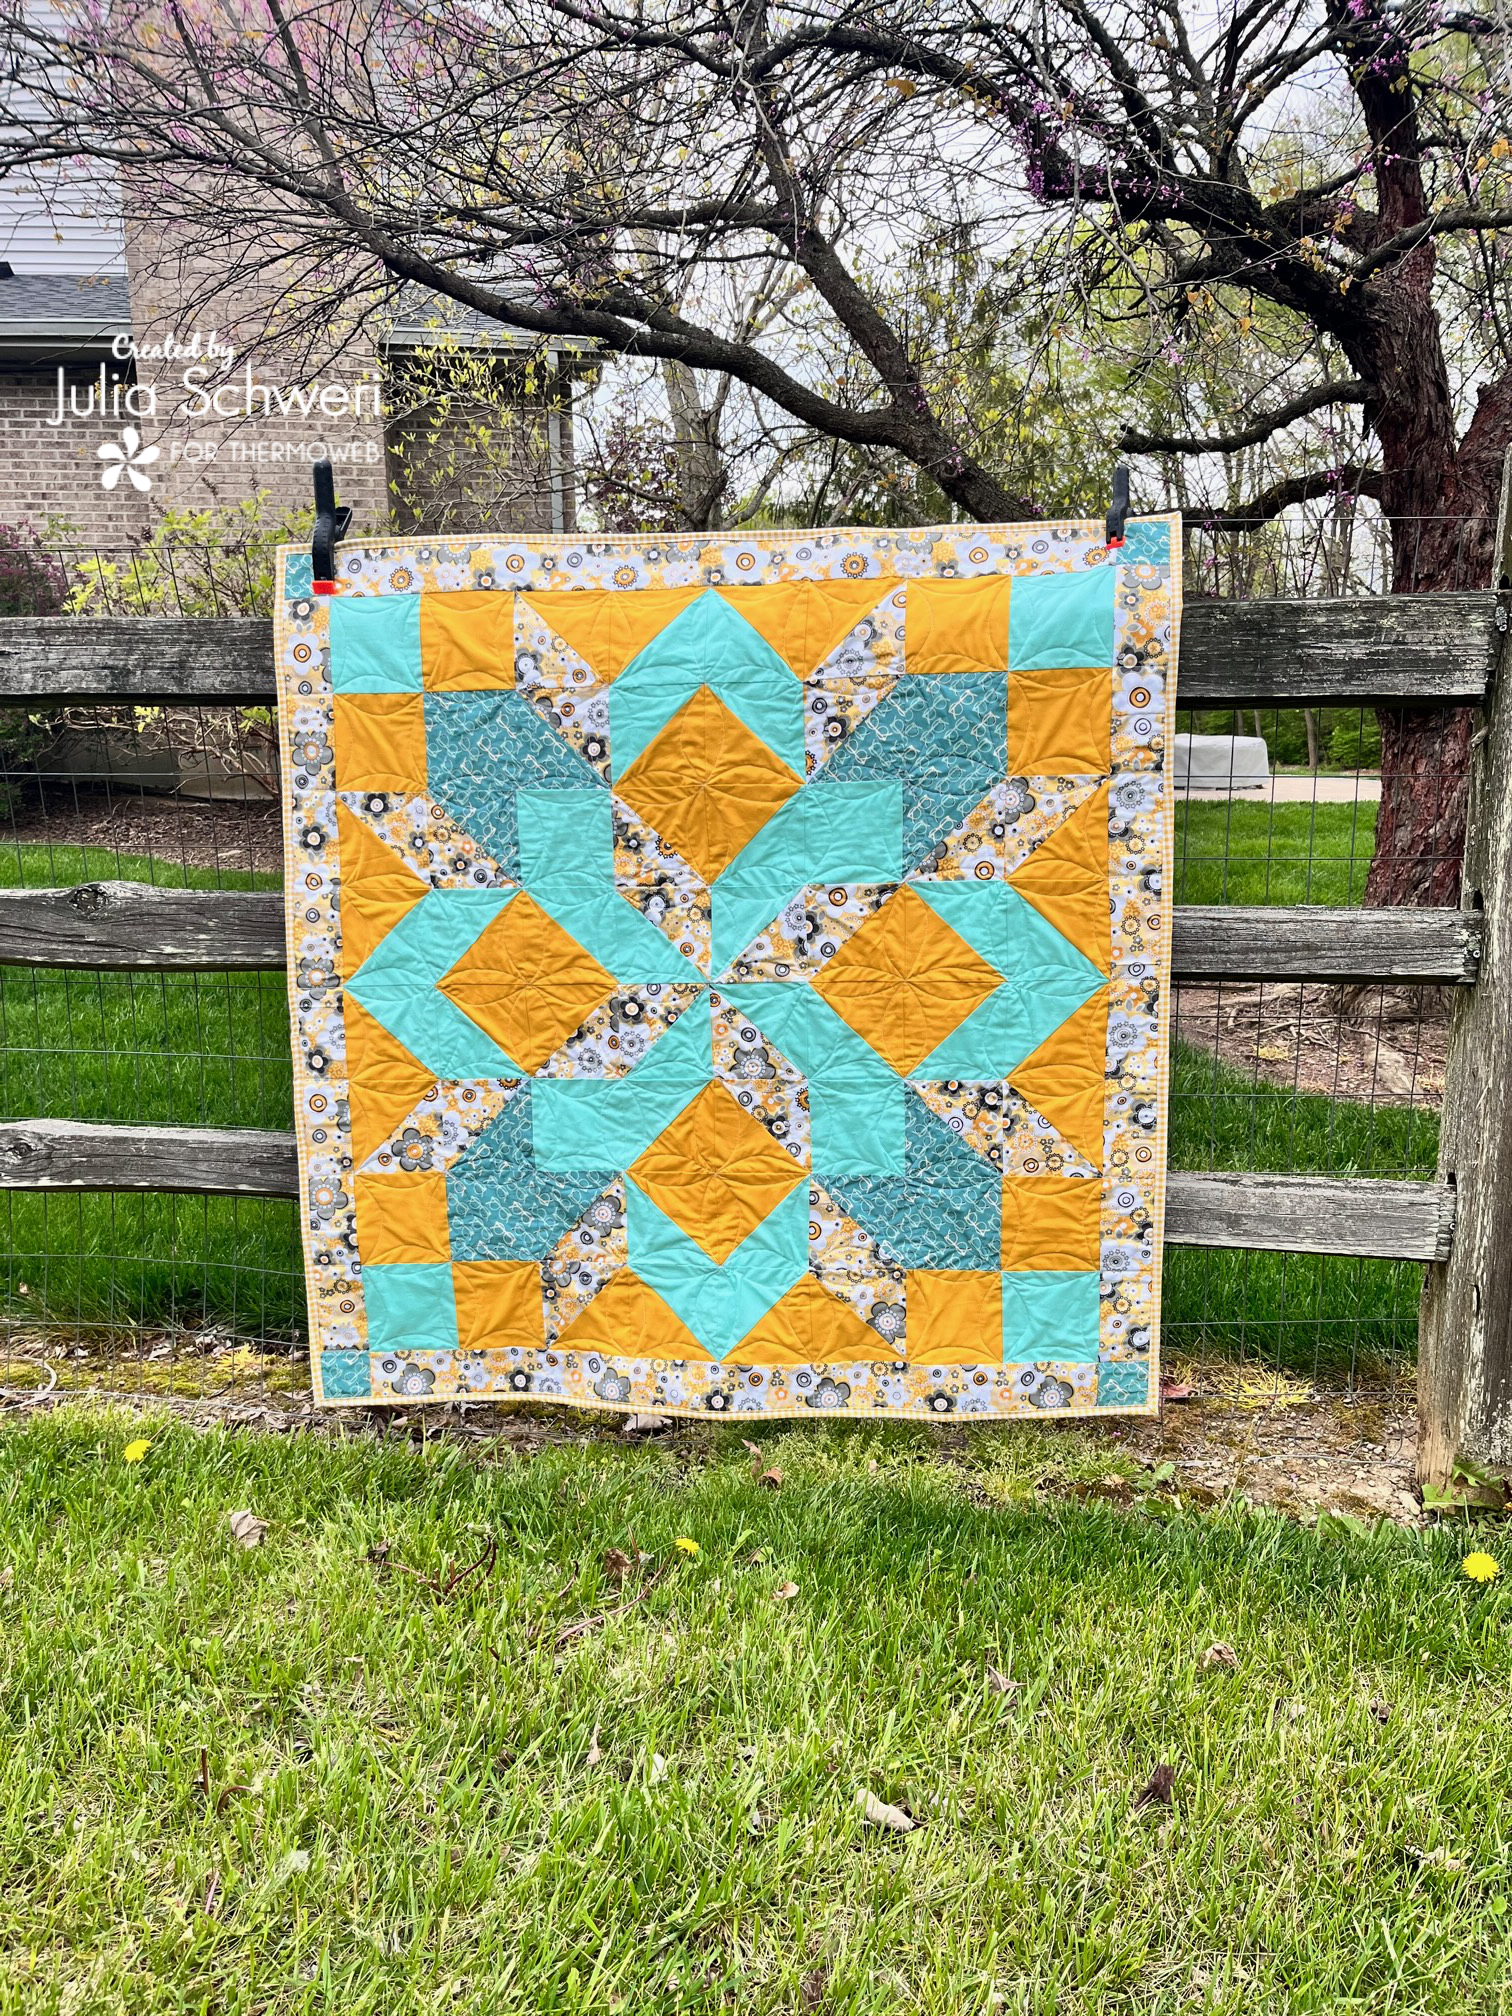
Carpenter Star Quilt with SpraynBond Fabric Stiffener

This quilt measures 46" x 46" without the border it would measure 40" x 40" It is a nice lap quilt.
Supplies:
Cutting:
Cutting is specifically for the Carpenter Star design pictured on this post. Depending on your coloring and design, cuts may change.
The number in parentheses is the number of HST you will make.
Background Yellow and Light Blue (20 HST)
- (2) 12 1/4" squares each (16 HST)
- (1) 8 7/8" square each (4 HST)
Light Blue and Floral Yellow (4 HST)
- (1) 8 7/8" square each (4 HST)
Dark Blue and Floral Yellow (8 HST)
- (1) 12 1/4" squares each (8 HST)
Background Yellow and Floral Yellow (12 HST)
- (1) 12 1/4" squares each (8 HST)
- (1) 8 7/8" square each (4 HST)
Light Blue Squares: (8) 5 1/2"
Dark Blue Squares: (4) 5 1/2"
Background Yellow Squares: (8) 5 1/2"
Sashing:
- (2) 3 1/4" x 40" floral yellow
- (2) 3 1/4" x 40 1/2" floral yellow
- (2) 3 1/4" squares dark blue
Instructions:
Watch the skills video tutorial to see how to make 4 and 8 HST at a time.
https://youtu.be/eSgu4URRA1g
HeatnBond Fabric Stiffener
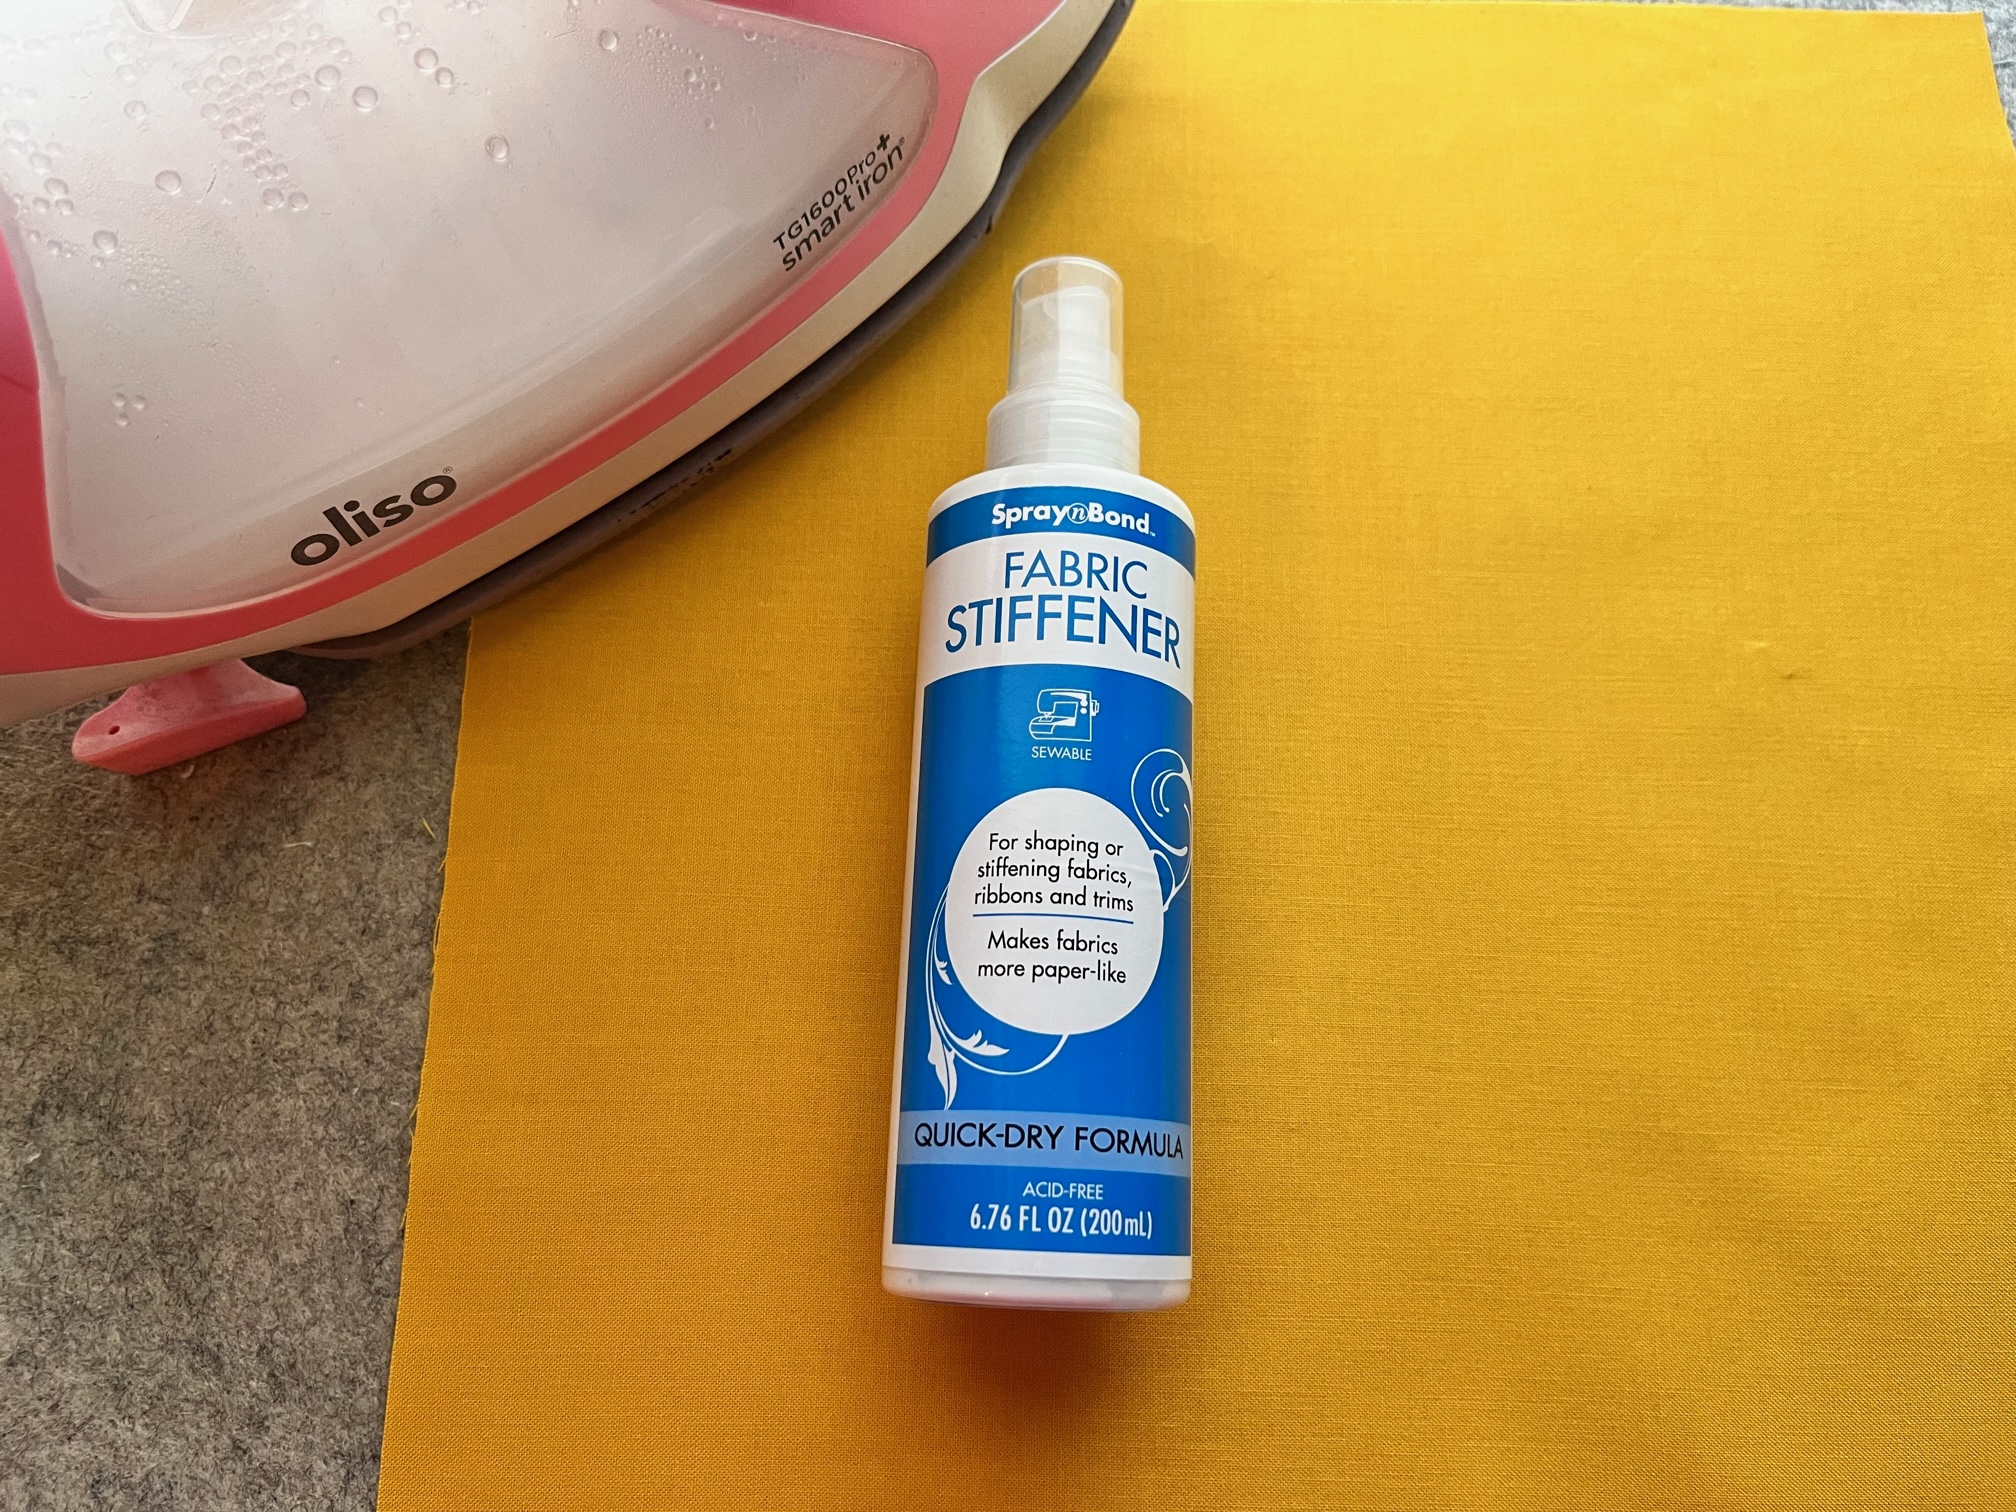
General Directions
- Shake well before use! (Turn upside down and shake)
- Place fabric on protected surface.
- Lightly spray fabric, from 8-10 inches away, until entire surface area is damp. (Do not soak).
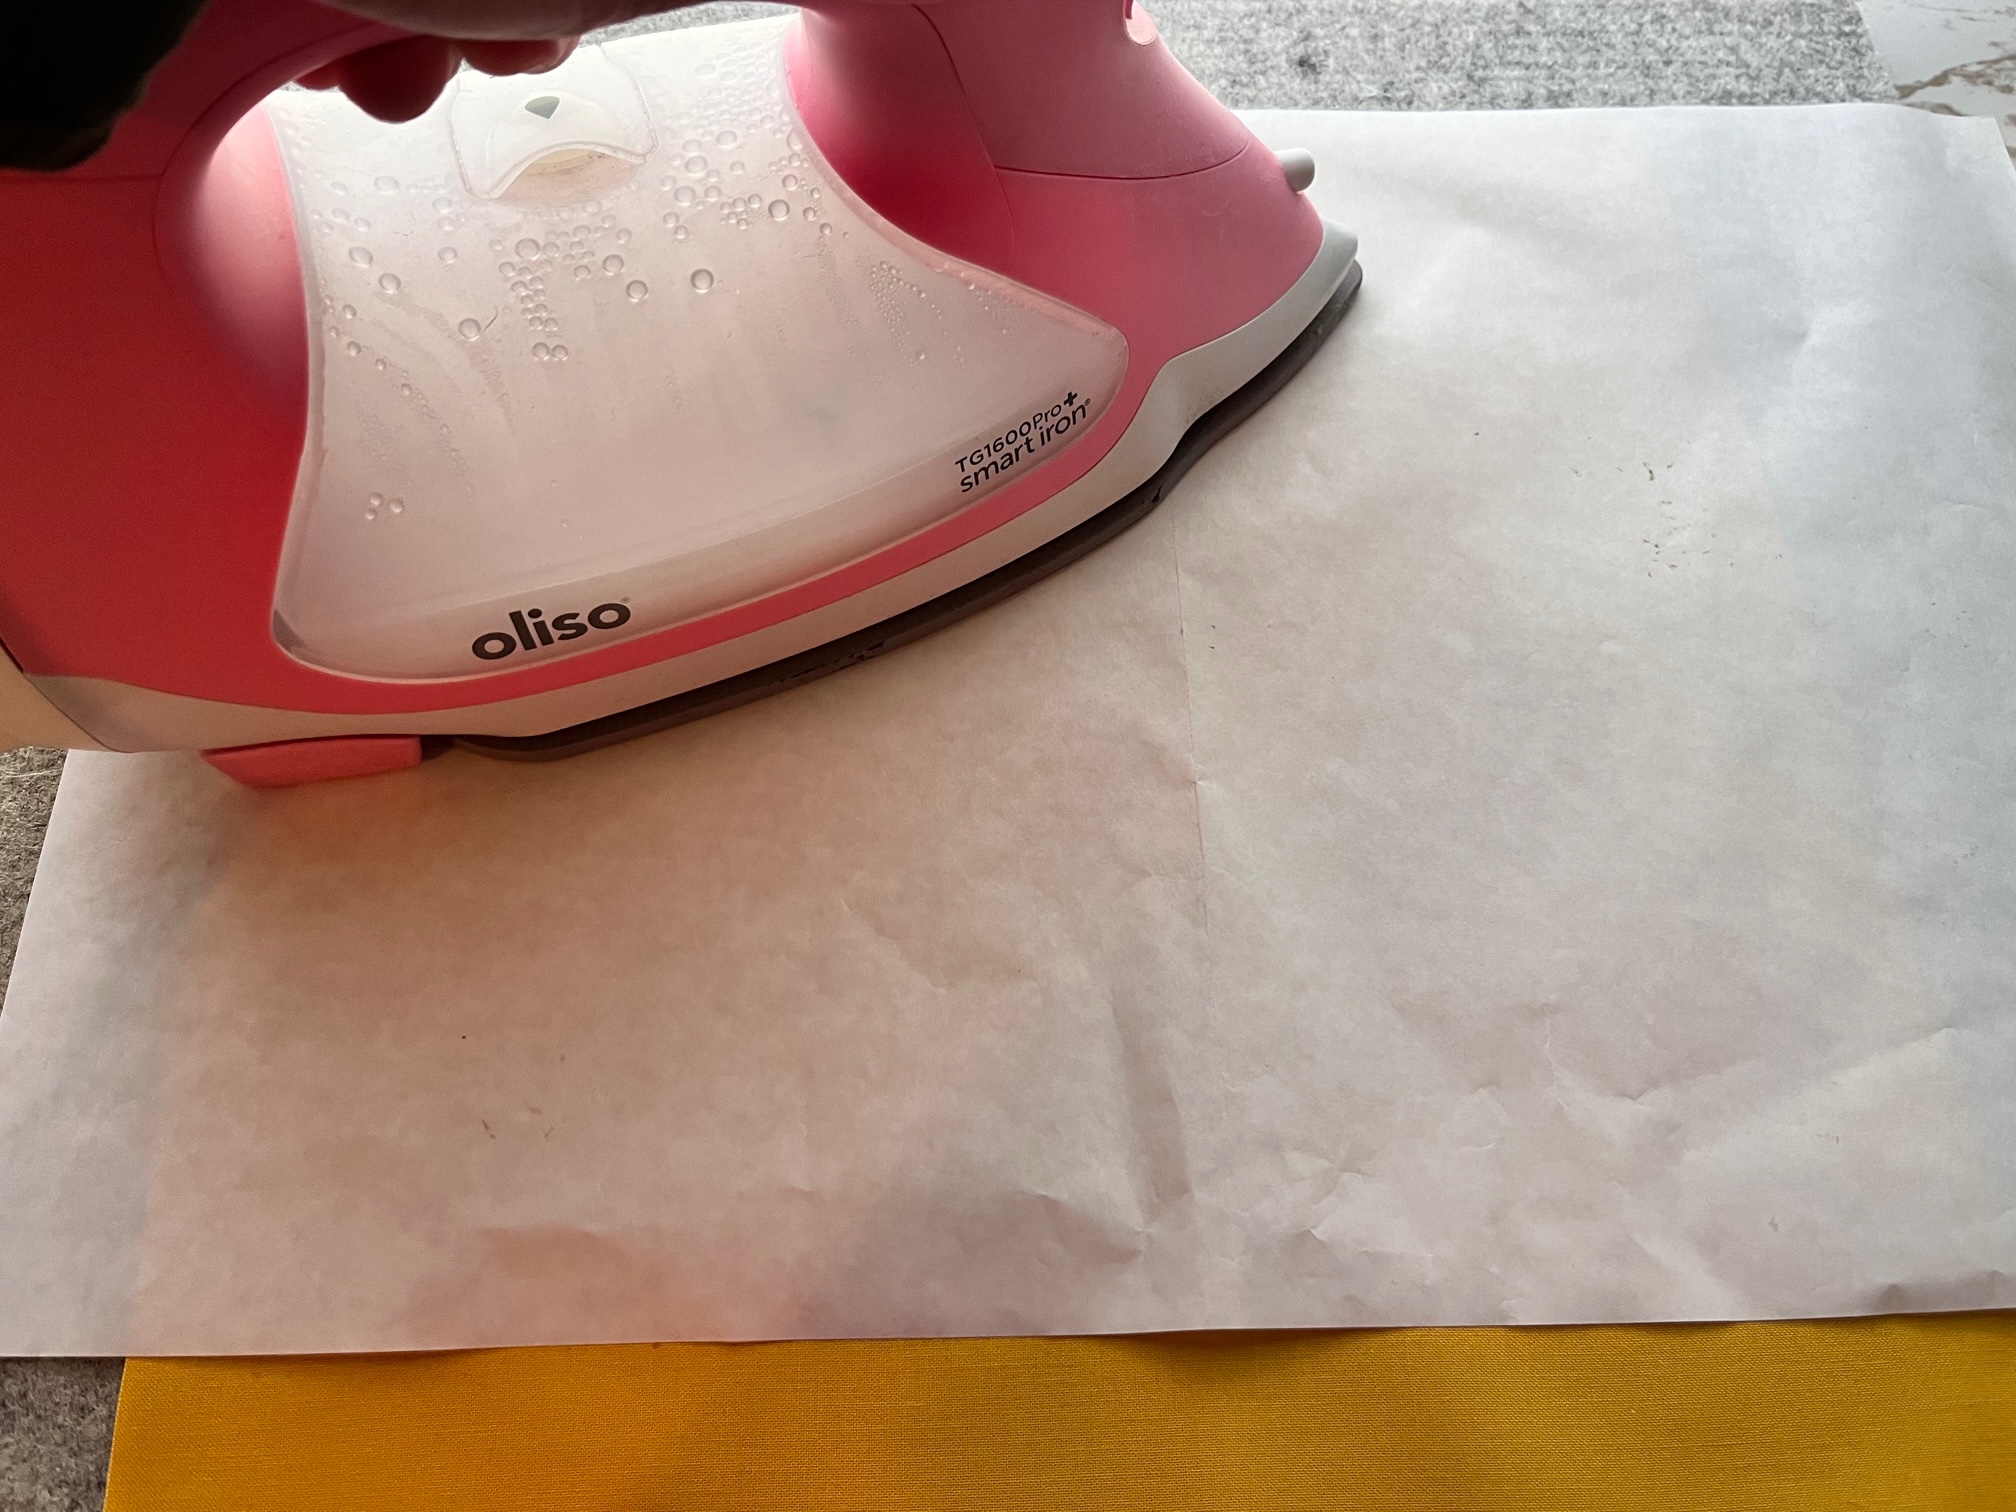
- To Stiffen: (flat fabric projects) cover with parchment paper and iron on medium heat until dry. Let cool.
- To Shape: Create desired shape and let air dry.
- If fabric needs to be stiffer, repeat steps above.
[left]
[/left]
[right]
[/right]
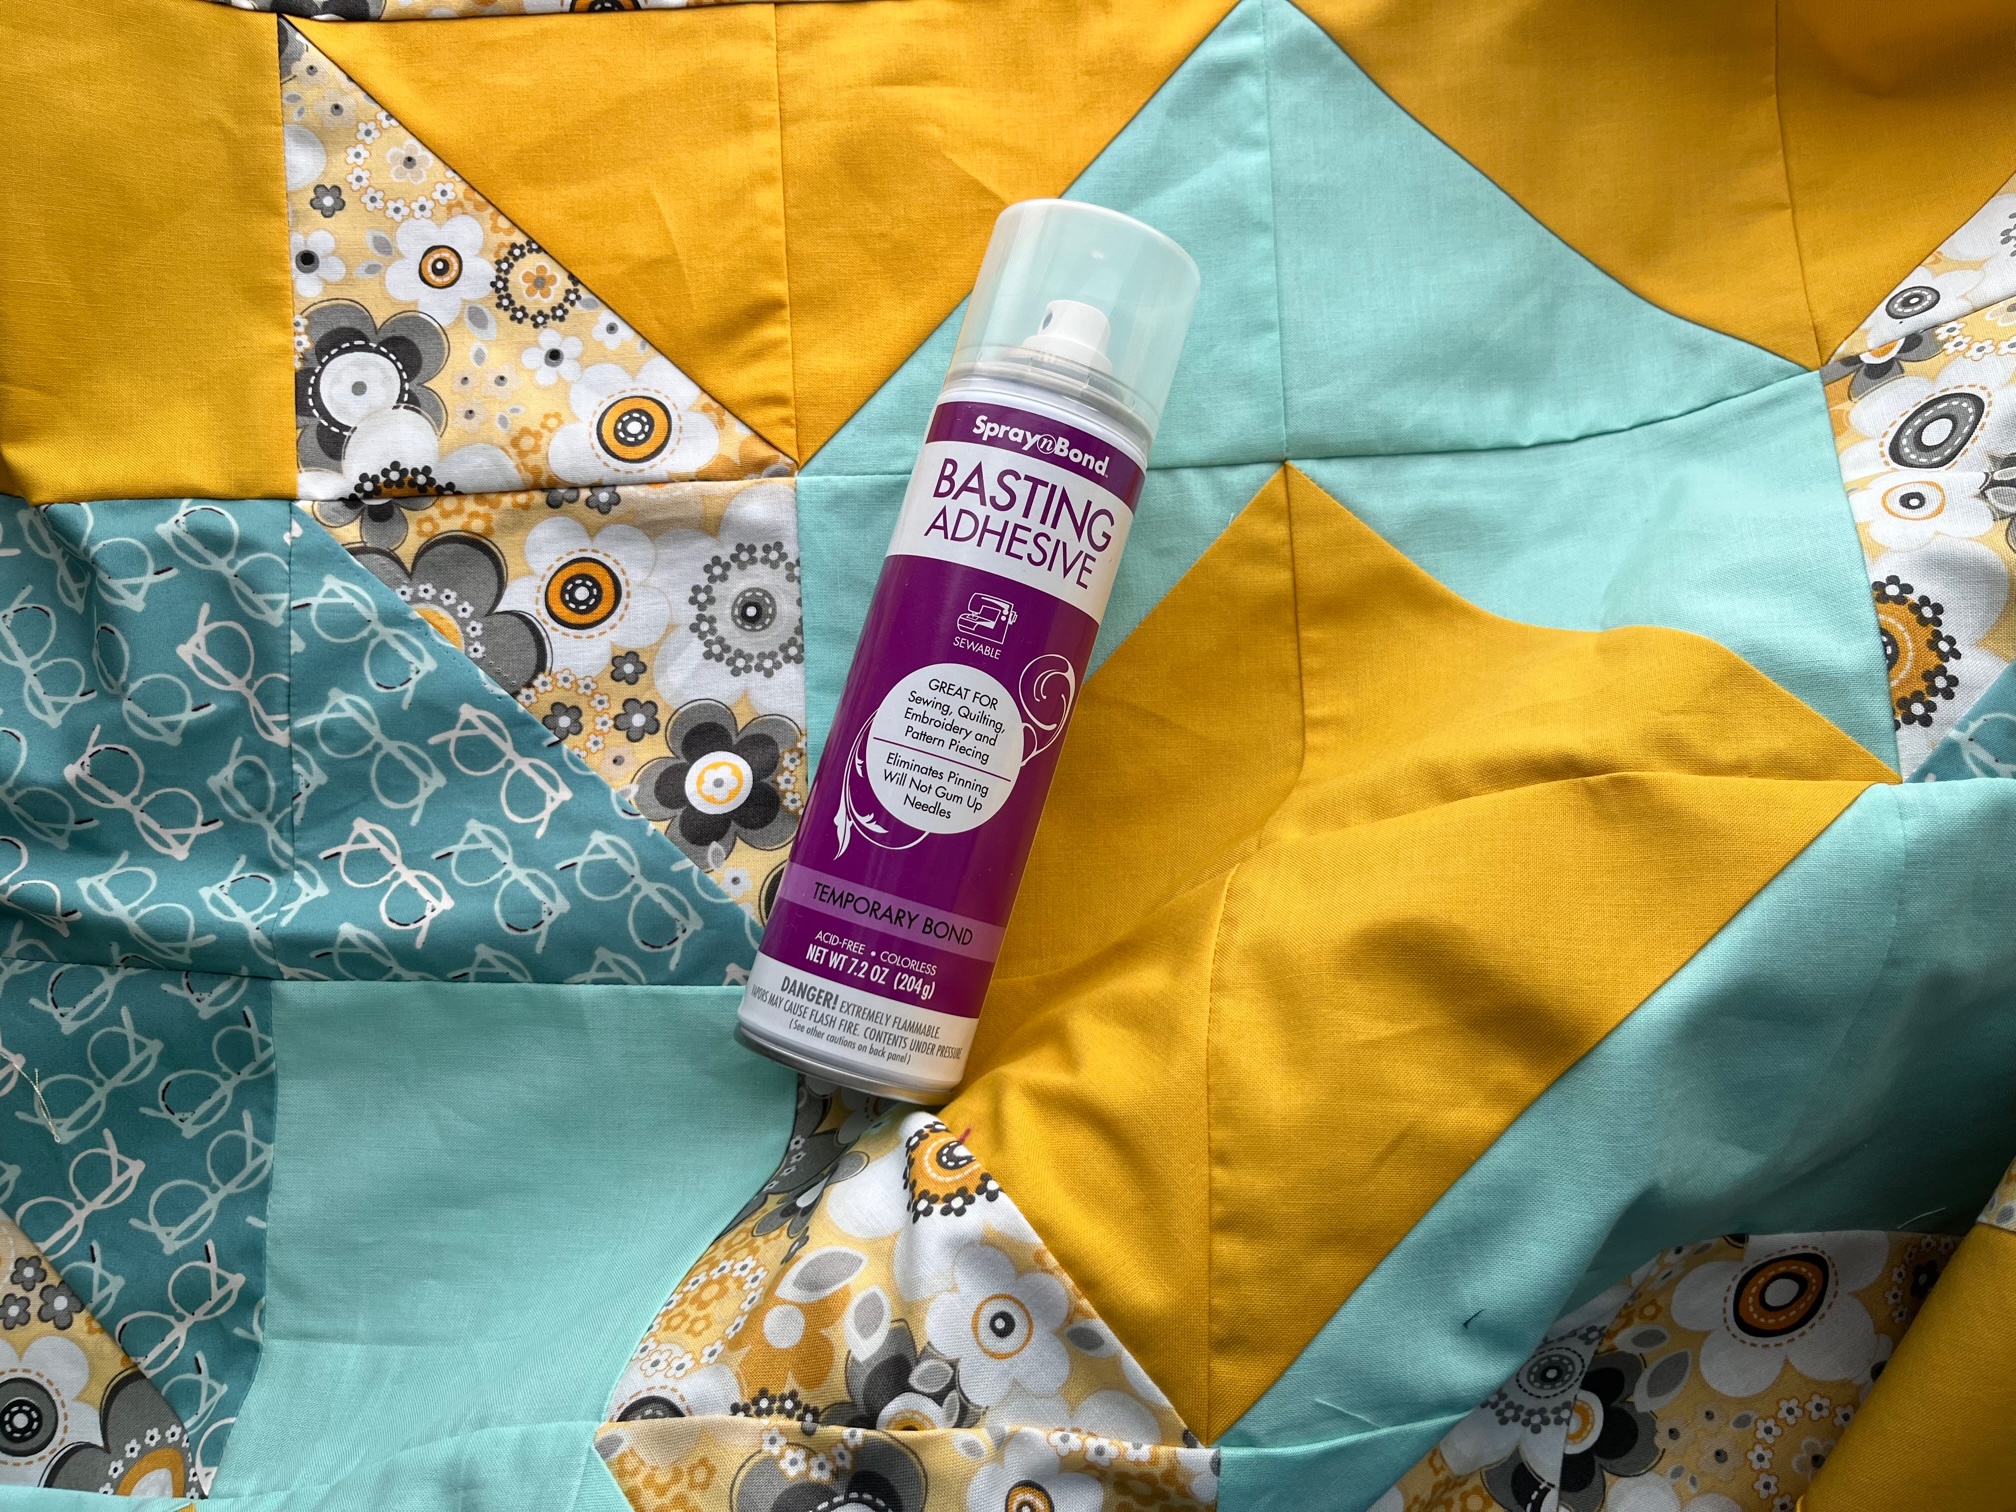
Quilt Construction:
Once all your HST are constructed, it is time to assemble the quilt. Assemble your quilt using your coloring sheet. Assemble the sashing. Once the top is assembled, baste your quilt top, batting and backing together using SpraynBond Basting Adhesive. Once basted, quilt and bind your quilt as desired.
Finished!
Thank you for visiting today! Come back soon to see what else will be starting to bloom with Inflorescence Designs!
Starting to bloom by choosing JOY ~ Julia