No Products in the Cart
 Hi hi!!! Katrina from Paper, Scissors, Glue and Hybrid Too on the blog today. I am going to show you how easy it is to capture and document your photos with the NEW LAURA KELLY products that Therm O Web has come out with!
 Therm O Web Supplies Used
Memory Runner XL
Memory Runner XL Refill
3D Foam Squares – Combo Pack
NEW 3D FOAM SQUARES BOX
NEW 3D FOAM TAPE ROLL 1/16
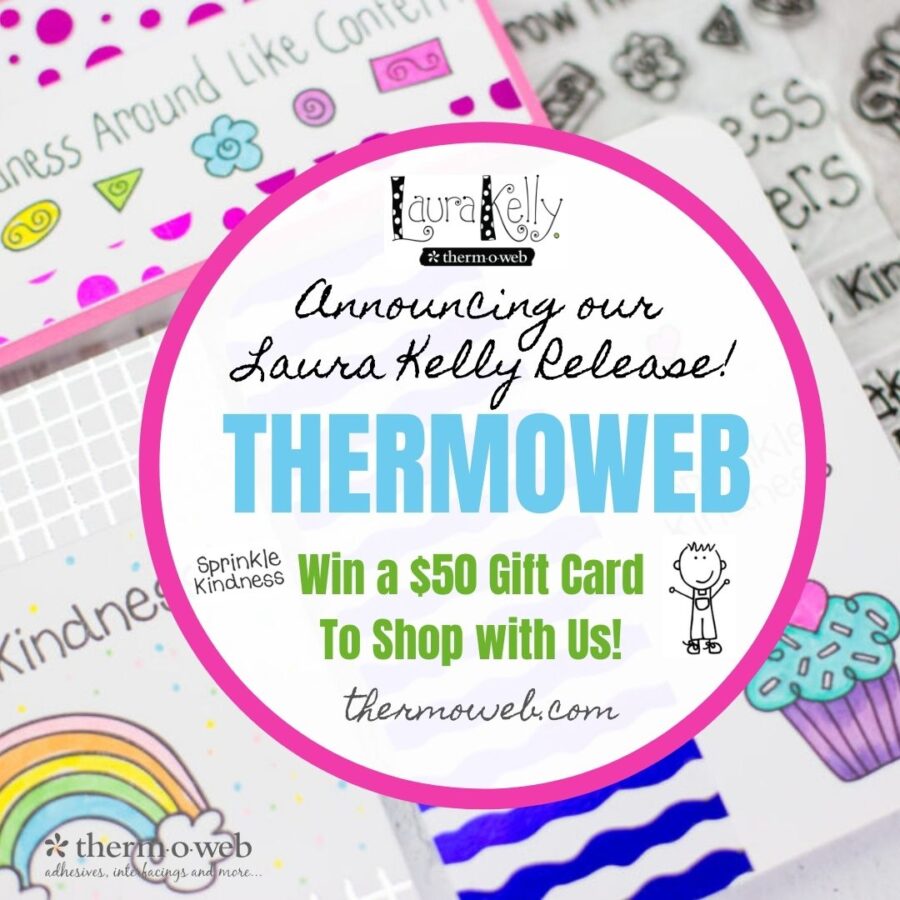
NEW LAURA KELLY RELEASE
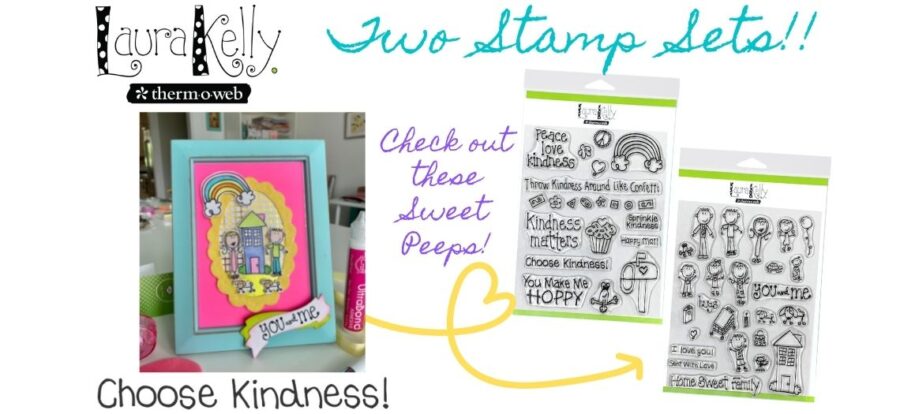
NEW LAURA KELLY STAMPS - KINDNESS ON PURPOSE
NEW LAURA KELLY STAMPS - ME & MY PEEPS
NEW LAURA KELLY TONER SHEETS - SWEET SWIRLS
NEW LAURA KELLY TONER SHEETS - SPOTTY DOTS
NEW LAURA KELLY FOIL TRANSFER SHEETS - SUNSHINE YELLOW
NEW ULTRA BOND LIQUID ADHESIVE PEN
DecoFoil Transfer Sheets - Pink Quartz
Other Supplies Used
PinkFresh Happy Blooms Collection
PinkFresh Inks in Various Colors
Catherine Pooler Ink-It's A Girl
Cardstock
Therm O Web Supplies Used
Memory Runner XL
Memory Runner XL Refill
3D Foam Squares – Combo Pack
NEW 3D FOAM SQUARES BOX
NEW 3D FOAM TAPE ROLL 1/16
NEW LAURA KELLY RELEASE
NEW LAURA KELLY STAMPS - KINDNESS ON PURPOSE
NEW LAURA KELLY STAMPS - ME & MY PEEPS
NEW LAURA KELLY TONER SHEETS - SWEET SWIRLS
NEW LAURA KELLY TONER SHEETS - SPOTTY DOTS
NEW LAURA KELLY FOIL TRANSFER SHEETS - SUNSHINE YELLOW
NEW ULTRA BOND LIQUID ADHESIVE PEN
DecoFoil Transfer Sheets - Pink Quartz
Other Supplies Used
PinkFresh Happy Blooms Collection
PinkFresh Inks in Various Colors
Catherine Pooler Ink-It's A Girl
Cardstock
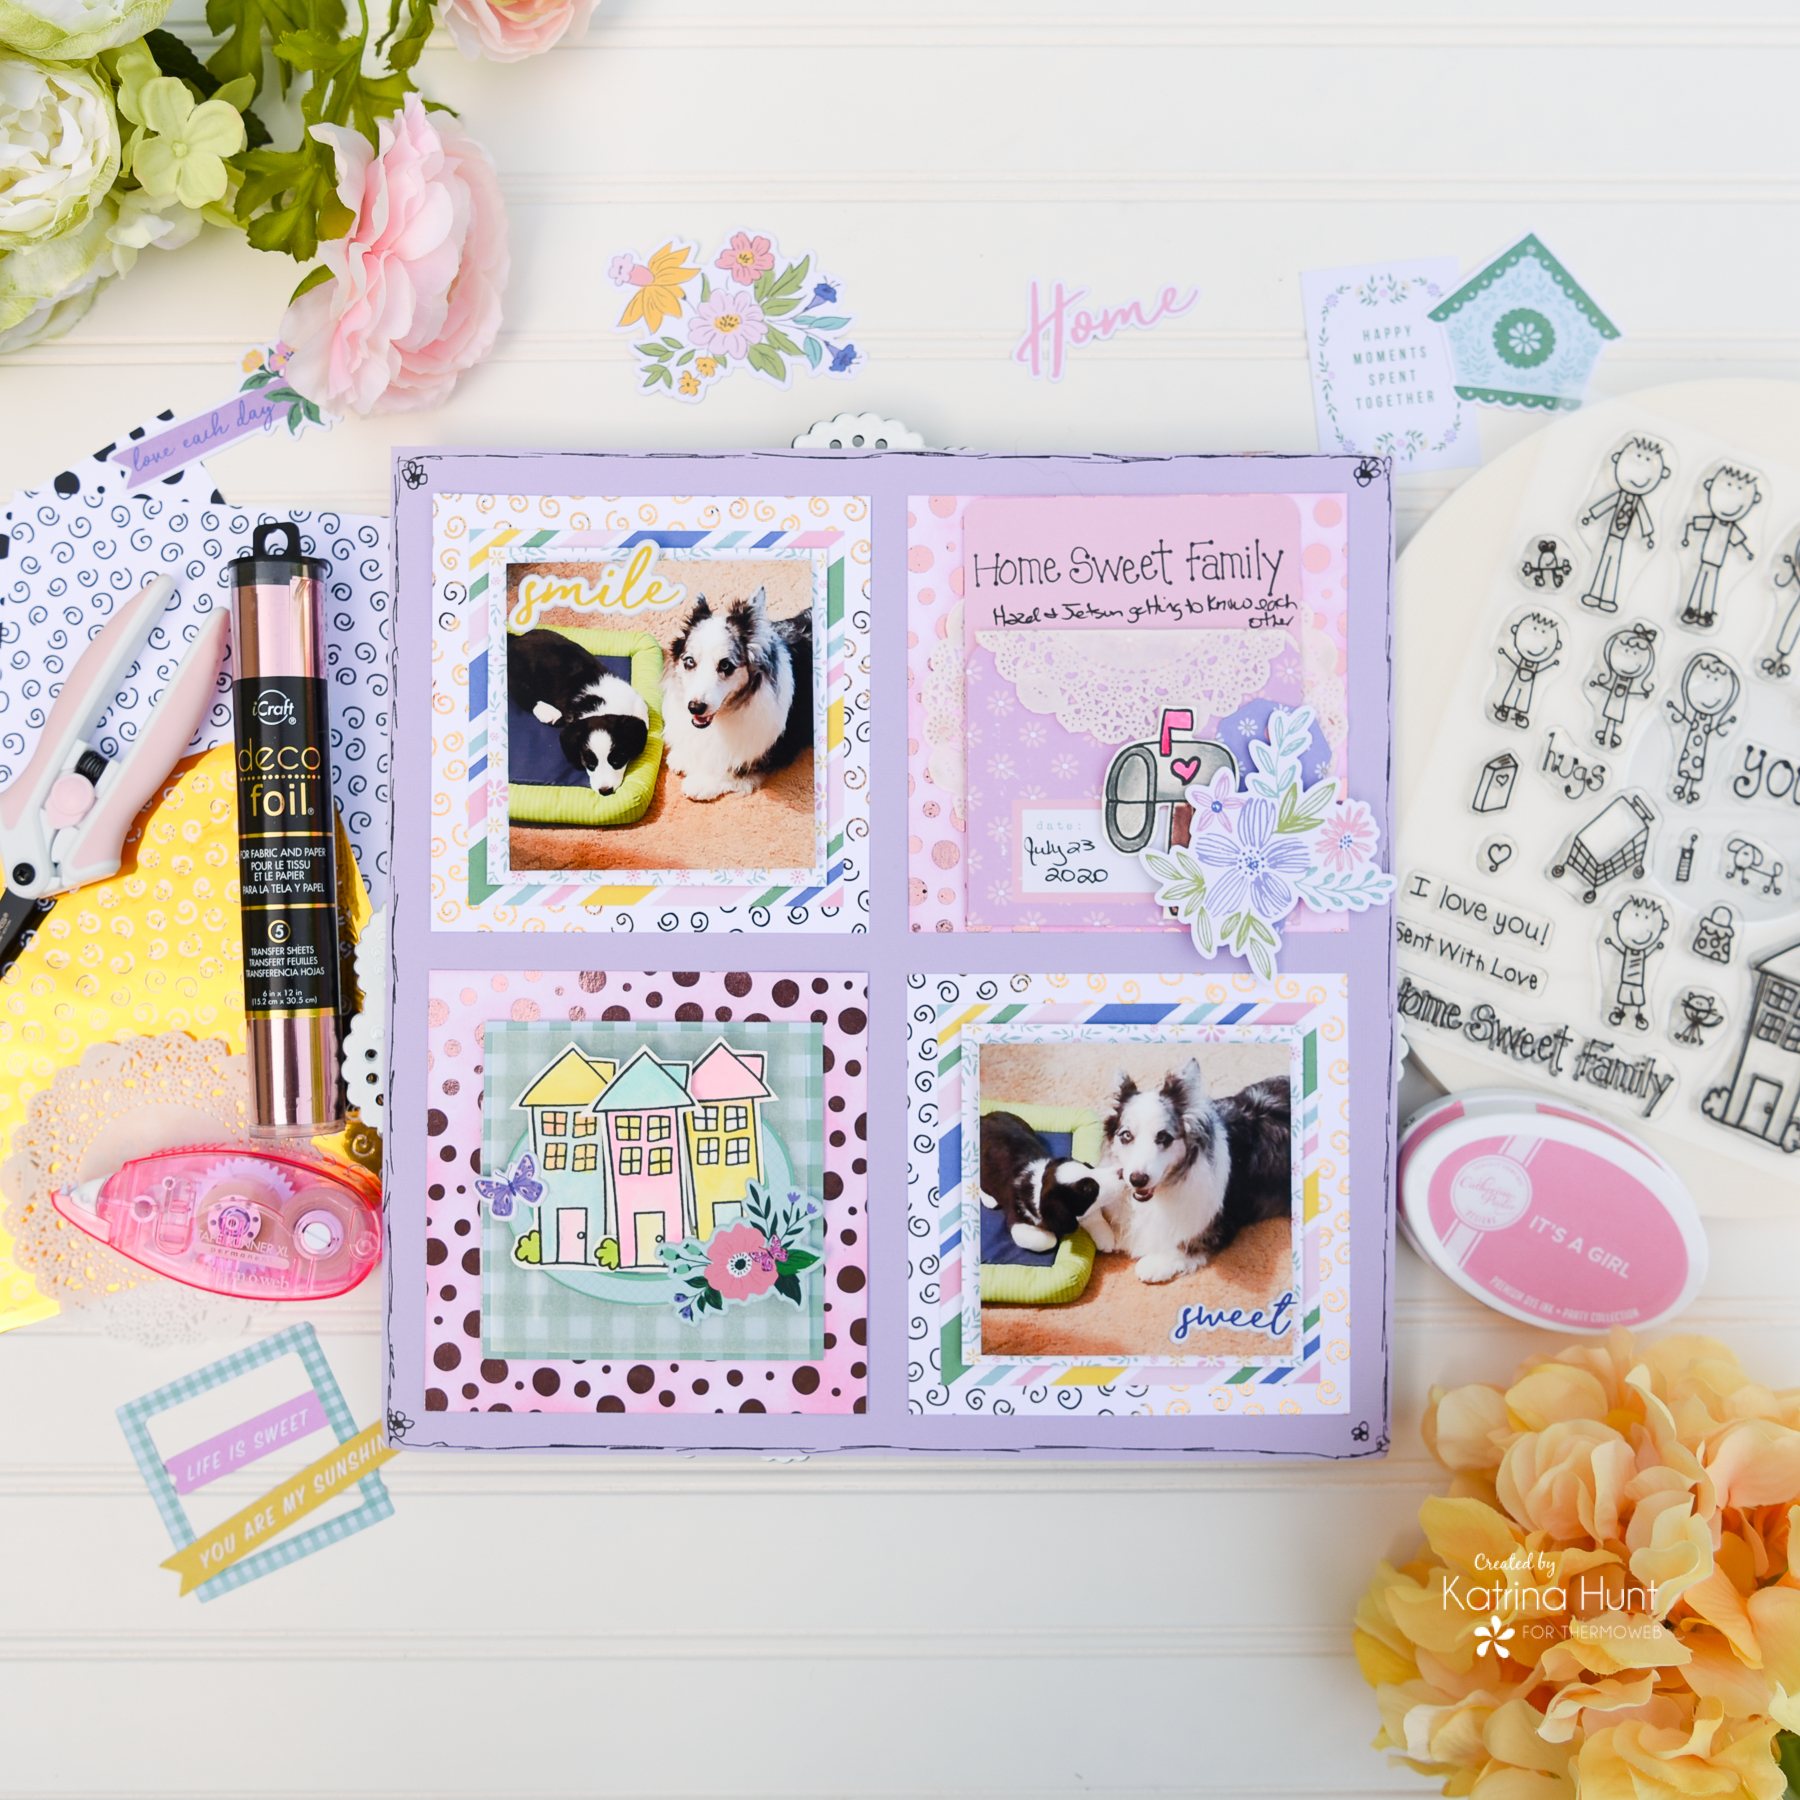
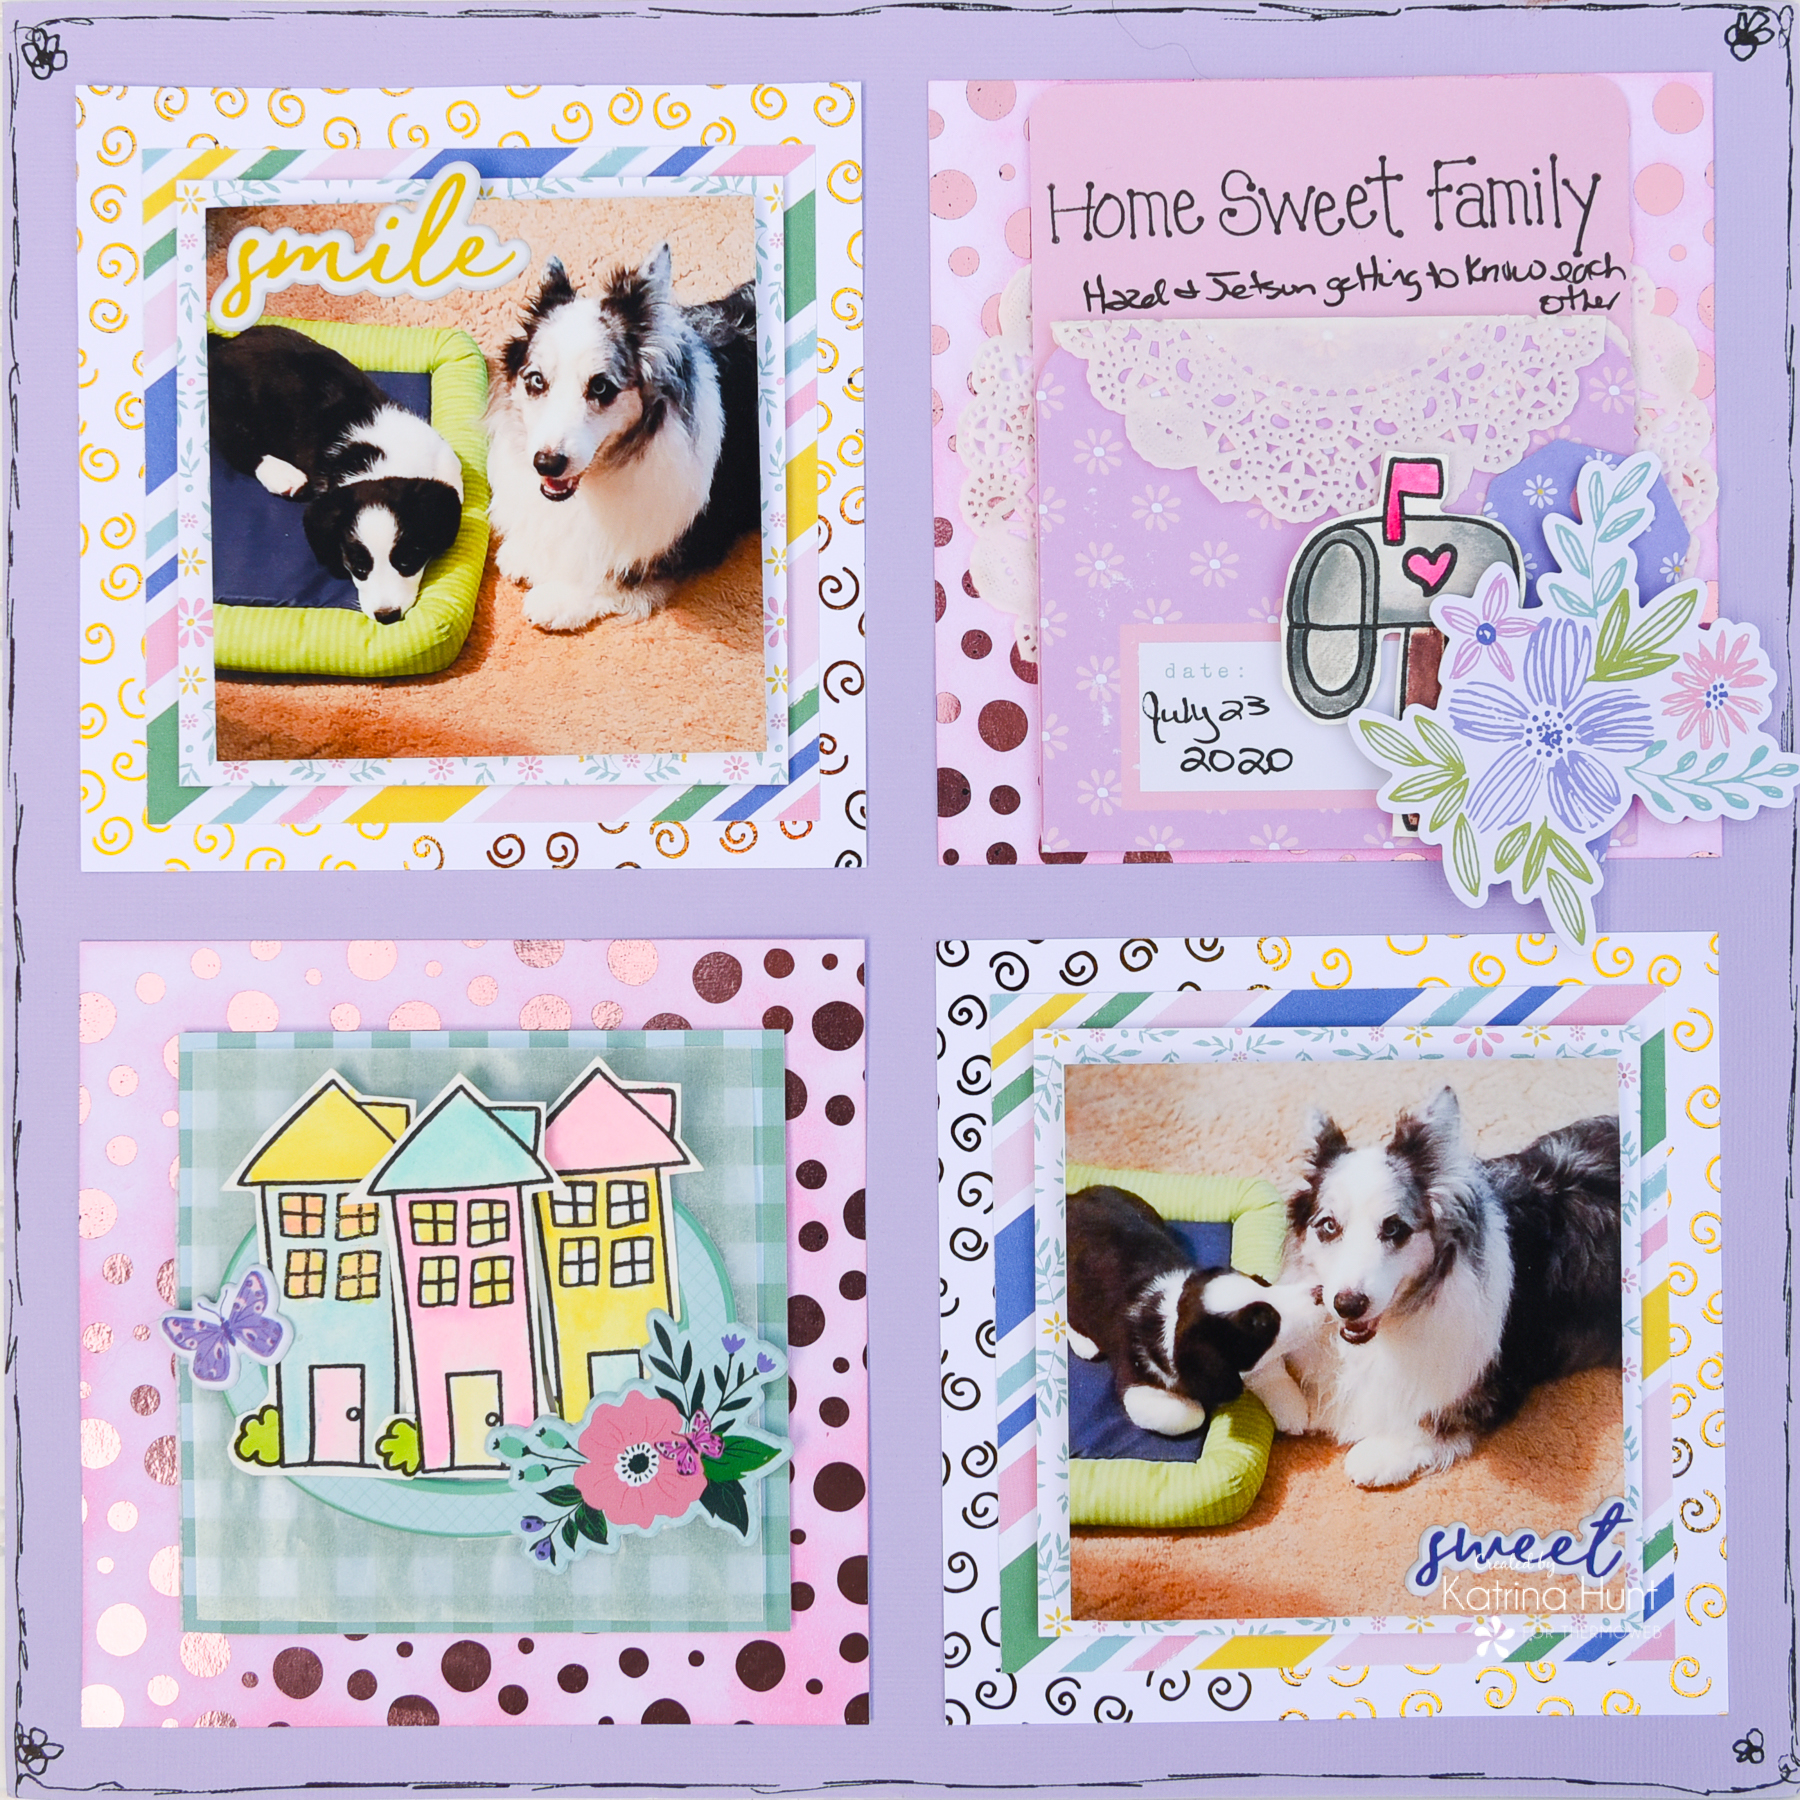 If you are ever stuck for a design, a grid style is a good go-to option. The grid design itself can be small or large, depending on your mood at the time, size of pictures, etc. In addition, it is also a good way to incorporate more than one picture on a single page layout! As you can see above, I went with a bigger sized grid. This was due to the size of my pictures that I already had printed out.
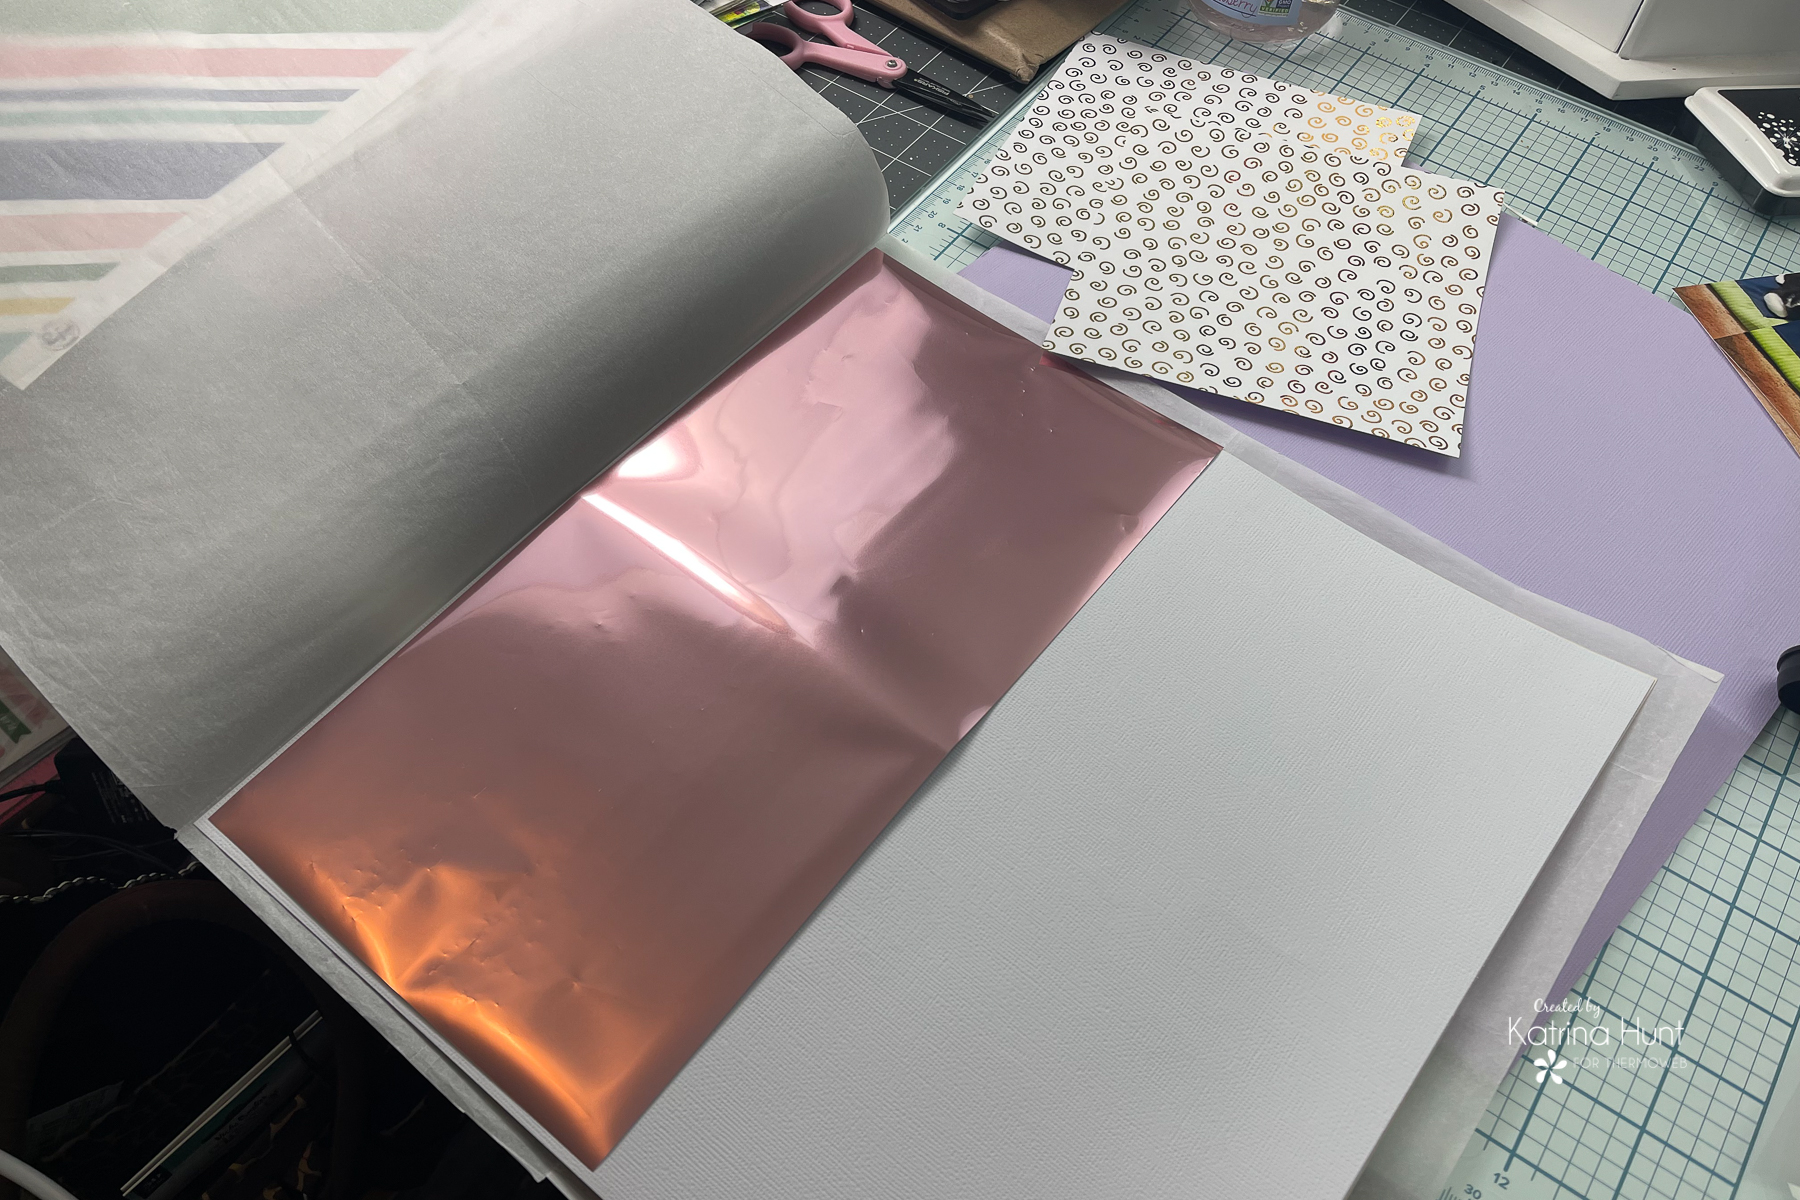 I began by picking out two of the new Laura Kelly toner sheets designs, using two sheets of two different designs. I choose them as the first layer because I wanted them to be the grounding areas for my grid. I foiled the Spotty Dots in Deco Foil Pink Quartz and then the Sweet Swirls in the Laura Kelly Sunshine Yellow Foil.
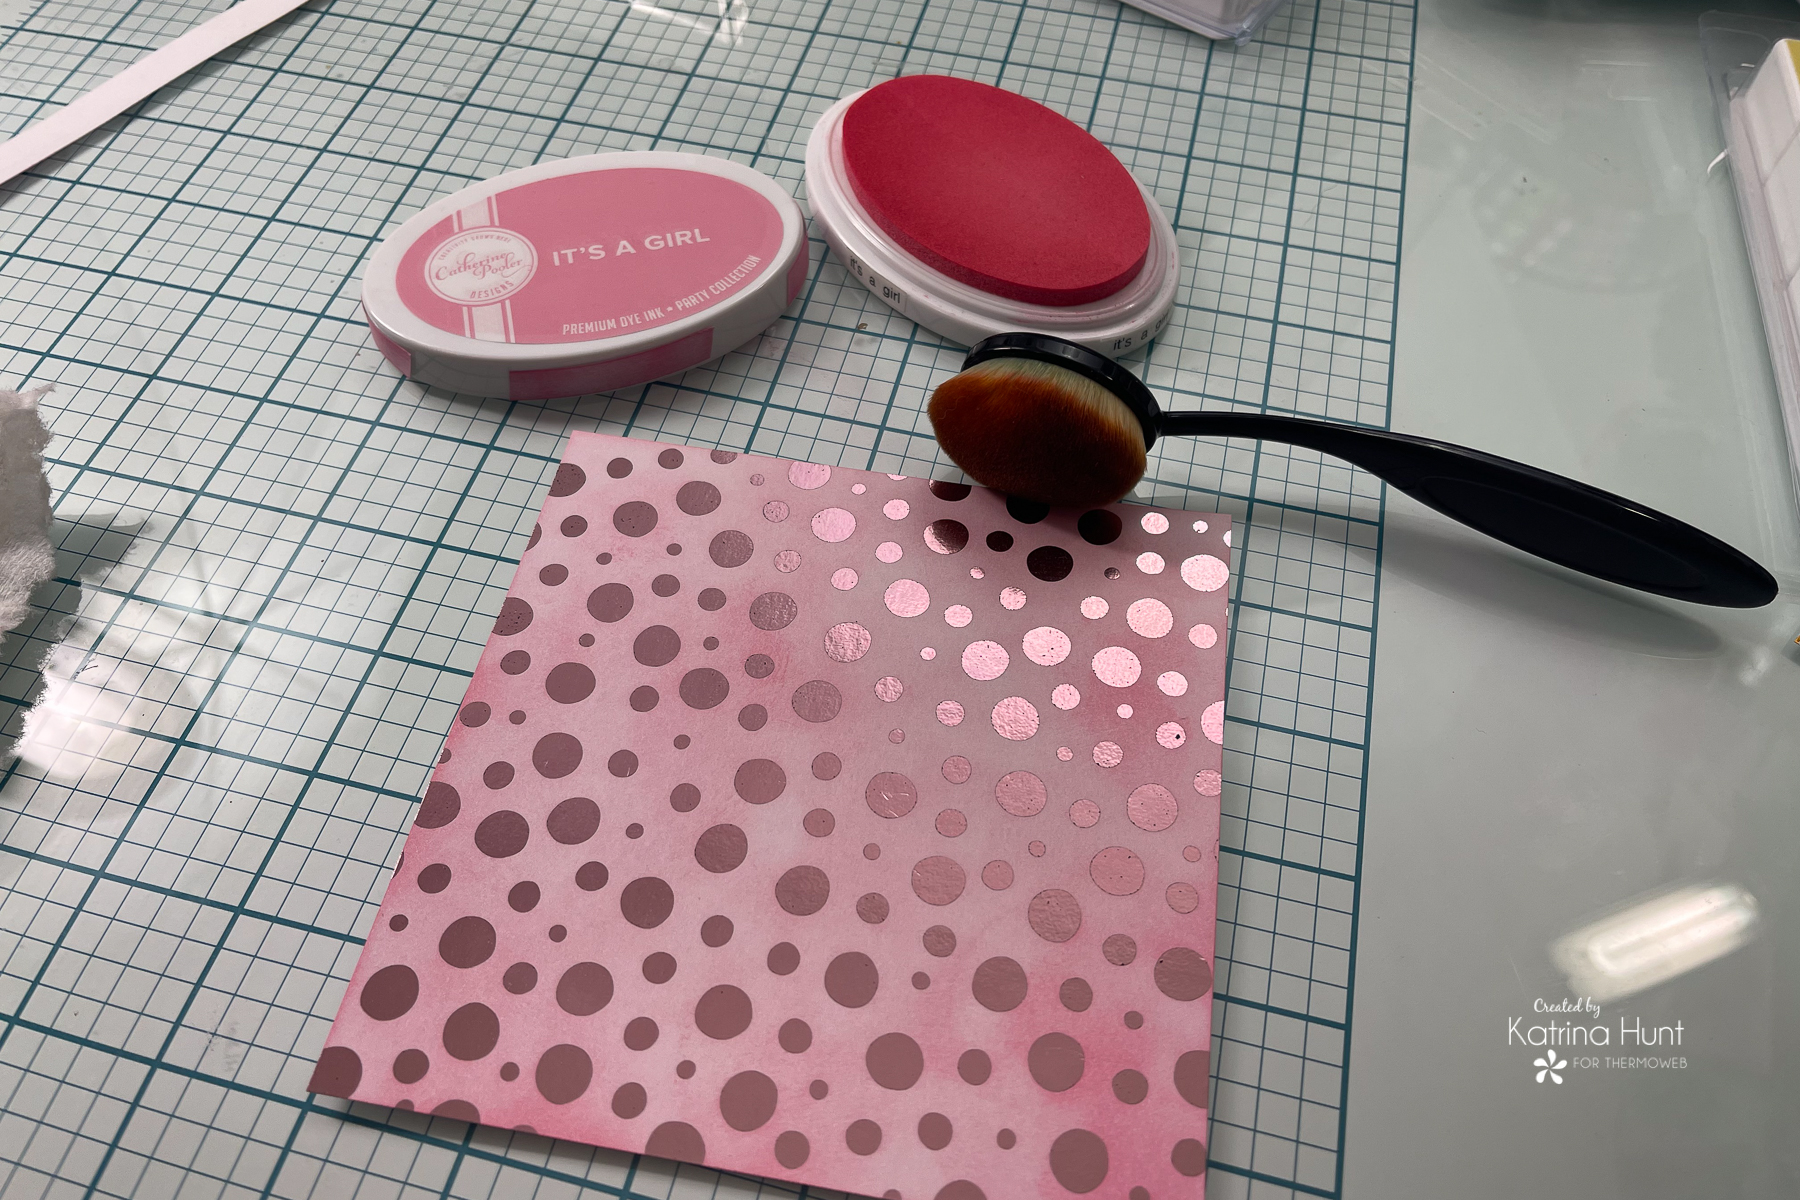 Next, I inked up the Spotty Dots with Catherine Pooler ink in "It's a Girl" pink. I did a few tests to get a pink that looked good with the pink foil and it was the winner! My reason was that I wanted a little more color in the background and the inking was a good way to add it.
 Once I had my sheets inked I spaced out my grid and adhered it with my Memory Runner XL. Pro Tip here: Don't totally rub your paper after adhering until you are sure of the placement! Doing that will allow you to carefully pull up and adjust/straighten if need be!
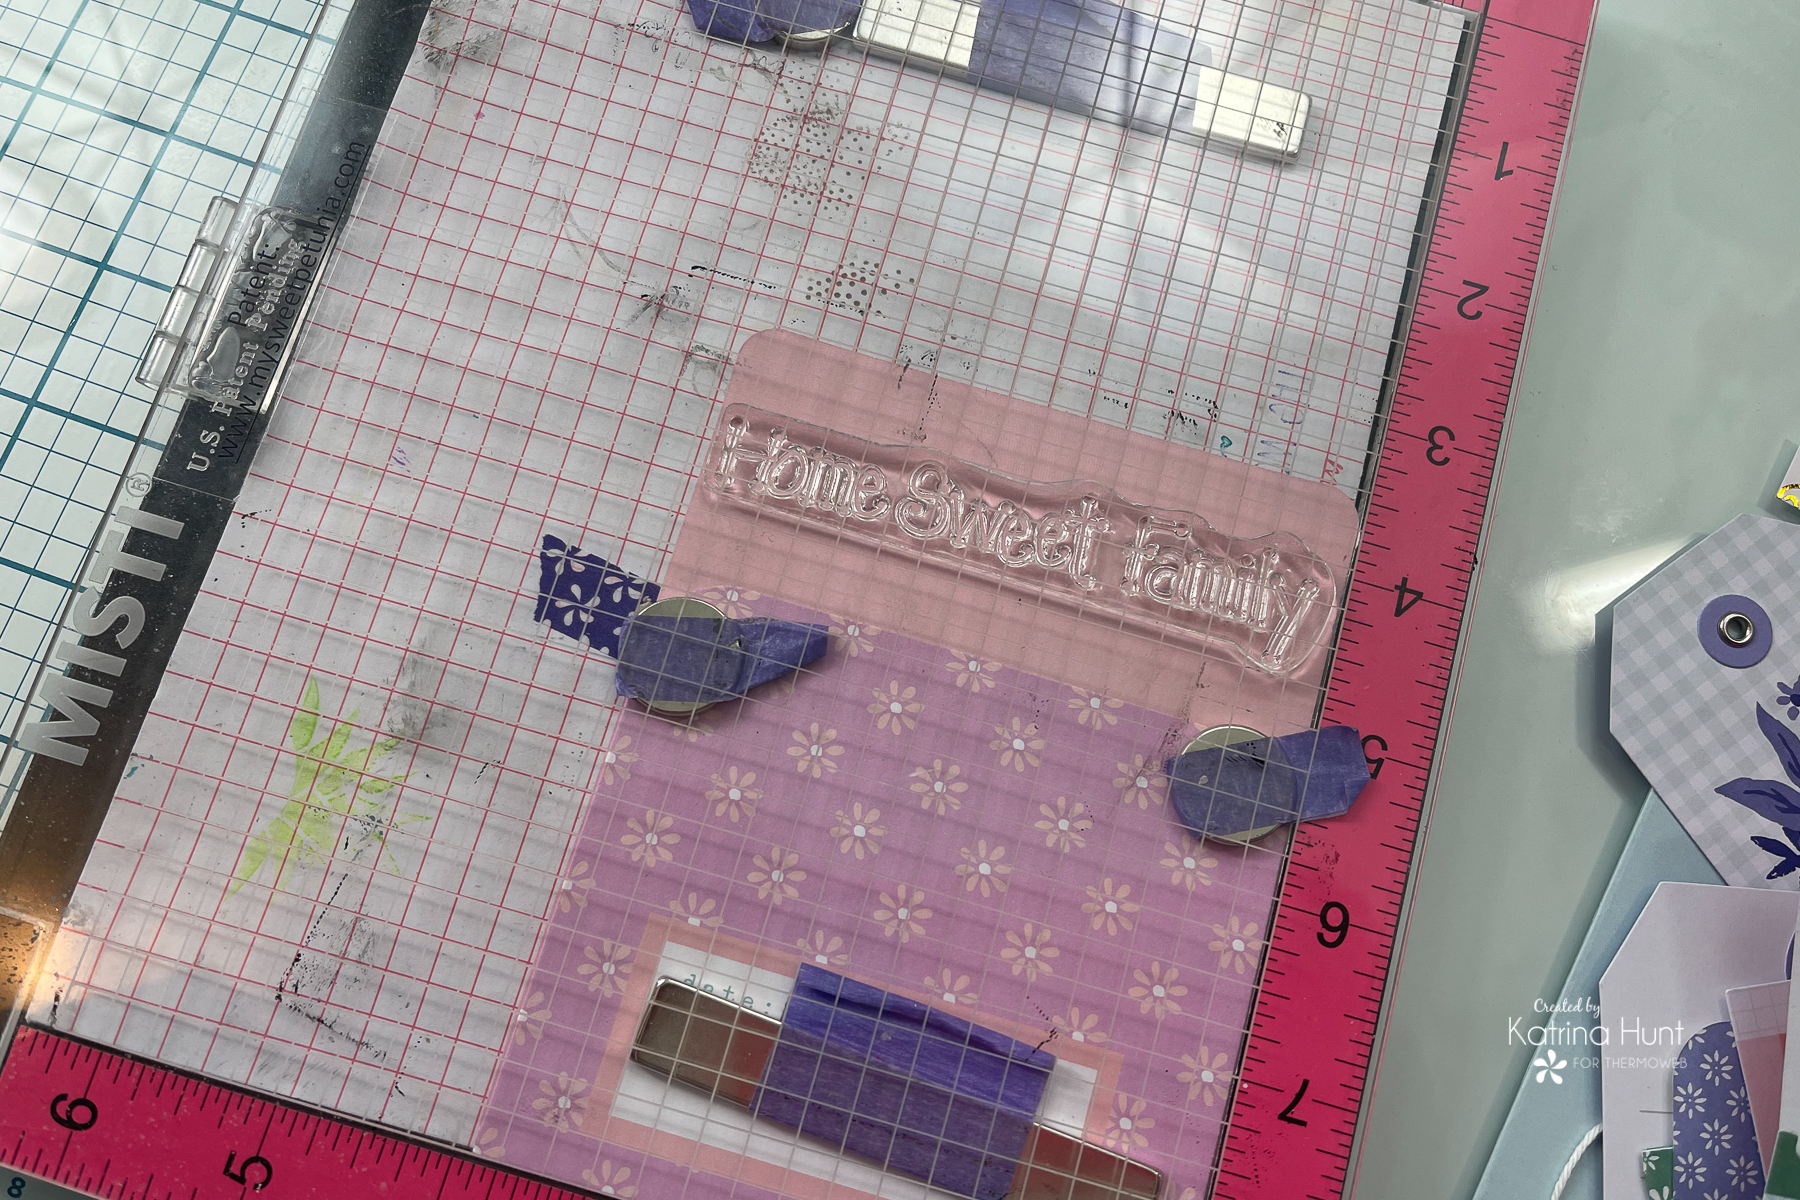
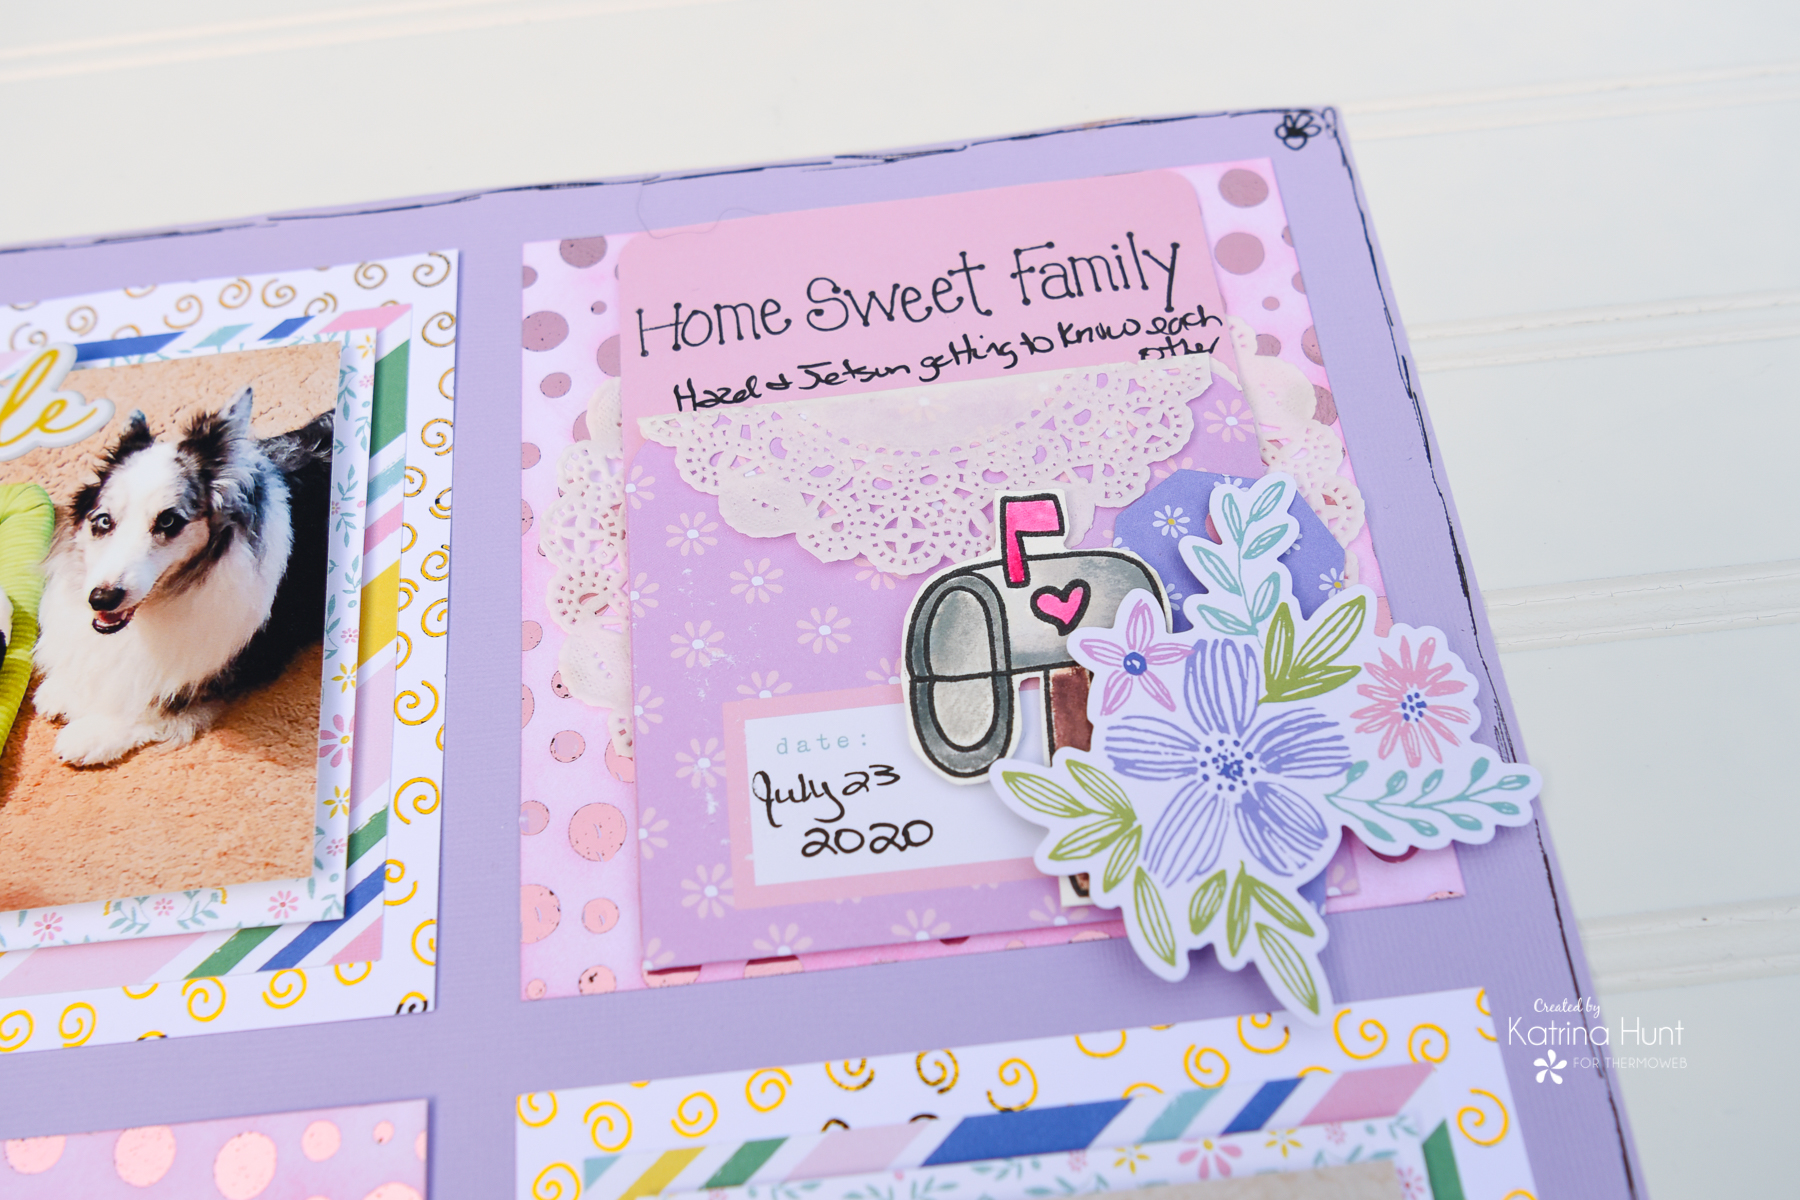 A bonus with the grid style is that you can treat each area has its own little layout. As you can see, in this corner I used a journaling pocket from the PinkFresh collection Happy Blooms and created a little scene with it instead. I used PinkFresh ink to watercolor the mailbox stamp from the Kindness On Purpose stamp set and trimmed it out by hand. I did add a small amount of journaling, but I love how this section of the grid looks!
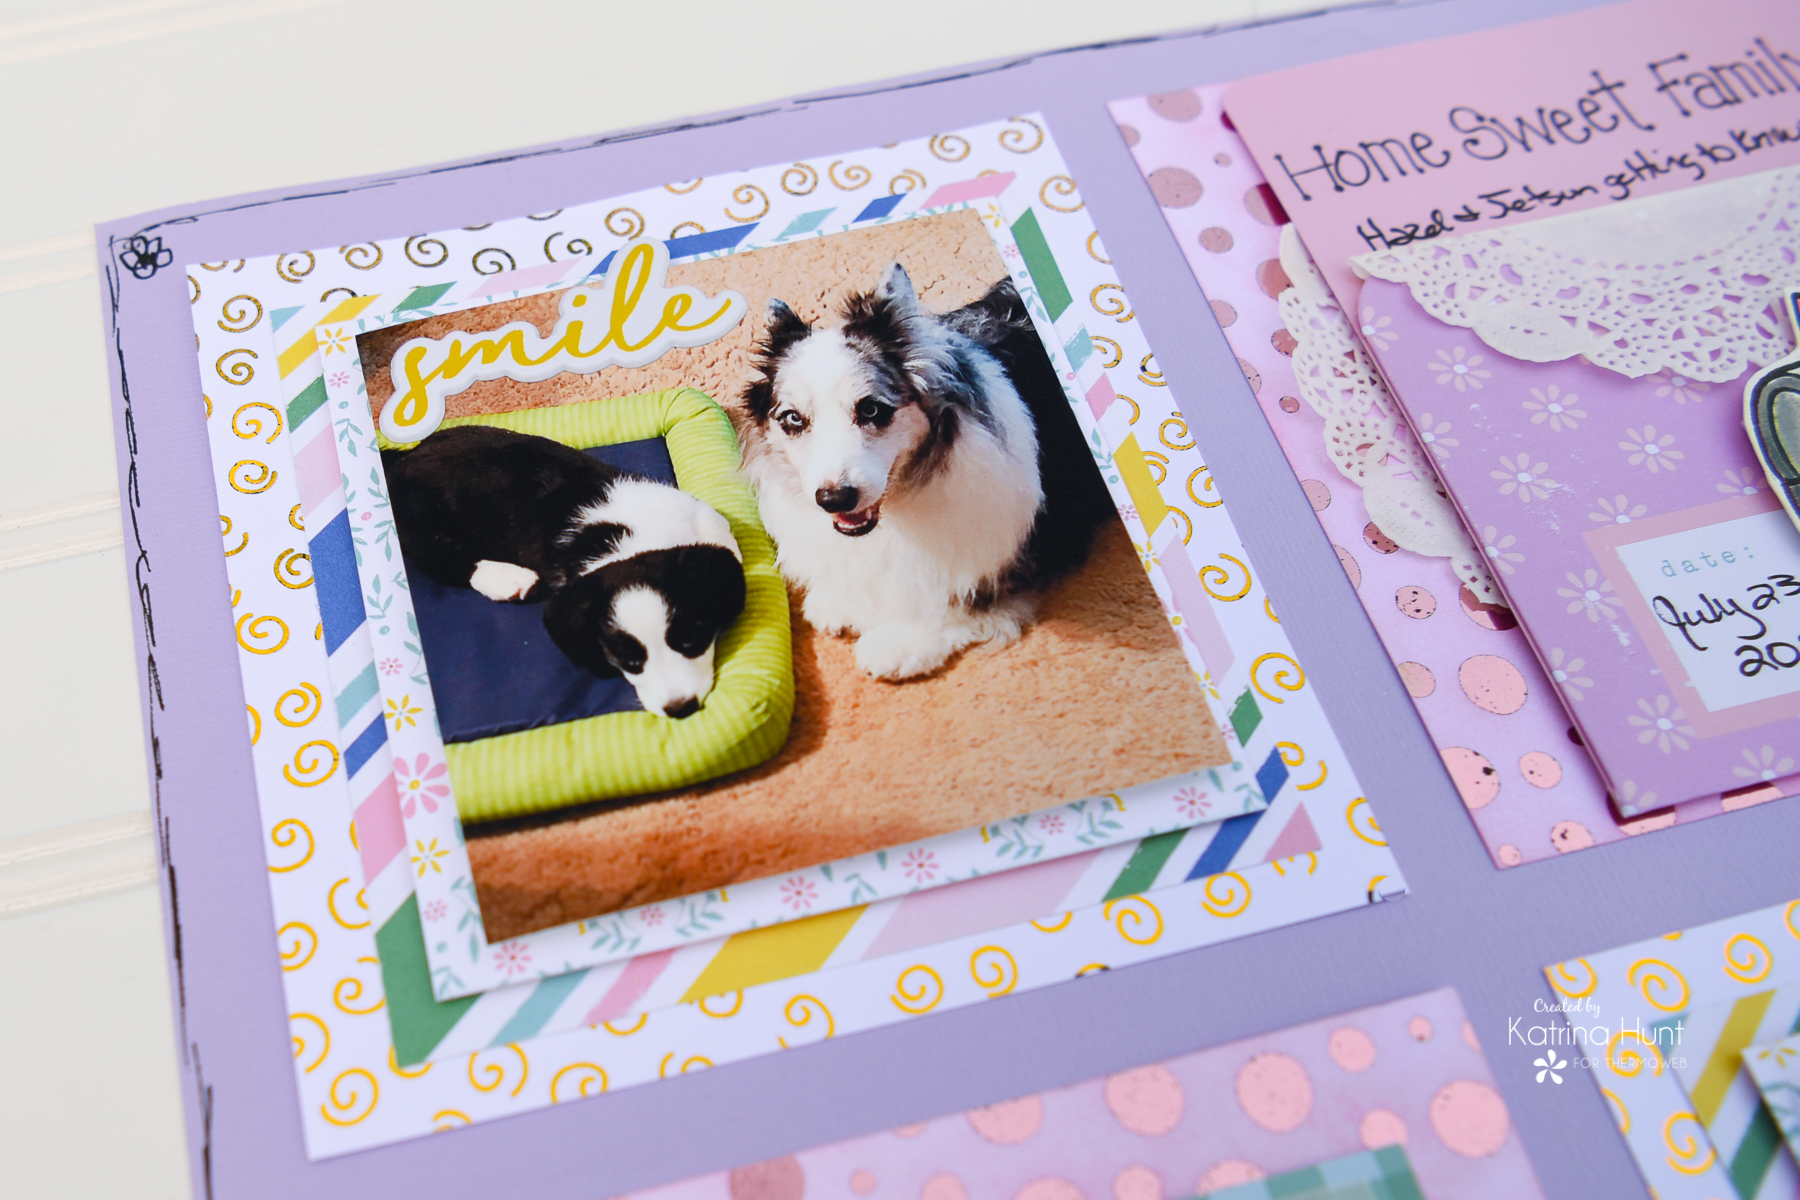
 I wanted to keep the picture grids pretty much the same. All layers are cut the same size on each grid, along with the pictures being the same size. I love the pop of the foiled Sweet Swirls paper as the base of these sections. I also used foam tape behind the picture and then the layer right below the picture
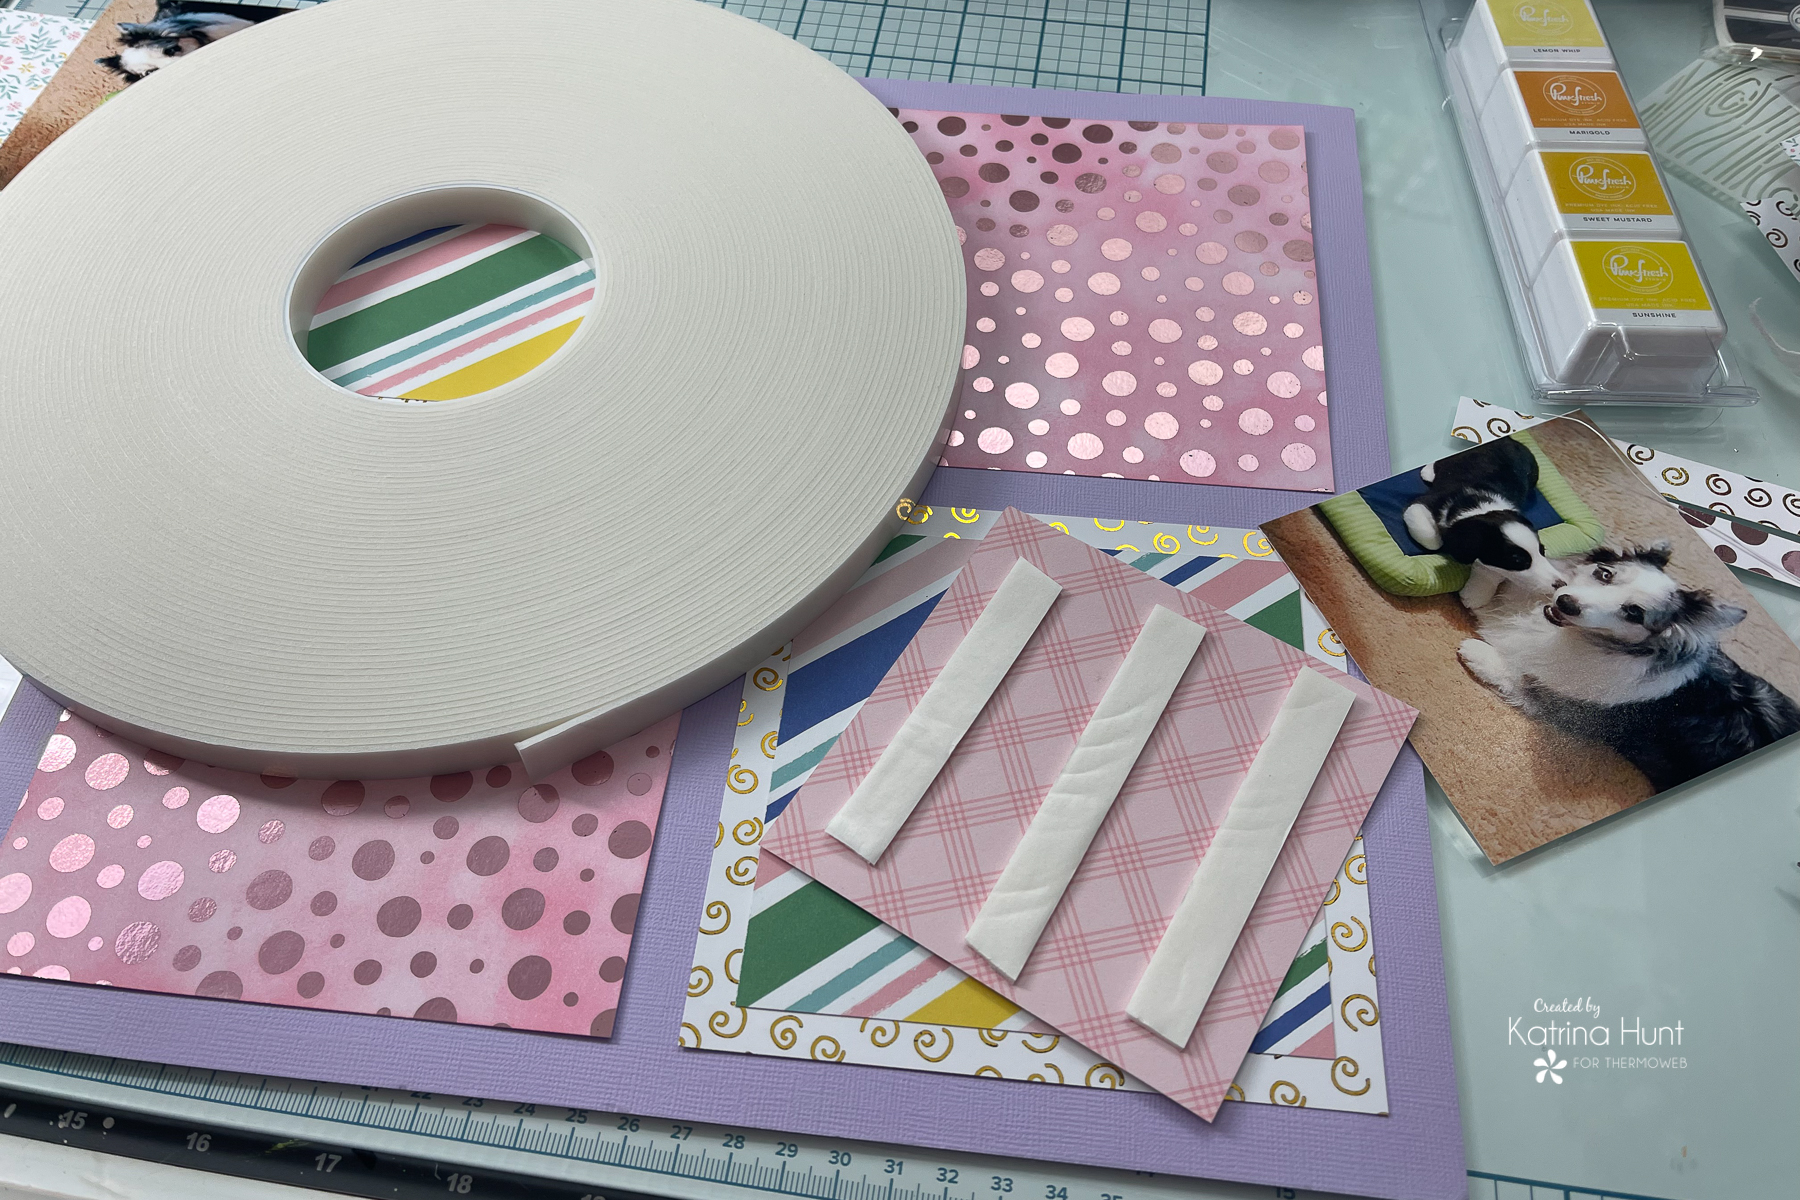 Have I said I LOVE that roll of foam tape? If not, well I DO! LOL LOL
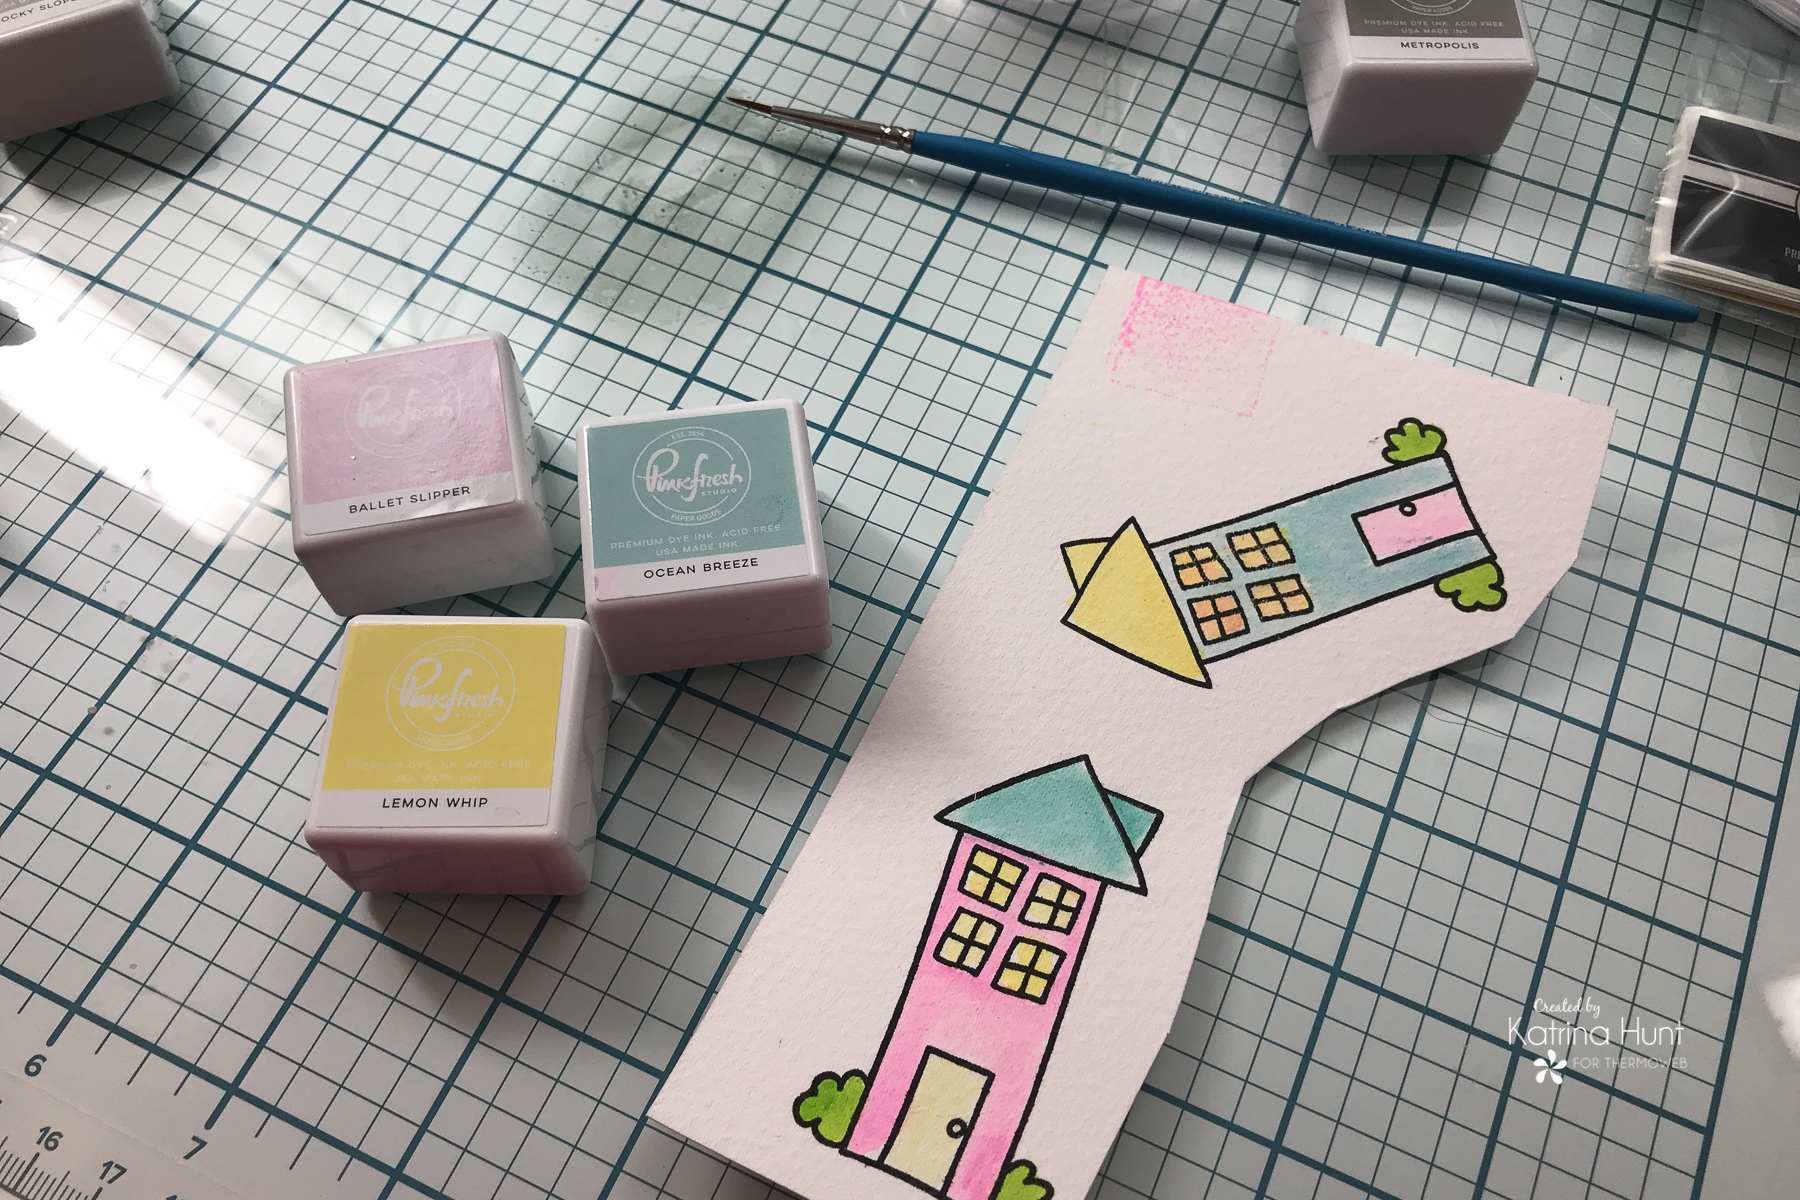
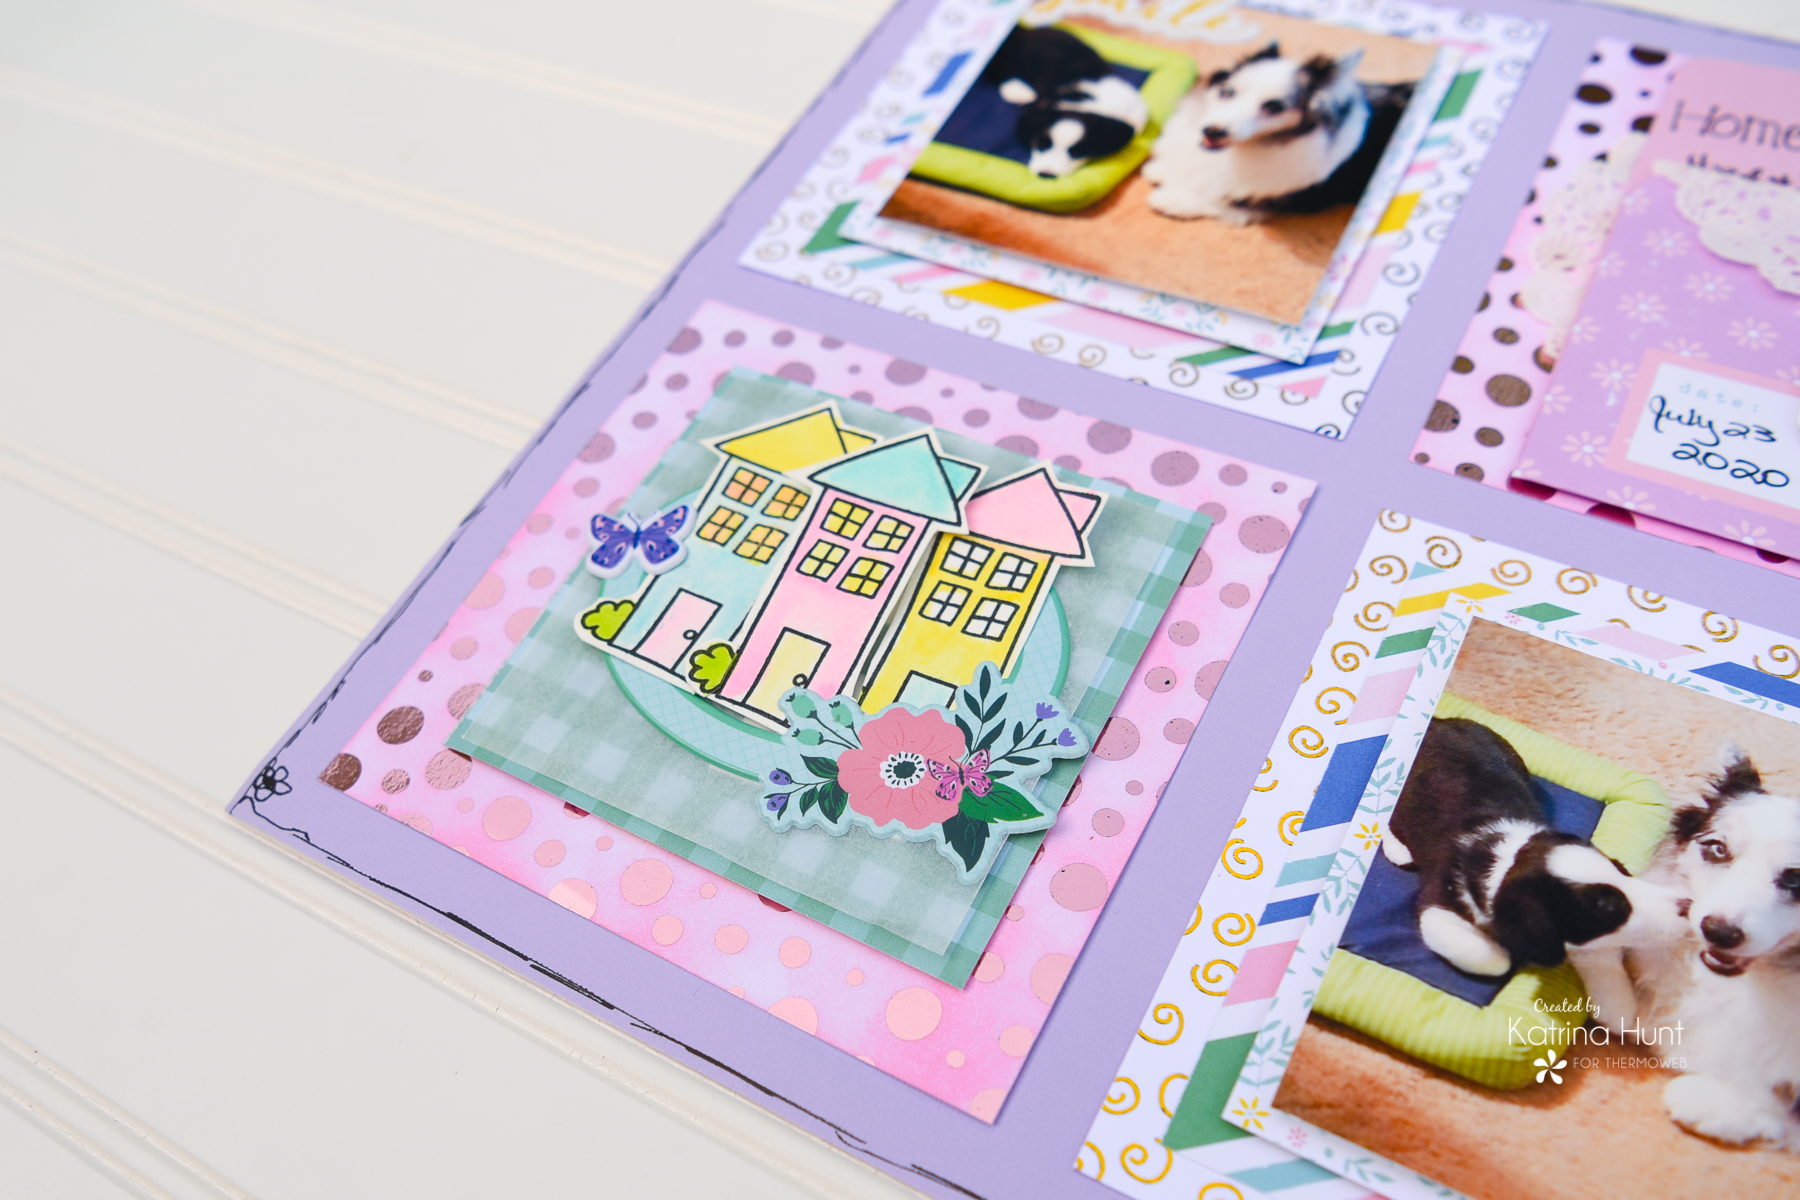
 Last, but not least was the bottom left grid. I stamped and watercolored (again with the PinkFresh inks), three houses from the Me & My Peeps stamp set and then trimmed them out.
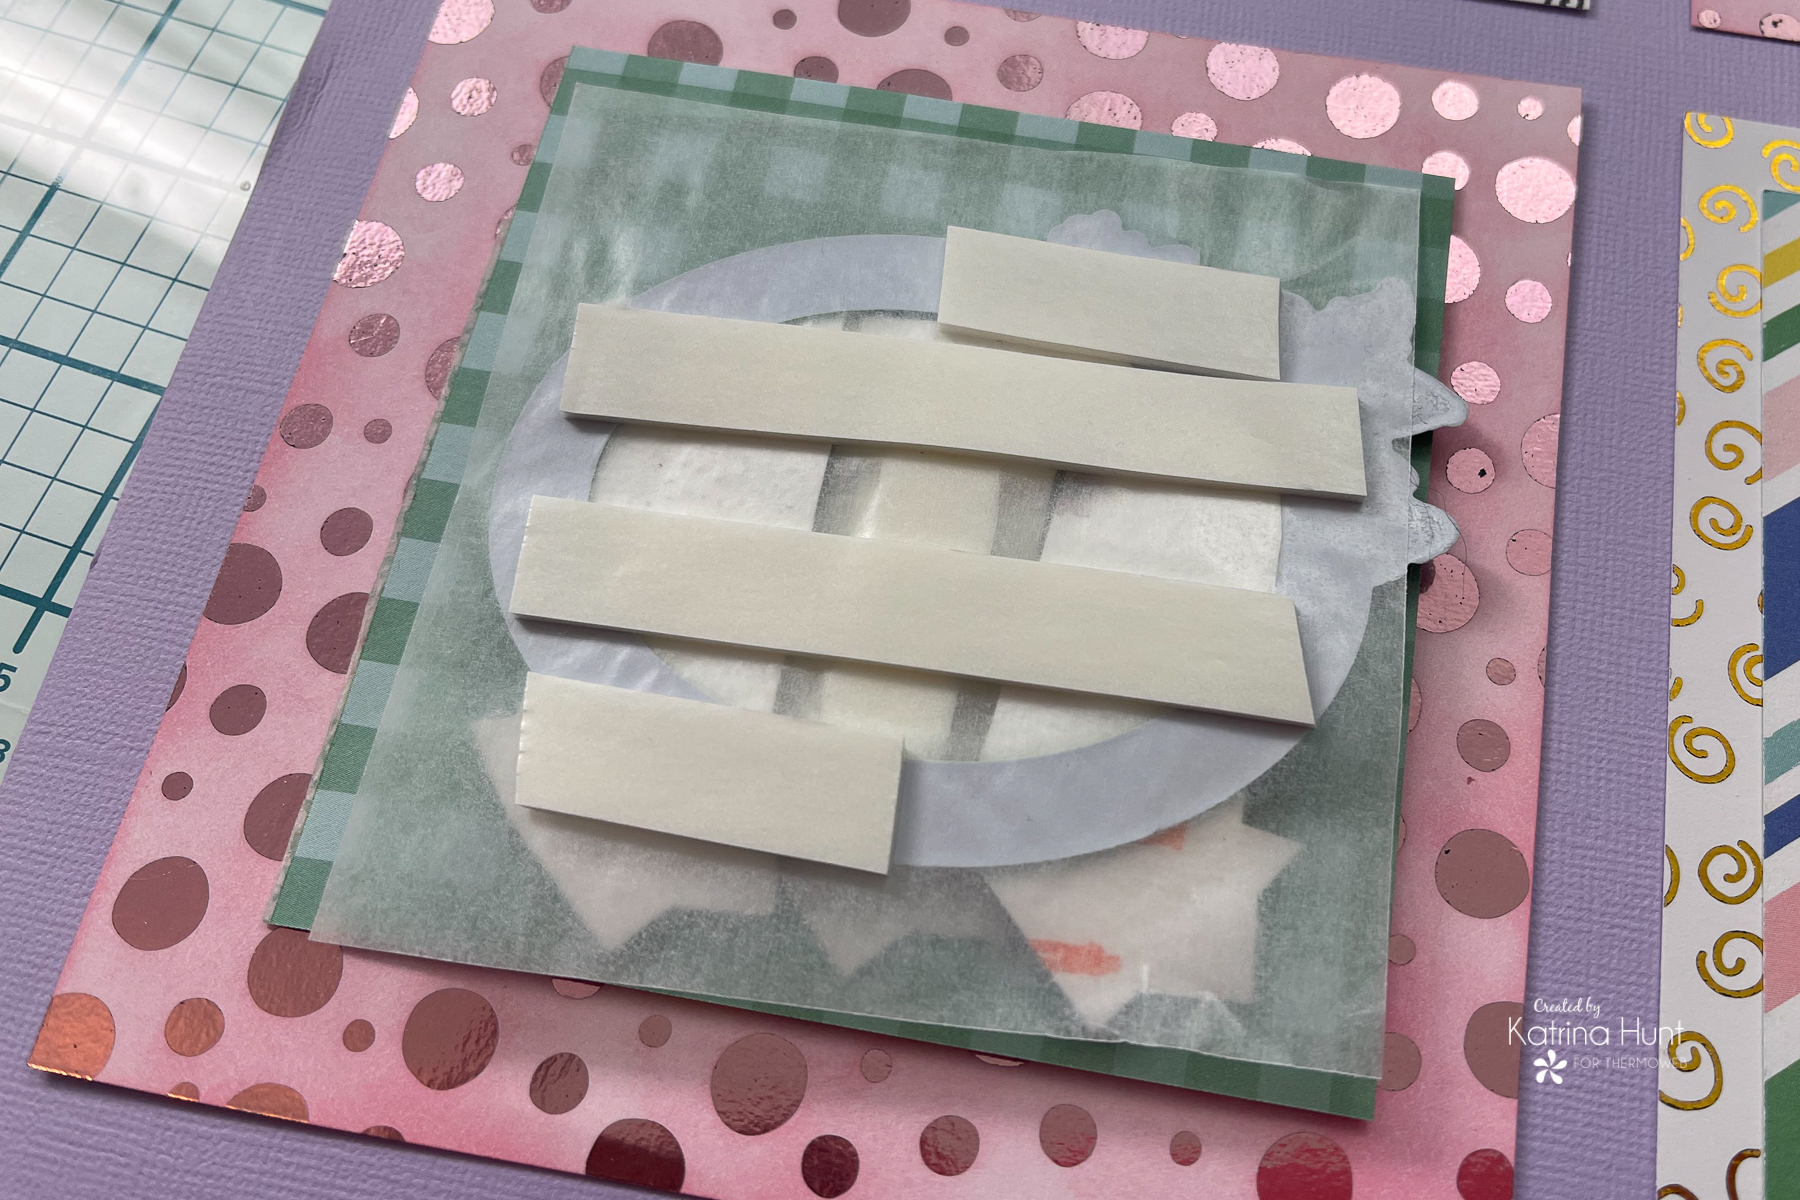
 Since the opposite grid was simple with few layers, I wanted to keep this one the same. I used one sheet of pattern paper and then a layer of glassine paper over the top. I used a frame embellishment from the paper collection to land the houses on. This also allowed me to pop up the glassine layer with foam tape.
 Just a little doodling around the edges of the cardstock background after this and my layout was complete!!
 Grab some of the new Laura Kelly items!!! They are so cute, I cannot wait to create with them more! Have a wonderful rest of the week!!!
This post contains affiliate links. For more information, see our disclosure HERE.
Grab some of the new Laura Kelly items!!! They are so cute, I cannot wait to create with them more! Have a wonderful rest of the week!!!
This post contains affiliate links. For more information, see our disclosure HERE.