No Products in the Cart



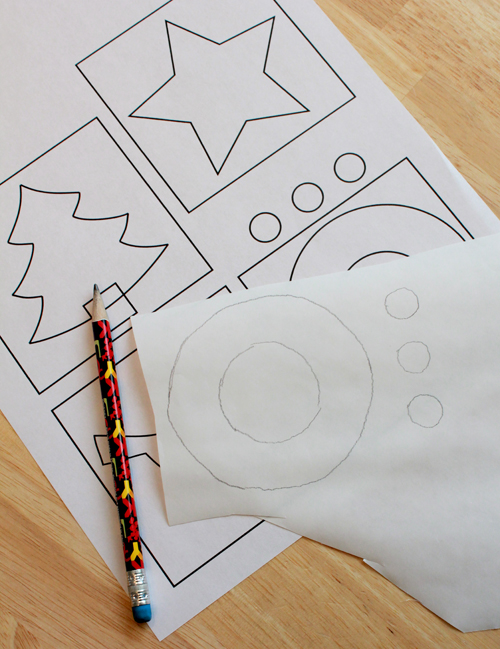
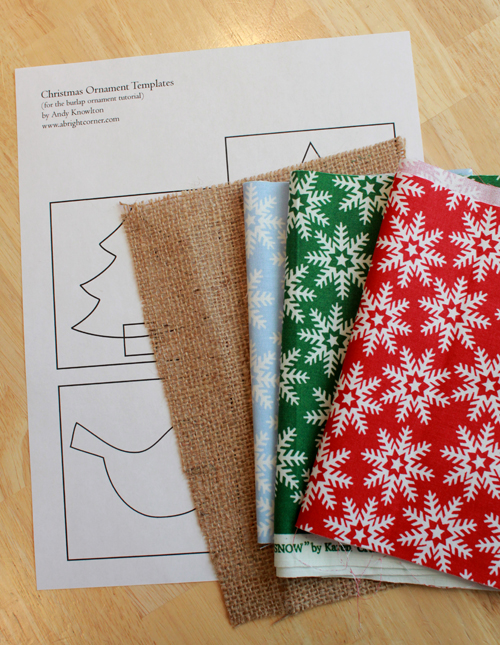 Step 2: Using a pencil, trace each shape (not the squares, just the shapes inside - the tree & trunk, wreath & berries, the bird & eye, and the star) onto the paper side of the HeatnBond® Ultra. Cut out around each shape, leaving about 1/4" around each. Also cut out the center of the wreath, again leaving about 1/4" of space.
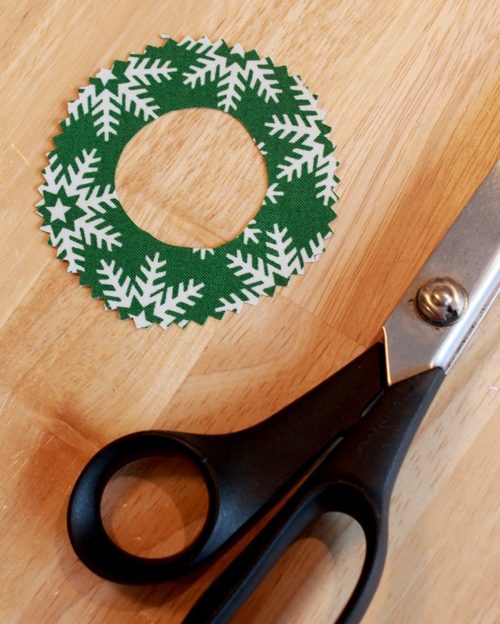
 Step 3: Iron the shapes on to the wrong side of the fabric scraps. Then, using sharp scissors, cut out each shape along lines.
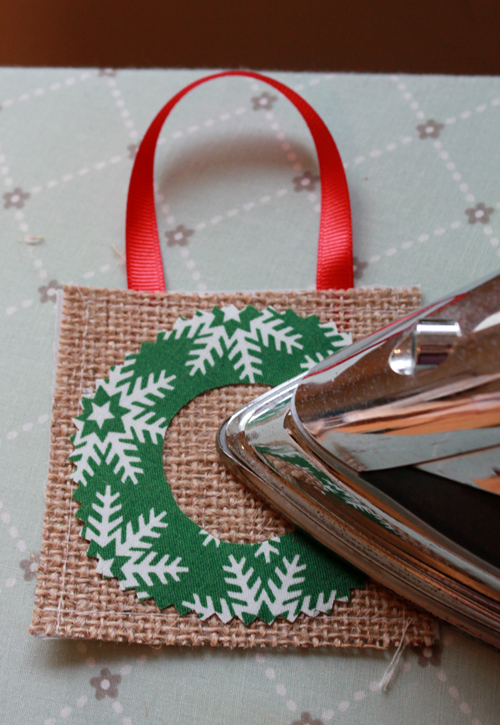
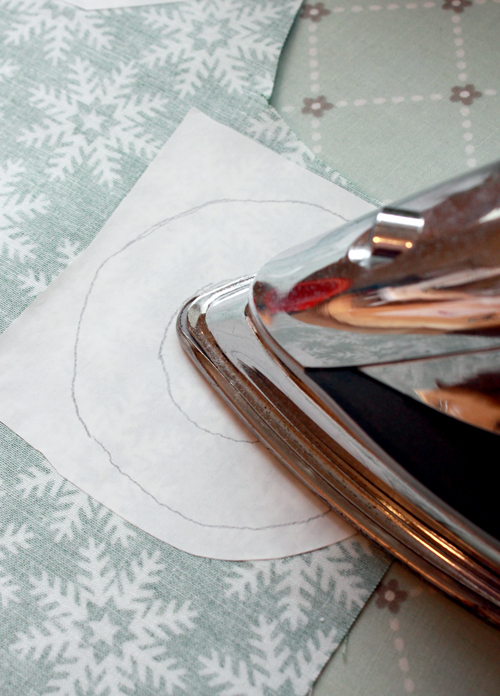 When cutting the outside of the wreath, use pinking shears:
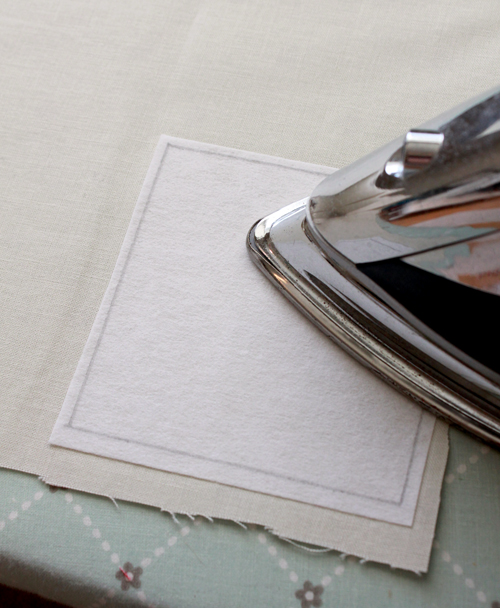
 Step 4: Using the Christmas Ornament Templates page, trace the squares on to the HeatnBond® Craft Extra Firm fusible interfacing. Trace one square for each ornament being made. Cut each square out, leaving a little space around each. Iron each square (shiny side down) to the solid background fabric. The fusible interfacing will provide stiffness to the ornament. The solid fabric will be the back of the ornament and will provide a nice, finished look.
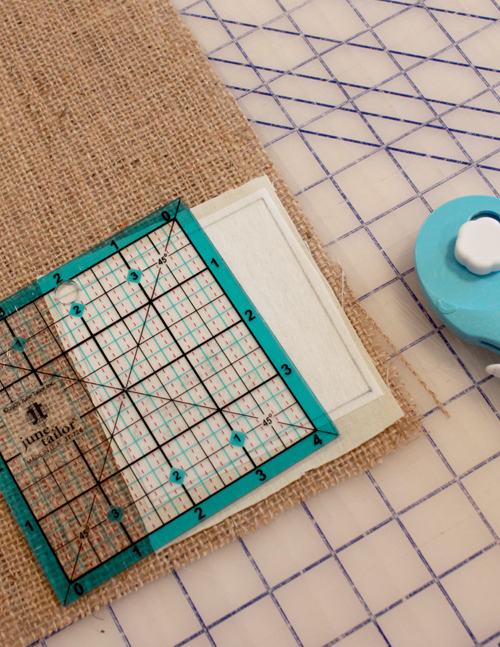
 Step 5: Place the interfacing/solid fabric squares over the burlap. Using a rotary cutter and ruler, cut all layers (interfacing, fabric & burlap) directly on the lines.
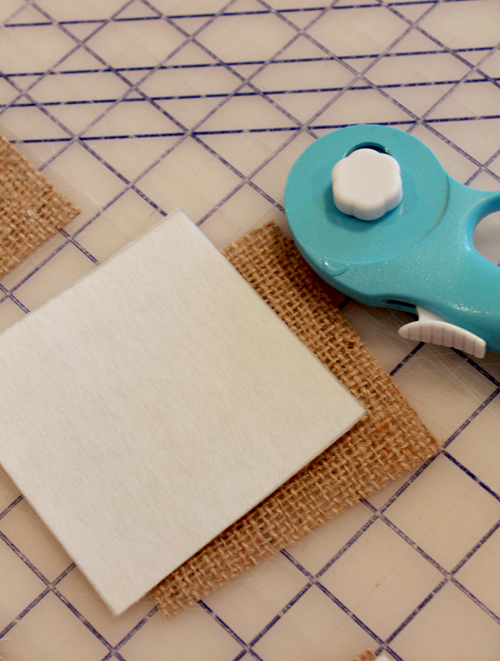 Step 6: Cut a 6" piece of ribbon. Line up one burlap square with the interfacing/fabric square, with the burlap touching the interfacing side. Using about a 1/4" seam and coordinating thread, sew around three sides of the burlap/interfacing/fabric square. Insert the two ends of the ribbon between the burlap and interfacing to make a hanging loop. Sew the last side together, catching the ribbon ends in the seam to hold them in place.
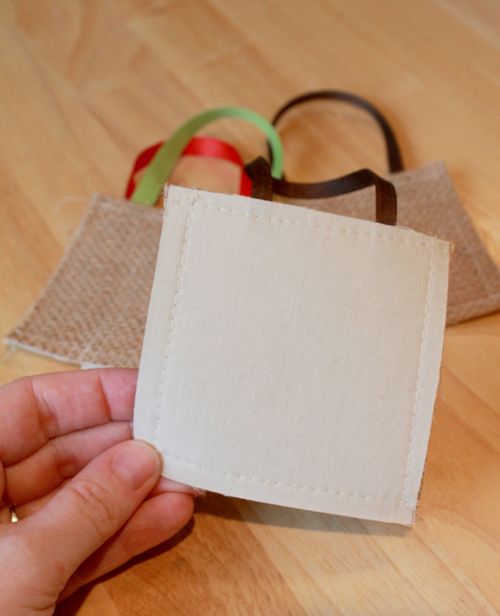
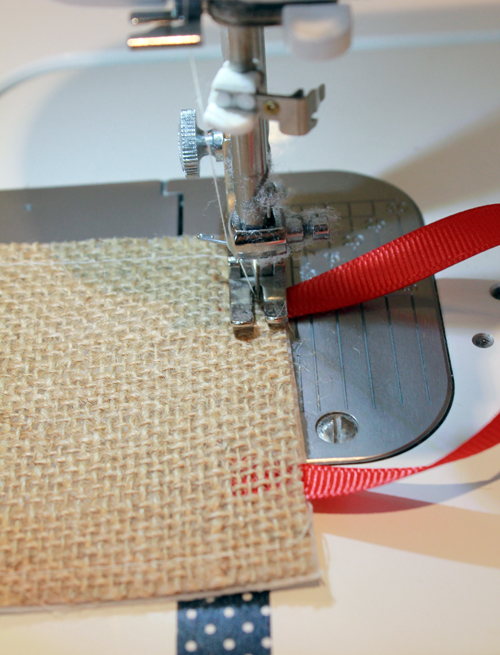 Repeat for each ornament. Each one should have burlap visible on one side, and the solid fabric visible on the other side with the interfacing hidden inside.
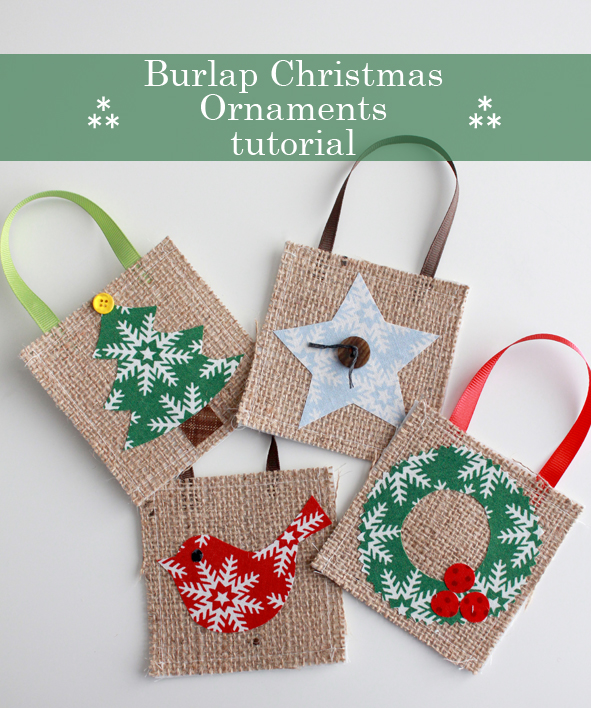
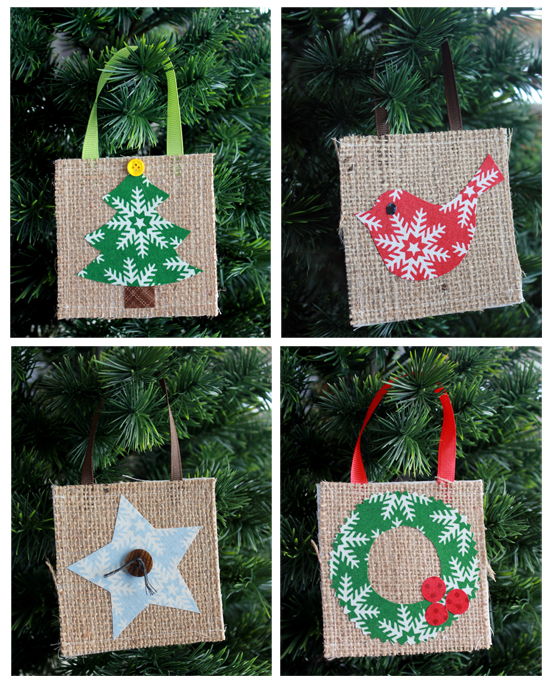
 Step 7: Peel the paper backing from each ornament shape. Place on the burlap side of the square and press in place. For the wreath, first press the wreath, then add the berries. For the tree, press just the top of the tree in place, slide the trunk underneath the bottom and finish pressing.
 Step 8: Add the final touches - buttons, glitter, etc.
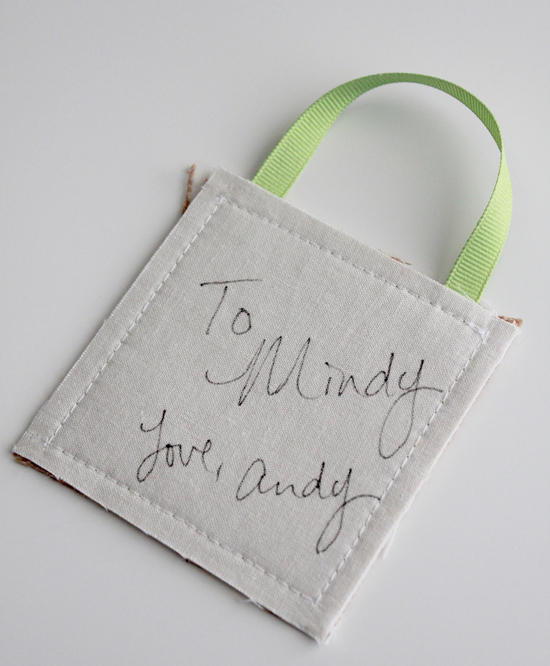
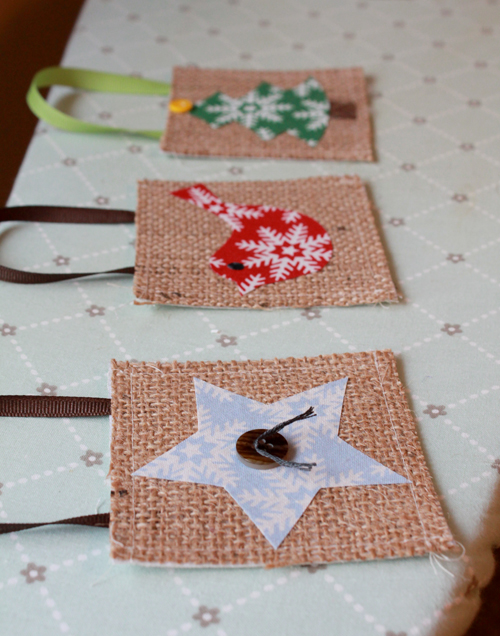 These can also be used as handmade gift tags, by writing the message on the back with a micron pen.
 Your ornaments are ready to add to the tree!
Written by Andy Knowlton
