No Products in the Cart
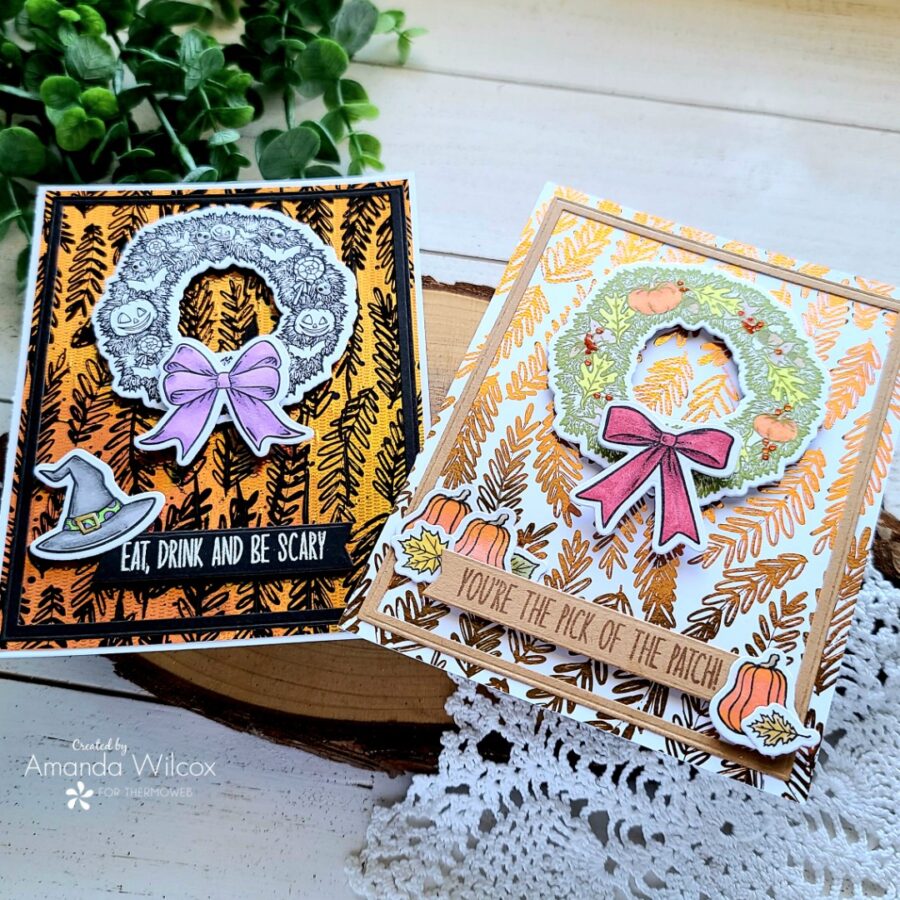
 Hey friends! This is Amanda from Twiddler's Nook popping in with a little how-to on some really fun fall and Halloween cards featuring the new toner card fronts and Deco Foil from the Brutus Monroe line! These are so great and can really be used all year long.
 Products used on today's card:
Toner card front - Floral Fantasy
Deco Foil transfer sheets - Copper Ripples
Deco Foil Toner Sheets
Foam squares and strips
iCraft Ultra Bond liquid adhesive pen
Brutus Monroe Seasonal Wreaths stamps and dies
Trinity Stamps Embossed Edge Rectangle dies
Pink & Main Large Sentiment Strip dies
Glossy accents
Wink of Stella glitter brush pen
Products used on today's card:
Toner card front - Floral Fantasy
Deco Foil transfer sheets - Copper Ripples
Deco Foil Toner Sheets
Foam squares and strips
iCraft Ultra Bond liquid adhesive pen
Brutus Monroe Seasonal Wreaths stamps and dies
Trinity Stamps Embossed Edge Rectangle dies
Pink & Main Large Sentiment Strip dies
Glossy accents
Wink of Stella glitter brush pen
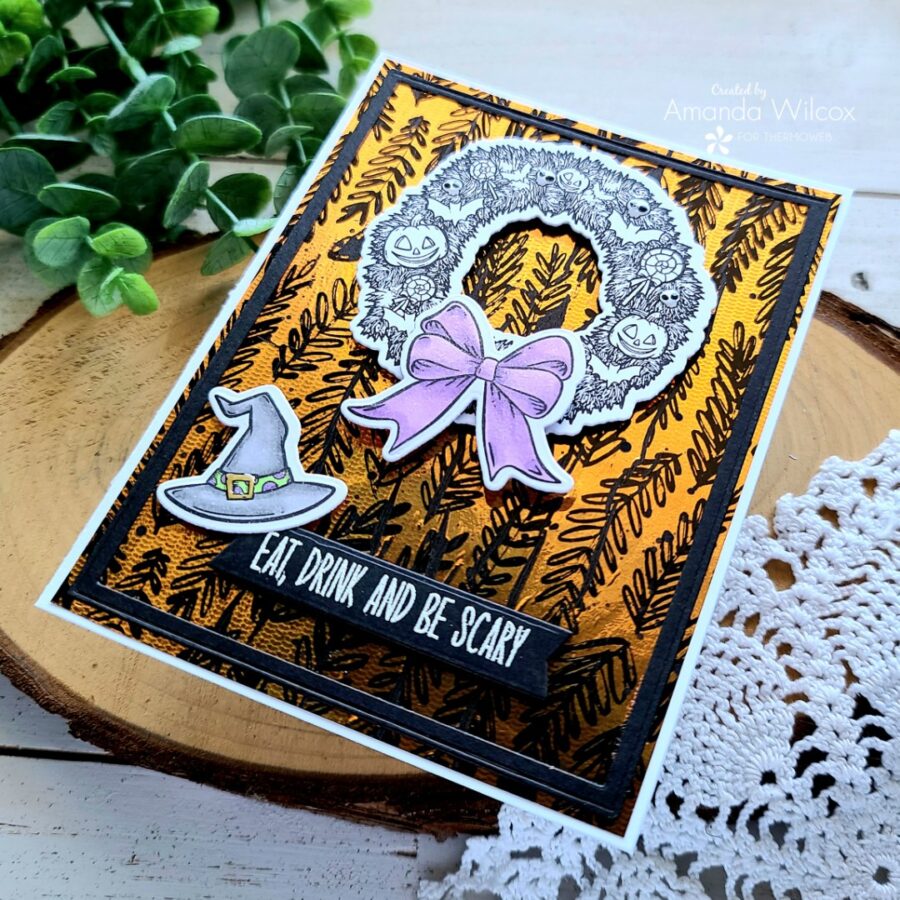
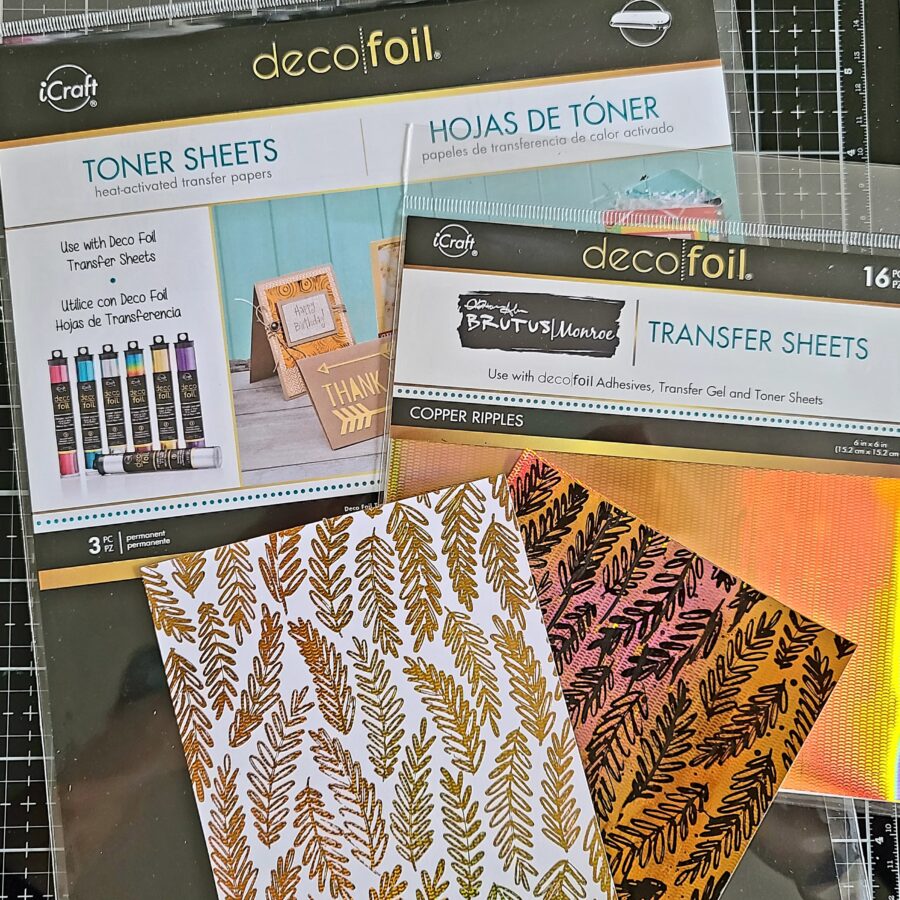 I started these cards by heating up my laminator and foiling the toner card front with the new copper ripple Deco Foil transfer sheet. I absolutely love the color of these! Once I removed the foil, I ran the negative through with a piece of toner transfer sheet. This gave me two awesome backgrounds for the effort of one. This is a fabulous way to extend your supplies and have little-to-no waste.
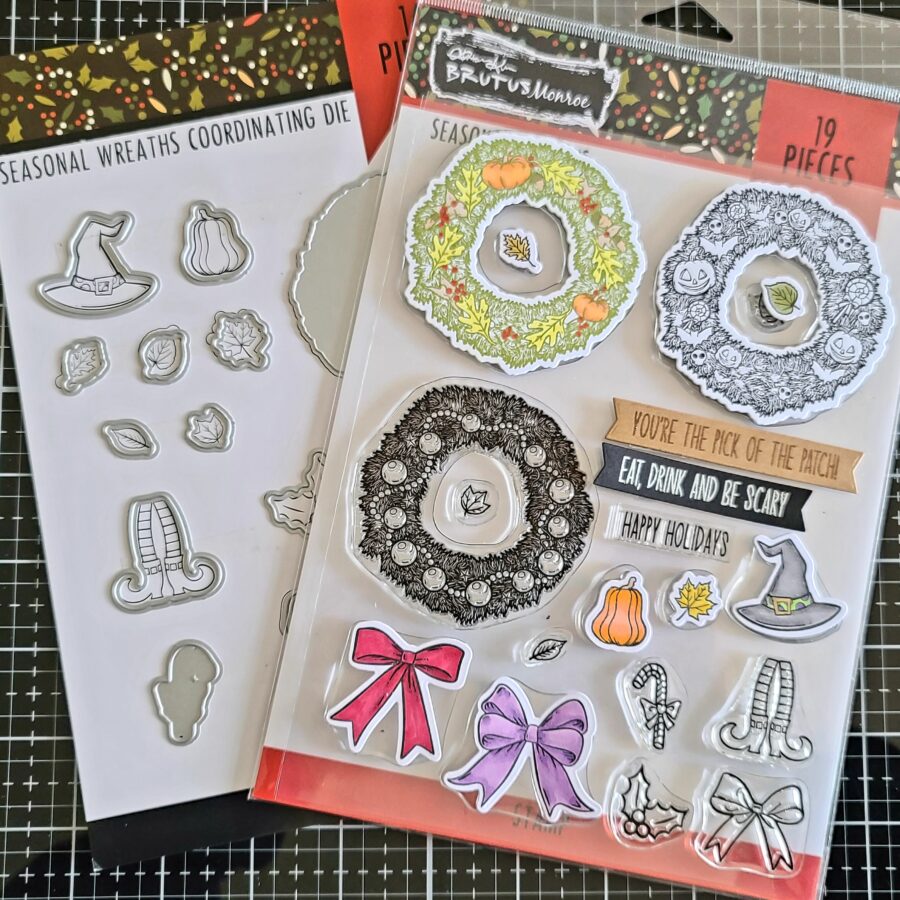 Next, I stamped and colored images from the Seasonal Wreaths stamp set with my Copic markers. Then I used the coordinating dies to cut them all out. The wreath die in this set is solid so I die cut the wreath before lining up my stamp and stamping it. Just a little tip to make life easier for you. I also stamped sentiments and die-cut them with Pink & Main Large Sentiment Strip dies.
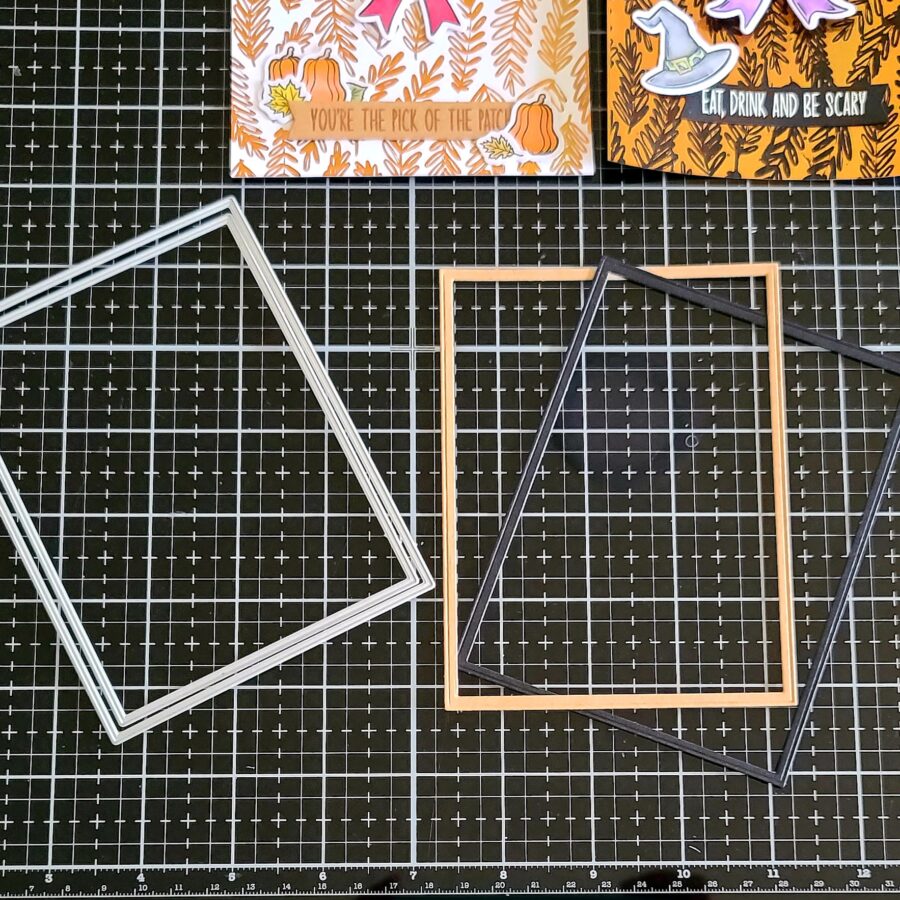 After figuring out the final arrangement on my card front, I decided to add a frame to the design. I die cut the next-to-largest Trinity Stamps embossed edge rectangle and then cut the next side down from the inside of that to create a thin embossed frame. I did this twice - one in black and one in kraft to go with each card design.
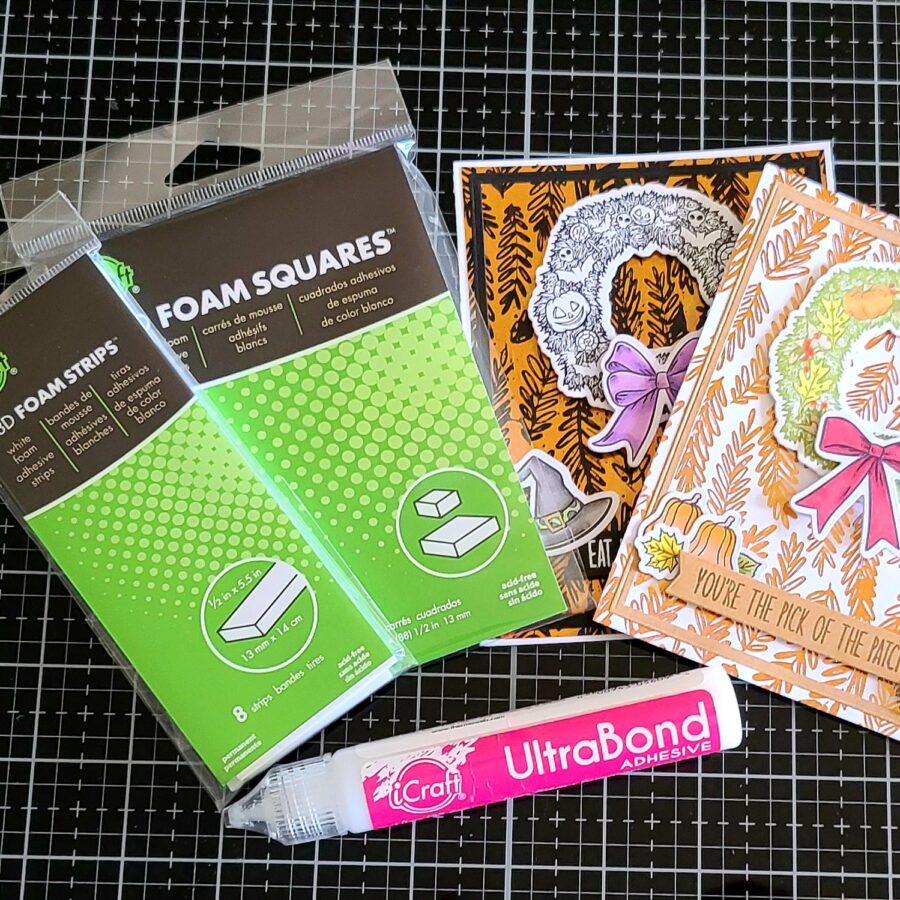 Last, I used a combination of ultra bond liquid adhesive pen and foam strips and squares to adhere my images in place and attach the whole thing to white card bases.
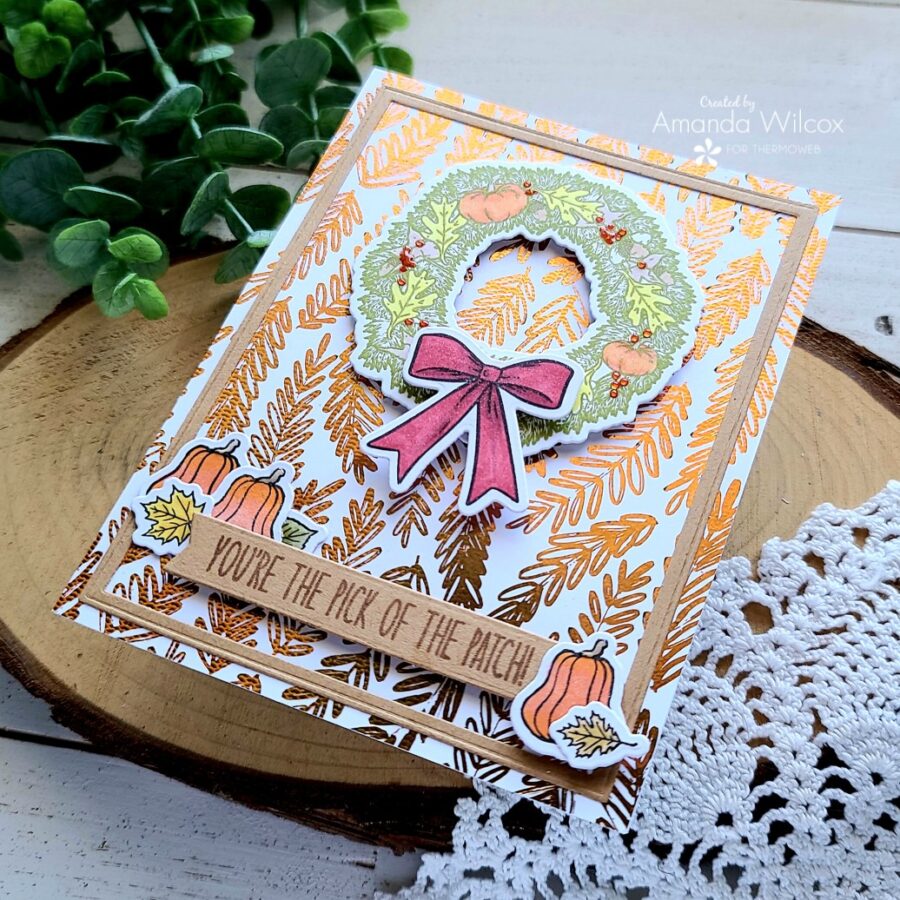 Next, I moved on to the finishing touches. On both cards I gave different images touches of glossy accents and then Wink of Stella glitter brush pen on the bows for some extra shimmer.
 Aren't these just too fabulous! I had so much fun creating them and hope you enjoy them too!
I appreciate you sharing your time with me. Have a fabulous day!
This post contains affiliate links. For more information, see our disclosure HERE.
Aren't these just too fabulous! I had so much fun creating them and hope you enjoy them too!
I appreciate you sharing your time with me. Have a fabulous day!
This post contains affiliate links. For more information, see our disclosure HERE.