No Products in the Cart
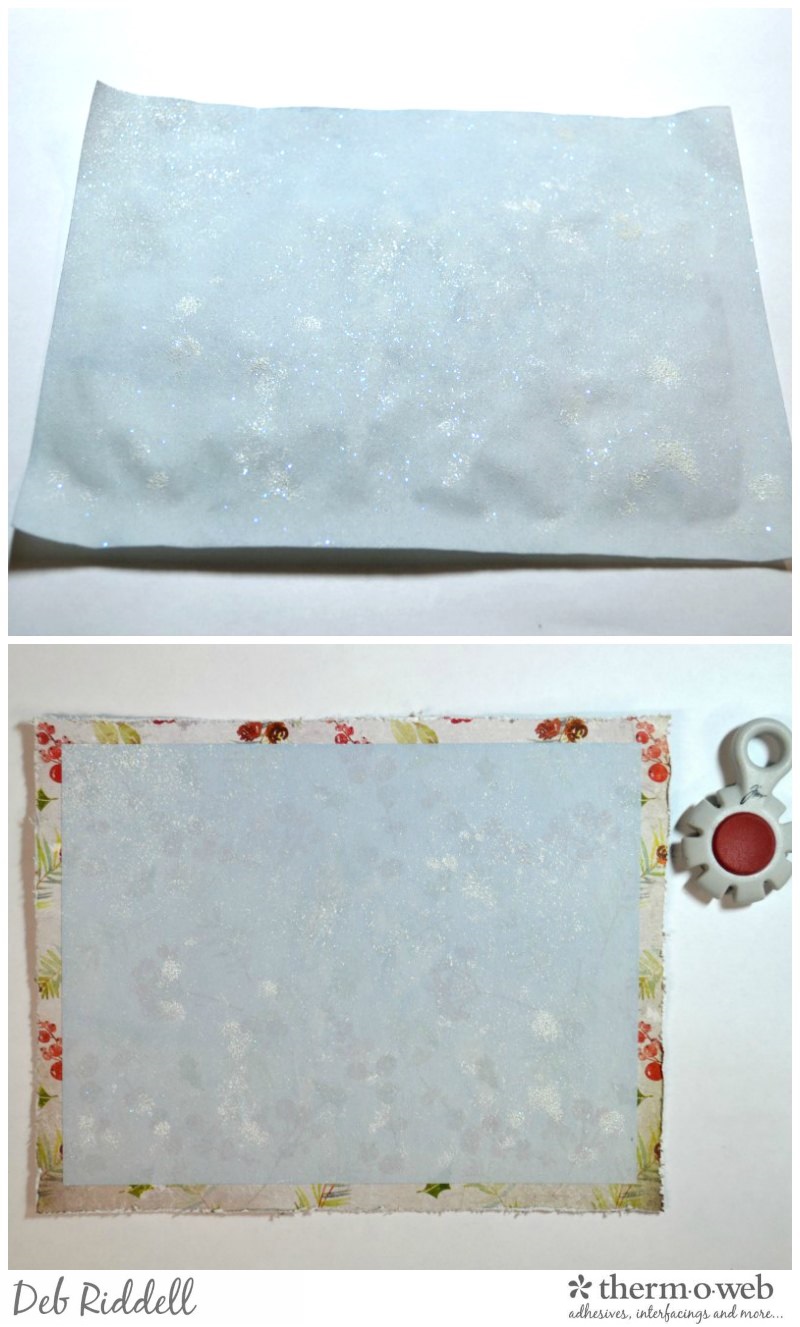 Cut a piece of Christmas themed scrapbook paper to approximately 3/8" wider on all sides than your painted and embossed Art Paper (this paper is from Tim Holtz's Christmas Paper Stash) and tatter the edges if desired with scissors or a distressing tool. Remove the backing paper from the Art Paper and center it in the middle of the scrapbooking paper.
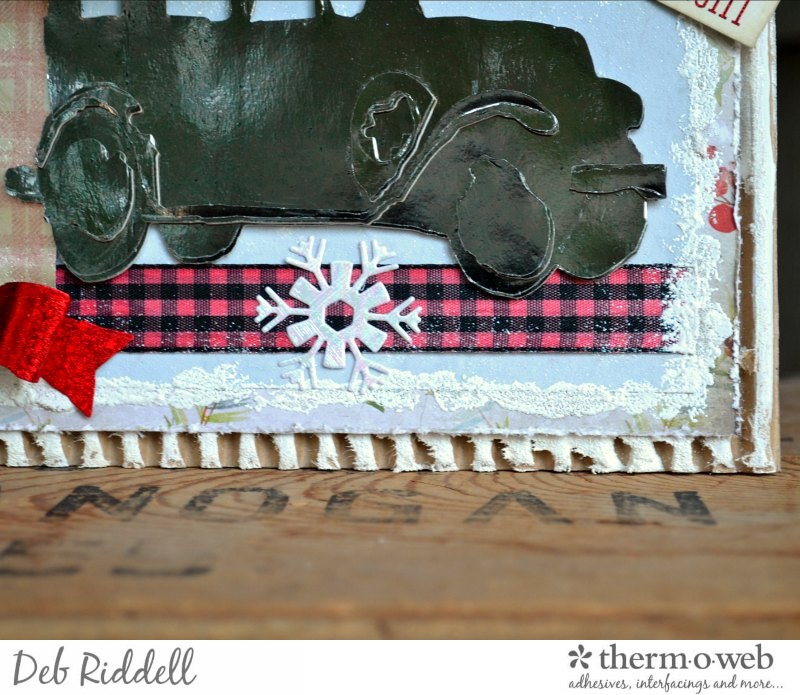
Cut a length of Rebekah Meier Designs Mixed Media Art Tape to about 5 1/2" long, remove the adhesive backing paper and apply Antique Pearl Transfer Foil to the sticky side of the Art Tape. Ink up a plaid stamp with a permanent red ink (this is the Stamptember Holiday 2016 stamp and Red Geranium Archival Ink) and stamp the plaid design over the foiled Art Tape.
Cut a piece of Christmas themed scrapbook paper to approximately 3/8" wider on all sides than your painted and embossed Art Paper (this paper is from Tim Holtz's Christmas Paper Stash) and tatter the edges if desired with scissors or a distressing tool. Remove the backing paper from the Art Paper and center it in the middle of the scrapbooking paper.
Cut a length of Rebekah Meier Designs Mixed Media Art Tape to about 5 1/2" long, remove the adhesive backing paper and apply Antique Pearl Transfer Foil to the sticky side of the Art Tape. Ink up a plaid stamp with a permanent red ink (this is the Stamptember Holiday 2016 stamp and Red Geranium Archival Ink) and stamp the plaid design over the foiled Art Tape.
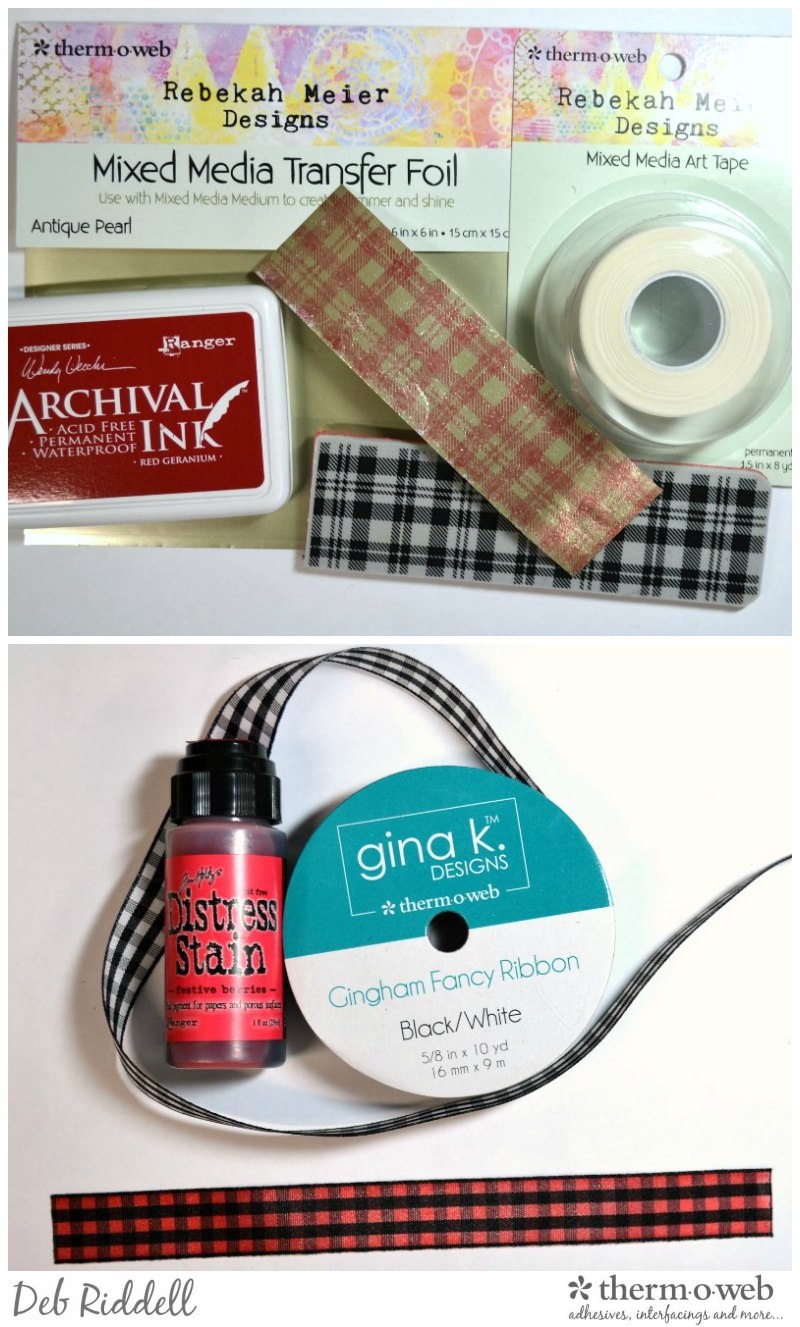 Cut a length of Gina K. Designs Black/White Gingham Fancy Ribbon to about 7" long and colour the ribbon with red stain (this is Festive Berries Distress Stain). Let the ribbon dry thoroughly.
Adhere the Gingham Fancy Ribbon just above the bottom edge of the painted Art Paper with Rebekah Meier Designs Mixed Media Medium. Adhere the foiled and stamped Art Tape along the left edge of the Art Paper, overlapping the Gingham Ribbon on the bottom.
Cut a length of Gina K. Designs Black/White Gingham Fancy Ribbon to about 7" long and colour the ribbon with red stain (this is Festive Berries Distress Stain). Let the ribbon dry thoroughly.
Adhere the Gingham Fancy Ribbon just above the bottom edge of the painted Art Paper with Rebekah Meier Designs Mixed Media Medium. Adhere the foiled and stamped Art Tape along the left edge of the Art Paper, overlapping the Gingham Ribbon on the bottom.
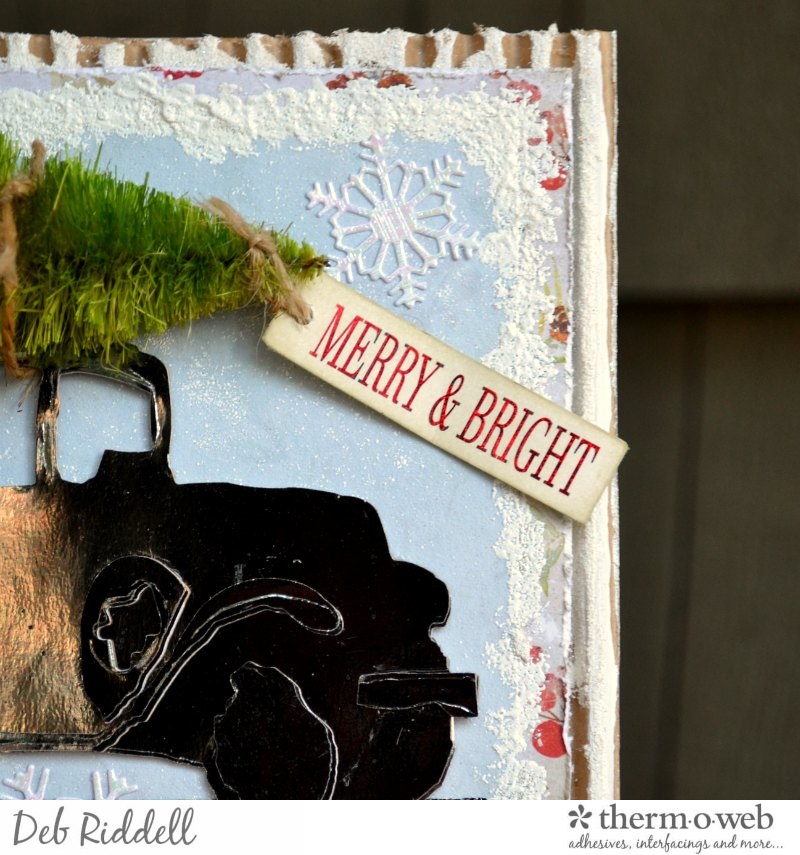
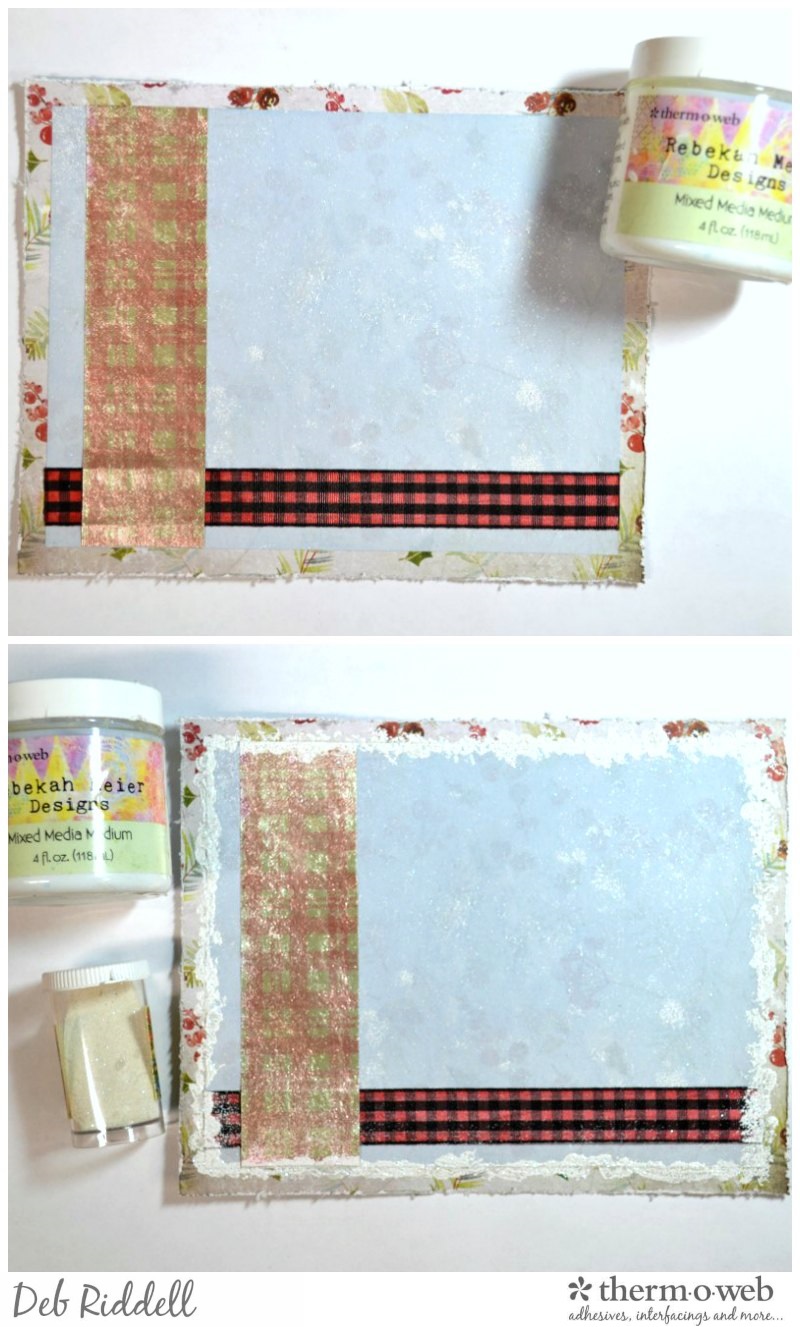 Stipple Rebekah Meier Designs Mixed Media Medium around the edges of the painted Art Paper with a paintbrush or stippling brush and while it is still wet sprinkle on some White Sparkle embossing powder. Remove the excess powder and let the Mixed Media Medium dry thoroughly before heating the embossing powder with your heat tool to melt it for a snowy border.
Cut a piece of corrugated cardboard packaging to about 6 1/2" x 8 1/4", randomly tear off some of the top paper layers to reveal the corrugations around the edges and finger paint white acrylic paint over the exposed corrugations. Sprinkle Soft Fallen Snow embossing powder over the wet paint, let the paint dry thoroughly and then heat the embossing powder with your heat tool.
Stipple Rebekah Meier Designs Mixed Media Medium around the edges of the painted Art Paper with a paintbrush or stippling brush and while it is still wet sprinkle on some White Sparkle embossing powder. Remove the excess powder and let the Mixed Media Medium dry thoroughly before heating the embossing powder with your heat tool to melt it for a snowy border.
Cut a piece of corrugated cardboard packaging to about 6 1/2" x 8 1/4", randomly tear off some of the top paper layers to reveal the corrugations around the edges and finger paint white acrylic paint over the exposed corrugations. Sprinkle Soft Fallen Snow embossing powder over the wet paint, let the paint dry thoroughly and then heat the embossing powder with your heat tool.
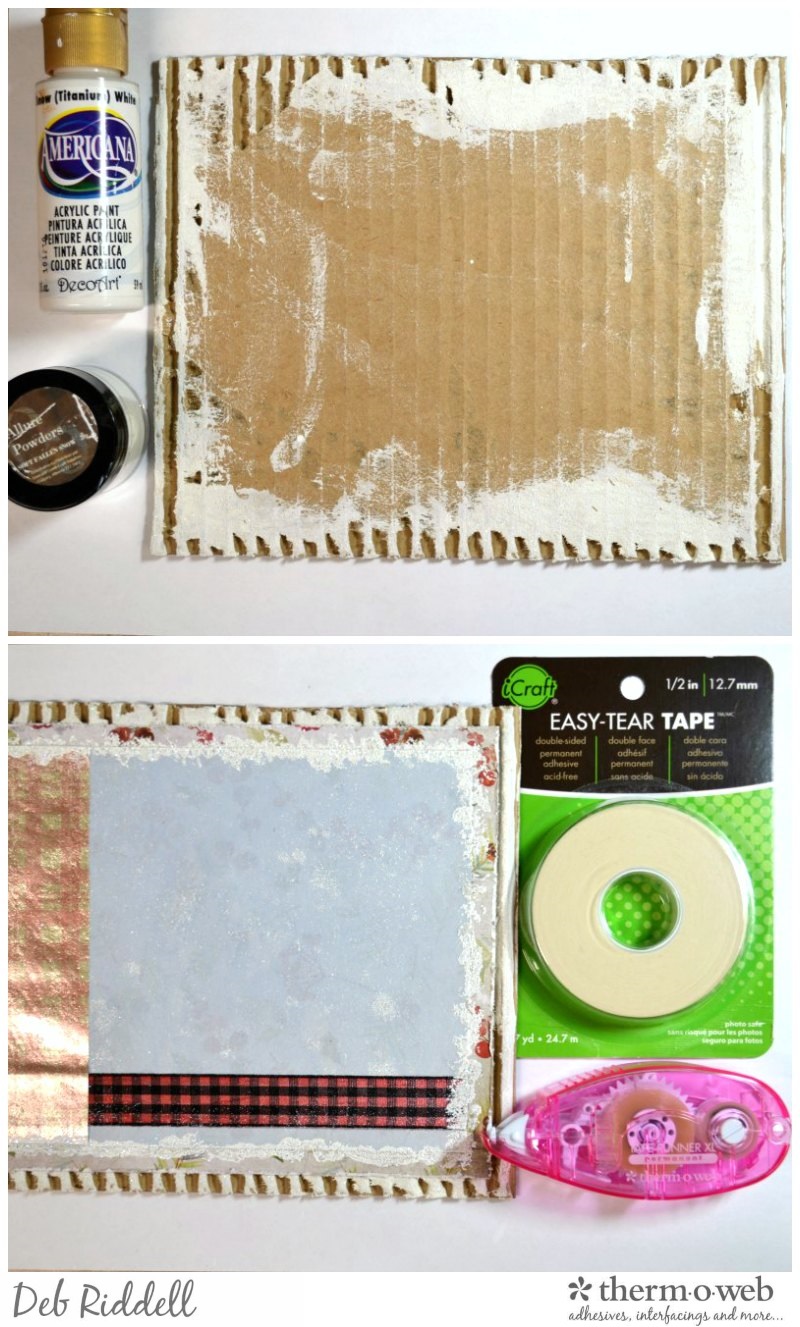 Adhere the layered Art Paper piece on top of the painted and embossed corrugated cardboard with iCraft Easy Tear Adhesive Tape and/or the Memory Tape XL tape runner (I usually use the iCraft Easy Tear Adhesive Tape around the edges and then 'fill in' the middle with the Memory Tape XL tape runner).
Adhere some Patina Rebekah Meier Designs Mixed Media Transfer Foil to one side of a piece of Rebekah Meier Designs Mixed Media Foam Sheet. Adhere some white cardstock to the other side of the Foam Sheet for stability and die cut the Old Jalopy with your die cutting machine.
Adhere the layered Art Paper piece on top of the painted and embossed corrugated cardboard with iCraft Easy Tear Adhesive Tape and/or the Memory Tape XL tape runner (I usually use the iCraft Easy Tear Adhesive Tape around the edges and then 'fill in' the middle with the Memory Tape XL tape runner).
Adhere some Patina Rebekah Meier Designs Mixed Media Transfer Foil to one side of a piece of Rebekah Meier Designs Mixed Media Foam Sheet. Adhere some white cardstock to the other side of the Foam Sheet for stability and die cut the Old Jalopy with your die cutting machine.
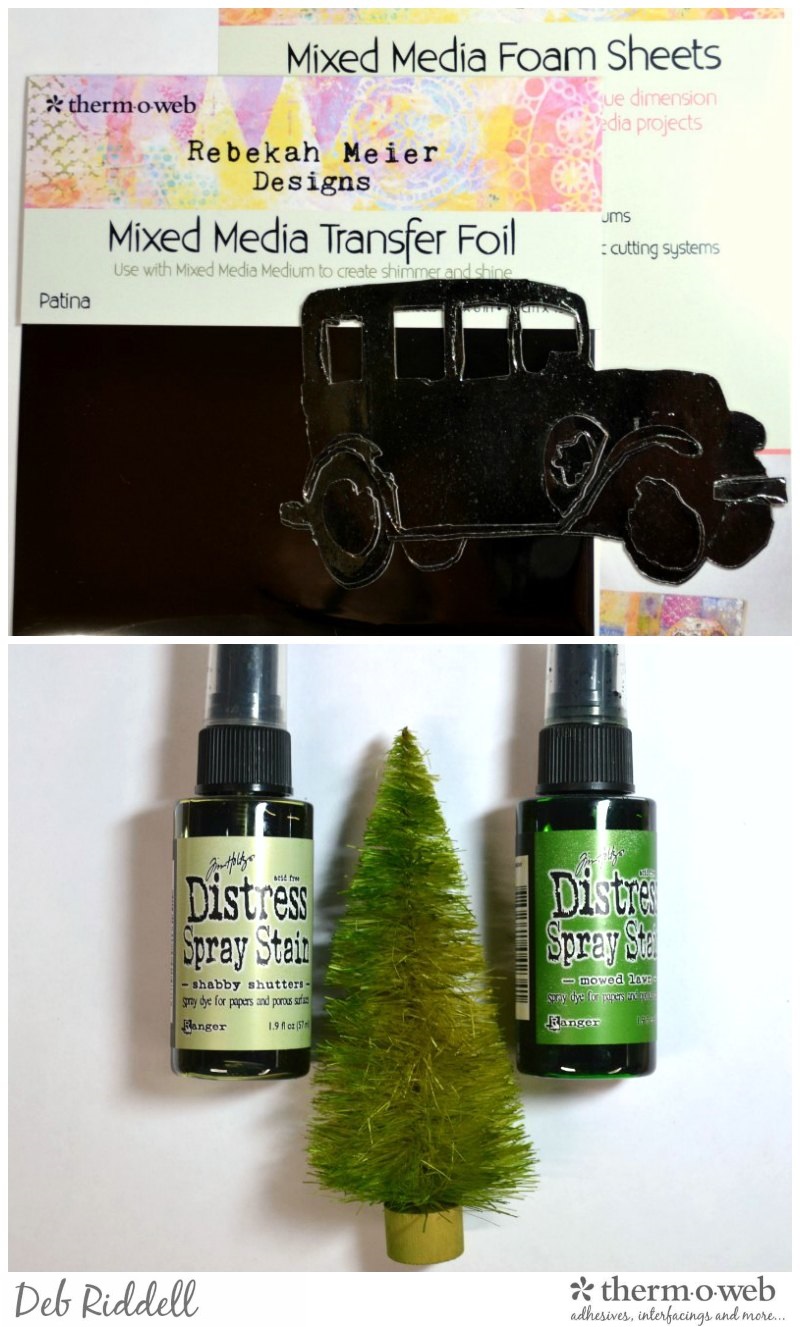 Spray a Woodland Tree with a couple of shades of green spray stain (this is Shabby Shutters and Mowed Lawn Distress Spray Stain) and allow to dry. With your scissors, trim off the bristles from the back of the tree so that it will lie flat.
Take a couple of lengths of jute twine and tie the Woodland tree on top of the Old Jalopy die cut. Add some plaid washi tape around the base of the tree if desired (this is Yuletide Design Tape).
Spray a Woodland Tree with a couple of shades of green spray stain (this is Shabby Shutters and Mowed Lawn Distress Spray Stain) and allow to dry. With your scissors, trim off the bristles from the back of the tree so that it will lie flat.
Take a couple of lengths of jute twine and tie the Woodland tree on top of the Old Jalopy die cut. Add some plaid washi tape around the base of the tree if desired (this is Yuletide Design Tape).
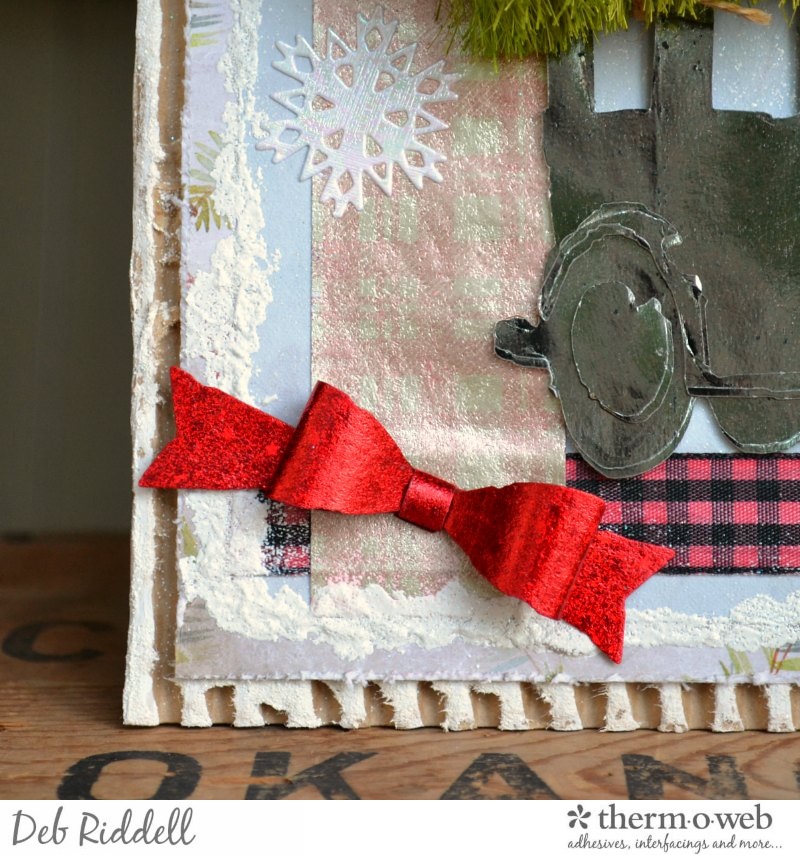
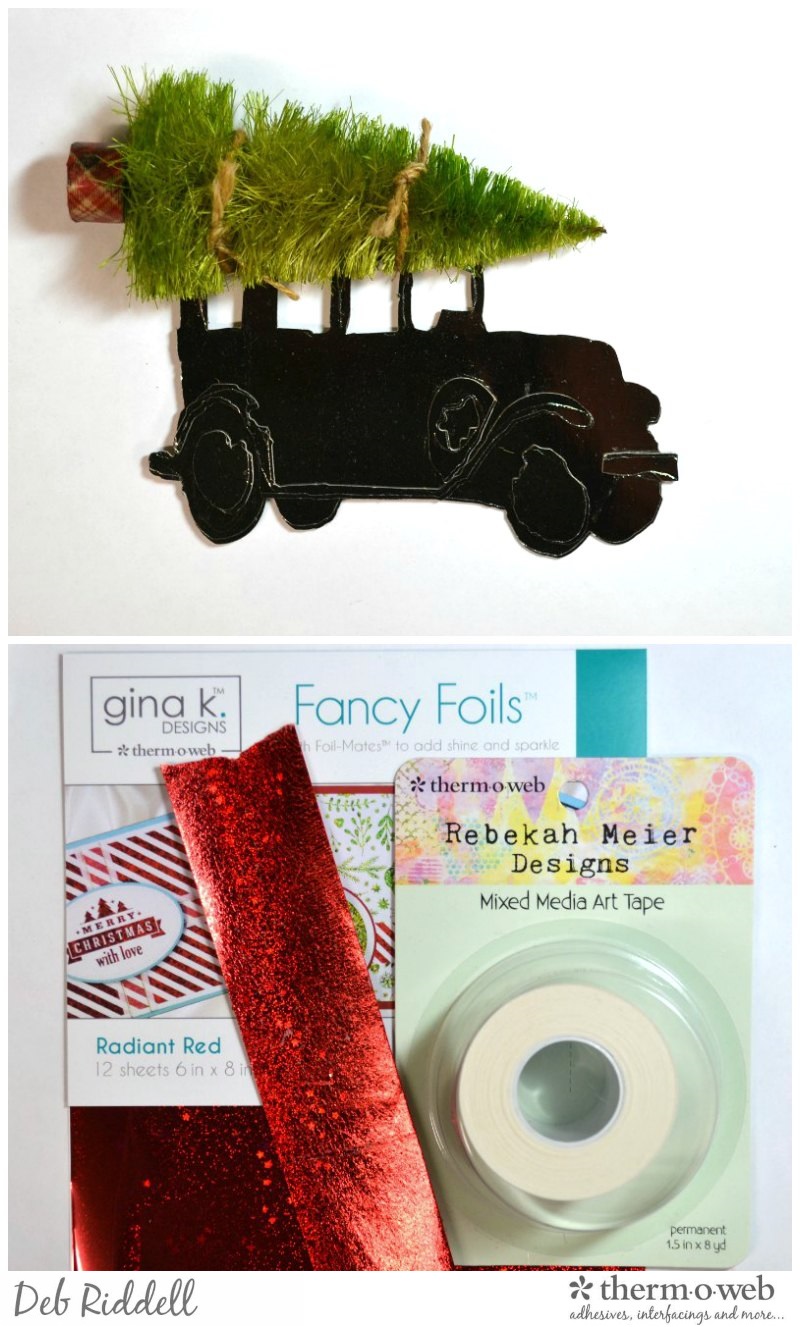 Adhere Gina K. Designs Fancy Foil in Radiant Red to the sticky side of a length of Rebekah Meier Designs Mixed Media Art Tape. Colour the opposite side of the tape with a red stain (Festive Berries Distress Stain was used here again).
Die cut the large Fold Up Bow from the red foiled Art Tape.
Adhere Gina K. Designs Fancy Foil in Radiant Red to the sticky side of a length of Rebekah Meier Designs Mixed Media Art Tape. Colour the opposite side of the tape with a red stain (Festive Berries Distress Stain was used here again).
Die cut the large Fold Up Bow from the red foiled Art Tape.
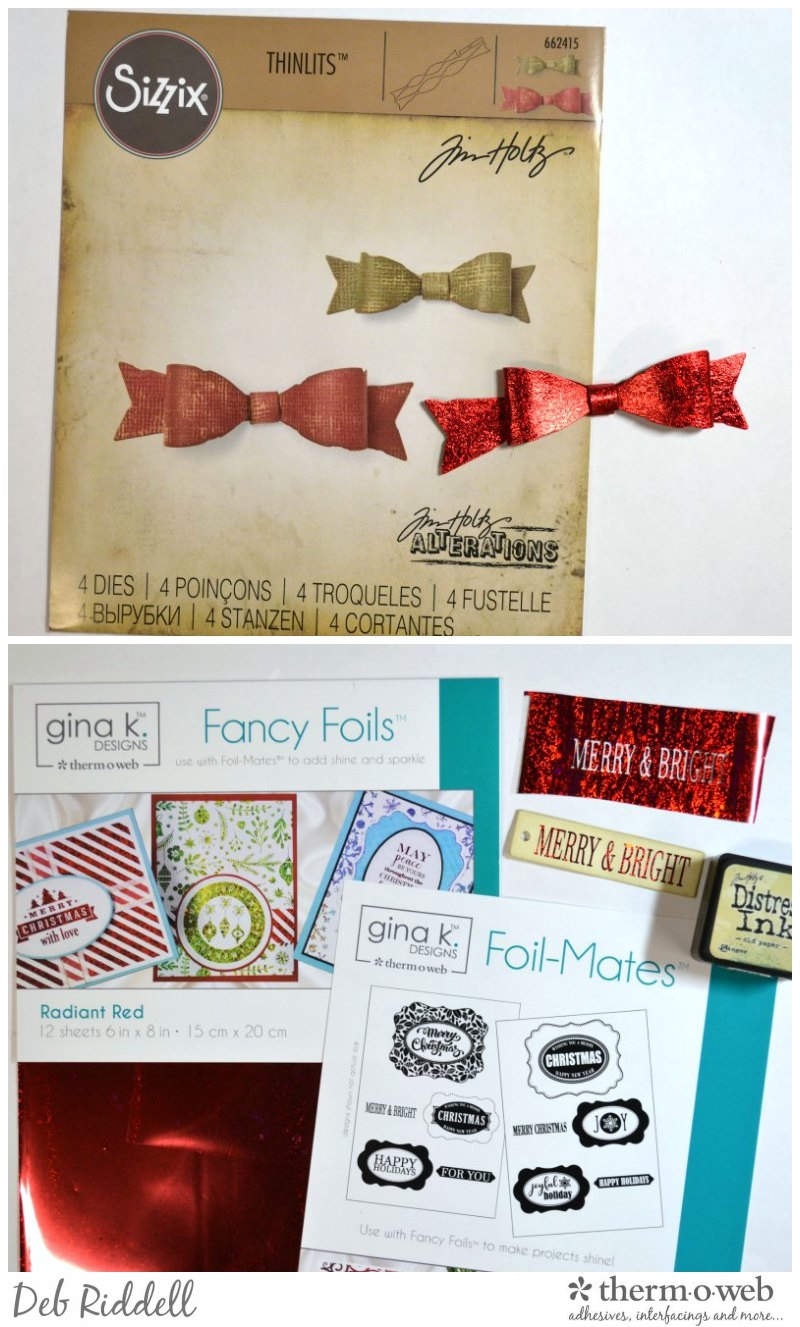 Adhere Radiant Red Fancy Foil onto the 'Merry & Bright' greeting from the Gina K. Designs Festive Labels Foil-Mates Sentiments set with your heat laminator. Trim the sentiment to size, punch a hole on one end and ink with a light green ink (Old Paper Distress Ink was used here).
Don't throw out the negative impressions left on your Fancy Foils! Paint some Deco Foil Transfer Gel onto white cardstock, let dry till clear and then add the negative sentiment on top of the cardstock and run it through your laminator. Don't know yet where I will use this lovely glittery sentiment but it will definitely be used somewhere this coming holiday season.
Adhere Radiant Red Fancy Foil onto the 'Merry & Bright' greeting from the Gina K. Designs Festive Labels Foil-Mates Sentiments set with your heat laminator. Trim the sentiment to size, punch a hole on one end and ink with a light green ink (Old Paper Distress Ink was used here).
Don't throw out the negative impressions left on your Fancy Foils! Paint some Deco Foil Transfer Gel onto white cardstock, let dry till clear and then add the negative sentiment on top of the cardstock and run it through your laminator. Don't know yet where I will use this lovely glittery sentiment but it will definitely be used somewhere this coming holiday season.
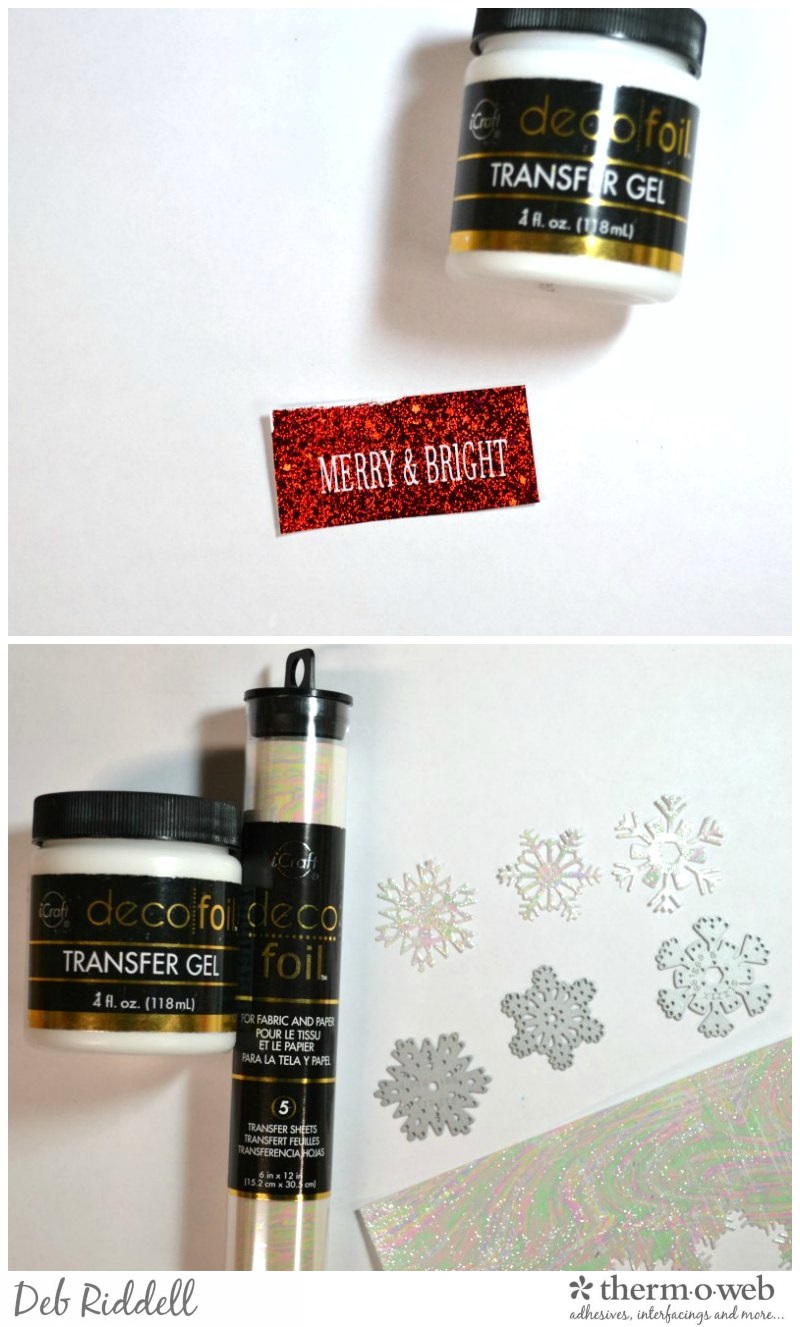 Make some iridescent snowflakes by painting Deco Foil Transfer Gel onto white cardstock and adhering Opal Deco Foil overtop with your heat laminator once the Transfer Gel has dried clear. Die cut some snowflakes to add to your piece (these are Mini Paper Snowflakes dies).
 Adhere the car assembly onto the prepared panel with Rebekah Meier Designs Mixed Media Medium. Position the Jalopy so that it is grounded on top of the gingham ribbon.
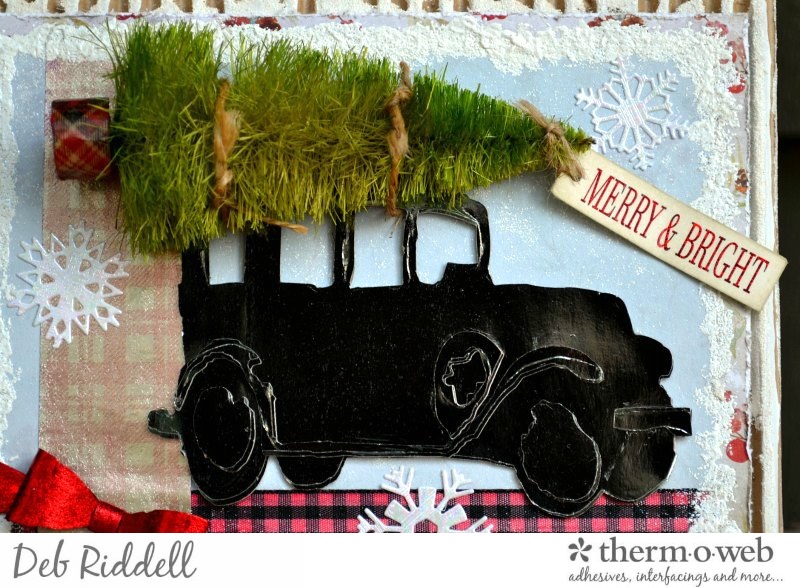 Add your die cut snowflakes here and there around the Jalopy.
 Adhere the Fancy Foil bow over the intersection of the two ribbon segments.
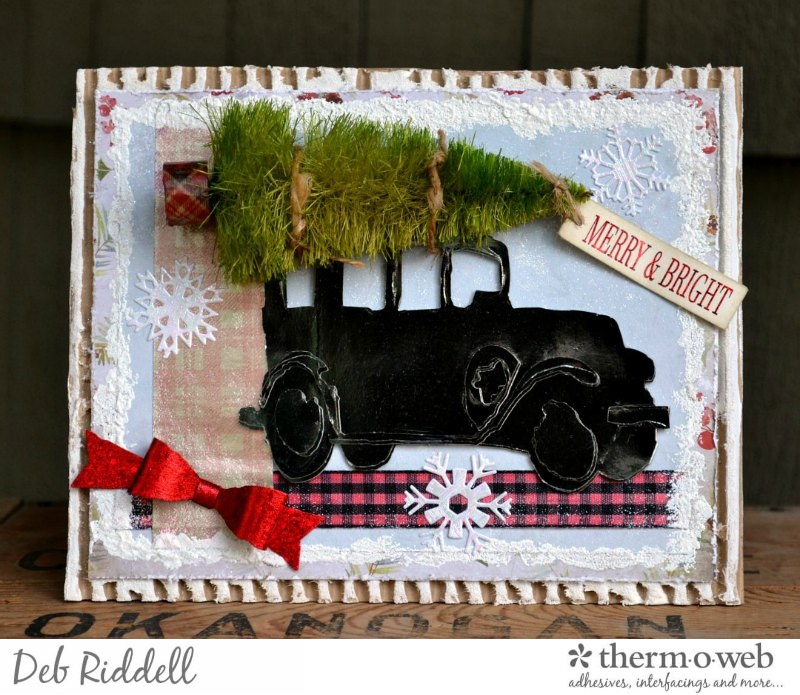
 And that's it, your Bringing Home The Christmas Tree decoration is complete.
Hope that you've enjoyed seeing how it came together and that you have been inspired to make one of your own. Let me know if you do make one, I'd love to see it! Happy Christmas creating everyone,
Deb xo
And that's it, your Bringing Home The Christmas Tree decoration is complete.
Hope that you've enjoyed seeing how it came together and that you have been inspired to make one of your own. Let me know if you do make one, I'd love to see it! Happy Christmas creating everyone,
Deb xo
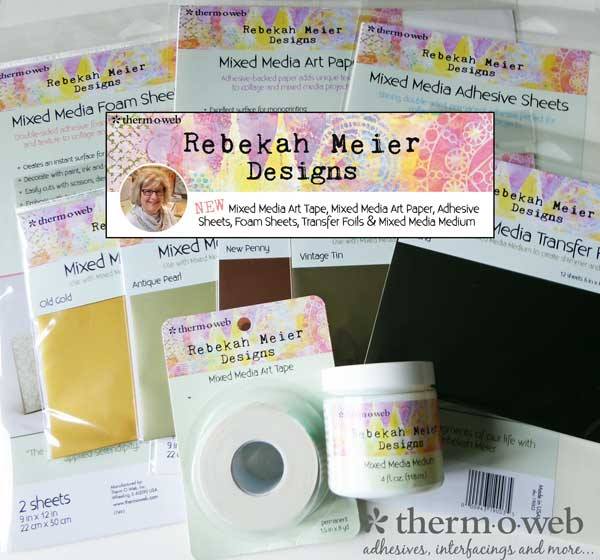
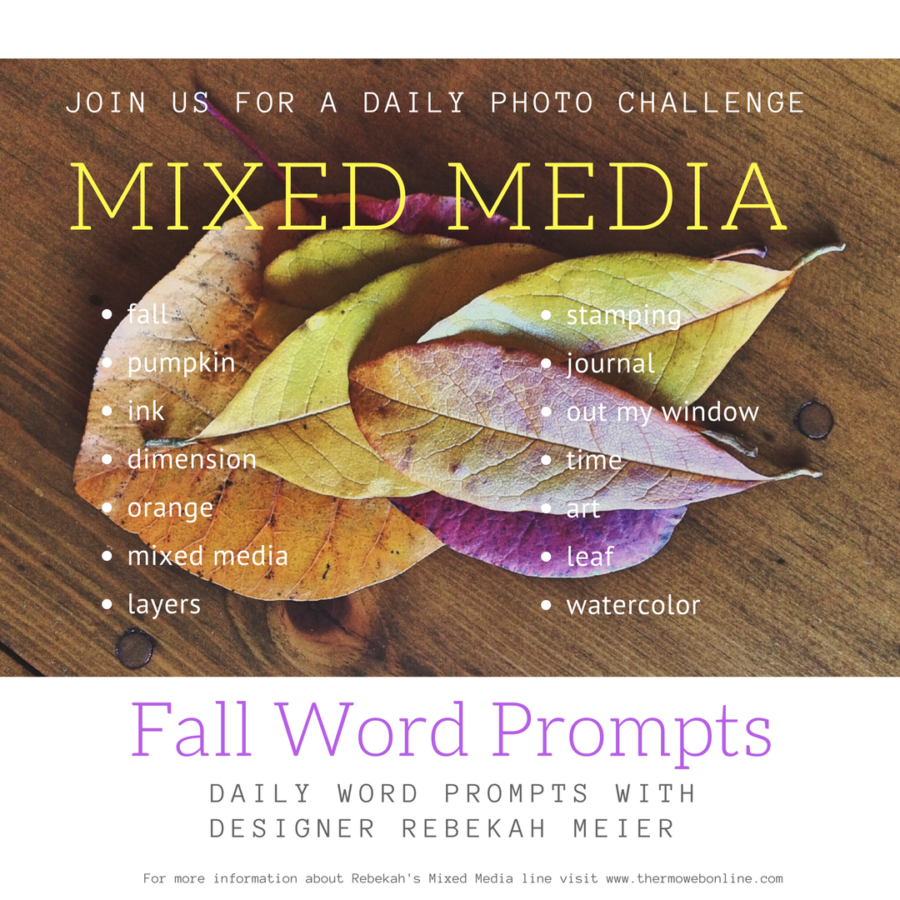 That's right! We're going to give several lucky winners Rebekah Meier's Therm O Web collection! It's filled with incredible surfaces such as Art Paper and Art Tape, Mixed Media Medium along with incredible colors of Transfer Foil!
Just head over to our Instagram page for today's word prompt and then share a photo of your own! We'll help you get started..today's word prompt is.. FALL!
That's right! We're going to give several lucky winners Rebekah Meier's Therm O Web collection! It's filled with incredible surfaces such as Art Paper and Art Tape, Mixed Media Medium along with incredible colors of Transfer Foil!
Just head over to our Instagram page for today's word prompt and then share a photo of your own! We'll help you get started..today's word prompt is.. FALL!