No Products in the Cart



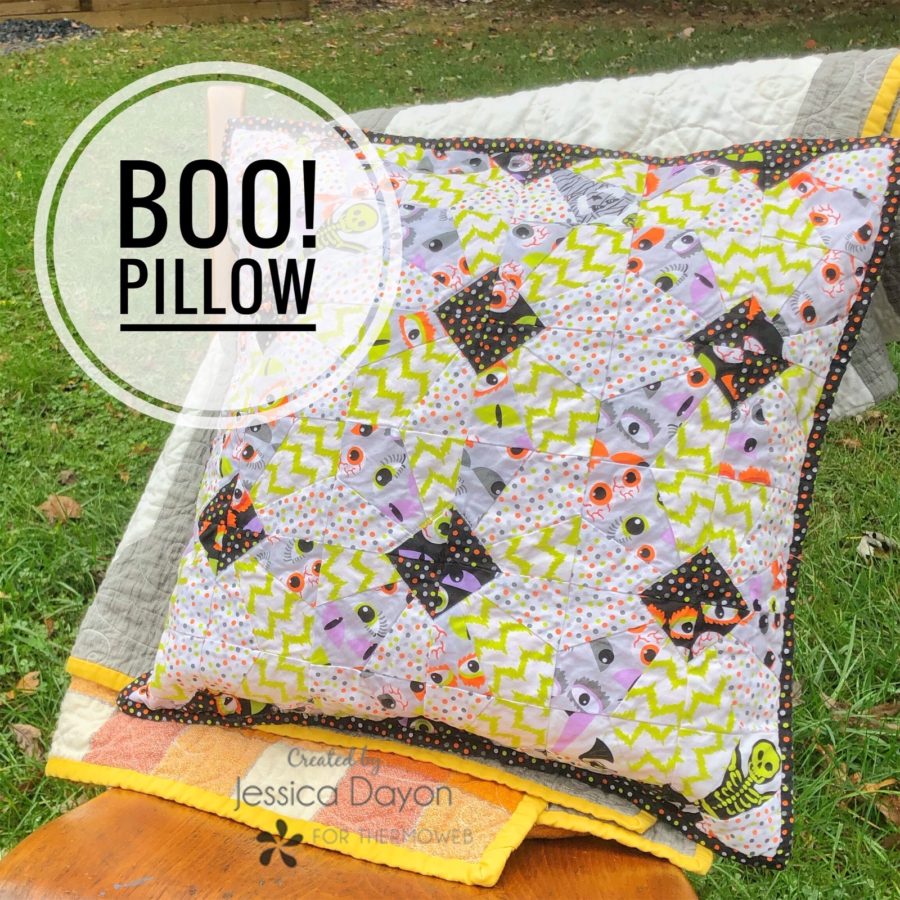 Hi, Everyone! My name is Jessica Dayon and I’m here to share Halloween pillow tutorial with you!
Today we will be making a fun, foundation paper pieced Halloween themed pillow! Don't worry if you've never tried foundation paper piecing...I have 3 YouTube videos that walk you through making the block used in this pillow! It is a fun, new skill to learn! And, once you do, there are SO many great foundation paper piecing patterns out there.
The best part is Thermoweb has a really awesome product for this!! Stitch n Sew EZ Print Quilt Block Sheets are 8 1/2" x 11" sheets that you can print the foundation paper piecing template directly onto to. Then you use the printed sheets to make the foundation paper piecing pattern. Once you have finished piecing, the sheet tears away very easily!
Let's get started!
Hi, Everyone! My name is Jessica Dayon and I’m here to share Halloween pillow tutorial with you!
Today we will be making a fun, foundation paper pieced Halloween themed pillow! Don't worry if you've never tried foundation paper piecing...I have 3 YouTube videos that walk you through making the block used in this pillow! It is a fun, new skill to learn! And, once you do, there are SO many great foundation paper piecing patterns out there.
The best part is Thermoweb has a really awesome product for this!! Stitch n Sew EZ Print Quilt Block Sheets are 8 1/2" x 11" sheets that you can print the foundation paper piecing template directly onto to. Then you use the printed sheets to make the foundation paper piecing pattern. Once you have finished piecing, the sheet tears away very easily!
Let's get started!
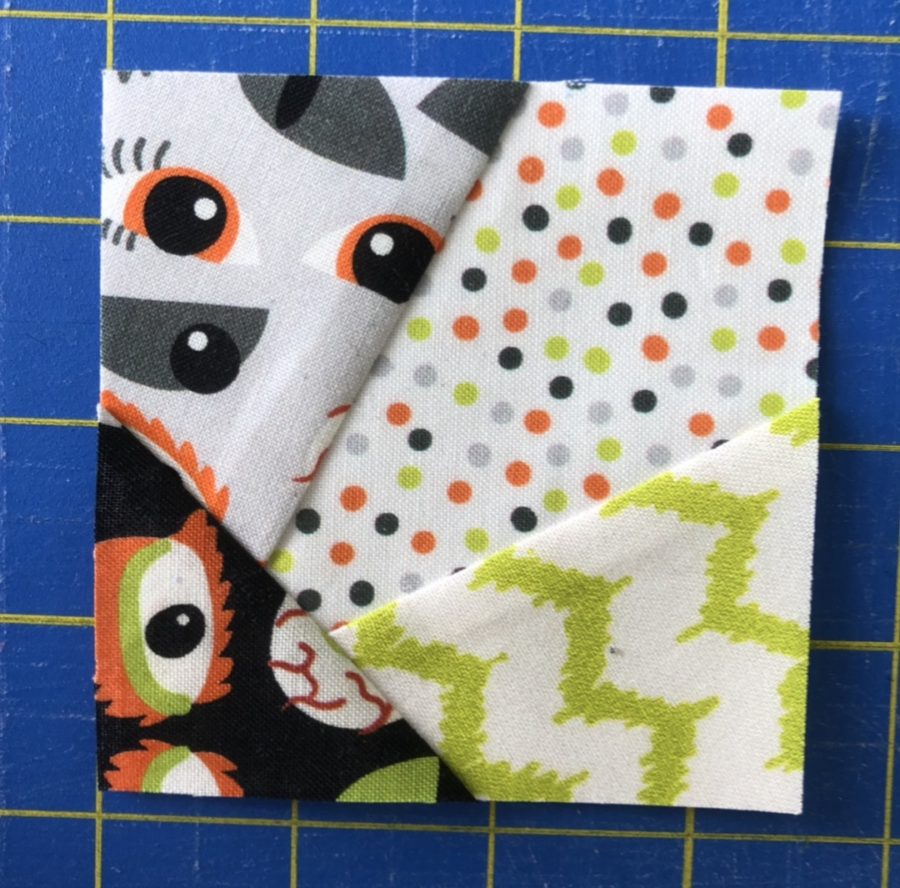 IMPORTANT- To make this pillow, the Ray quilt block template is reduced by 50% to yield one- 3 1/2" x 3 1/2" block (instead of the 6 1/2" x 6 1/2" as in the original). Instead of printing the pattern on my blog (which is the 6 1/2" x 6 1/2" block), print this template HERE - which has 4- 3 1/2" x 3 1/2" blocks on one page. You'll need to print 9 copies directly onto the Stitch n Sew EZ Quilt Block Sheets. This will give you a total of 36- 3 1/2" x 3 1/2" templates to foundation paper piece 36 blocks.
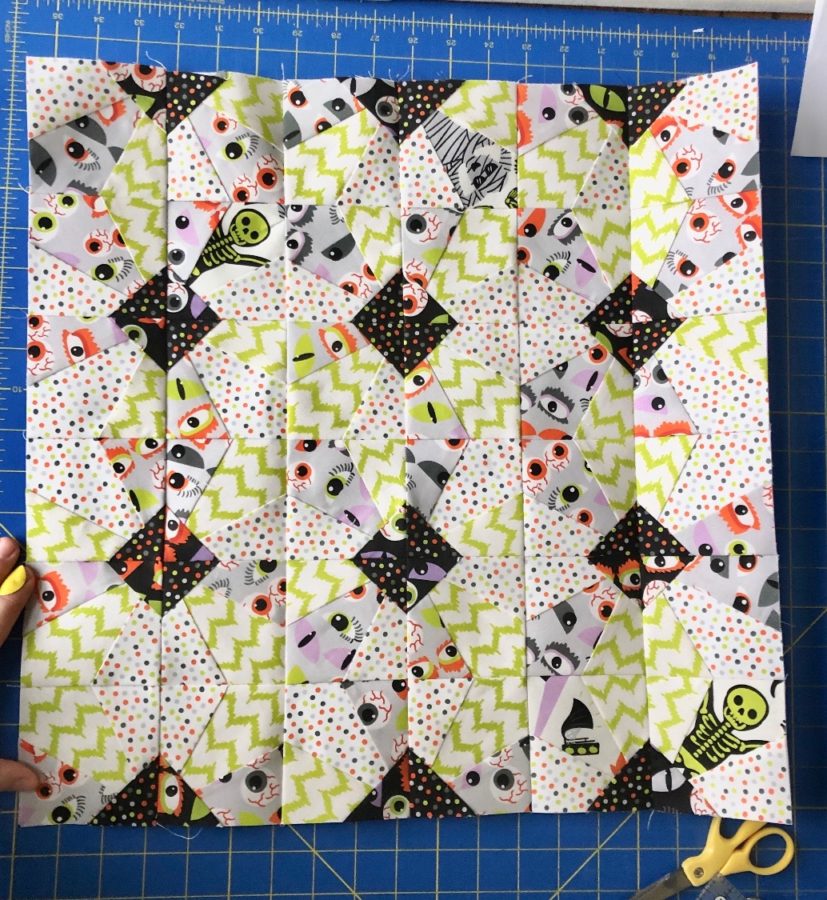
Sew the blocks together, as shown below, in 6 rows of 6 blocks per row.
IMPORTANT- To make this pillow, the Ray quilt block template is reduced by 50% to yield one- 3 1/2" x 3 1/2" block (instead of the 6 1/2" x 6 1/2" as in the original). Instead of printing the pattern on my blog (which is the 6 1/2" x 6 1/2" block), print this template HERE - which has 4- 3 1/2" x 3 1/2" blocks on one page. You'll need to print 9 copies directly onto the Stitch n Sew EZ Quilt Block Sheets. This will give you a total of 36- 3 1/2" x 3 1/2" templates to foundation paper piece 36 blocks.
Sew the blocks together, as shown below, in 6 rows of 6 blocks per row.
 PILLOW TOP ASSEMBLY
Use the basting spray to baste the batting and pillow top together.
PILLOW TOP ASSEMBLY
Use the basting spray to baste the batting and pillow top together.
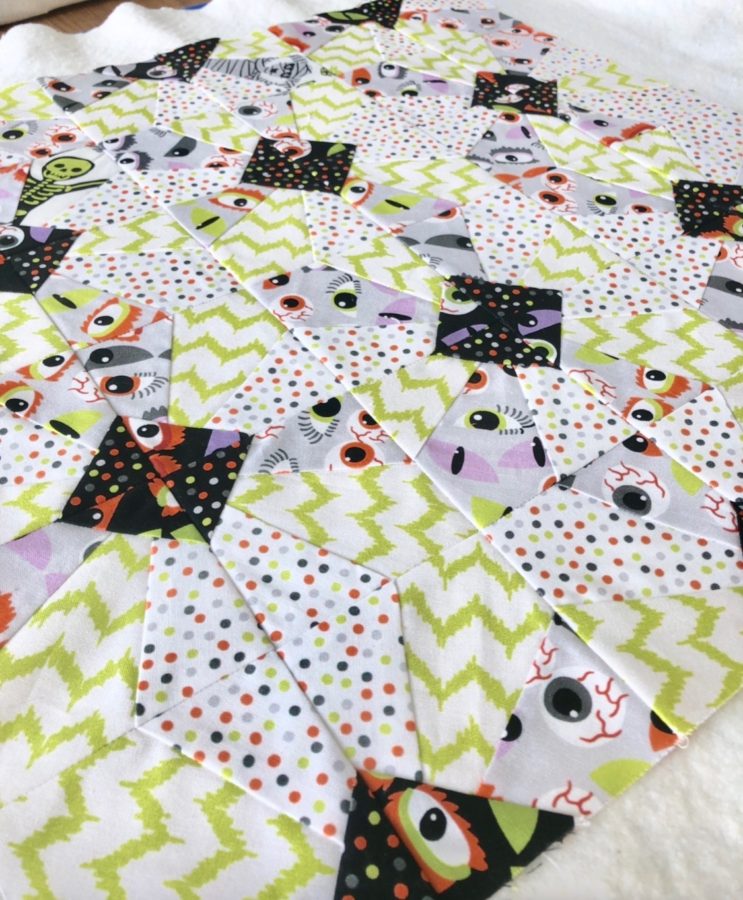 Quilt the pillow top as desired.
Make the zippered pillow back.
Join the 4 strips of binding together to make one continuous strip. Press in half widthwise.
Place the pillow back with the wrong side up then put the pillow top on top of it with the wrong side down (and right side facing up). Pin them together.
Quilt the pillow top as desired.
Make the zippered pillow back.
Join the 4 strips of binding together to make one continuous strip. Press in half widthwise.
Place the pillow back with the wrong side up then put the pillow top on top of it with the wrong side down (and right side facing up). Pin them together.
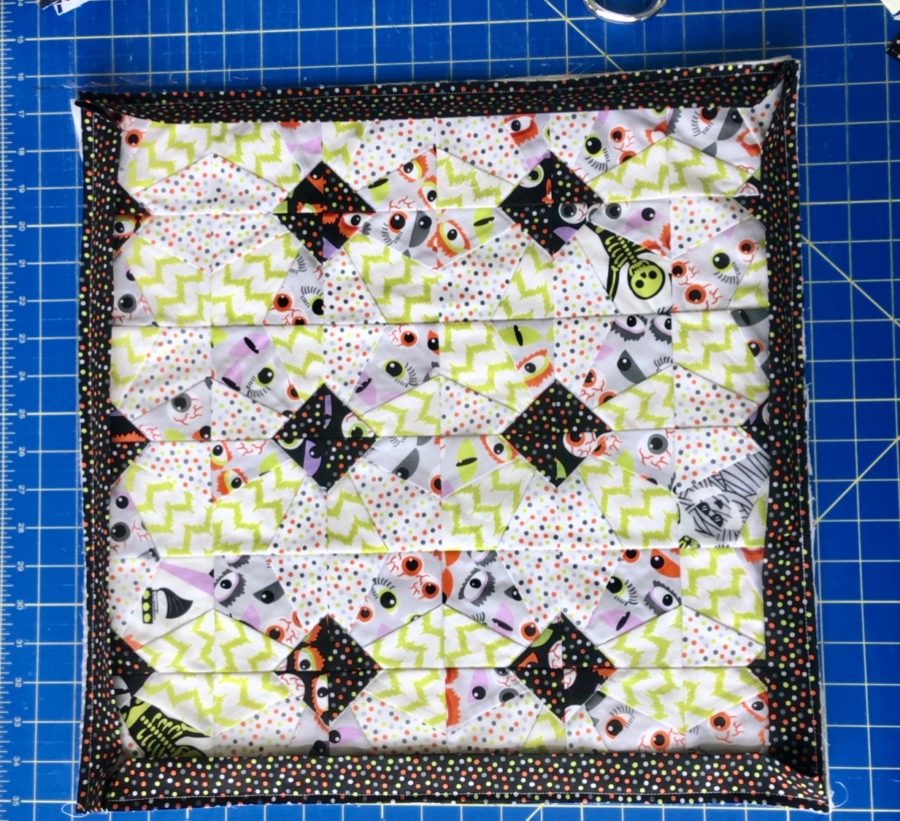 Sew the binding on to the front of the pillow. When you are attaching your binding, you are also sewing the pillow layers together. Remove the pins. Flip the pillow over. To secure the binding down, use the hem tape. Measure a length of hem tape and adhere it to the inside edge of the binding. Remove the paper, pull the binding around, and adhere the binding down to the pillow back. Repeat all the way around.
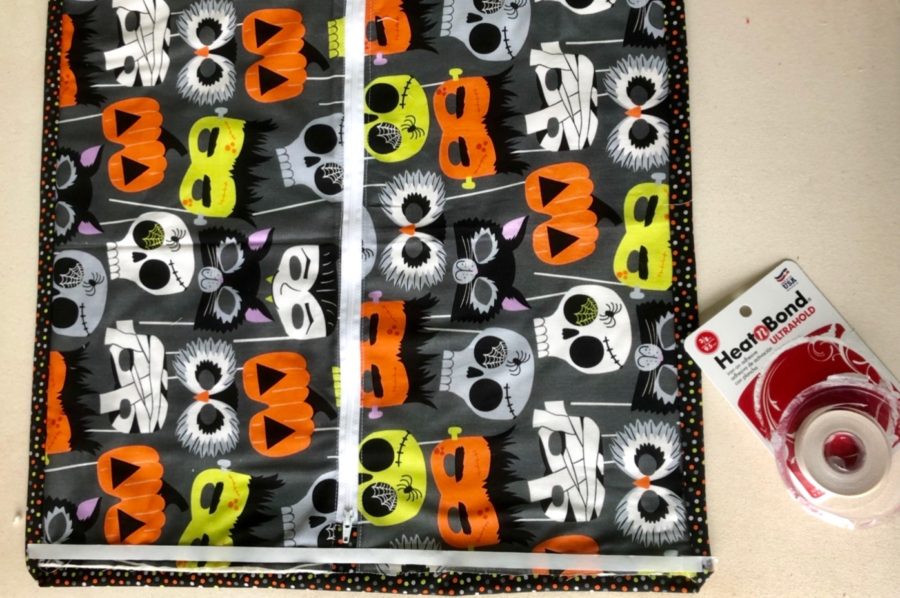 Finished! Enjoy your gorgeous pillow!
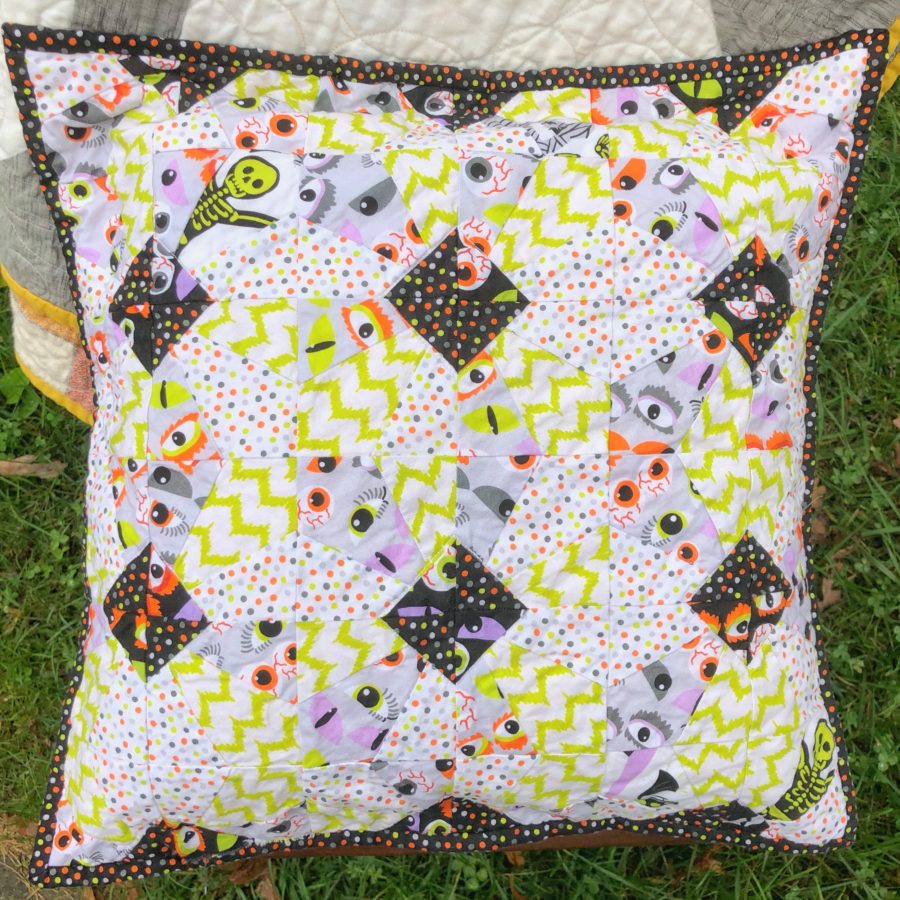 I hope you have enjoyed this tutorial and you found it easy to follow along with me! If you have any questions, please let me know! Don’t forget to follow me on Instagram so you can stay up to date with my latest free projects- @jessicadayon. Share what you made! I’d love to see your progress photos and finished pillow! Use the hashtags #rayquiltblockpattern #jessicadayonpatterns #thermoweb #heatnbond #spraynbond and tag me so I can see your version @jessicadayon
Also, you can find my blog HERE. On it, I share free quilt patterns and tutorials so go check it out! You can also find me on Instagram @jessicadayon where you can connect with me and see my daily work, current projects, inspiration, giveaways, quilt alongs, and all of my patterns.
Thanks for following along with me!
-Jessica
I hope you have enjoyed this tutorial and you found it easy to follow along with me! If you have any questions, please let me know! Don’t forget to follow me on Instagram so you can stay up to date with my latest free projects- @jessicadayon. Share what you made! I’d love to see your progress photos and finished pillow! Use the hashtags #rayquiltblockpattern #jessicadayonpatterns #thermoweb #heatnbond #spraynbond and tag me so I can see your version @jessicadayon
Also, you can find my blog HERE. On it, I share free quilt patterns and tutorials so go check it out! You can also find me on Instagram @jessicadayon where you can connect with me and see my daily work, current projects, inspiration, giveaways, quilt alongs, and all of my patterns.
Thanks for following along with me!
-Jessica
