No Products in the Cart
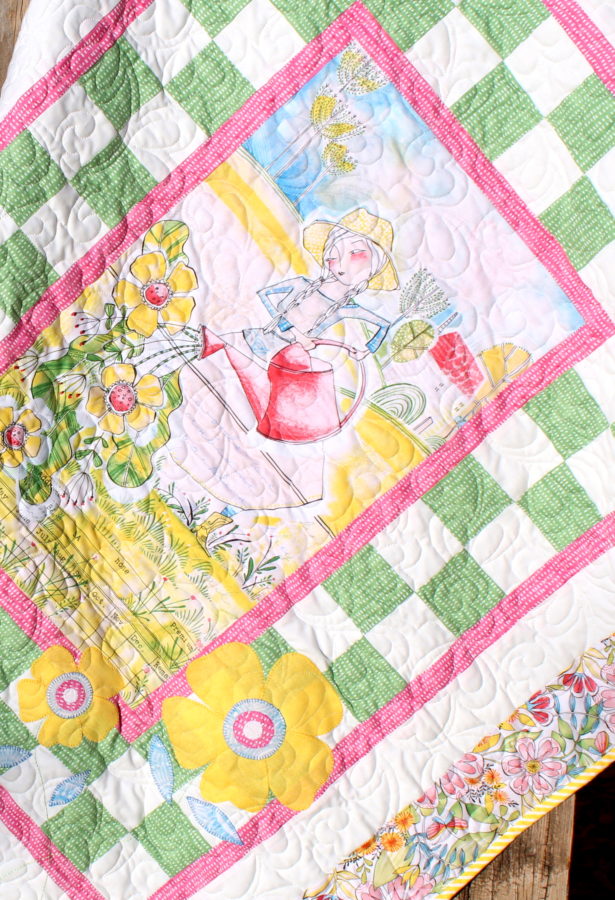
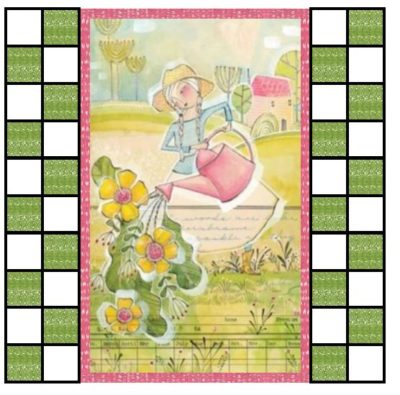
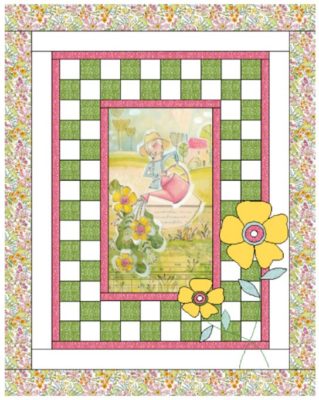
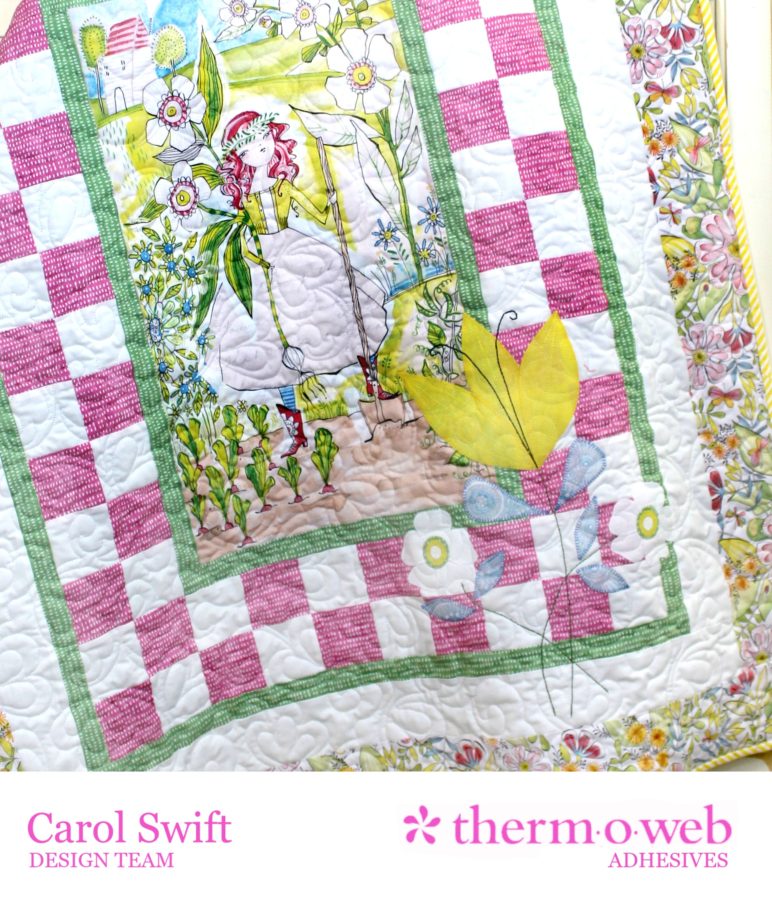
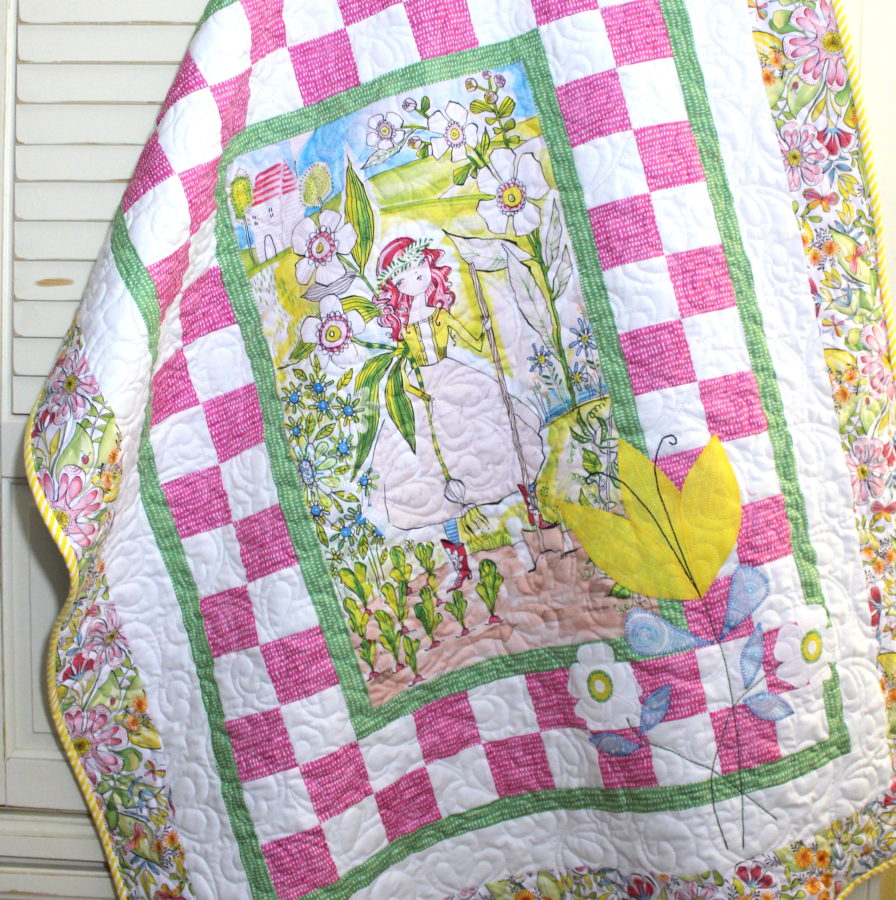 I had such a hard time deciding which panel to use. I loved all three of them! Since I couldn't decide, I chose two panels to create not one, but two My Pretty Garden quilts.
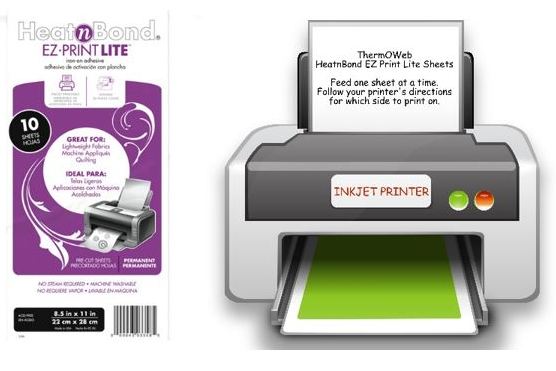
 Adding some flower appliques using those amazing Therm O Web Heat n Bond® EZ Print Lite sheets and Heat n Bond® Fusible Interfacing made it even more fun for me. Running the patterns through my printer saves me so much time because I don’t have to trace all the pieces! Yay!
 What you’ll need to make one My Pretty Garden quilt:
Heat n Bond® Fusible Interfacing – Light Weight
Therm O Web Heat n Bond® EZ Print Lite sheets, 8½” x 11”
Iron
Fabric/batting
Fabric yardage: 1 panel – 13½” x 23½”; Green – 1 yard; Pink – 1 yard; Yellow – 3/8 yard; Flower – Scraps or approximately 1/8th yard of desired colors; backing for 40” x 50” quilt
Cutting instructions:
Cut 1 – Center panel, 13½” x 23½”; Cut 2 – Border A, 1½” x 15½”; Cut 2 – Border A, 1½” x 23½”; Cut 40 – Border B Blocks, 3” x 3”; Cut 40 – Border B Blocks, 3” x 3”; Cut 2 – Border C, 1½” x 27½”; Cut 2 – Border C, 1½” x 35½”; Cut 2 – Border D, 3” x 32½”; Cut 2 – Border D, 3” x 37½”; Cut 2 – Border E, 4” x 39½”; Cut 2 – Border E, 4” x 42½”; Cut 5 – 2½” x WOF for binding (remove selvedges); Cut Flower Appliques (templates included on PDF pattern); Flower stems are machine or hand embroidered
Sewing Instructions:
Step 1: Sew Border A pieces to panel - Sew 1½” x 23½” border strips to left and right sides of panel. Press seams towards borders. Sew 1½” x 15½” border strips to top and bottom of panel. Press seams towards borders.
What you’ll need to make one My Pretty Garden quilt:
Heat n Bond® Fusible Interfacing – Light Weight
Therm O Web Heat n Bond® EZ Print Lite sheets, 8½” x 11”
Iron
Fabric/batting
Fabric yardage: 1 panel – 13½” x 23½”; Green – 1 yard; Pink – 1 yard; Yellow – 3/8 yard; Flower – Scraps or approximately 1/8th yard of desired colors; backing for 40” x 50” quilt
Cutting instructions:
Cut 1 – Center panel, 13½” x 23½”; Cut 2 – Border A, 1½” x 15½”; Cut 2 – Border A, 1½” x 23½”; Cut 40 – Border B Blocks, 3” x 3”; Cut 40 – Border B Blocks, 3” x 3”; Cut 2 – Border C, 1½” x 27½”; Cut 2 – Border C, 1½” x 35½”; Cut 2 – Border D, 3” x 32½”; Cut 2 – Border D, 3” x 37½”; Cut 2 – Border E, 4” x 39½”; Cut 2 – Border E, 4” x 42½”; Cut 5 – 2½” x WOF for binding (remove selvedges); Cut Flower Appliques (templates included on PDF pattern); Flower stems are machine or hand embroidered
Sewing Instructions:
Step 1: Sew Border A pieces to panel - Sew 1½” x 23½” border strips to left and right sides of panel. Press seams towards borders. Sew 1½” x 15½” border strips to top and bottom of panel. Press seams towards borders.
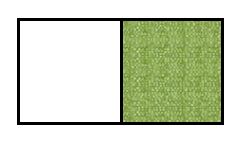
 Step 2: Sew one green/pink 3” x 3” block to one 3” x 3” white block; match/nest seams. Press seams towards green/pink fabric. Repeat to make 40 sets.
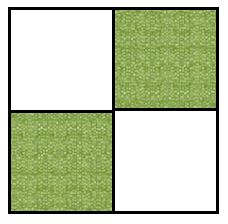
 Step 3: Sew one green/pink and white block set together, alternating colors and matching/nesting seams. Press seams down.
 Step 4: Sew five block sets together with white square in top left corner. Repeat to make two rows.
 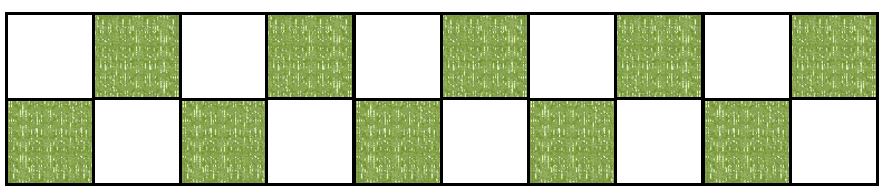 Step 5: Sew five block sets together with green square in top left corner. Repeat to make two rows.
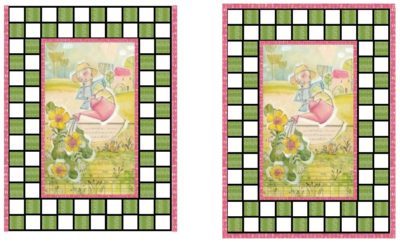
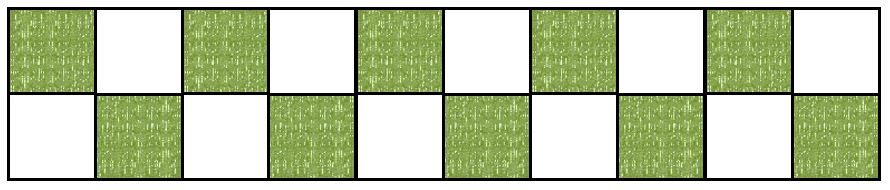 Step 6: Sew one block row to right and left sides of bordered panel. Make sure to have green/pink or white blocks in the correct position as shown below:
 Step 7: Sew one block row to top and bottom sides of bordered panel. Match seams and be sure to have green/pink or white blocks in the correct position as shown below:
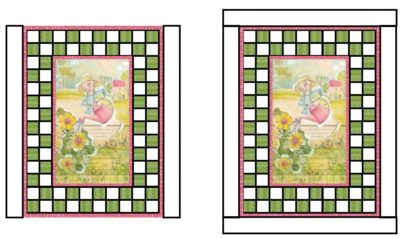
 Step 8: Sew Border C strips to blocks - Sew 1½” x 35½” border strips to left and right sides of blocks. Press seams towards borders. Sew 1½” x 27½” border strips to top and bottom of blocks. Press seams towards borders.
 Step 9: Sew Border D strips to blocks - Sew 3” x 37½” border strips to left and right sides of blocks. Press seams towards borders. Sew 3” x 32½” border strips to top and bottom of blocks. Press seams towards borders.
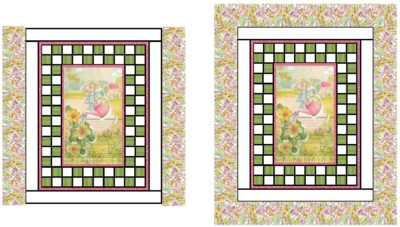
 Step 10: Sew Border E strips to blocks – Sew 4” x 42½” border strips to left and right sides of blocks. Press seams towards borders. Sew 4” x 39½” border strips to top and bottom of blocks. Press seams towards borders.
 Step 11: Using the templates, applique flowers and leaves on quilt (see directions below.) Freehand draw a line for the stems using chalk or a washable pen. Machine sew straight lines over drawn stems or hand embroider them.
 Fabric Applique Instructions:
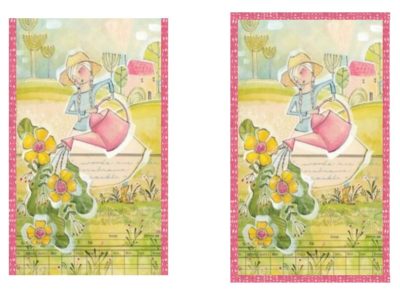
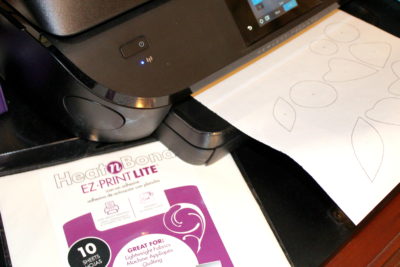
Using your inkjet printer, print out applique pattern pieces with Heat n Bond® EZ Print Lite sheets or trace designs on Heat n Bond® Lite iron-on adhesive.
Fabric Applique Instructions:
Using your inkjet printer, print out applique pattern pieces with Heat n Bond® EZ Print Lite sheets or trace designs on Heat n Bond® Lite iron-on adhesive.
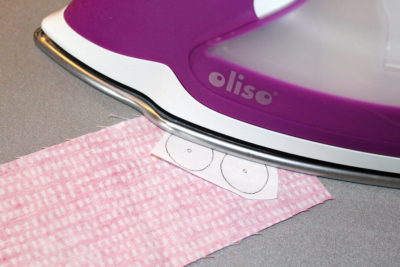
 Follow the package directions to iron adhesive pieces to wrong sides of desired fabrics. Let cool.
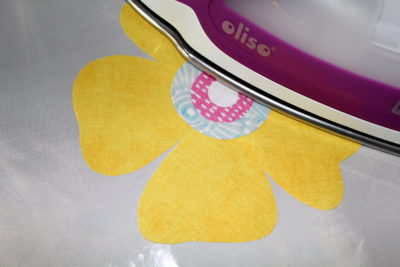
 Cut out applique pieces. Iron applique pieces on the right side of fabric block following package directions. Blanket stitch, straight stitch, or zigzag around all pieces. *I like to position the pieces on a heat resistant craft sheet to layer the pieces that go together. Then, I move them to the fabric to be ironed in place.
 [tooltip text="TooltipText"]*Optional tip: Ironing a light weight interfacing to wrong side of fabric block before adding applique can help stabilize the applique’s shape. Also, with light colored applique pieces, ironing interfacing to the wrong side can help keep the design beneath them from showing through. Iron the adhesive right over the interfacing and apply appliques as you normally would.[/tooltip]
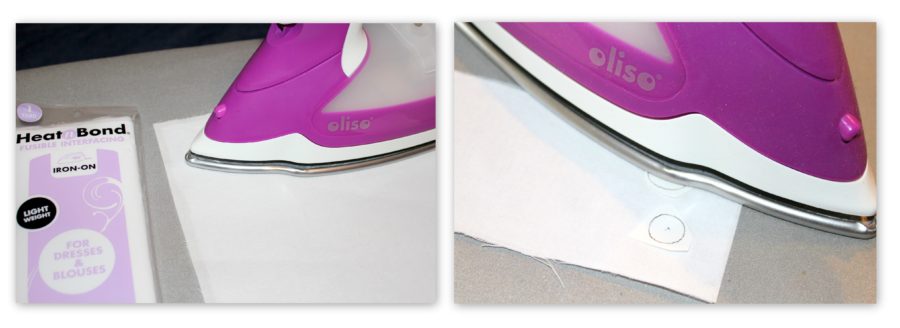 Step 13: Quilt and bind using your desired method.
You can find the free My Pretty Garden Quilt PDF pattern with templates at Just Carol’s Craftsy store.
Step 13: Quilt and bind using your desired method.
You can find the free My Pretty Garden Quilt PDF pattern with templates at Just Carol’s Craftsy store.
Written by Carol Swift