No Products in the Cart



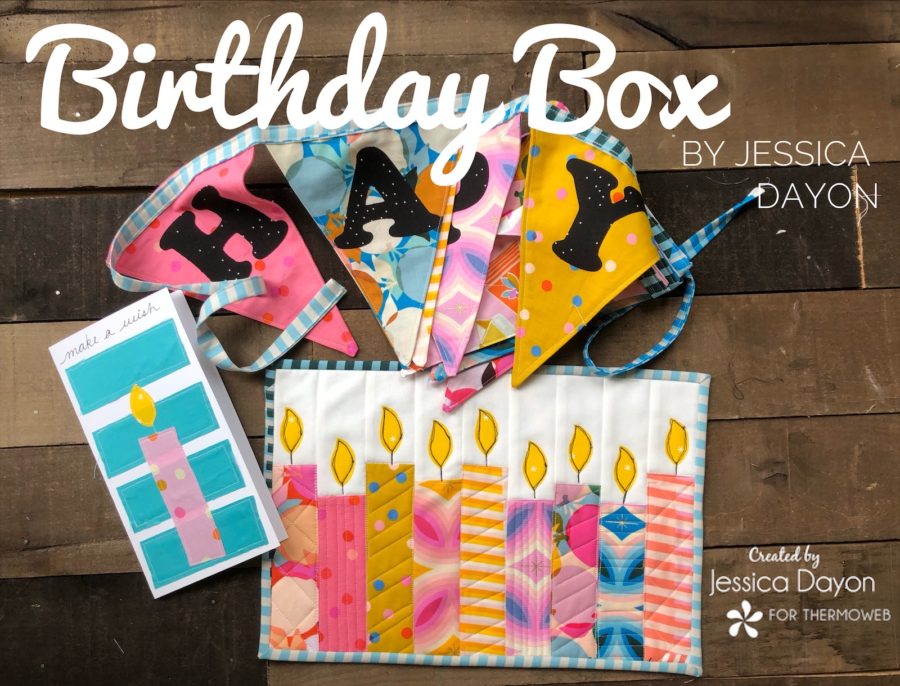 Hi, Everyone! My name is Jessica Dayon and today I'm going to show you how to make a birthday box! What is a birthday box? A birthday box is a fun box of little gifts or surprises that you mail to someone who you won't see for their birthday. During this time of quarantine, there have been birthdays where I can't celebrate in person in someone. I came up with this idea to help spread the joy on someone's birthday when you can't physically be with them.
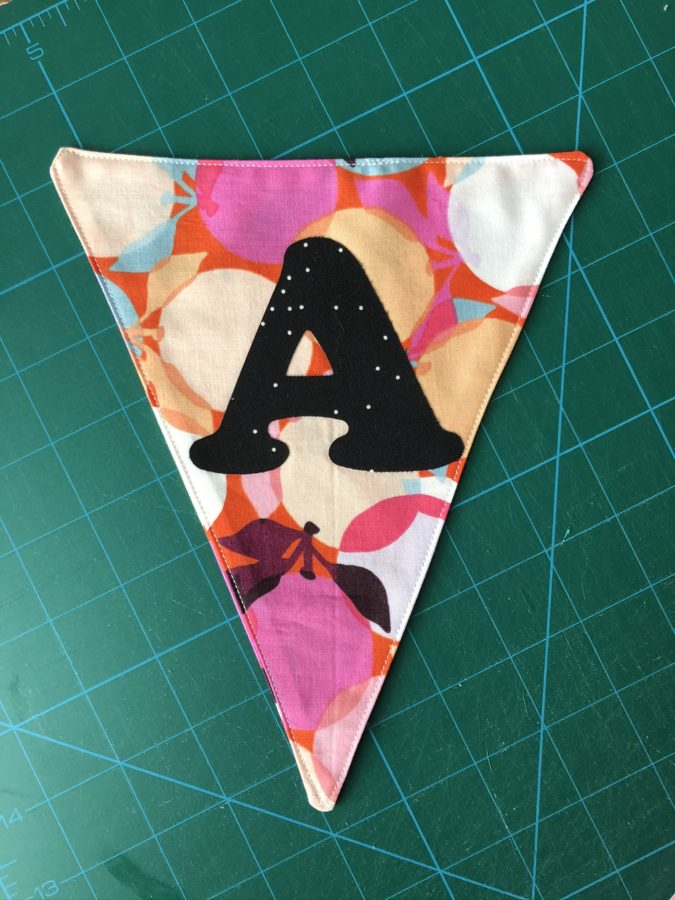
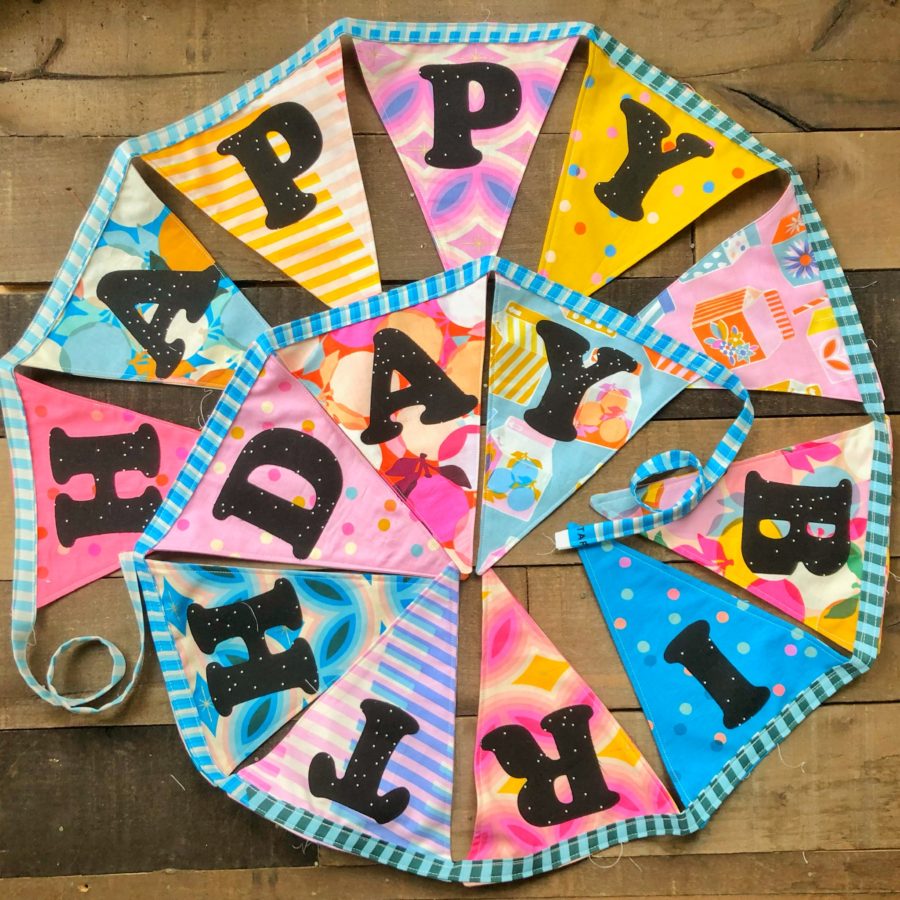
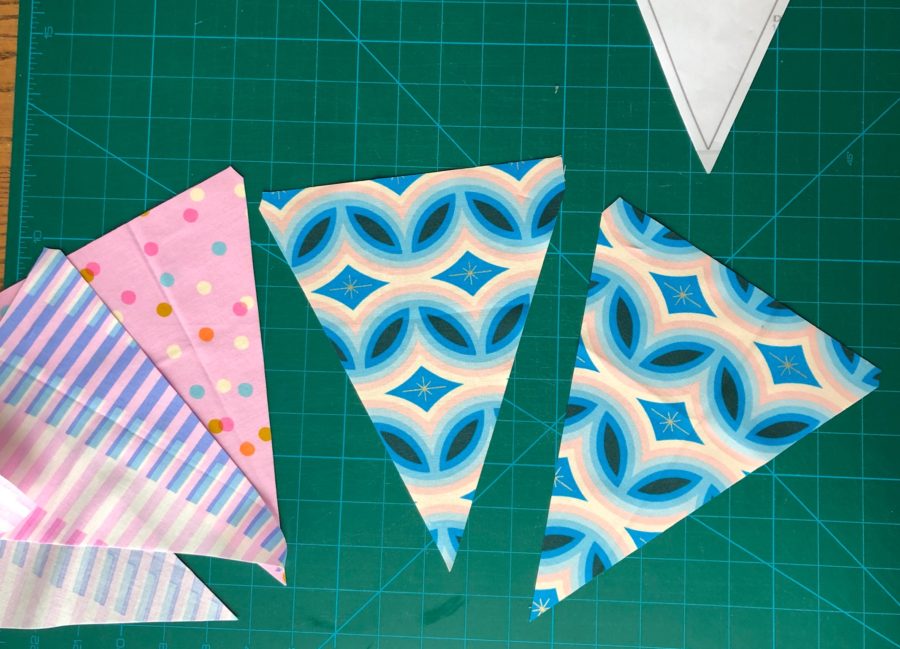 Fuse the Heat N Bond to the black fabric, as directed on the package. Draw the letters on the paper side (reversed). Then, cut out the letters. Fuse one letter to each pennant. One pennant will be left blank for the space between 'Happy' and 'Birthday'. Sew the letter down using your preferred appliqué stitch- I used a straight stitch.
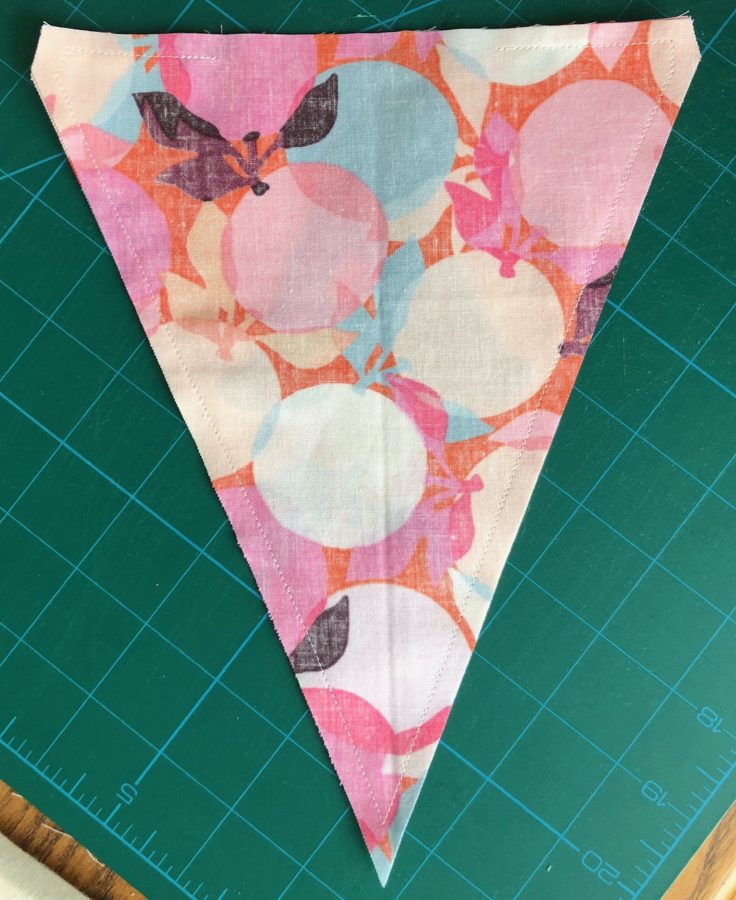 Turn right side out. Poke all of the points out so they lay nicely. Press the pennant. Topstitch around the pennant, about 1/8" from the edge. Repeat for all of the pennants.
 Join the three lengths of fabric that will go across the top of the banner. Fold in half widthwise and press. Unfold and then fold each of the raw edges in toward the middle crease line, press. Then fold back in half widthwise and press again. There should be no raw edges showing and you should have a long piece of fabric measuring about 5/8" x 120".
Lay the pennants out in a line as they will be once they are hanging. Find the middle point of the 120" fabric strip and pin it to the middle of the pennant banner. Then, working from the middle out to each side, pin the strip along the top of the pennants. Sew across the top edge of the 120" strip, securing it to the top of the pennants as you go, about 1/8" from the edge. Then sew across the bottom edge of the 120" strip, securing it to the pennants again, about 1/8" from the edge.
Join the three lengths of fabric that will go across the top of the banner. Fold in half widthwise and press. Unfold and then fold each of the raw edges in toward the middle crease line, press. Then fold back in half widthwise and press again. There should be no raw edges showing and you should have a long piece of fabric measuring about 5/8" x 120".
Lay the pennants out in a line as they will be once they are hanging. Find the middle point of the 120" fabric strip and pin it to the middle of the pennant banner. Then, working from the middle out to each side, pin the strip along the top of the pennants. Sew across the top edge of the 120" strip, securing it to the top of the pennants as you go, about 1/8" from the edge. Then sew across the bottom edge of the 120" strip, securing it to the pennants again, about 1/8" from the edge.
 And, that's it! The Birthday banner is ready!
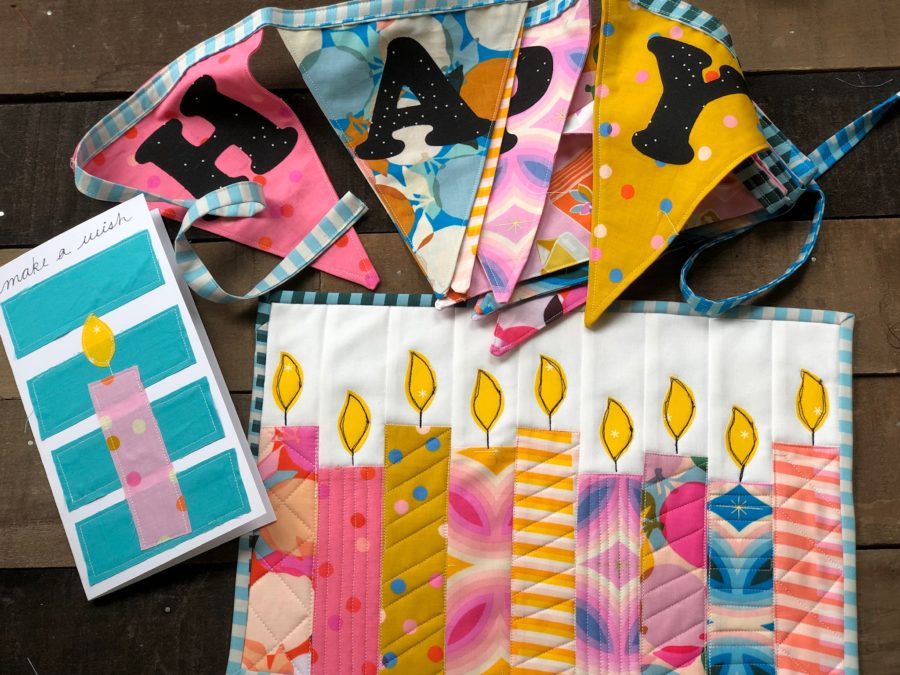
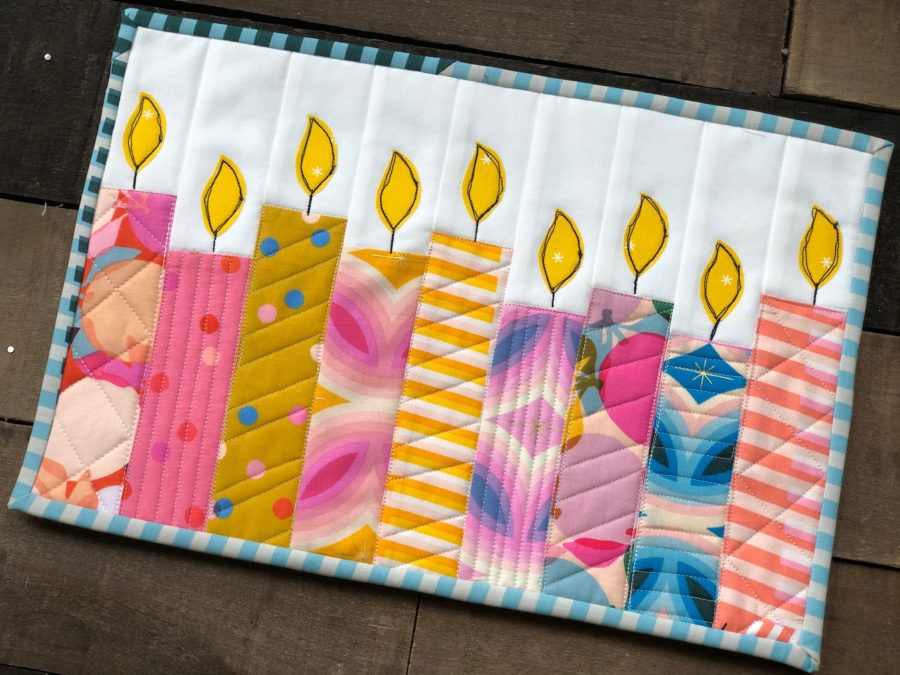 There are a few more things I included in my Birthday Box:
-homemade party poppers- I cut up and empty wrapping paper roll (you could also use paper towel roll or toilet paper roll) into 6" pieces. Then I filled it with confetti, notes, tiny trinkets, etc... I wrapped each one in tissue paper and tied each of the ends (so it looked like a roll of smarties). Then I included a little note saying "Pull the ends to open me".
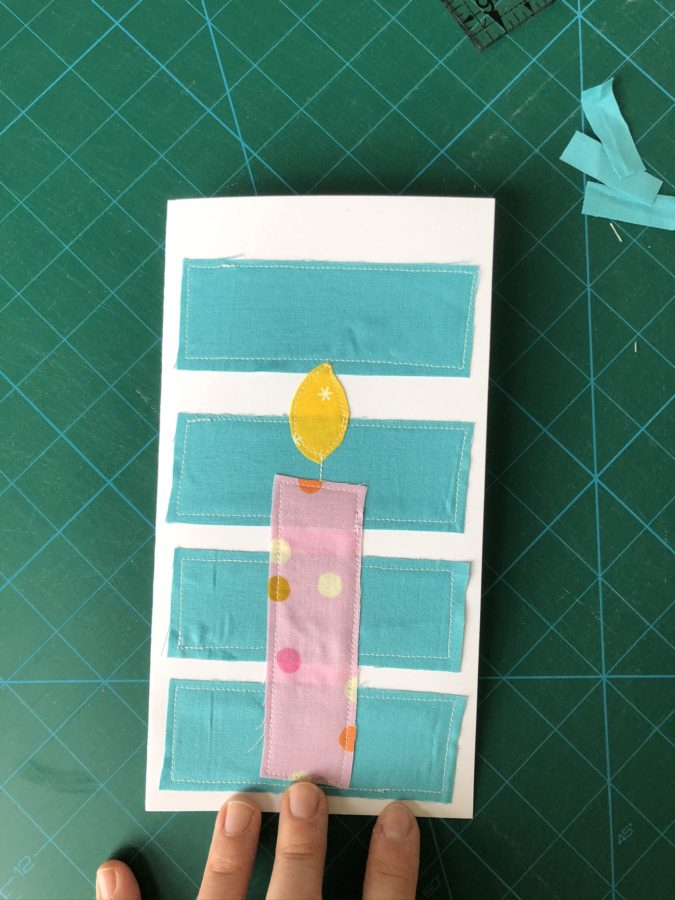
-a birthday card- I used fabric bits and sewed them to card stock and made that into a card
There are a few more things I included in my Birthday Box:
-homemade party poppers- I cut up and empty wrapping paper roll (you could also use paper towel roll or toilet paper roll) into 6" pieces. Then I filled it with confetti, notes, tiny trinkets, etc... I wrapped each one in tissue paper and tied each of the ends (so it looked like a roll of smarties). Then I included a little note saying "Pull the ends to open me".
-a birthday card- I used fabric bits and sewed them to card stock and made that into a card
 -you could also include candy or something sweet. Cookies tend to travel well if they are packed up nicely.
-add anything else you'd like! Just remember you are trying to bring the birthday person happiness so it doesn't have to be anything huge or difficult to make. By putting this together for them and mailing it to them, you will bring a smile to their face!
-you could also include candy or something sweet. Cookies tend to travel well if they are packed up nicely.
-add anything else you'd like! Just remember you are trying to bring the birthday person happiness so it doesn't have to be anything huge or difficult to make. By putting this together for them and mailing it to them, you will bring a smile to their face!
 I hope you have enjoyed this tutorial and you found it easy to follow along with me! If you have any questions, please let me know! Don’t forget to follow me on Instagram so you can stay up to date with my latest free projects- @jessicadayon.
Also, you can find my blog HERE. On it, I share free quilt patterns and tutorials so go check it out! You can also find me on Instagram @jessicadayon where you can connect with me and see my daily work, current projects, inspiration, giveaways, quilt alongs, and all of my patterns.
Thanks for following along with me!
-Jessica
Blog- {Jessica Dayon}
Instagram {@jessicadayon)
I hope you have enjoyed this tutorial and you found it easy to follow along with me! If you have any questions, please let me know! Don’t forget to follow me on Instagram so you can stay up to date with my latest free projects- @jessicadayon.
Also, you can find my blog HERE. On it, I share free quilt patterns and tutorials so go check it out! You can also find me on Instagram @jessicadayon where you can connect with me and see my daily work, current projects, inspiration, giveaways, quilt alongs, and all of my patterns.
Thanks for following along with me!
-Jessica
Blog- {Jessica Dayon}
Instagram {@jessicadayon)
