No Products in the Cart
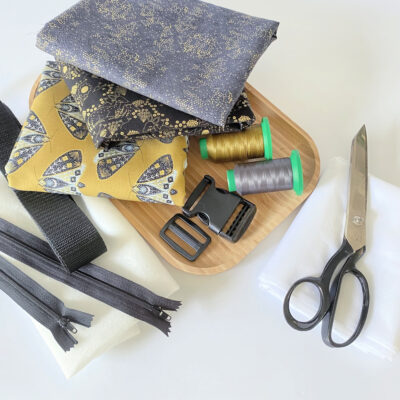
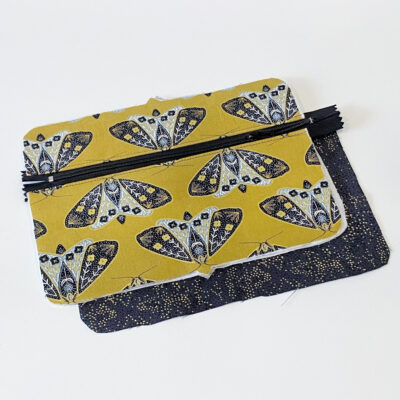
 It’s time to get creative so gather your supplies and tools!
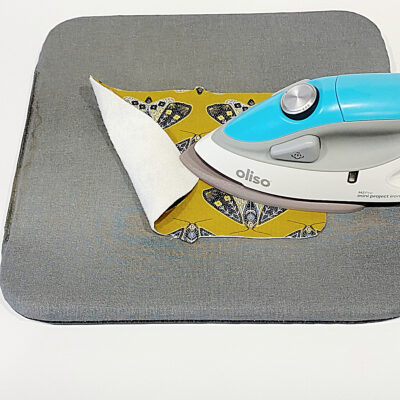
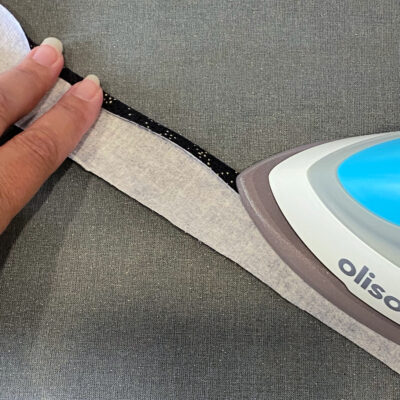
 2. Fuse the Fusible Fleece to the main fabric (the outside fabric) and fuse the interfacing to the lining according to manufacturer’s instructions. Only one inside Pocket piece will have non-woven inerfacing applied to the wrong side of it and only 2 of the 3 lining pieces will have the non-woven interfacing applied to them.
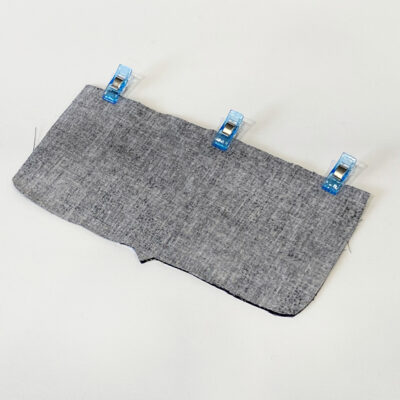 4. Clip the pocket to one of the lining pieces with the interfacing matching the bottom notch and edges, and baste a little less than 1/4" away from the edge on the three side. Set aside while we work on the back main pieces.
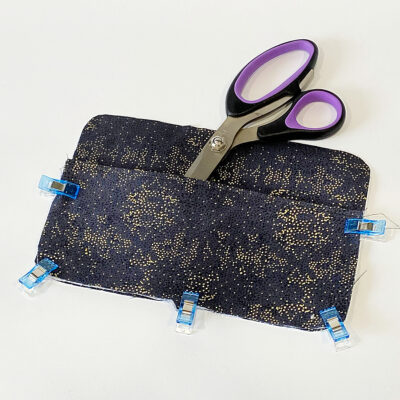
 6. Repeat step 5 for the Bottom Back pieces.
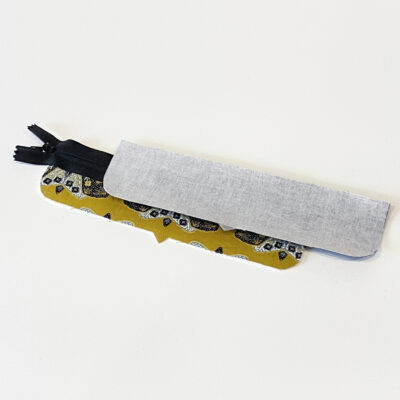
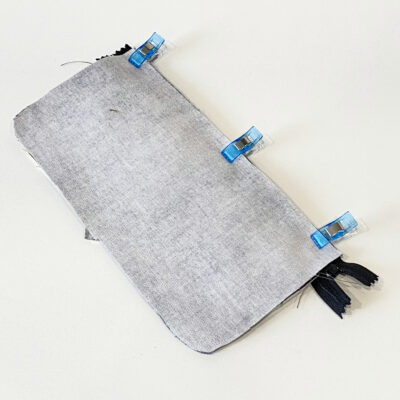 7. Lay the lining WITHOUT interfacing with right side up and lay the back piece with zipper over it with right side up. Match the notches and raw edges and baste along the perimeter of the back pieces.
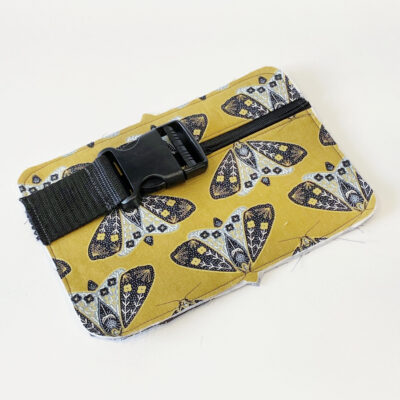
 8. Cut away a 4" piece of the webbing and insert it into one side of the buckle to form a loop. Baste the webbing with the buckle into place about 1" from the top edge. Stitch the webbing close to the buckle.
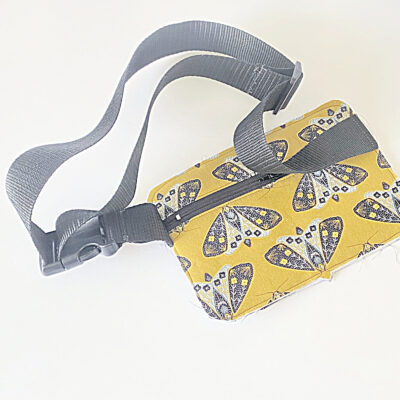
 9. Stitch the other part of the webbing to the other side of the bag. Make sure the two straps are at the same height. insert the strap through the slider, throught the buckle and again through the back of the slider. From a loop and stitch as closely as you can to the slider.
 11. Repeat the process with the other side.
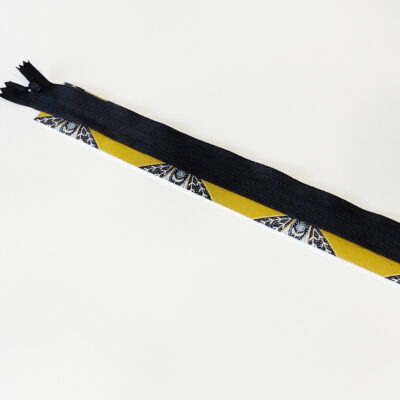
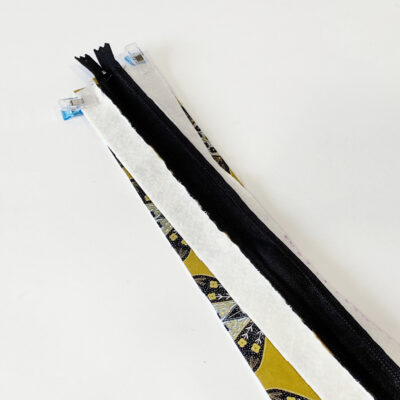
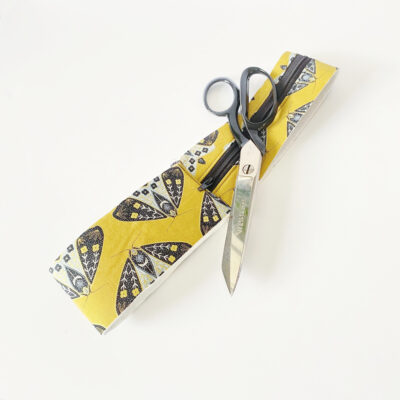
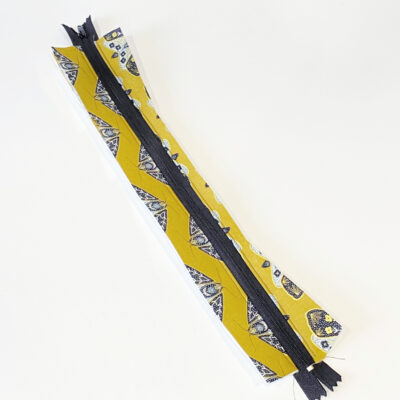 12. Match the short edges of the top strip to the short edges of the bottom strip. Stitch together at both sides to form a loop. Trim the zipper if needed.
 13. Top stitch with the seam going towards the Bottom Strip. Make sure to mark your half way points on the strips to be able to match notches.
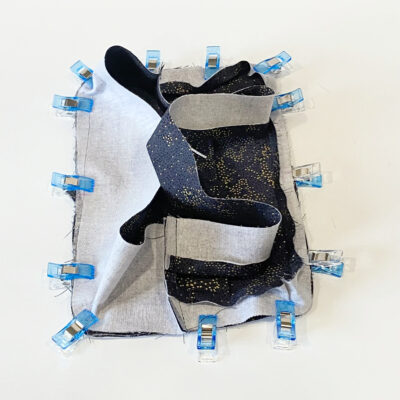
 14. Match the Back Bag piece with the zipper pocket to the straight edge of the Zipper Strip and the Bottom Strip. The curved side will be for the Front Piece. Stitch using a 1/4" seam allowance.
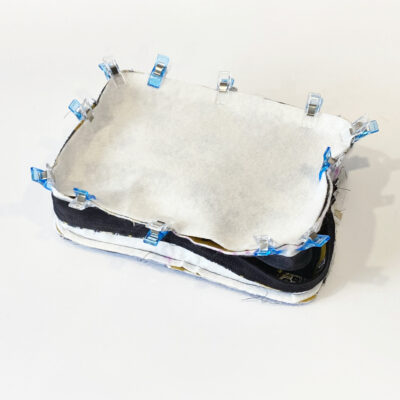
 15. Open up the top zipper part way because you will need this opening to turn your work right side out. Match the Front bag piece to the top and bottom strip making sure to tuck in the nylon strp. Turn your work right side out and press the seams flat where possible.
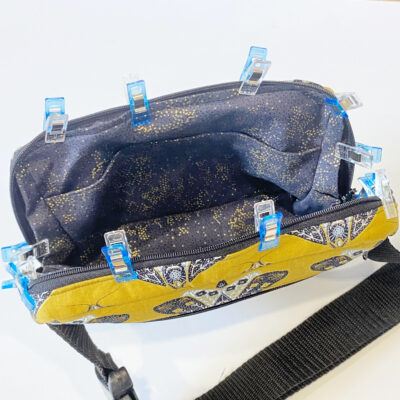
 17. Assemble the Lining much like the Main Bag. Keep in mind that you want the inside pocket to be at the front of the bag in the insdie.
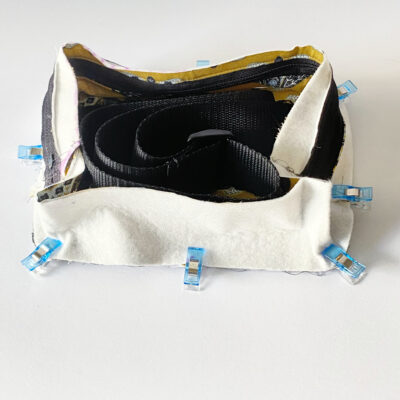
 18. Insert the lining into the main bag. Clip into place and hand sew the lining in place using a ladder stitch.
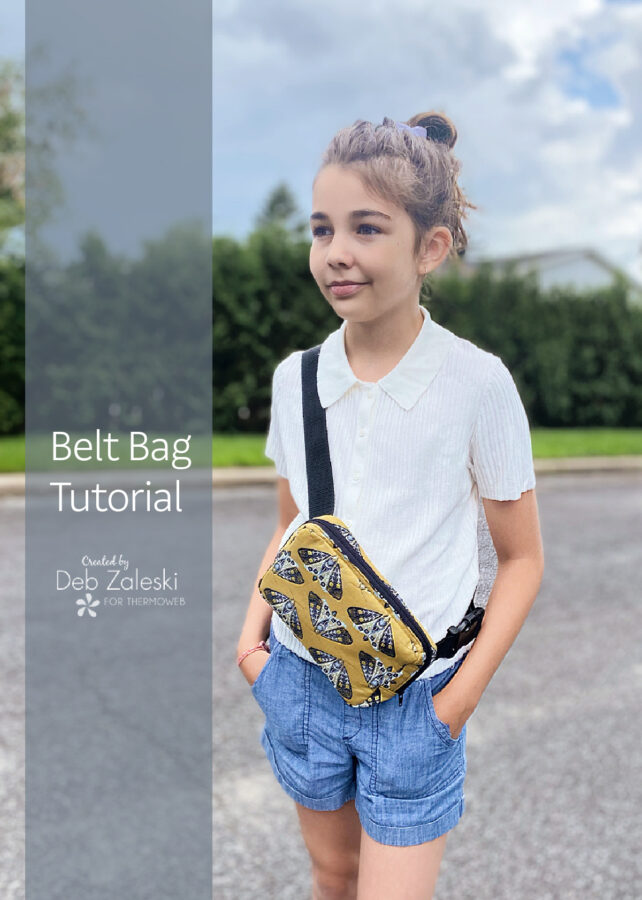
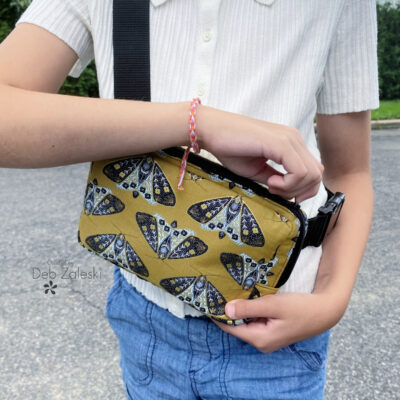
 You're done! It's the perfect size for your keys, a card holder and your phone... you're ready for your next adventure!

 Thanks for joining me and I hope I’ve inspired you to create a new belt bag for the little things you need while on the go. If you liked this project please let me know by posting a comment. And don’t forget to stop by my Instagram and say HI!
Written by Deb Zaleski