No Products in the Cart
 Hello Friends!
I'm so excited to be back this week with a really enjoyable project for you!!
Hello Friends!
I'm so excited to be back this week with a really enjoyable project for you!!
 One of my all-time favorite things to make and gift are potholders. I mean, seriously, who doesn't need pretty new potholders? So when I think of making someone happy with a sweet baked item... I almost always have to add a potholder set to it!
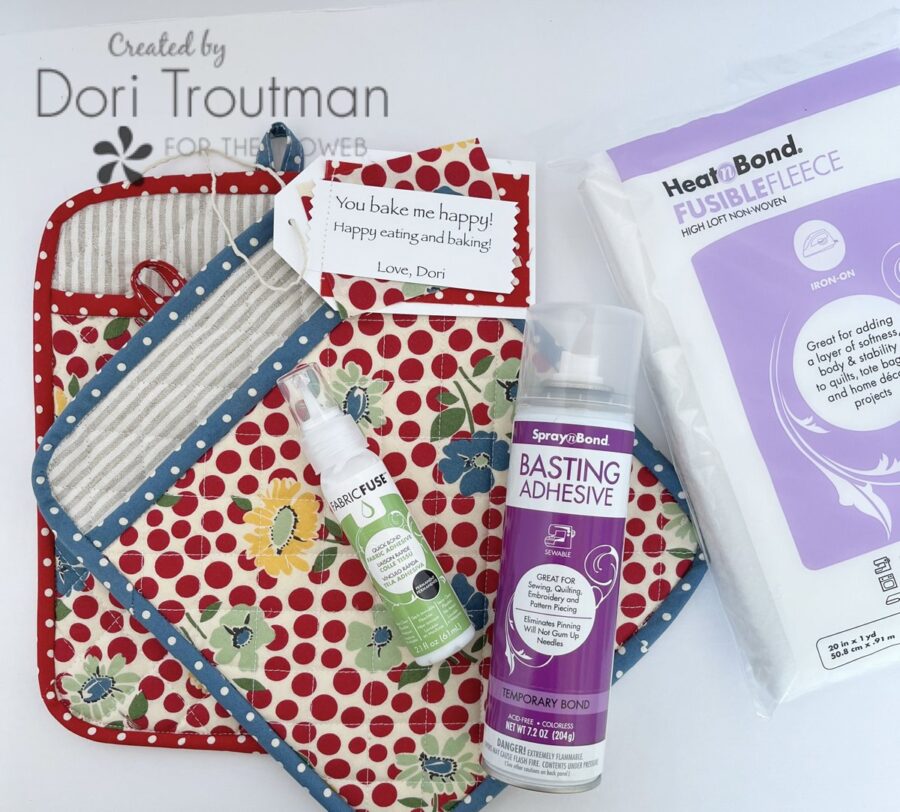 You can make potholders in so many different ways and I love making them all! But today I'm going to share my very quick and simple pattern that you can whip up while your cinnamon rolls are rising and then package the potholders up pretty while the cinnamon rolls are baking! And then you can most definitely "bake someone happy" today!
 Step Two: Take your long fabric binding strip and iron it in half, making sure it has a nice firm crease and fold one end up 1/2 inch and iron that as well. Set this aside for now.
 Step Three: Iron the fusible fleece pieces into the matching fabric piece, making sure that they adhere completely.
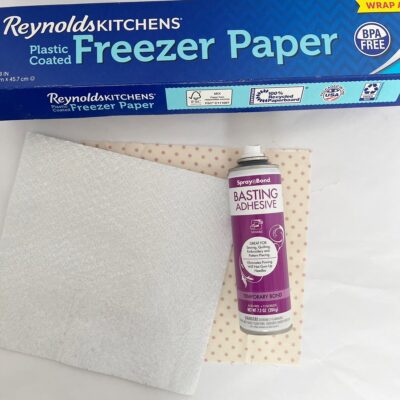
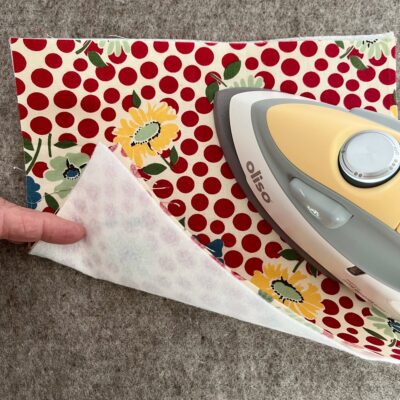 Step Four: Use basting adhesive spray to adhere the thermal lining to the fusible fleece and the remaining fabric pieces, making sure the shiny side is facing up. After all layers are adhered together, you will have a four-layer "sandwich"! (I laid my fabric on a piece of freezer paper before spraying the adhesive so that you don't end up with spray where you don't want it. Freezer paper works like a charm for this!)
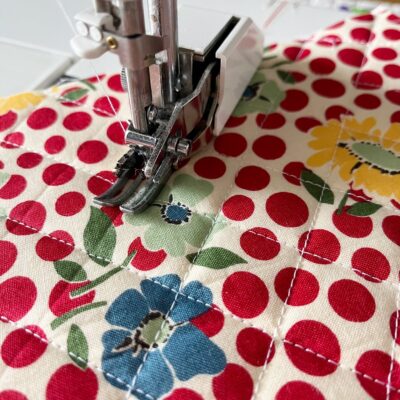
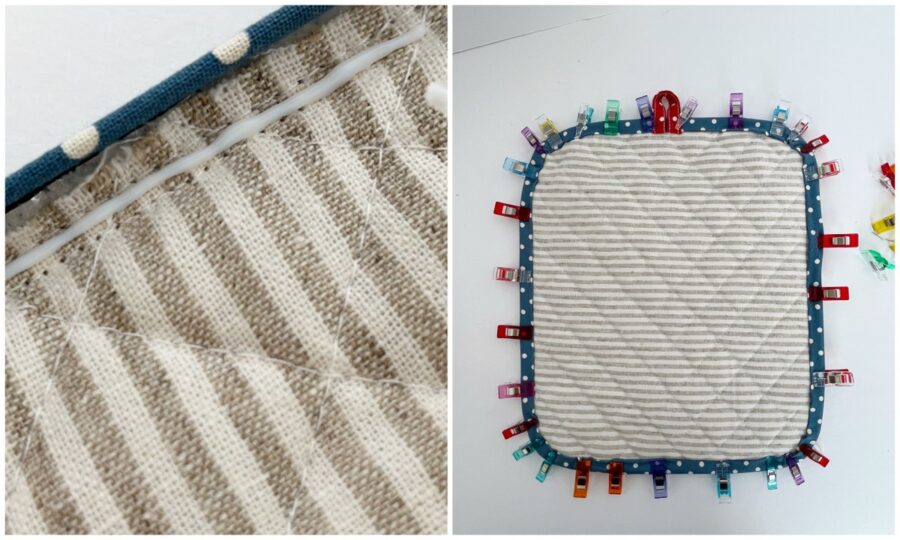
 Step Five: Using a hera maker and a ruler, mark quilting lines on your potholder base and your potholder pocket. You can choose to mark the lines in any way that you would like. I really like the look of a diamond pattern so I drew one-inch lines at a diagonal going in both directions.

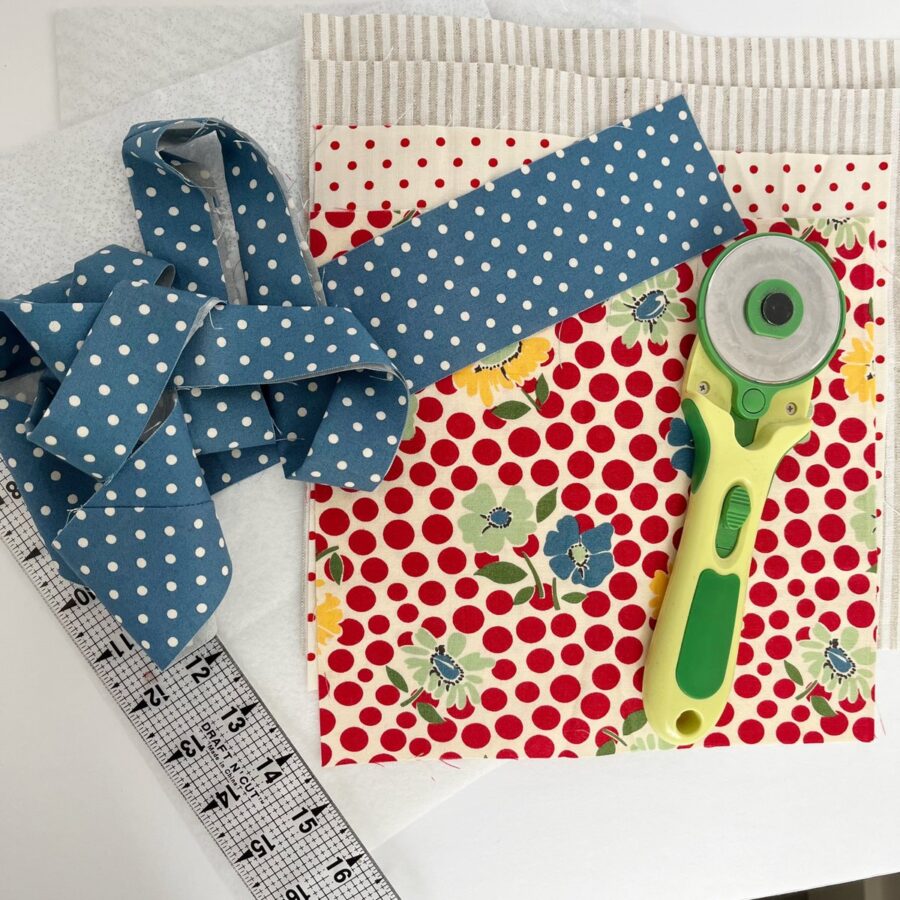
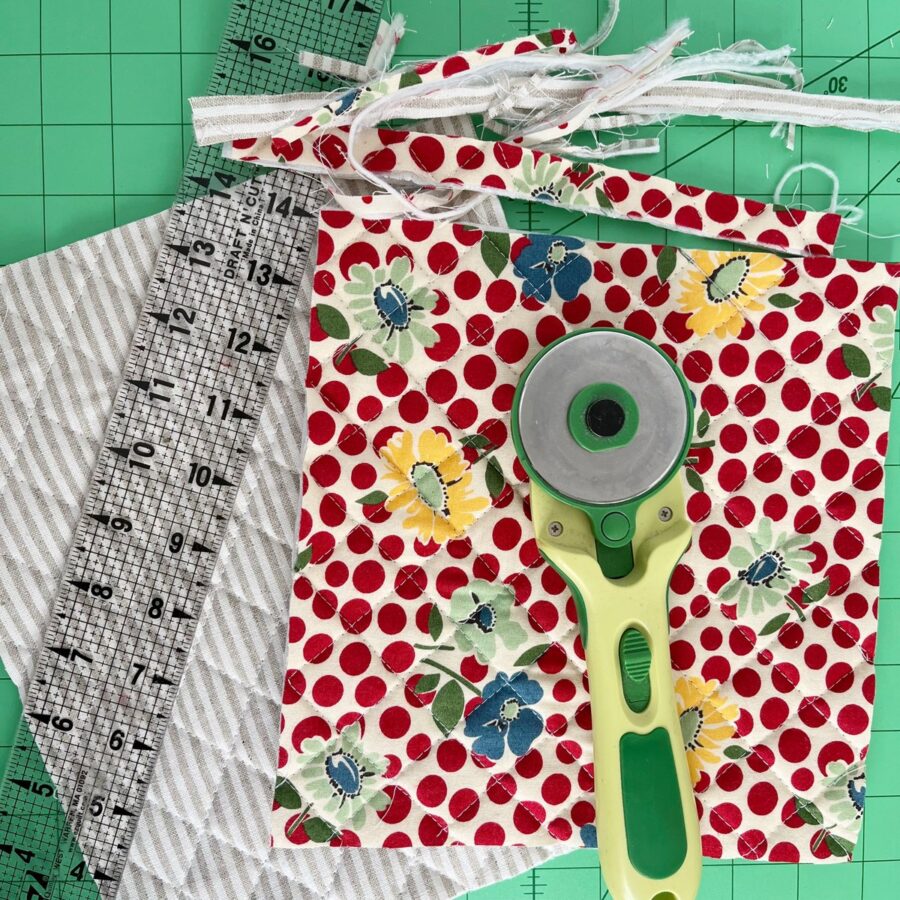
 Step Seven: Trim your quilted pieces to the following dimensions: Potholder base trim to 9" wide by 11" tall, pocket trim to 9" wide by 8.5" tall.
 Step Eight: Cut a 9 inch piece off of the fabric binding. Lay this on the top edge of the pocket with raw edges together. Sew 1/4 inch seam.
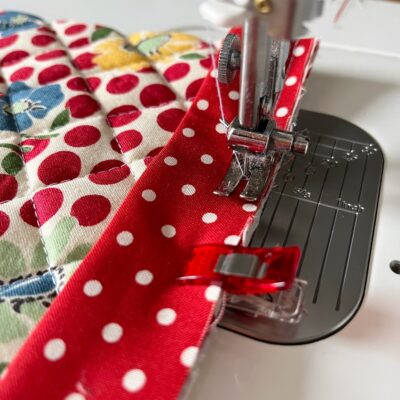 Step Nine: Turn the folded edge of the binding to the back side of the pocket and iron it in place. Run a very light bead of glue to the back of the potholder pocket. Fold the binding down over the glue and press with your fingers to hold in place. (Note: I ran the bead of glue right on top of the sewn line.)
 Step Ten: Sew "in the ditch" on the front of the binding. Since this is a short piece, no pins or clips are necessary.
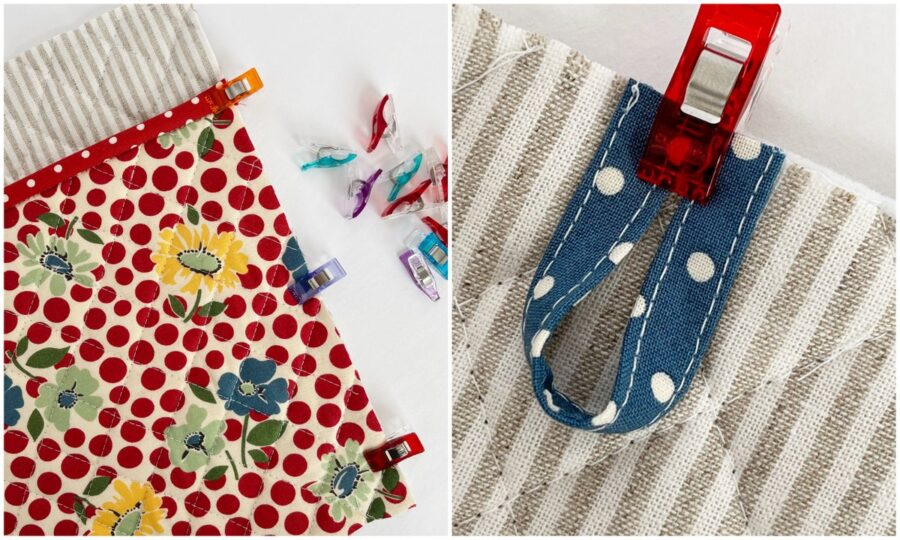
 Step Eleven: Place your pocket on top of the base, matching the bottom raw edges and the sides. Use wonder clips to hold it in place. Sew a scant 1/4 inch seam along the bottom and the sides, attaching your pocket to the base. Place your hanging loop on the back of the potholder and sew it in place as well.
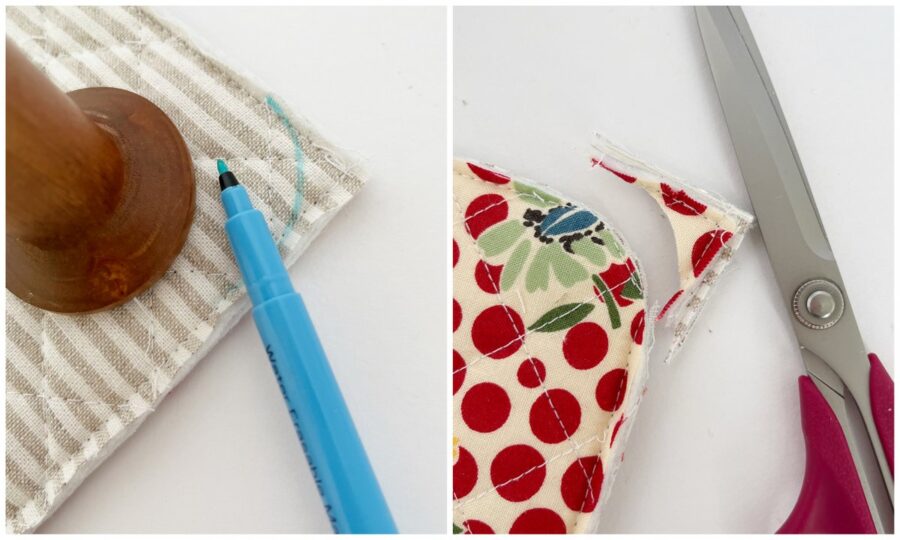
 Step Twelve: Using a wooden spool (or a small lid) trace a curve at all four corners. Cut on the lines to curve your corners.
 Step Thirteen: Pin or clip your remaining binding to the entire raw edge of the potholder, raw edges together. Use several pins at the corners to really hold it in place. Leave a 2 inch tail free from sewing. Sew 1/4 inch seam all the way around, stopping when you get to the tail you left. Fold the raw edge over, cut your remaining binding about an inch longer and slide it into the free edge. Continue sewing until the entire binding is sewn down.
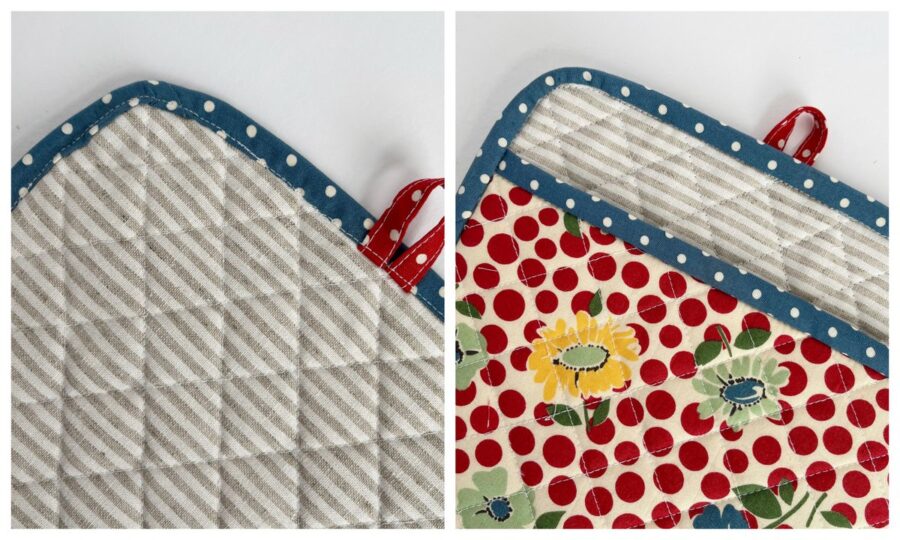
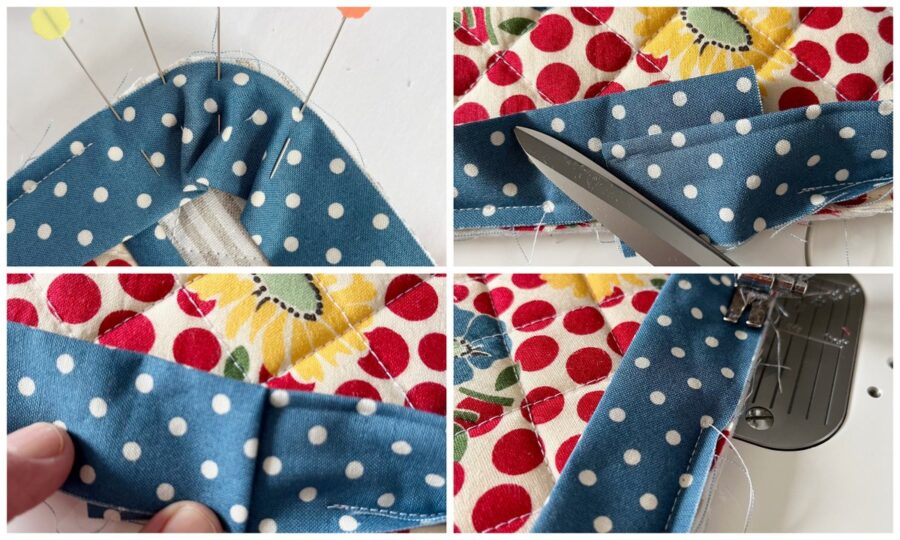 Step Fourteen: Trim the corners, clipping the curves as well. I also like to cut out some of the fusible fleece, so reduce the bulk - be careful not to cut through the seam. Turn your binding to the back of the potholder and press. Your corners might seem kind of tight but they will relax as you iron and work them.
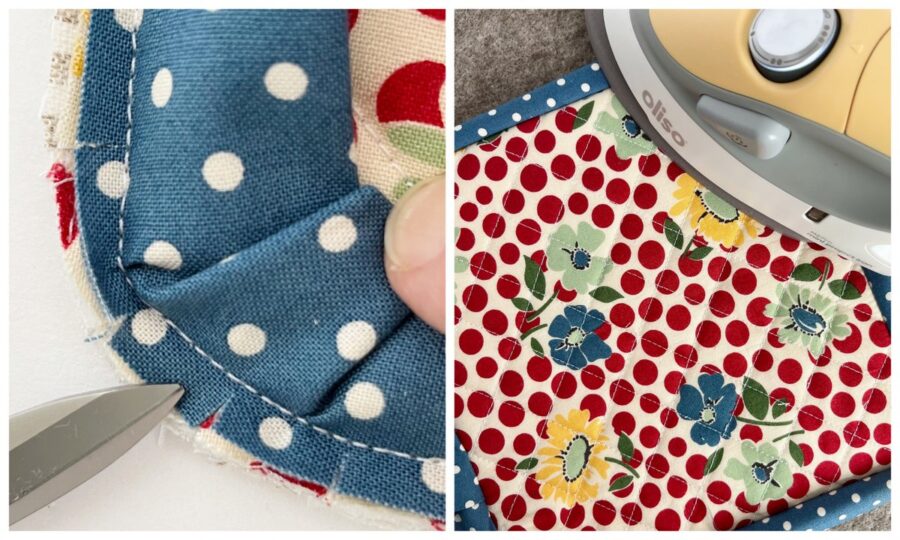
 Step Sixteen: Sew the front of the potholder, right alongside the binding seam, removing clips as you go. Because of the fabric fuse, your binding will hold very well as you sew! Don't be terribly concerned if the stitching on the back of the potholder isn't exactly perfect!!! The front will be lovely!
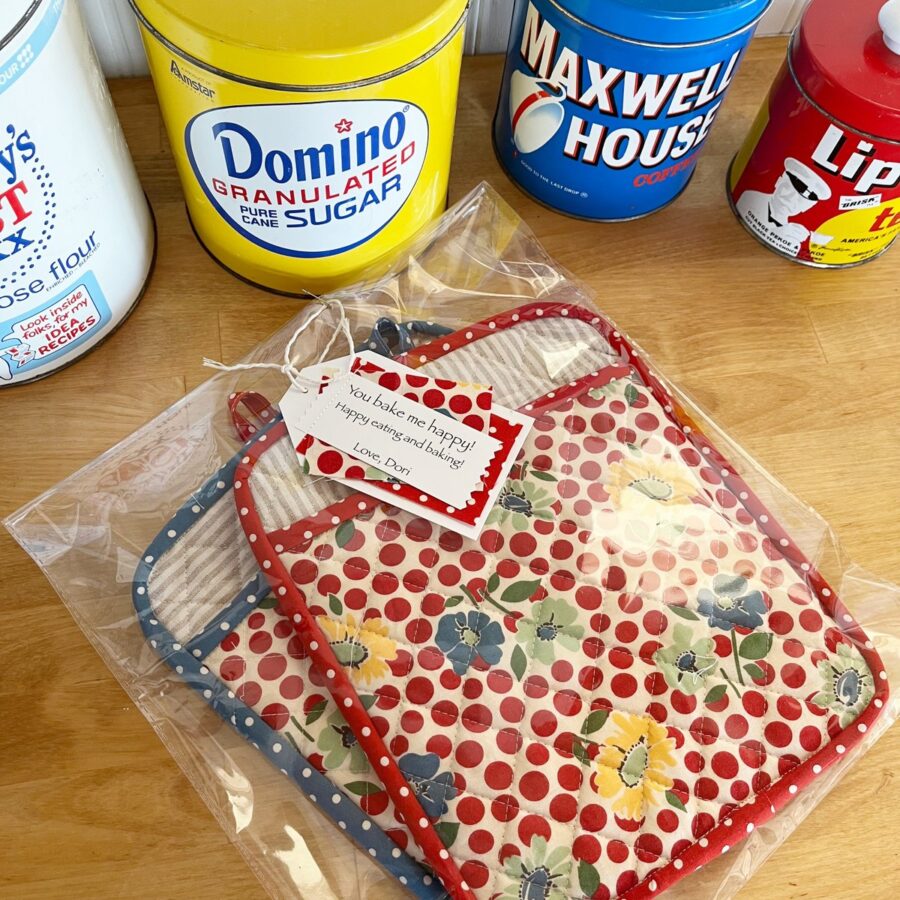
 And you are finished! Sew a simple little gift tag, place your potholders in a plastic sleeve and gift them along with your cinnamon rolls!
 Thank you for following along friends! I hope this made you want to "bake someone happy" today!
Written by Dori Troutman