No Products in the Cart
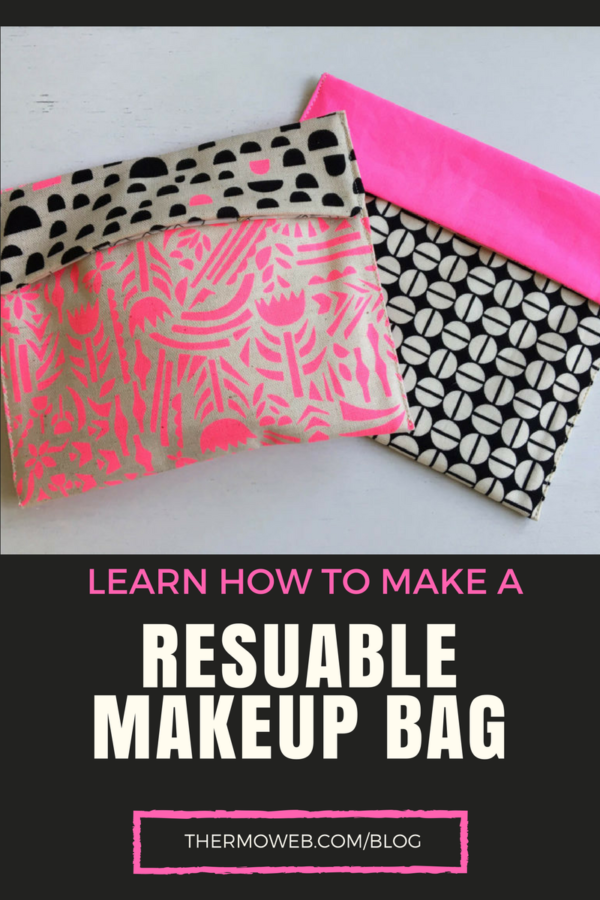
 Want a way to use all your favorite fabrics to create a fun, reusable storage for work? Or choose a favorite super hero fabric to send with the kiddos as a fun surprise in their lunch box? Or use for makeup and other types of storage to keep it stylish and fun!
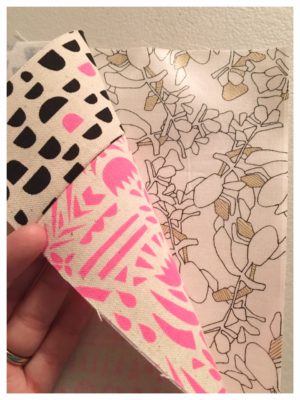
 Main Fabric - Cut (1) 7 1/2" W x 10 7/8" H
Accent Fabric - Cut (1) 7 1/2" W x 2 1/2" H
Lining Fabric - Cut (1) 7 1/2" W x 12 7/8" H
[tooltip text="TooltipText"]*Note: Non-directional fabric works best for the Main fabric and Lining fabric selections.[/tooltip]
Main Fabric - Cut (1) 7 1/2" W x 10 7/8" H
Accent Fabric - Cut (1) 7 1/2" W x 2 1/2" H
Lining Fabric - Cut (1) 7 1/2" W x 12 7/8" H
[tooltip text="TooltipText"]*Note: Non-directional fabric works best for the Main fabric and Lining fabric selections.[/tooltip]
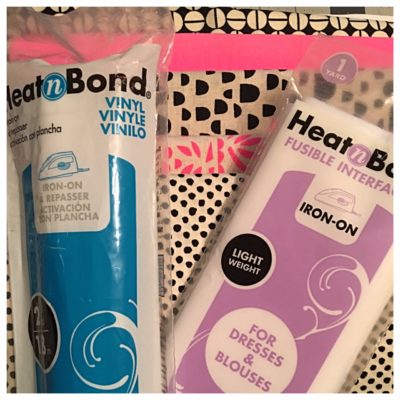
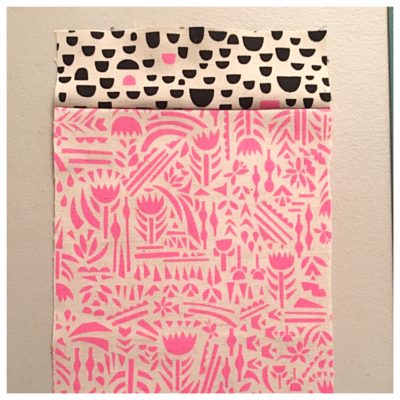 Press the seam to the darker side. Iron-on the fusible Heatnbond Interfacing the back side of this piece following the instructions on the package. Set aside.
Step 2: Prepare Lining
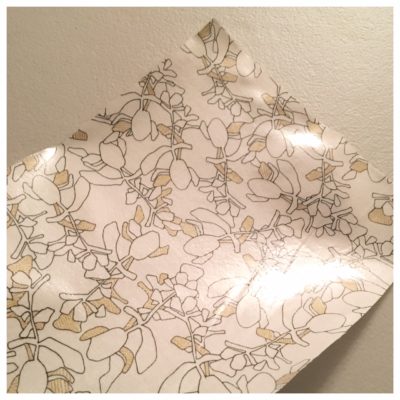
Following the instructions on the vinyl, iron to the front side of the lining rectangle. Let cool.
Press the seam to the darker side. Iron-on the fusible Heatnbond Interfacing the back side of this piece following the instructions on the package. Set aside.
Step 2: Prepare Lining
Following the instructions on the vinyl, iron to the front side of the lining rectangle. Let cool.
 Step 3: Finish Up
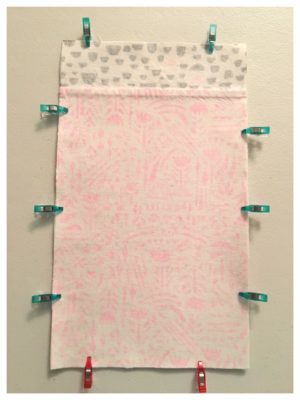
Place the exterior and lining fabric down, right sides together.
Step 3: Finish Up
Place the exterior and lining fabric down, right sides together.
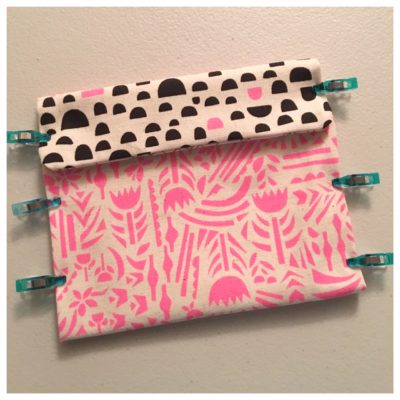
 Use clips to hold together. Sew together, leaving an opening on the short side opposite the accent fabric. (Shown in the photo as the space between the two red clips.)
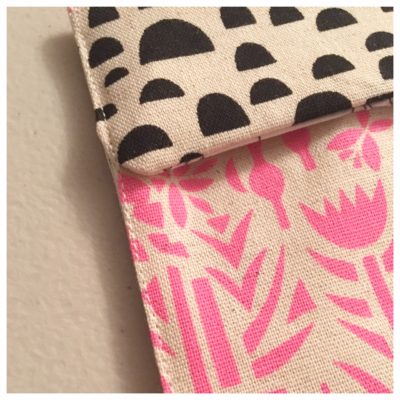
 Clip the excess fabric from the corners, being careful not to clip the sewn seam. Turn right side out, carefully poking out corners as you go. Press well from the FABRIC side. (If you need to press from the vinyl side, remember to use a pressing cloth between the vinyl and the iron.) Edge stitch the opening along the bottom edge shut.
 With the wrong (lining) side up, fold the bottom up 4 3/8" and clip in place. Fold the top down on the seam line where the main and accent fabric meet. This should overlap about 3/8". Clip this as well.
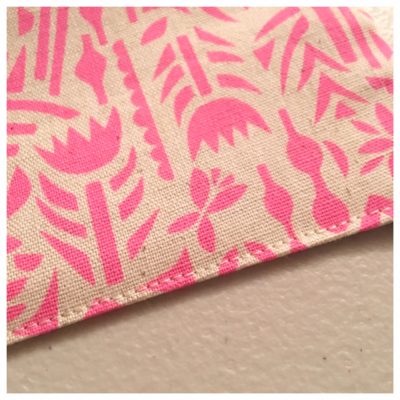
 Edge stitch both sides remembering to backstitch both at the beginning and end of the seam, as well as the area where the two pieces overlap to form the flap.
 This will help reinforce this section better.
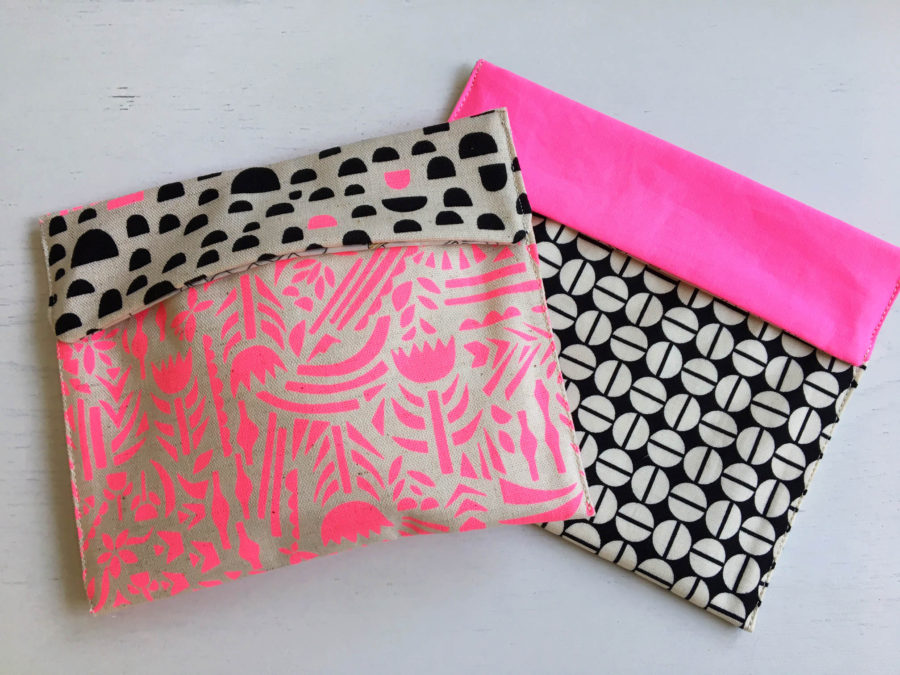
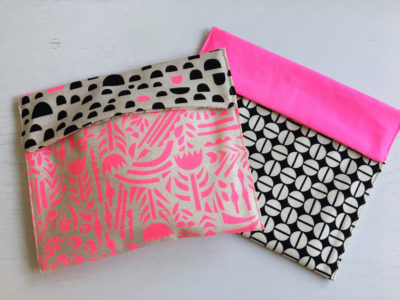 You're finished! Another idea is to make these pouches without the addition of the HeatnBond Iron-On Vinyl. Use them for snack or sandwich pouches that you can toss in the washer to reuse again and again!