No Products in the Cart



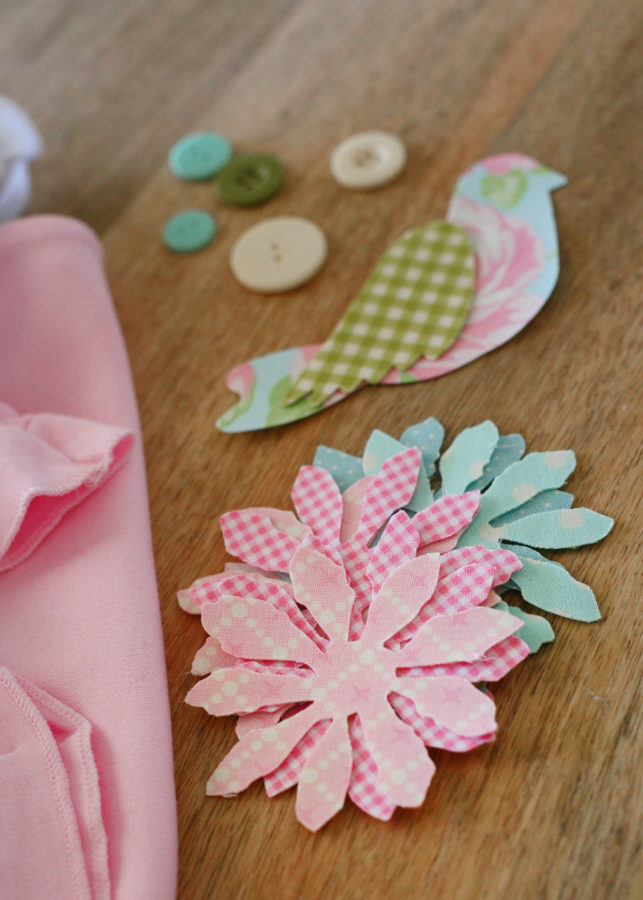
 I started out by cutting the birds and all my flowers. I wanted a 3D look to the flowers and achieved this by sandwiching the Heat n Bond between two pieces of fabric.
Iron Heat n Bond to one piece, peel the backing off, then iron another piece of fabric over the Heat n Bond. Both sides will have fabric with the Heat n Bond in the middle holding them together. So easy and it holds up well in the wash.
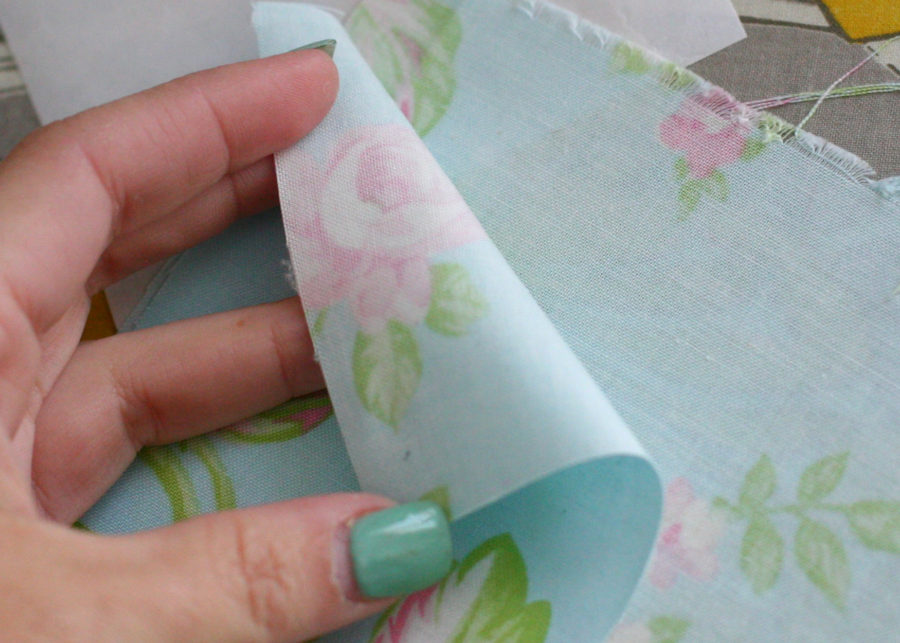
(It's hard to see in the pics, but the fabric layer I am holding has Heat n Bond® Soft Stretch applied) The edges can fray a bit and I actually like the look, but if you rather it not fray, just lightly go over the cut raw edges with a fray stopper. Easy!
I started out by cutting the birds and all my flowers. I wanted a 3D look to the flowers and achieved this by sandwiching the Heat n Bond between two pieces of fabric.
Iron Heat n Bond to one piece, peel the backing off, then iron another piece of fabric over the Heat n Bond. Both sides will have fabric with the Heat n Bond in the middle holding them together. So easy and it holds up well in the wash.
(It's hard to see in the pics, but the fabric layer I am holding has Heat n Bond® Soft Stretch applied) The edges can fray a bit and I actually like the look, but if you rather it not fray, just lightly go over the cut raw edges with a fray stopper. Easy!
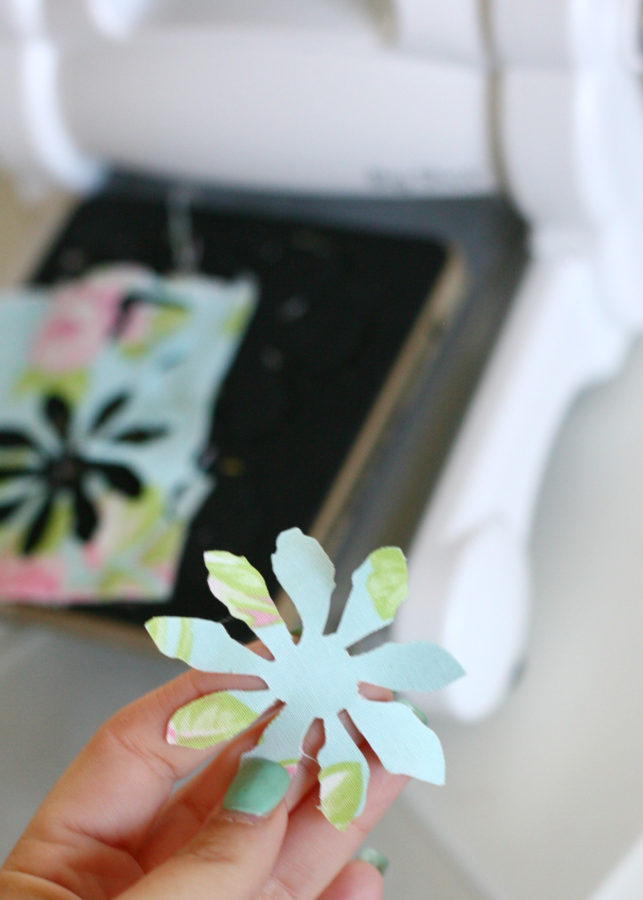 Run the fabric through your die cutter. You'll want two flower pieces per flower. For the bird, I did not double up the fabric to the body as I planned to bond it directly to the baby gown as shown below. The wing piece for the bird is done just like the flowers for the 3D look.
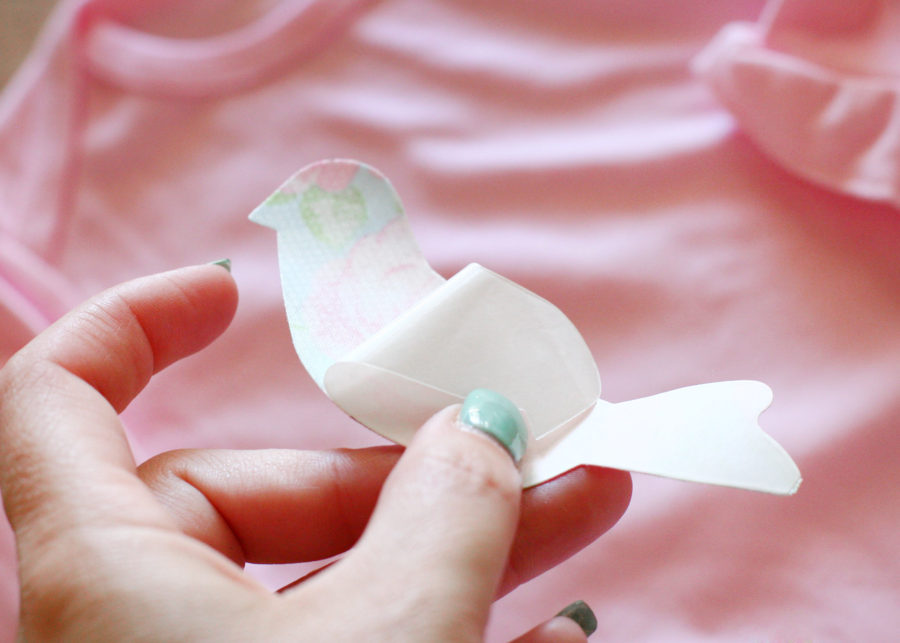 I started on the baby gown first. Peel the paper backing off the bird and set it into place; iron down making sure all the edges are secure.
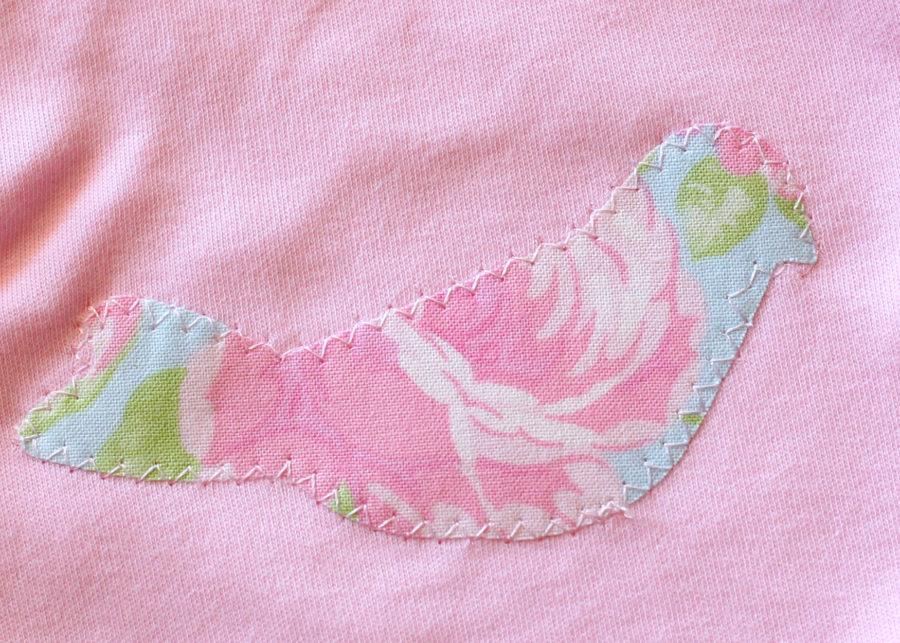 I did a zig-zag stitched around the edges of the bird's body. I just thought it was a cute touch and added to the shabby chic look.
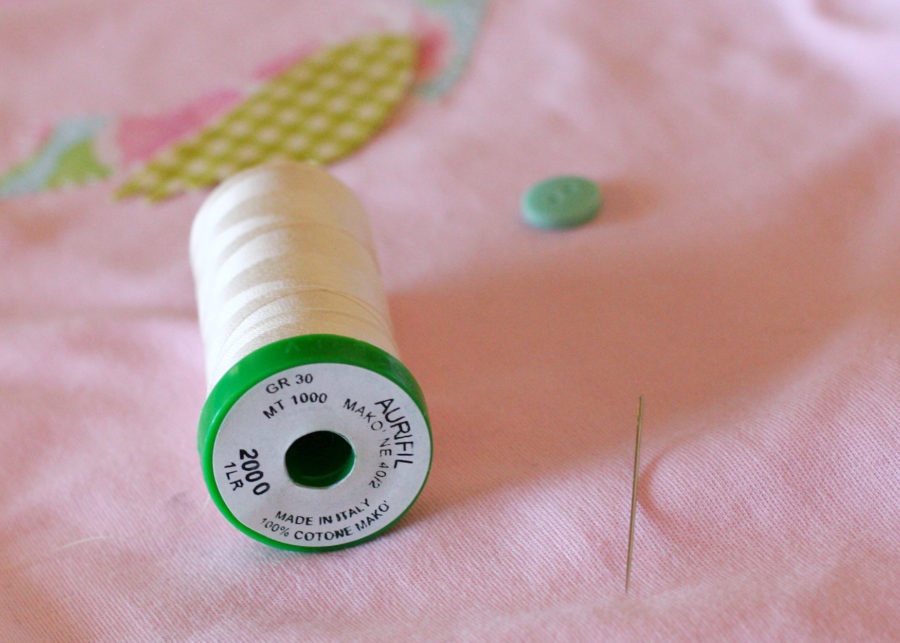
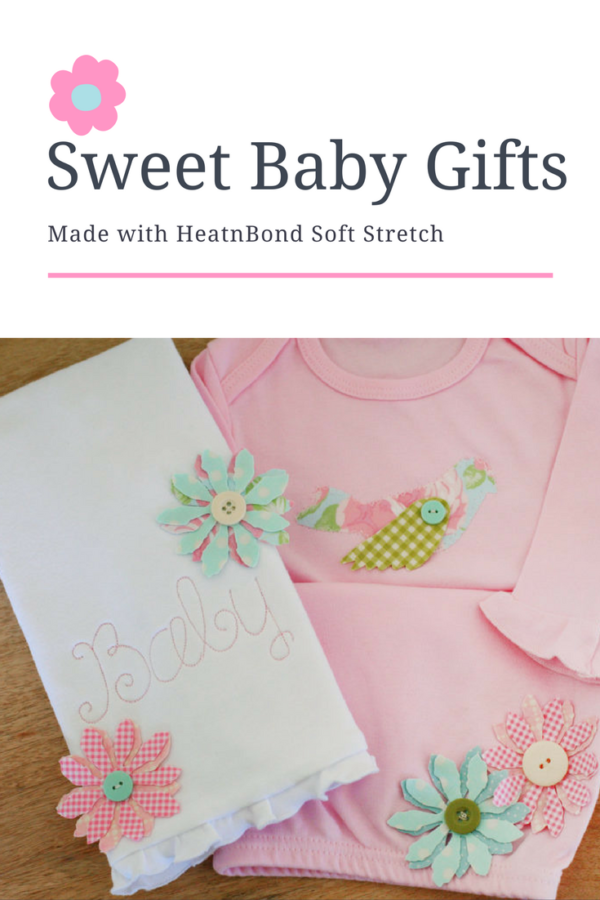
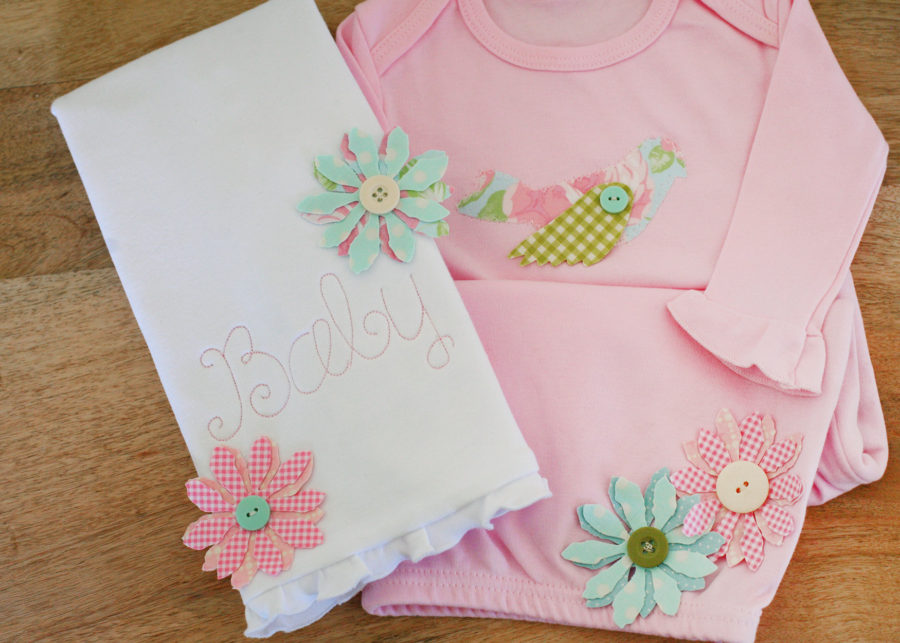
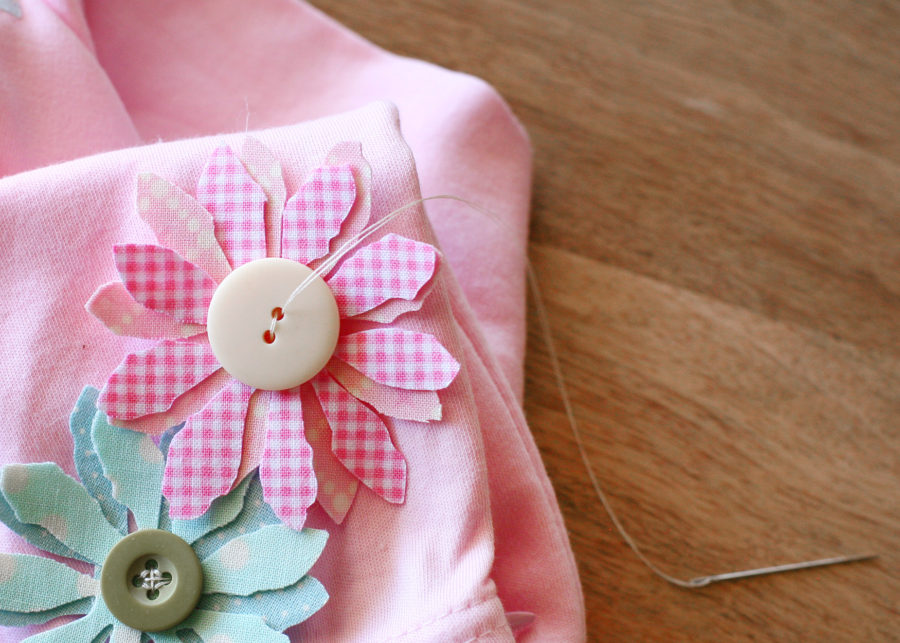 Time to hand sew the flowers and buttons on. Since this is a baby gift you'll want to really get them secure! Continue process until all items have been decorated! When complete you'll have a beautiful handmade baby gift. Grab some cute packaging, tie a ribbon around it, add a card and you're set!
This technique can be used for so many things! How fun would it be to get the kiddos together and have a shirt decorating party and they can cut out and stick on their own designs!
Thanks for stopping by! See ya next time!
-Tamara
Time to hand sew the flowers and buttons on. Since this is a baby gift you'll want to really get them secure! Continue process until all items have been decorated! When complete you'll have a beautiful handmade baby gift. Grab some cute packaging, tie a ribbon around it, add a card and you're set!
This technique can be used for so many things! How fun would it be to get the kiddos together and have a shirt decorating party and they can cut out and stick on their own designs!
Thanks for stopping by! See ya next time!
-Tamara