No Products in the Cart
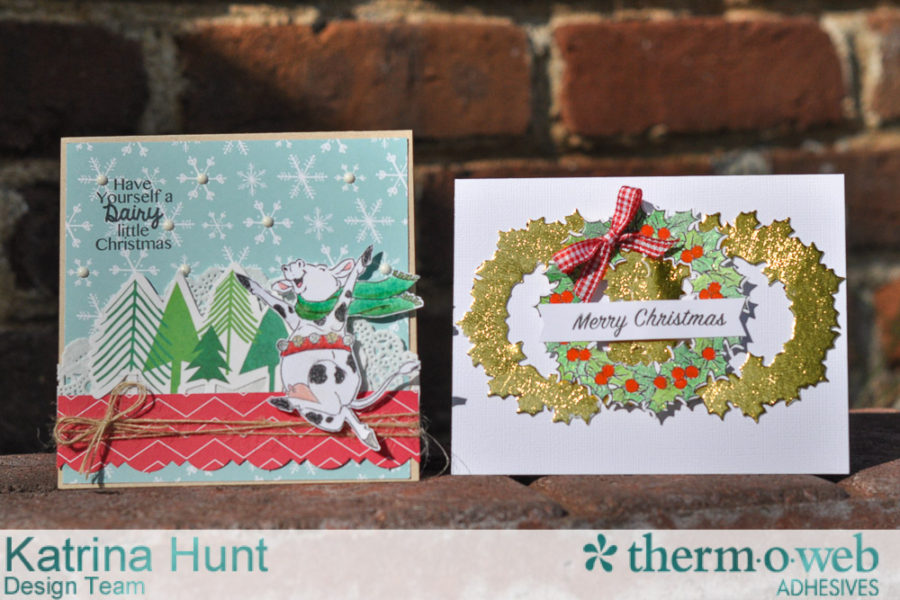
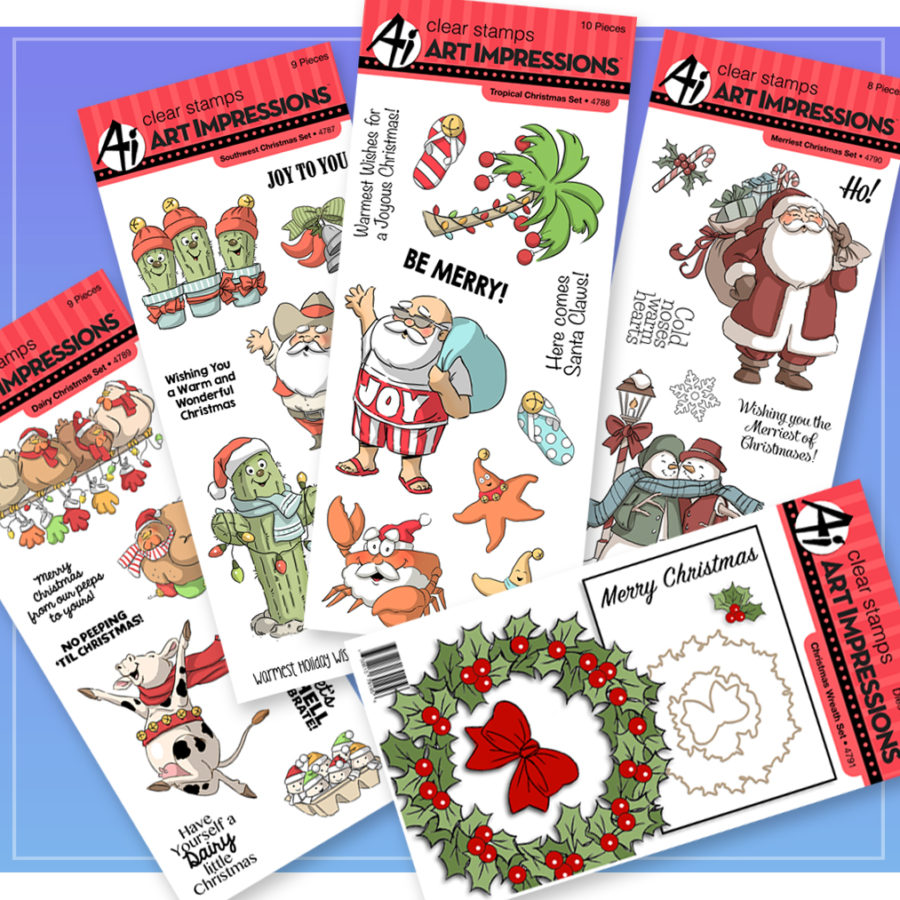
Hey there! It's Katrina from Paper, Scissors and Glue, here with you today to share a couple of cards for our swap with Art Impressions. I worked with the Dairy Christmas and the Christmas Wreath sets. The dairy set is so funny, I can see making lots of Christmas cards with it!
Therm O Web Supplies: Therm O Web 3D White Foam Squares-Combo Pack Therm O Web Mini Tape Runner Therm O Web iCraft® DecoFoil™ Foam Adhesive Sheets Therm O Web iCraft® DecoFoil™ Transfer Sheets Value Pack – Gold Therm O Web Zots Bling
Other Supplies-Cardstock-American Crafts; Ribbon-Michaels; Twine-May Arts; Ink-Memento; Pencils-PrismaColor; Pens-Sakura, KaiserCrafts; Enamel Dots-Unknown; Doilies-Hobby Lobby; Pattern Paper/Diecuts-Pebbles; Stamps/Dies-Art Impressions
Project Instructions:
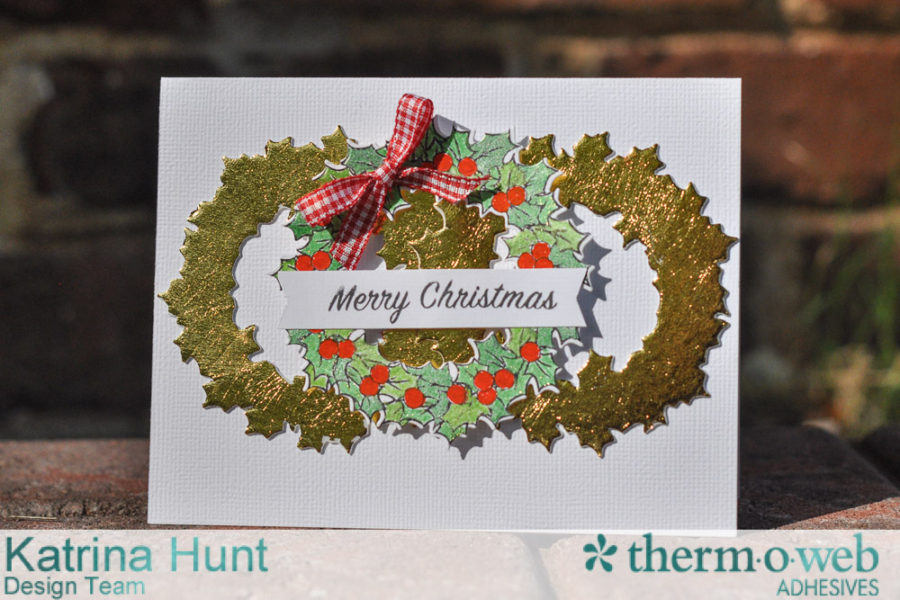
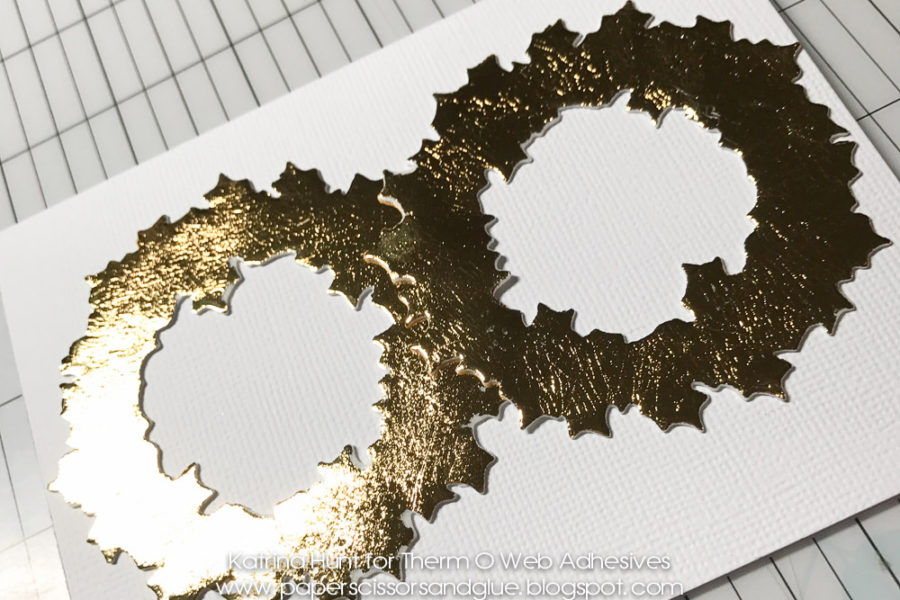
The Christmas Wreath set come with stamps and dies. I knew it would be fun to cut a couple of the wreaths out of DecoFoil™ Foam Adhesive and use the Gold DecoFoil™ on them as an accent to the main wreath.
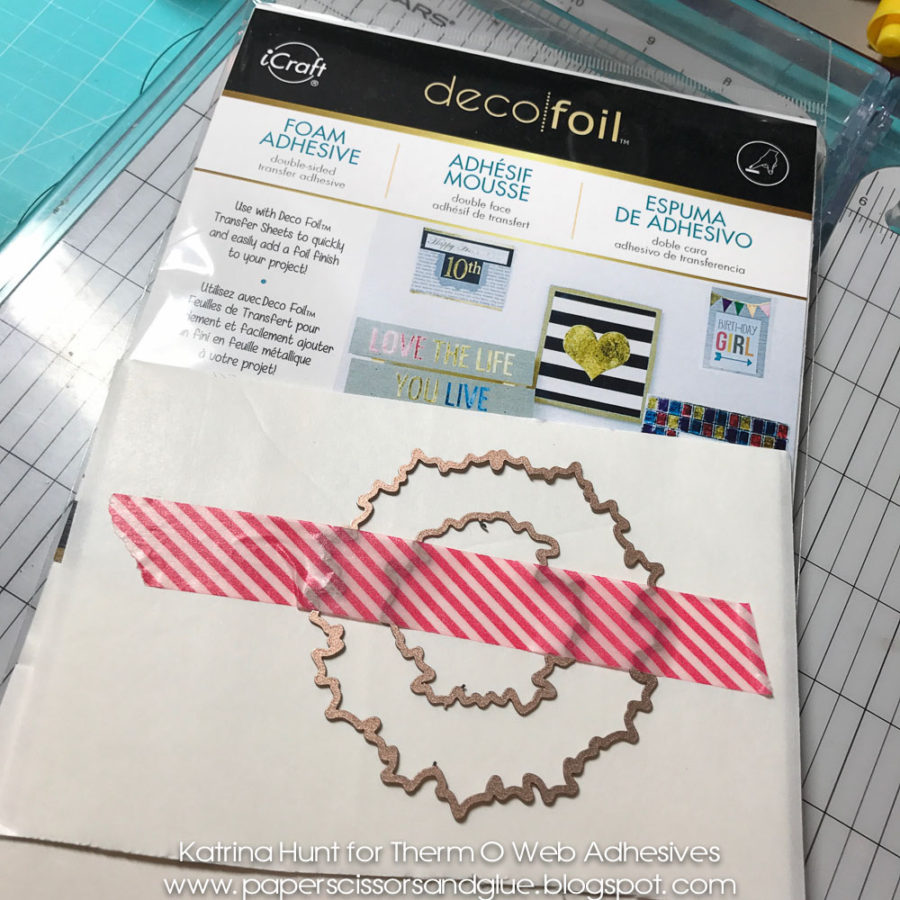
Use the wreath die to cut two shapes out of the DecoFoil™ Foam Adhesive. Use washi tape to hold the die shapes in place while cutting out of the foam
Once cut peel one protective layer off of the wreath and place on the back side of the Gold DecoFoil transfer sheet. Rub gently to make sure foil is transferred to the foam and then peel up. 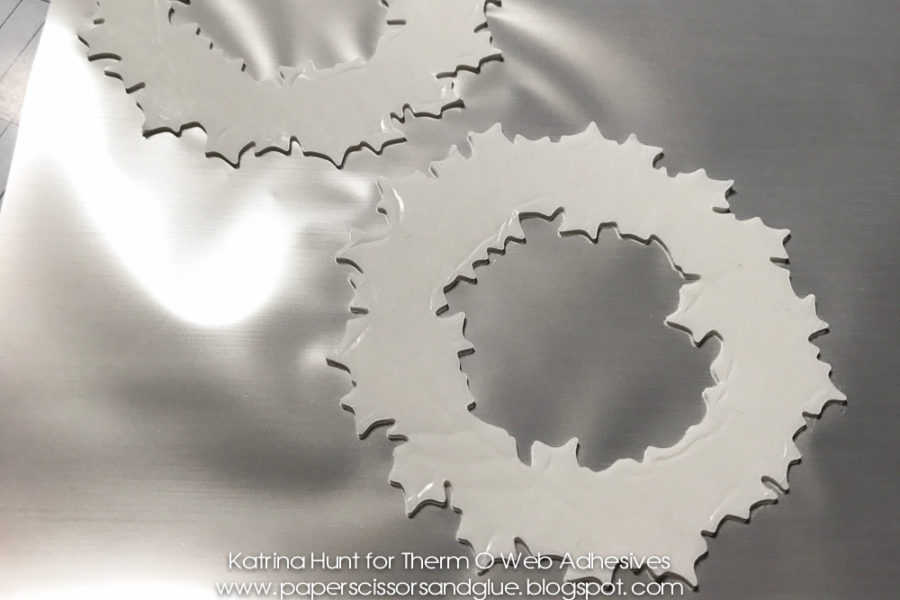
Remove the second protective layer and adhere the gold wreaths to your card front, overlapping each other.
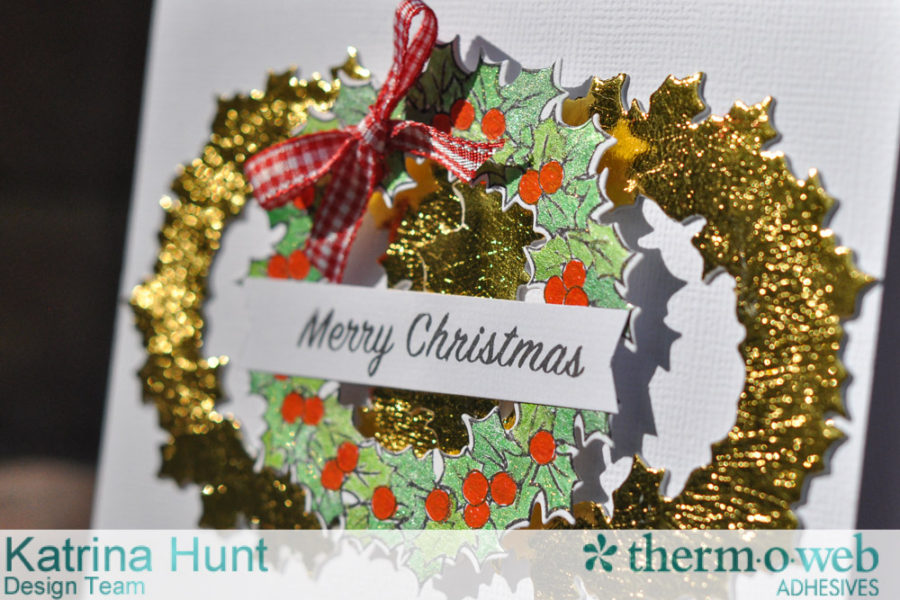
Stamp, color and die cut another wreath shape. To go along with the glitter/gold theme, I used glitter gel pens to color in my wreath shape. Using foam adhesive adhere the stamped wreath over the other two, centering it. Stamp sentiment and use foam adhesive to adhere it in the middle. There is a bow stamp/die also, but decided a gingham bow would be cute. I adhered it with a Zots™ Bling to the wreath.
Next up is the Dairy set that I worked with and the puns in this set are just my cup of tea (or milk?!) I don't have any step out photos for this one, it's pretty straight forward on putting together.
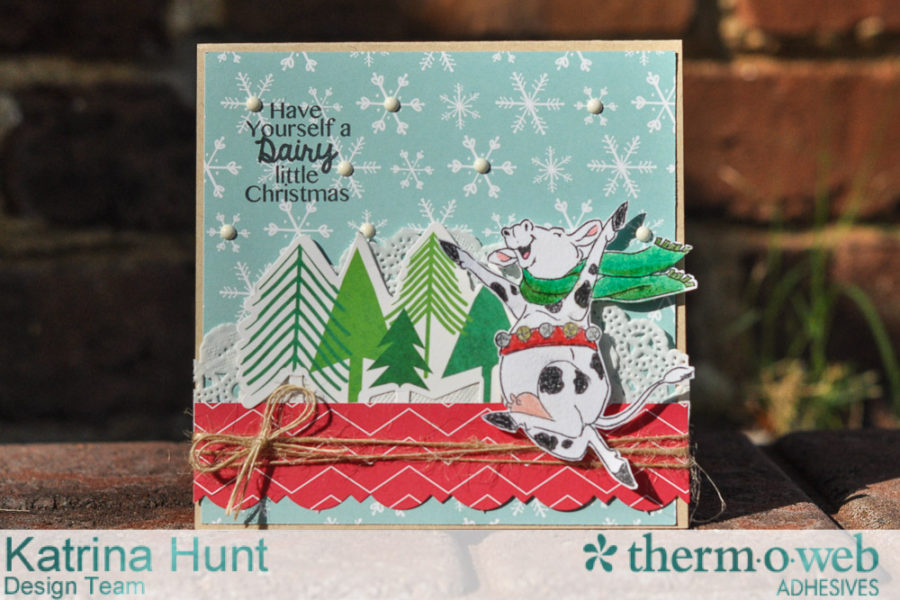
I cut a card base 5x5 inches and then adhered a square snowflake paper for my background. Punch a border strip and wrap twine around twice, using a Zots™ Adhesive Dot to hold it in place on the back of the strip. Tie a separate bow and attached it with a Zot to the wrapped twine. Layer doilies on the snowflake background and then cover the edge of them with the punch border strip.
Stamp cow and color, I used PrismaColor pencils for her. You could also use brown ink, yes I googled dairy cows to make sure! Trim out around stamped image and then use foam adhesive to pop up on the card front.

[tooltip text="TooltipText"]Also, a little tip! I had trouble with the adhesive on my enamel dots. Just use a Zots Bling and the problem was taken care of! They are the perfect size to use with them. And no worry about liquid adhesive oozing out around them![/tooltip]
So get started on those Christmas cards, the earlier the better!
 Simply follow the Rafflecopter below to enter to win!
a Rafflecopter giveaway
Simply follow the Rafflecopter below to enter to win!
a Rafflecopter giveaway