No Products in the Cart
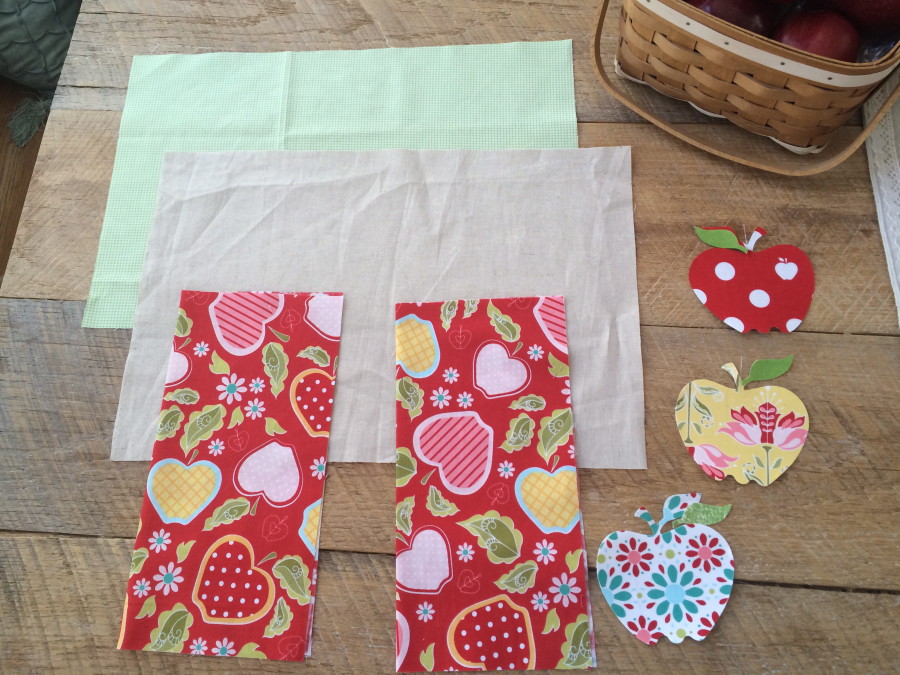
 Cut the main linen fabric, lining, and stabilizer 16.5" x 11"
Cut (2) flap pieces 11" square and then press in half.
Cut the main linen fabric, lining, and stabilizer 16.5" x 11"
Cut (2) flap pieces 11" square and then press in half.
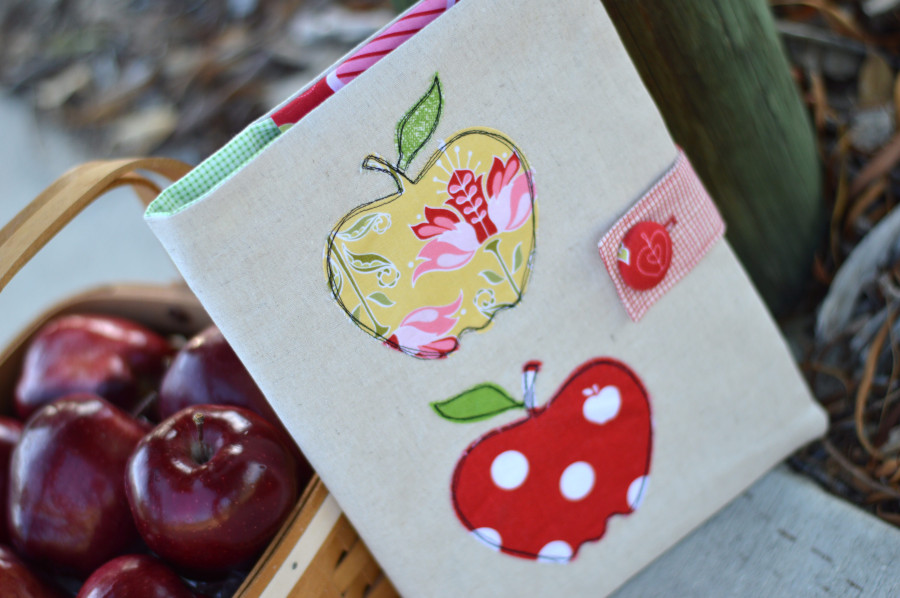
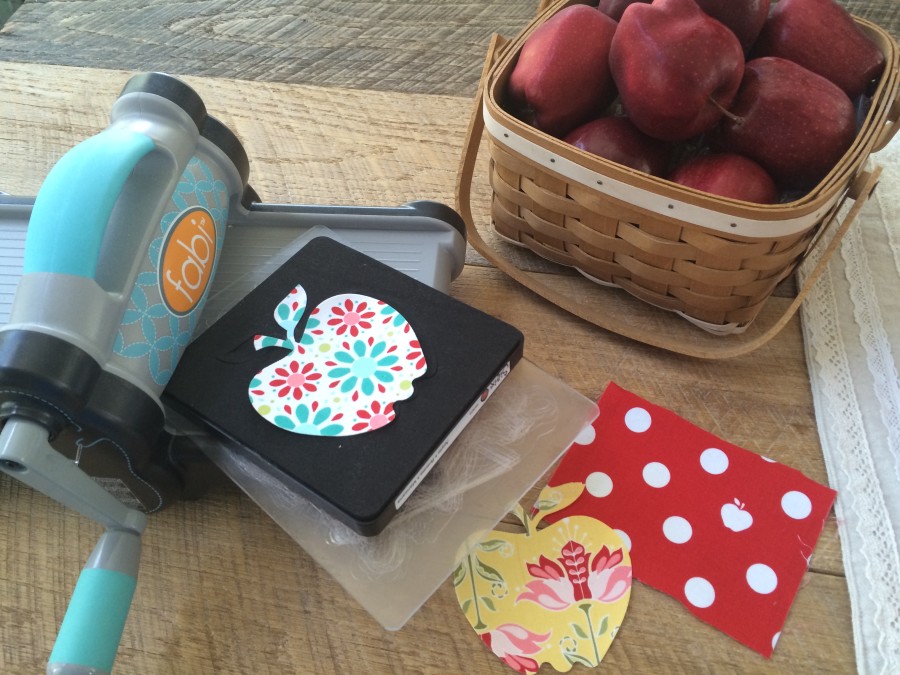
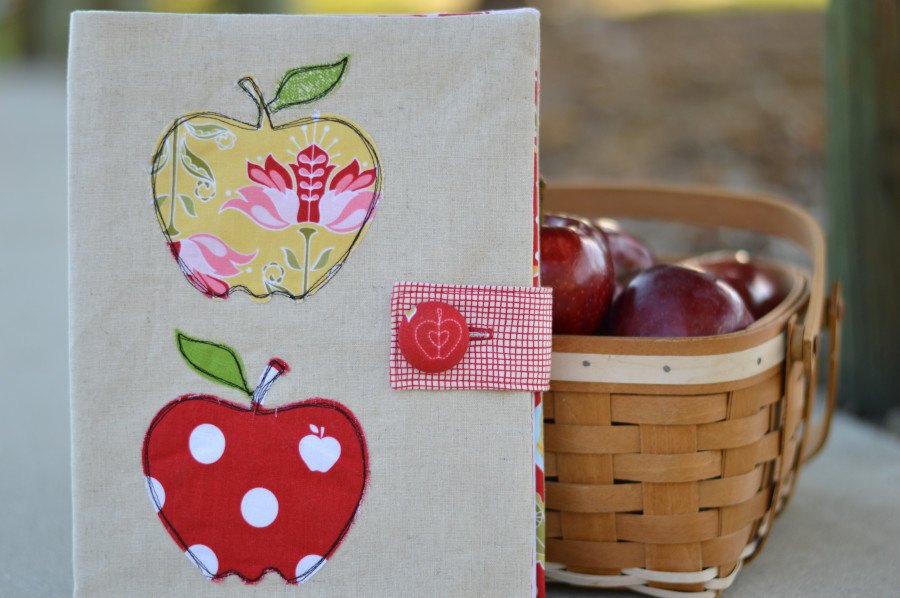
 Fuse the interfacing/stabilizer to the wrong side of the linen fabric. Position the apples and stems so they are either centered or toward the center, you need to leave room on the right edge for the button. Sew around the apples 3 times with black thread.
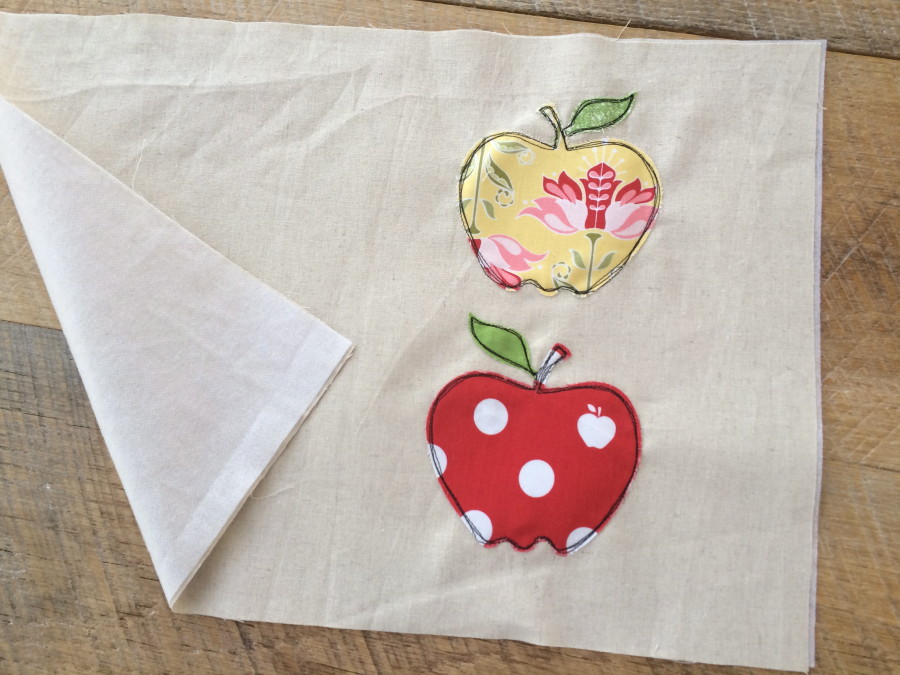 For the closure tab:
Cut a rectangle 6" x 4". Fuse HeatnBond® Interfacing stabilizer to the back.
For the closure tab:
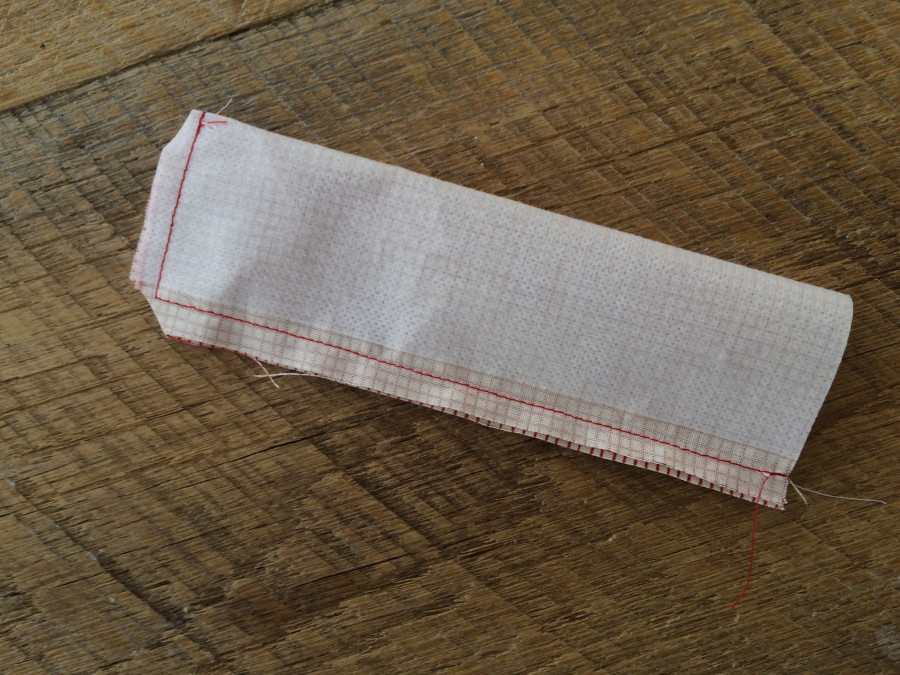
Cut a rectangle 6" x 4". Fuse HeatnBond® Interfacing stabilizer to the back.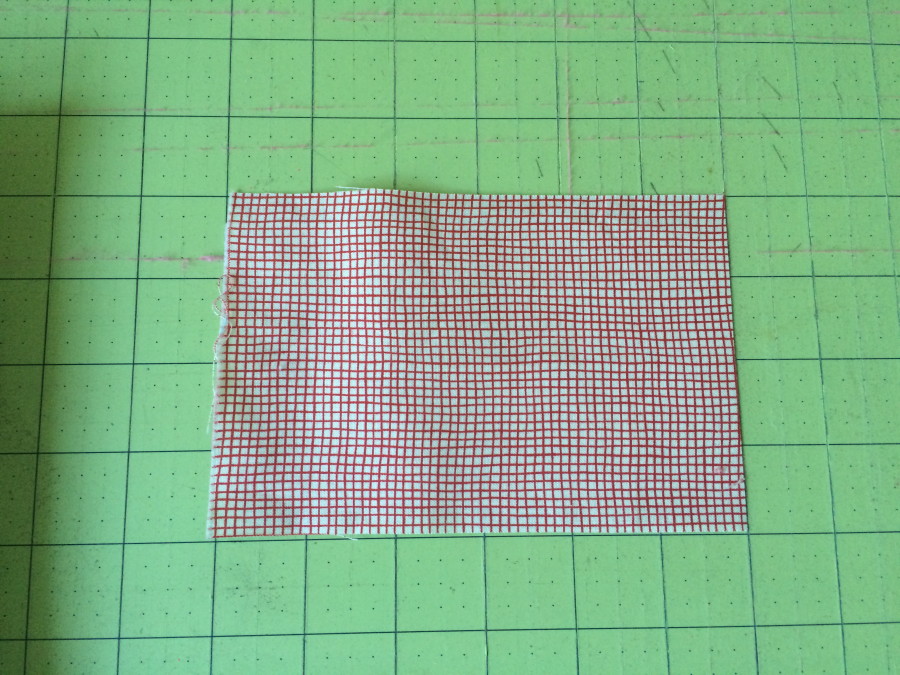 Fold in half lengthwise and sew using 1/4" seams along one short end and the long side. Clip corners, turn, and press. Topstitch if desired.
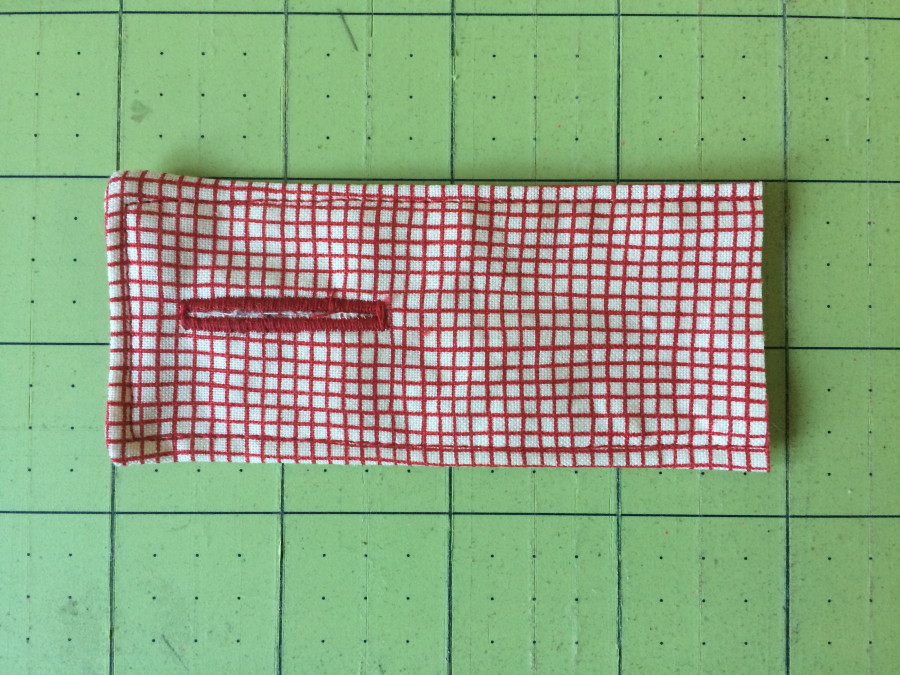
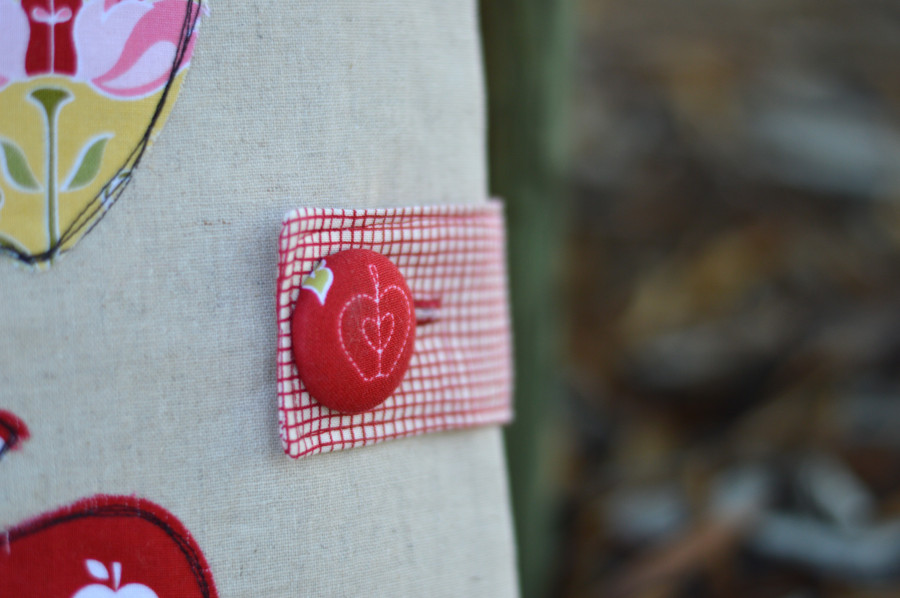
 Measure your button and sew a buttonhole toward the end of the tab. Cut the tab at the raw edge to 4" long. Baste the tab onto the side (centered) of the linen piece.
 Lay the lining piece right side up, lay the two flaps on either side, matching raw edges. (Folded edges toward the center)
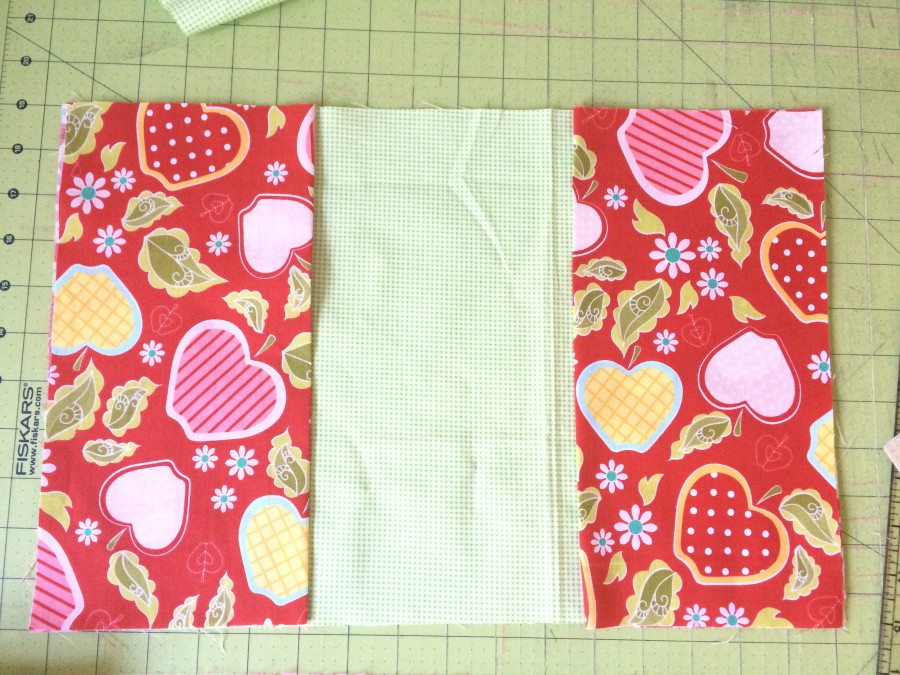 Position the apple cover, right sides together with the lining/flap portion. Pin all the way around. Sew using 1/4" seam all the way around, beginning and ending at the bottom center, leaving a 3" opening for turning. Clip corners, turn right side out, press. Top stitch the opening closed using matching thread.
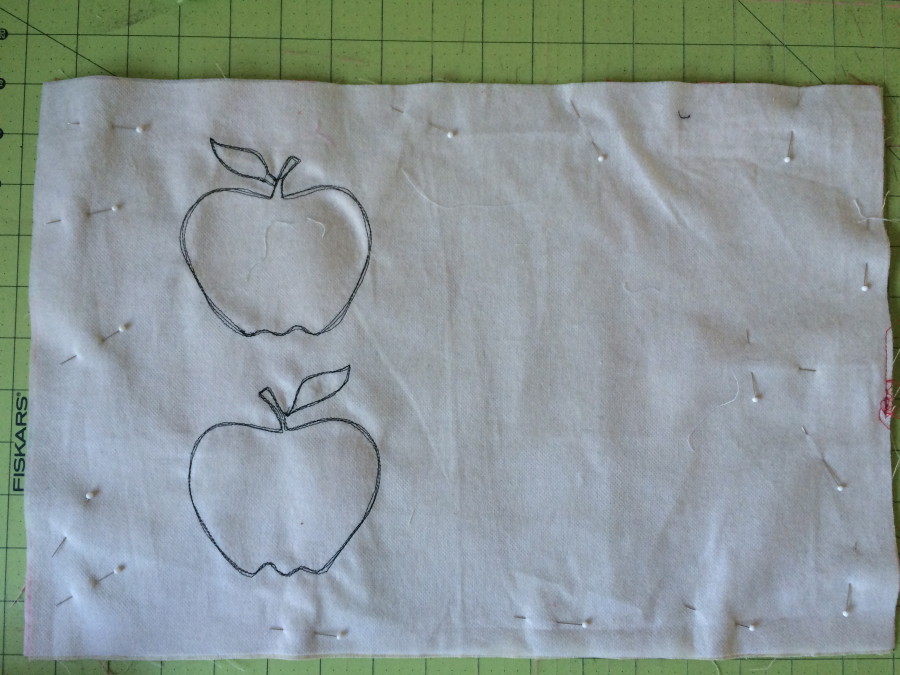 Insert book into the cover. Mark where the button needs to go and hand sew the button into place. I made a matching covered button.
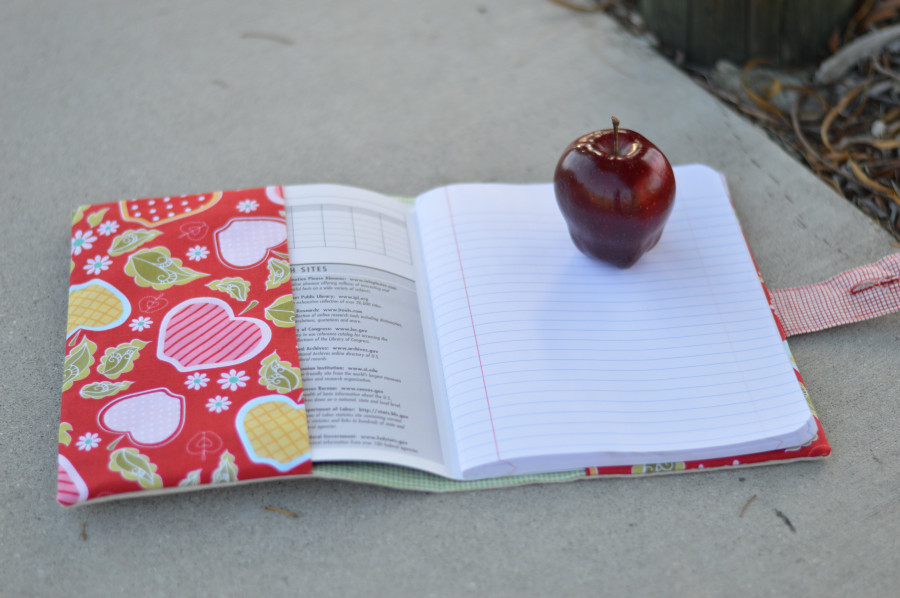
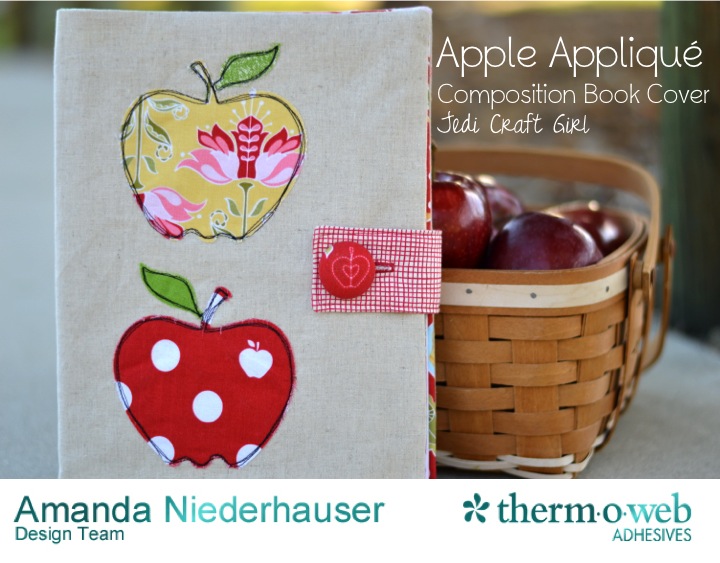
 Who's ready for school? I think I hear the bell :)